Note
Access to this page requires authorization. You can try signing in or changing directories.
Access to this page requires authorization. You can try changing directories.
The Azure Developer CLI (azd) streamlines CI/CD setup with the azd pipeline config command. This command uses pipeline definition files included in azd templates to automate provisioning and deployment pipelines for your app resources on Azure. By integrating templates and pipelines, azd enables a seamless CI/CD experience, allowing you to focus on development while ensuring consistent, reliable deployments.
Pipeline features
When you run the azd pipeline config command, azd performs the following steps to set up a CI/CD pipeline:
- Authenticate with Azure: Confirms you are logged in and have the required permissions.
- Select CI/CD platform: Prompts you to choose between GitHub Actions or Azure Pipelines.
- Configure repository: Guides you to connect to or create a repository.
- Set up service principal: Automatically creates and configures a service principal for secure deployment.
- Configure authentication:
- For GitHub: Sets up OpenID Connect (OIDC) or client credentials.
- For Azure Pipelines: Sets up client credentials and requests a Personal Access Token (PAT).
- Provision pipeline files: Copies the appropriate pipeline definition files (
azure-dev.yml) from the template to your repository. - Set pipeline variables and secrets: Configures required variables and secrets for deployment.
- Commit and push changes: Commits and pushes the pipeline configuration to your repository.
- Trigger pipeline runs: Creates or updates Azure resources and deploys your app.
Platform-specific details
The azd pipeline config command supports both GitHub Actions and Azure Pipelines, each with unique considerations:
GitHub Actions:
- Works with repositories hosted on GitHub.
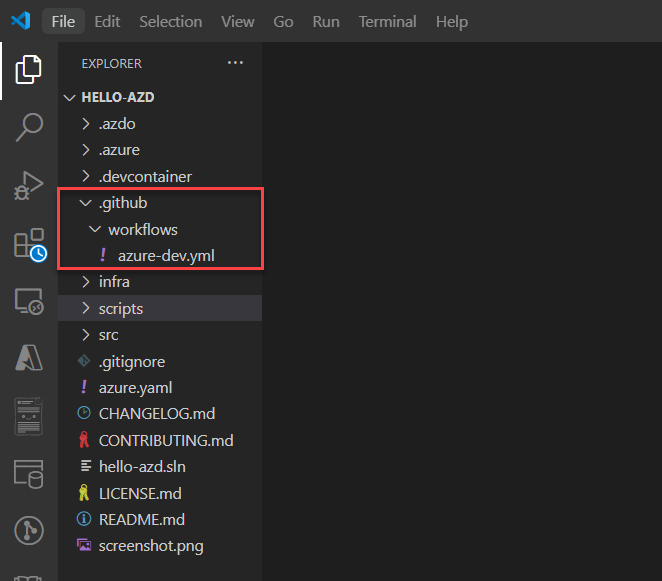
- Uses the
.github/workflowsdirectory for theazure-dev.ymlconfiguration file. - Supports OpenID Connect (OIDC) for secure authentication by default.
- Can use client credentials as an alternative authentication method.
Azure Pipelines:
- Works with repositories hosted in Azure Pipelines.
- Uses the
.azuredevops/pipelinesor.azdo/pipelinesdirectory for theazure-dev.ymlconfiguration file. - Uses client credentials for authentication (OIDC not currently supported).
- Requires a Personal Access Token (PAT) with specific scopes.
- Supports protected main branches through pull request workflows.
Template integration
Azure Developer CLI templates can include preconfigured CI/CD pipeline definition files (azure-dev.yml) compatible with the azd pipeline config command. When you clone a template, you can immediately run azd pipeline config to set up your CI/CD pipeline without creating configuration files from scratch.
Templates can also include customized pipeline configurations with more variables, secrets, and environment-specific settings through the azure.yaml file, making it easy to adapt the pipeline to different project requirements.
Sample workflow
A typical workflow for using azd pipeline config includes:
- Clone the desired
azdtemplate repository to your local machine. - Run the
azd pipeline configcommand and follow the prompts to set up your pipeline. The first run provisions required Azure resources and triggers a workflow to deploy your app. - After the pipeline is created, commit and push any changes to the repository to trigger the deployment pipeline and update your app.
- Monitor pipeline execution on the CI/CD platform to ensure successful deployments or troubleshoot issues.
Explore detailed workflows for each platform:
Learn how to create your own pipeline definition files or explore advanced configurations: