Note
Access to this page requires authorization. You can try signing in or changing directories.
Access to this page requires authorization. You can try changing directories.
Terraform enables the definition, preview, and deployment of cloud infrastructure. Using Terraform, you create configuration files using HCL syntax. The HCL syntax allows you to specify the cloud provider - such as Azure - and the elements that make up your cloud infrastructure. After you create your configuration files, you create an execution plan that allows you to preview your infrastructure changes before they're deployed. Once you verify the changes, you apply the execution plan to deploy the infrastructure.
You can use Azure deployment slots to swap between different versions of your app. That ability helps you minimize the impact of broken deployments.
This article illustrates an example use of deployment slots by walking you through the deployment of two apps via GitHub and Azure. One app is hosted in a production slot. The second app is hosted in a staging slot. (The names "production" and "staging" are arbitrary. They can be whatever is appropriate for your scenario.) After you configure your deployment slots, you use Terraform to swap between the two slots as needed.
In this article, you learn how to:
- Create an App Service
- Create an App Service slot
- Swap in and out of the example deployment slots
1. Configure your environment
- Azure subscription: If you don't have an Azure subscription, create a free account before you begin.
Configure Terraform: If you haven't already done so, configure Terraform using one of the following options:
- GitHub account: You need a GitHub account to fork and use the test GitHub repo.
2. Create and apply the Terraform plan
Browse to the Azure portal.
Open Azure Cloud Shell. If you didn't select an environment previously, select Bash as your environment.

Change directories to the
clouddrivedirectory.cd clouddriveCreate a directory named
deploy.mkdir deployCreate a directory named
swap.mkdir swapUse the
lsbash command to verify that you successfully created both directories.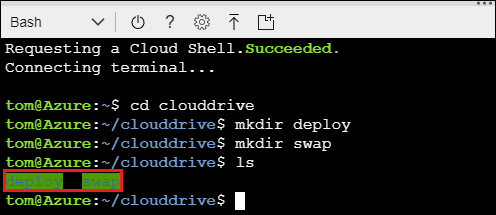
Change directories to the
deploydirectory.cd deployIn Cloud Shell, create a file named
deploy.tf.code deploy.tfInsert the following code into the editor:
# Configure the Azure provider
provider "azurerm" {
    # The "feature" block is required for AzureRM provider 2.x.
    # If you're using version 1.x, the "features" block is not allowed.
    version = "~>2.0"
    features {}
}

resource "azurerm_resource_group" "slotDemo" {
    name = "slotDemoResourceGroup"
    location = "westus2"
}

resource "azurerm_app_service_plan" "slotDemo" {
    name                = "slotAppServicePlan"
    location            = azurerm_resource_group.slotDemo.location
    resource_group_name = azurerm_resource_group.slotDemo.name
    sku {
        tier = "Standard"
        size = "S1"
    }
}

resource "azurerm_app_service" "slotDemo" {
    name                = "slotAppService"
    location            = azurerm_resource_group.slotDemo.location
    resource_group_name = azurerm_resource_group.slotDemo.name
    app_service_plan_id = azurerm_app_service_plan.slotDemo.id
}

resource "azurerm_app_service_slot" "slotDemo" {
    name                = "slotAppServiceSlotOne"
    location            = azurerm_resource_group.slotDemo.location
    resource_group_name = azurerm_resource_group.slotDemo.name
    app_service_plan_id = azurerm_app_service_plan.slotDemo.id
    app_service_name    = azurerm_app_service.slotDemo.name
}
Save the file (<Ctrl>S) and exit the editor (<Ctrl>Q).
Now that you've created the file, verify its contents.
cat deploy.tfInitialize Terraform.
terraform initCreate the Terraform plan.
terraform planProvision the resources that are defined in the
deploy.tfconfiguration file. (Confirm the action by enteringyesat the prompt.)terraform applyClose the Cloud Shell window.
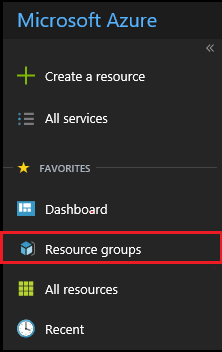
On the main menu of the Azure portal, select Resource groups.
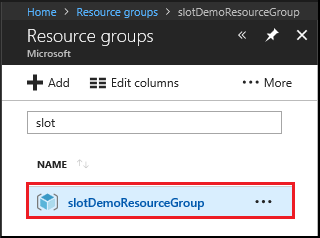
On the Resource groups tab, select slotDemoResourceGroup.
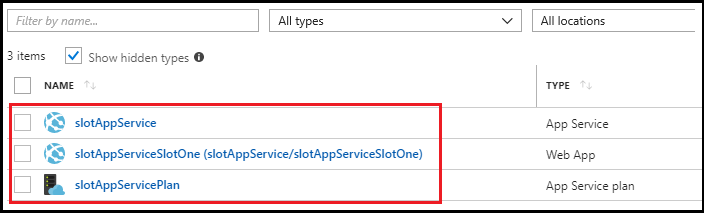
You now see all the resources that Terraform has created.
3. Fork the test project
Before you can test the creation and swapping in and out of the deployment slots, you need to fork the test project from GitHub.
Browse to the awesome-terraform repo on GitHub.
Fork the awesome-terraform repo.
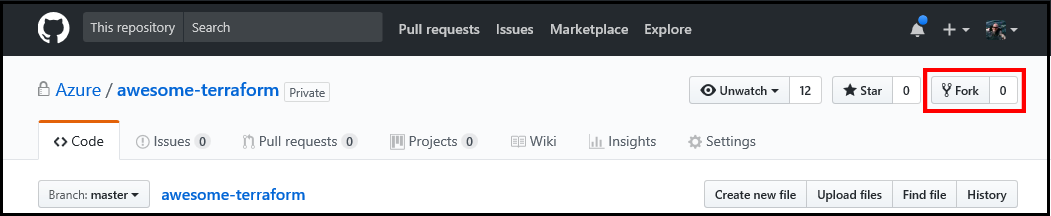
Follow any prompts to fork to your environment.
4. Deploy from GitHub to your deployment slots
After you fork the test project repo, configure the deployment slots via the following steps:
On the main menu of the Azure portal, select Resource groups.
Select slotDemoResourceGroup.
Select slotAppService.
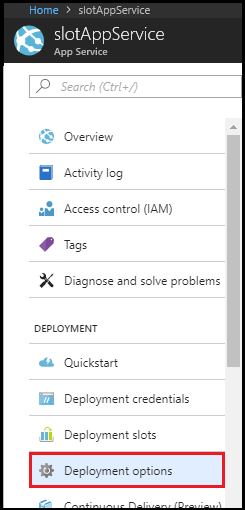
Select Deployment options.
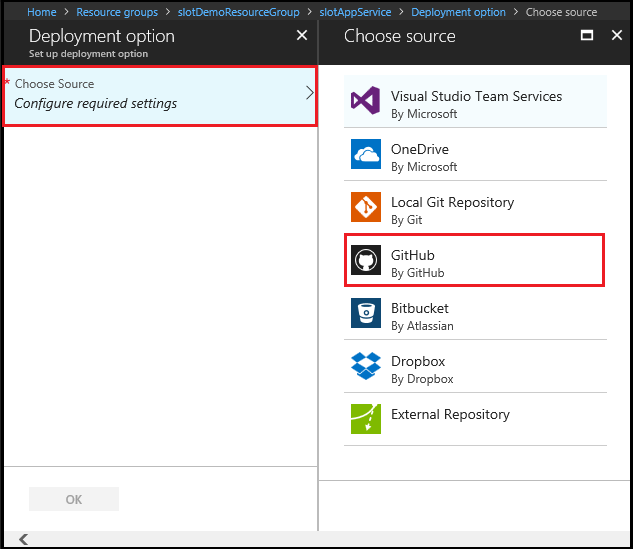
On the Deployment option tab, select Choose Source, and then select GitHub.
After Azure makes the connection and displays all the options, select Authorization.
On the Authorization tab, select Authorize, and supply the credentials that Azure needs to access your GitHub account.
After Azure validates your GitHub credentials, a message appears and says that the authorization process has finished. Select OK to close the Authorization tab.
Select Choose your organization and select your organization.
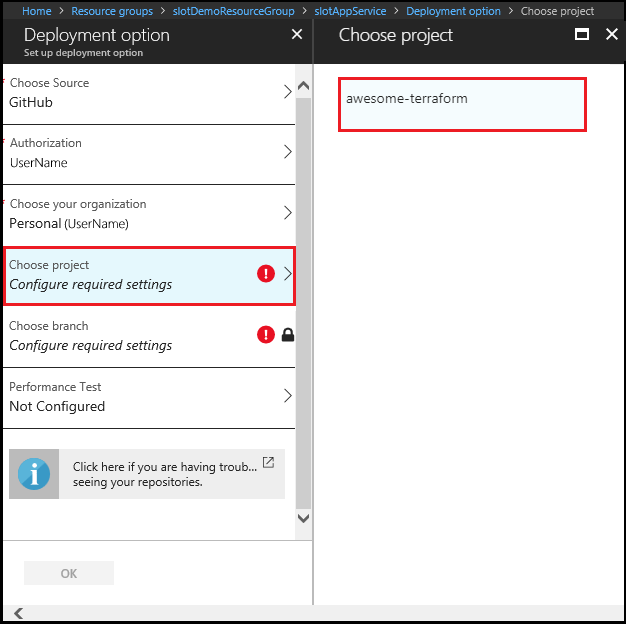
Select Choose project.
On the Choose project tab, select the awesome-terraform project.
Select Choose branch.
On the Choose branch tab, select master.
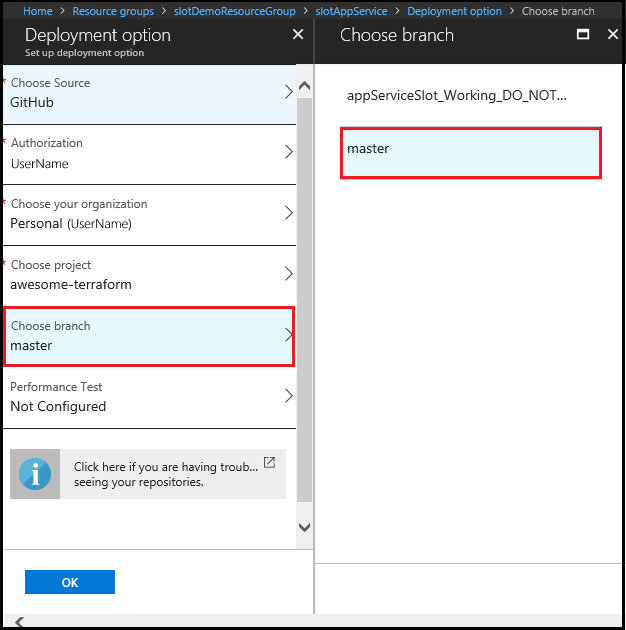
On the Deployment option tab, select OK.
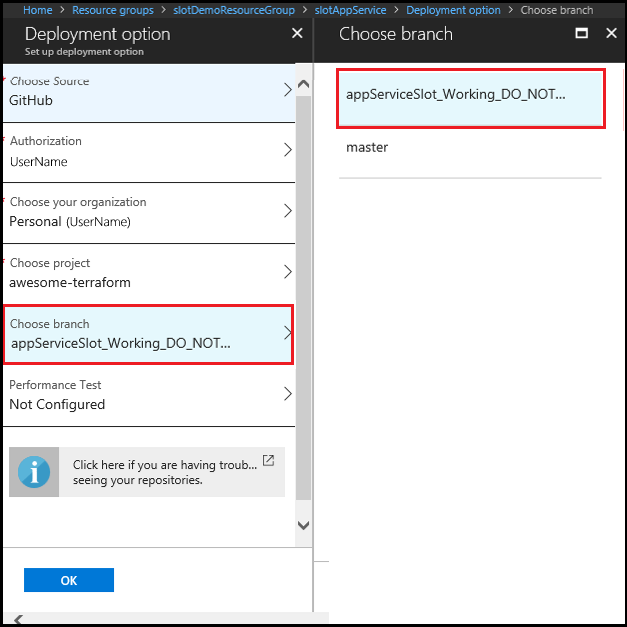
At this point, you've deployed the production slot. To deploy the staging slot, do the previous steps with the following modifications:
In step 3, select the slotAppServiceSlotOne resource.
In step 13, select the working branch.
5. Test the app deployments
In the previous sections, you set up two slots--slotAppService and slotAppServiceSlotOne--to deploy from different branches in GitHub. Let's preview the web apps to validate that they were successfully deployed.
On the main menu of the Azure portal, select Resource groups.
Select slotDemoResourceGroup.
Select either slotAppService or slotAppServiceSlotOne.
On the overview page, select URL.

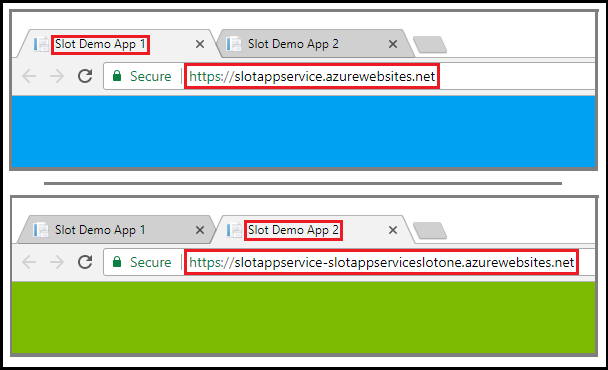
Depending on the selected app, you see the following results:
- slotAppService web app - Blue page with a page title of Slot Demo App 1.
- slotAppServiceSlotOne web app - Green page with a page title of Slot Demo App 2.
6. Swap the two deployment slots
To test swapping the two deployment slots, do the following steps:
Switch to the browser tab that's running slotAppService (the app with the blue page).
Return to the Azure portal on a separate tab.
Open Cloud Shell.
Change directories to the clouddrive/swap directory.
cd clouddrive/swapIn Cloud Shell, create a file named
swap.tf.code swap.tfInsert the following code into the editor:
# Configure the Azure provider
provider "azurerm" {
    # The "feature" block is required for AzureRM provider 2.x.
    # If you're using version 1.x, the "features" block is not allowed.
    version = "~>2.0"
    features {}
}

# Swap the production slot and the staging slot
resource "azurerm_app_service_active_slot" "slotDemoActiveSlot" {
    resource_group_name   = "slotDemoResourceGroup"
    app_service_name      = "slotAppService"
    app_service_slot_name = "slotappServiceSlotOne"
}
Save the file (<Ctrl>S) and exit the editor (<Ctrl>Q).
Initialize Terraform.
terraform initCreate the Terraform plan.
terraform planProvision the resources that are defined in the
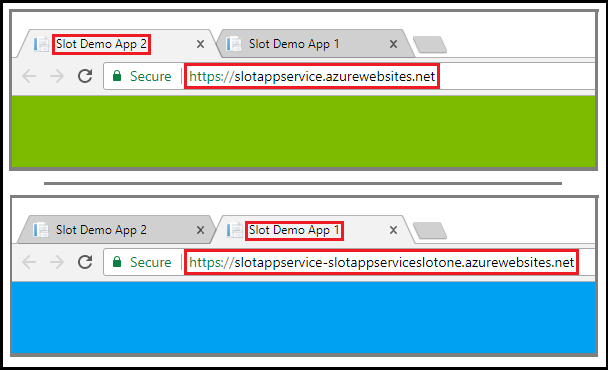
swap.tfconfiguration file. (Confirm the action by enteringyesat the prompt.)terraform applyAfter Terraform has swapped the slots, return to the browser. Refresh the page.
The web app in your slotAppServiceSlotOne staging slot has been swapped with the production slot and is now rendered in green.
To return to the original production version of the app, reapply the Terraform plan that you created from the swap.tf configuration file.
terraform apply
After the app is swapped, you see the original configuration.
Troubleshoot Terraform on Azure
Troubleshoot common problems when using Terraform on Azure