Note
Access to this page requires authorization. You can try signing in or changing directories.
Access to this page requires authorization. You can try changing directories.
Azure DevOps Services | Azure DevOps Server | Azure DevOps Server 2022
Classic release pipelines provide a graphical way to set up continuous delivery for your application. You can configure a release to trigger automatically when a new artifact is available, and then use artifact filters to map specific branches to specific stages. This approach lets you deploy each branch to the stage you intend. This article walks you through how to configure a Classic release pipeline that deploys to different stages based on the source branch.
Prerequisites
| Product | Requirements |
|---|---|
| Azure DevOps | - An Azure DevOps organization. - An Azure DevOps project. - A working pipeline set up for your repository to build your project and generate a pipeline artifact. Create a Classic pipeline if you don't have one already. |
Create a Classic release pipeline
In this section, you create the base Classic release pipeline and configure the first stage (Dev). You add an artifact source, enable automatic release creation, and apply an artifact filter so this stage runs only when the build comes from the Dev branch.
Sign in to your Azure DevOps organization, and then navigate to your project.
Select Pipelines > Releases.
Create a new Classic release pipeline:
- If this is your first release pipeline, select New Pipeline.
- If you already have release pipelines, select New > New release pipeline.
In the template picker, select Start with an empty job.
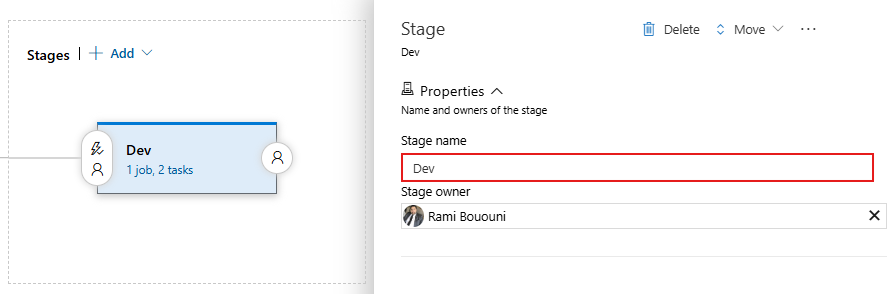
Under Stages, select the default stage and rename it to Dev. In the next steps, you configure this stage to deploy only when an artifact is produced from the Dev branch.
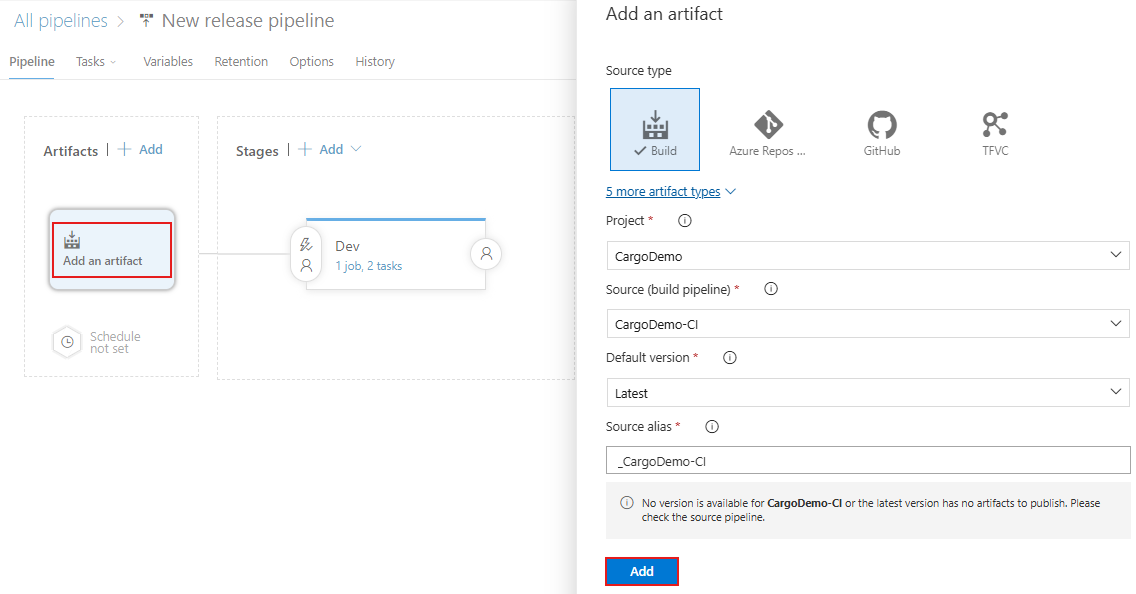
Under Artifacts, select Add.
Configure the artifact source:
- Select your Source type.
- Complete the required fields for that source type, such as project, pipeline, and default version.
- Select Add.
Select the Continuous deployment trigger icon on the artifact, and then turn on Continuous deployment trigger to create a release whenever a new artifact is available.

In the Dev stage, select the Pre-deployment conditions icon.
Set Deployment trigger to After release so the stage starts automatically whenever a new release is created.
Still in Pre-deployment conditions, configure branch-based filtering:
- Turn on Artifact filters.
- Select Add.
- Select the artifact you added earlier.
- Set Build branch to Dev.
With this filter in place, the Dev stage deploys only when the release is created from a build of the Dev branch.

Add a new stage
In this section, you add a second stage (Prod) to the same release pipeline and configure it to deploy only when artifacts are built from the main branch. This lets you keep branch-to-stage routing consistent across environments.
Sign in to your Azure DevOps organization, and then navigate to your project.
Select Pipelines > Releases, open the release pipeline you created earlier, and then select Edit.
Under Stages, select Add > New stage.
In the template picker, select Start with an empty job.
Select the new stage and rename it to Prod. In the next steps, you configure this stage so it deploys only when the artifact comes from the main branch.
In the Prod stage, select the Pre-deployment conditions icon.
Set Deployment trigger to After release so this stage can start automatically when a new release is created.
Still in Pre-deployment conditions, configure branch-based filtering for production:
- Turn on Artifact filters.
- Select Add.
- Select the same artifact source you configured earlier.
- Set Build branch to main.
With this filter in place, the Prod stage deploys only when the release is created from a build of the main branch.

Deploy to a specific stage
At this point, your release pipeline is configured to route deployments by branch: artifacts from the Dev branch deploy to the Dev stage, and artifacts from the main branch deploy to the Prod stage. Use the following checks to validate that the branch filters are working as expected.
Trigger a build from the Dev branch so a new artifact version is published.
Open Pipelines > Releases, and then open the newly created release.
Verify that the Dev stage starts (or is queued), and that the Prod stage is skipped because the artifact branch doesn't match its filter.
Trigger a second build from the main branch.
Open the new release and verify the opposite behavior: the Prod stage starts, and the Dev stage is skipped.
If a stage doesn't behave as expected, open that stage's Pre-deployment conditions and confirm the Artifact filters branch value and selected artifact source.
By validating both branch paths, you can confirm that each environment deploys only from the branch intended for that stage.