Create and embed a work item from wiki
Azure DevOps Services | Azure DevOps Server 2022 | Azure DevOps Server 2020
Create and embed work items in your wiki page content. This feature gives you an easy way to promote text to a link to a feature, task, or user story.
Create and embed work item
Sign in to your project (
https://dev.azure.com/{Your_Organization/Your_Project}).
Open your wiki.
Highlight the text, and then choose the type of work item you want to create from the New work item dropdown menu. The work item form opens with the selected text added as the title and description of the work item.
Add information to the work item, such as entering an assignee in the
Assign Tobox, and then select Save & Close.
The selected content in the wiki page is replaced with the embedded work item.
Note
Only Markdown plain text, including bold and italics, get replaced in the wiki page. For the rest of the content like images, code blocks, and videos, the work item gets created, but the embed must be done manually. This process is to prevent the page from breaking due to the replaced work item. For more information, see Link to work items from a Wiki page.
Show work item status
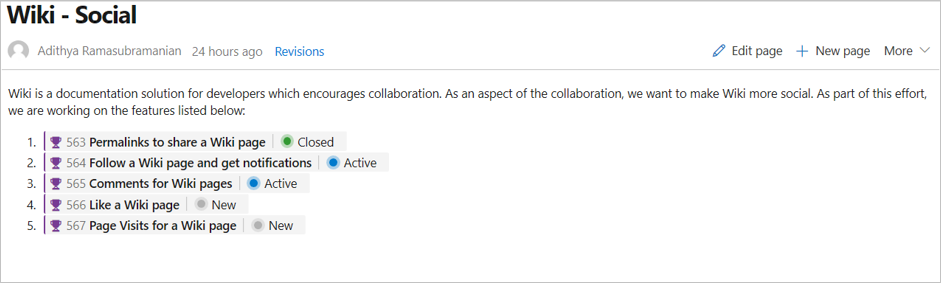
The status, ID, and title of an embedded work item is shown in the wiki page. Work item references in pull request comments and Boards discussions also show the status.
Related articles
Feedback
Coming soon: Throughout 2024 we will be phasing out GitHub Issues as the feedback mechanism for content and replacing it with a new feedback system. For more information see: https://aka.ms/ContentUserFeedback.
Submit and view feedback for