Note
Access to this page requires authorization. You can try signing in or changing directories.
Access to this page requires authorization. You can try changing directories.
Azure DevTest Labs supports changing the size of a lab virtual machine (VM), based on changing needs for CPU, network, or disk performance. This article describes how to resize a lab VM.
Prerequisites
- To resize a VM, you must be a lab administrator or an owner of the VM.
- If the lab sets an allowed VM sizes policy, you can resize the VM only to sizes that the policy permits.
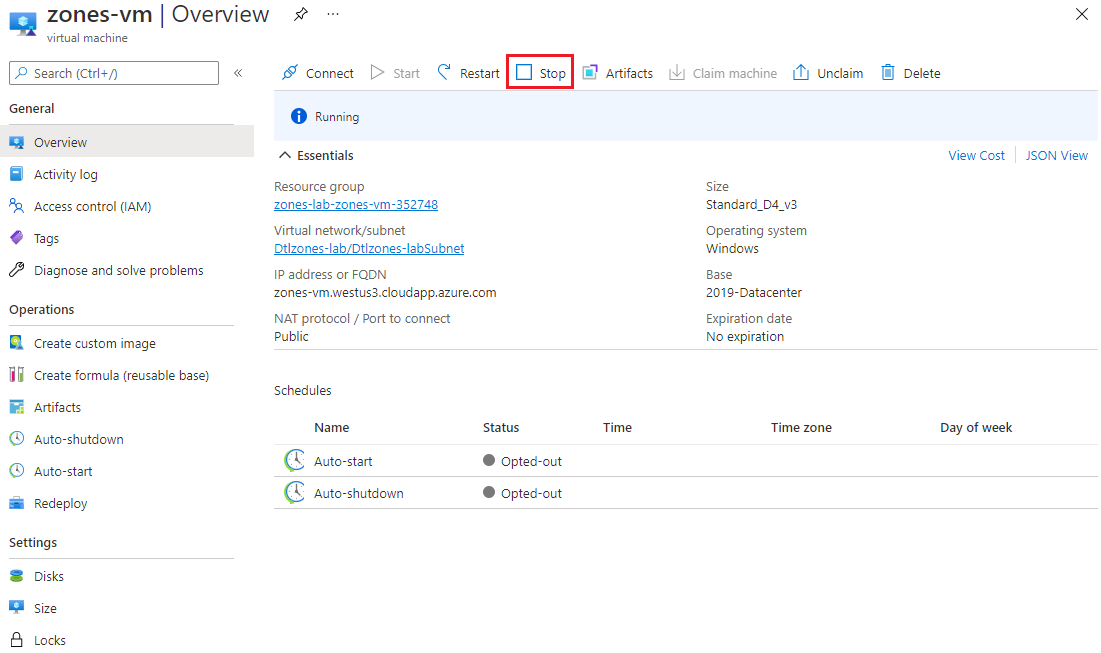
Stop the VM
To avoid losing work, stop the VM before you resize it. To stop a VM, disconnect from it, and select Stop on the top toolbar of the VM's Overview page in the Azure portal.
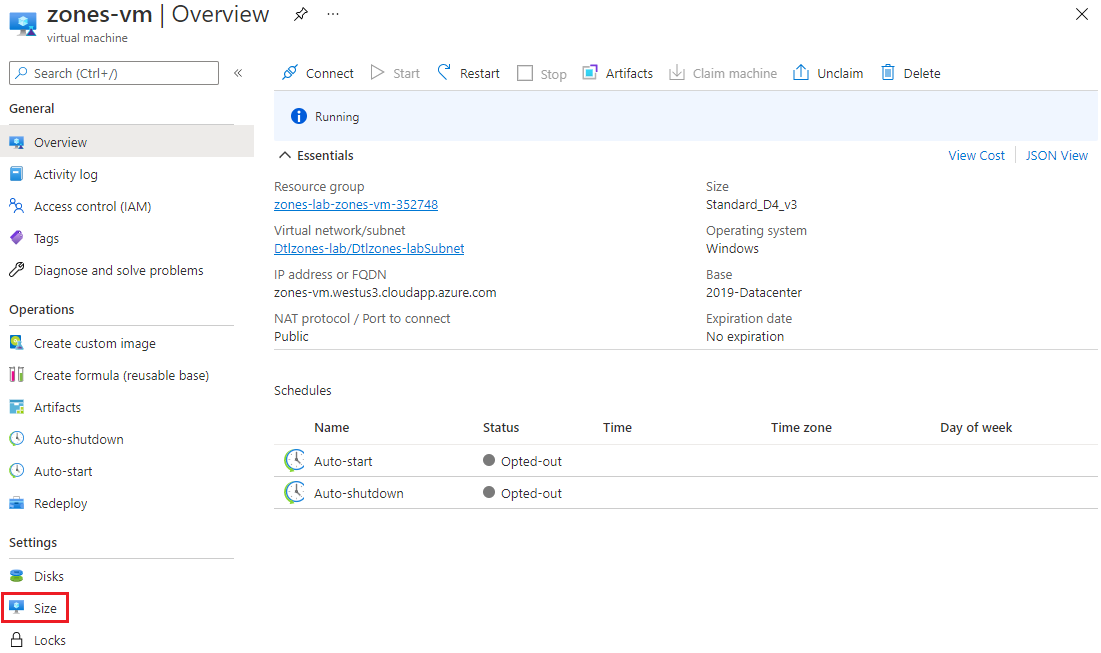
Resize the VM
On the VM's Overview page, select Size under Settings in the left navigation menu.
On the Select a VM size screen, select a new size for your VM, and then select Select.

You can check the status of the resize operation in the Notifications window.

Note
If the resize operation fails with an error that Resizing virtual machines with shared IP configuration is not supported, you need to add and associate a Public IP address to the VM before you can resize it. For more information, see Associate a public IP address to a virtual machine.
When the resize operation finishes, you can start the VM by selecting Start from the VM Overview page top toolbar, and then connect to the VM by selecting Connect in the toolbar.
Related content
For more information about the resize feature for Azure VMs, see Resize virtual machines.