Note
Access to this page requires authorization. You can try signing in or changing directories.
Access to this page requires authorization. You can try changing directories.
This article describes how Azure DevTest Labs administrators can manage lab policies to control lab costs, minimize waste, and improve manageability. Lab policies you can set include:
- Allowed virtual machine (VM) sizes
- Maximum VMs per user
- Maximum VMs per lab
- Autoshutdown schedule
- Autostart schedule
- Autoshutdown policy
Prerequisites
Contributor or Owner level permissions in the lab.
Set lab policies
To set lab policies:
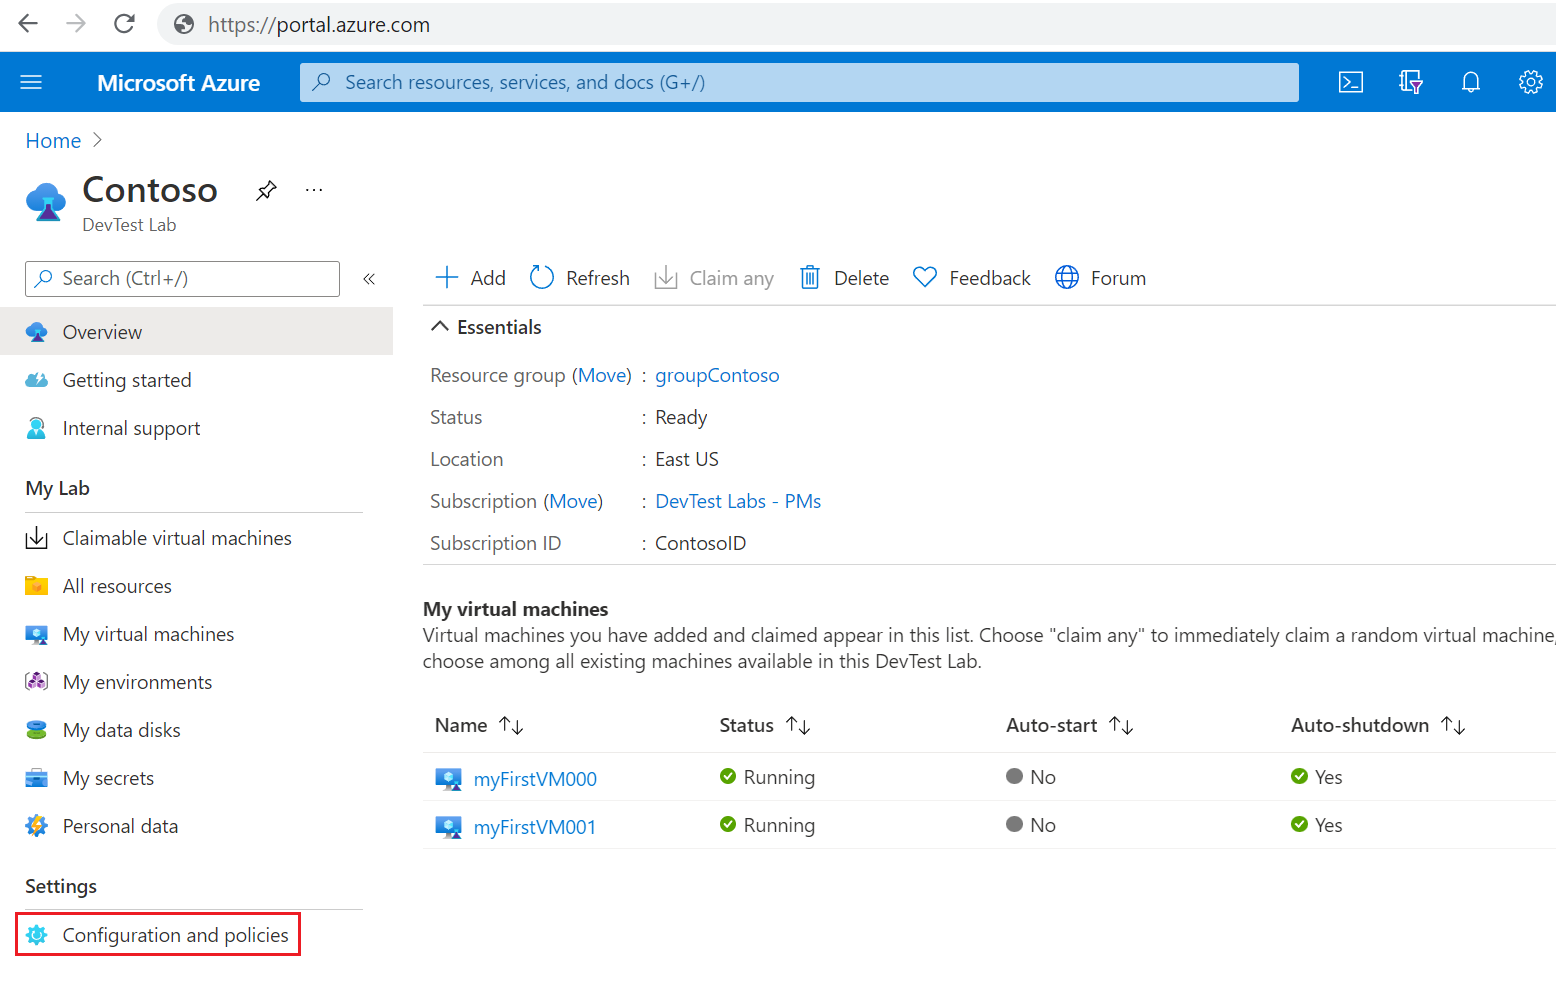
On your lab page in the Azure portal, select Configuration and policies from the left navigation menu.
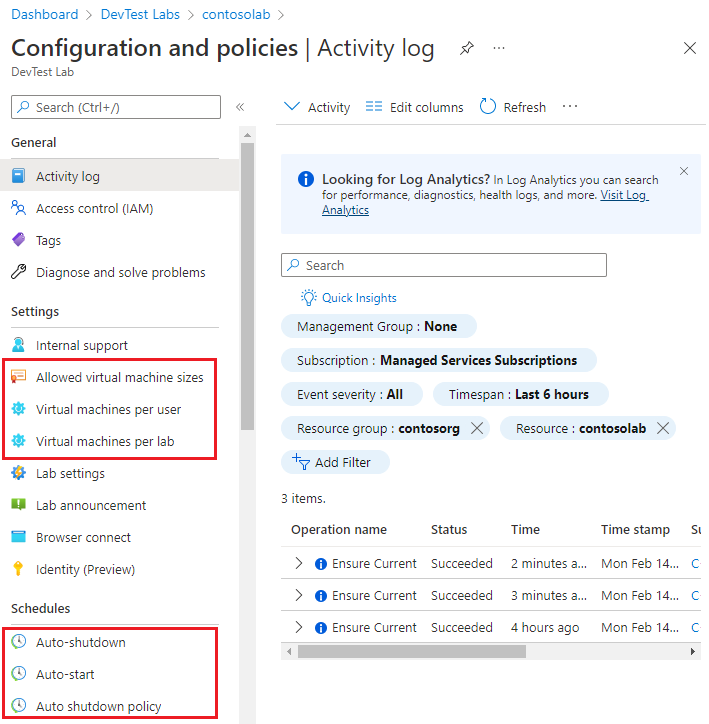
On the Configuration and policies page, select the policy you want to configure from the Settings and Schedules sections of the left navigation menu.
Allowed virtual machine sizes
This policy limits the VM sizes that users can create in the lab. The default policy setting is All sizes.
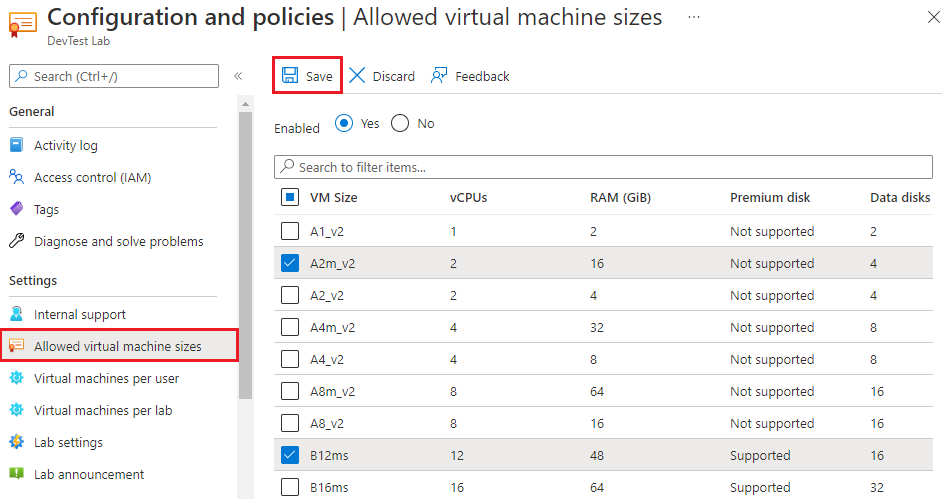
- On the lab's Configuration and policies page, select Allowed virtual machines sizes from the left navigation menu.
- On the Allowed virtual machines sizes page, select All sizes or Selected sizes.
- If you select Selected sizes, select the VM sizes to allow users to create in the lab.
- Select Save.
Virtual machines per user
These two policies specify the maximum number of VMs and VMs using premium disks that an individual lab user can claim or create. The default setting for both policies is Off.
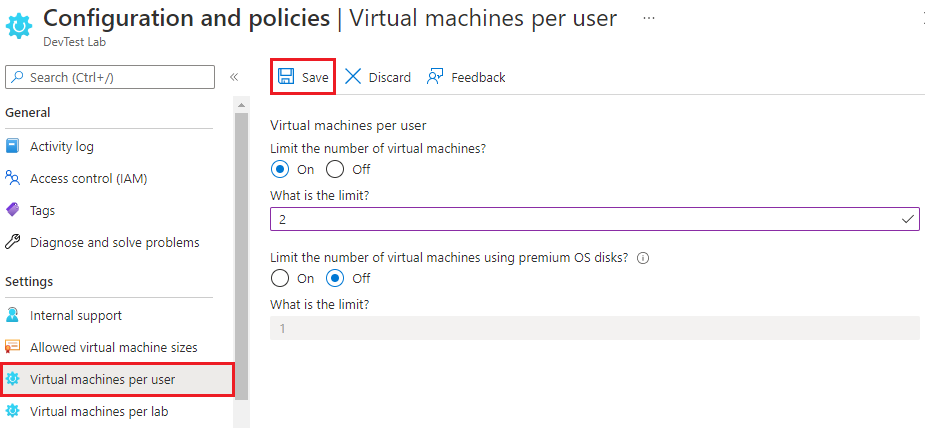
- On the lab's Configuration and policies page, select Virtual machines per user from the left navigation menu.
- On the Virtual machines per user page, under Limit the number of virtual machines, select On or Off to enable or disable the policy.
- If you select On, under What is the limit, enter the maximum number of VMs that a user can claim or create.
- Under Limit the number of virtual machines using premium OS disks, select On or Off to enable or disable the policy.
- If you select On, enter the maximum number of VMs using premium solid-state disks (SSDs) that a user can claim or create. This number applies only to Premium SSDs, not Standard SSDs.
- Select Save.
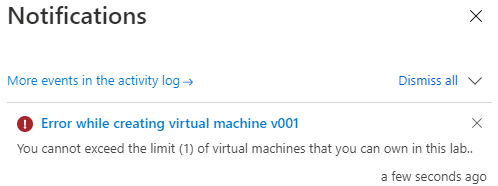
If a user tries to create or claim a VM after the user limit is met, an error message indicates that the user can't exceed their VM limit.
Virtual machines per lab
These two policies specify the maximum number of VMs and VMs using premium disks that all users can create in the current lab. The default setting for both policies is Off.
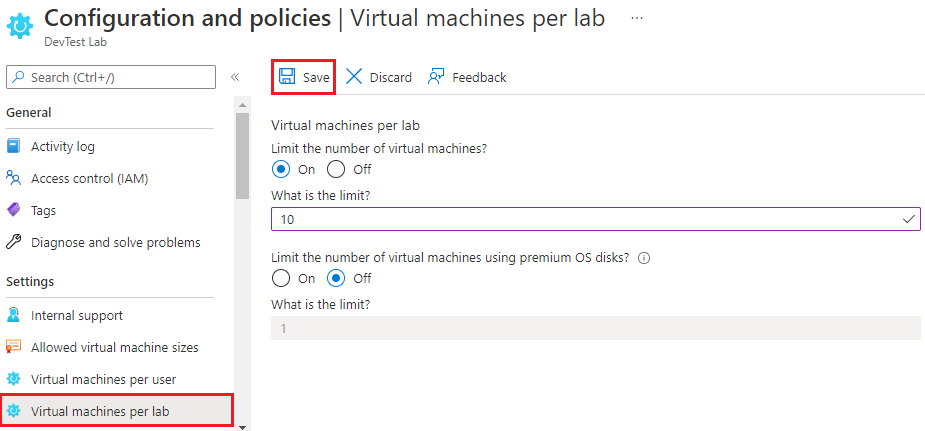
- On the lab's Configuration and policies page, select Virtual machines per lab from the left navigation menu.
- On the Virtual machines per lab page, under Limit the number of virtual machines, select On or Off to enable or disable the policy.
- If you select On, under What is the limit, enter the maximum number of VMs that can be created in the lab.
- Under Limit the number of virtual machines using premium OS disks, select On or Off to enable or disable the policy.
- If you selected On, enter the maximum number of VMs in the lab that can use Premium SSDs.
- Select Save.
If a user tries to create a VM after the lab limit is met, an error message indicates that the VM can't be created.
Autoshutdown
Autoshutdown helps minimize lab waste by shutting down lab VMs at a specific time of day. The default policy setting is Off.
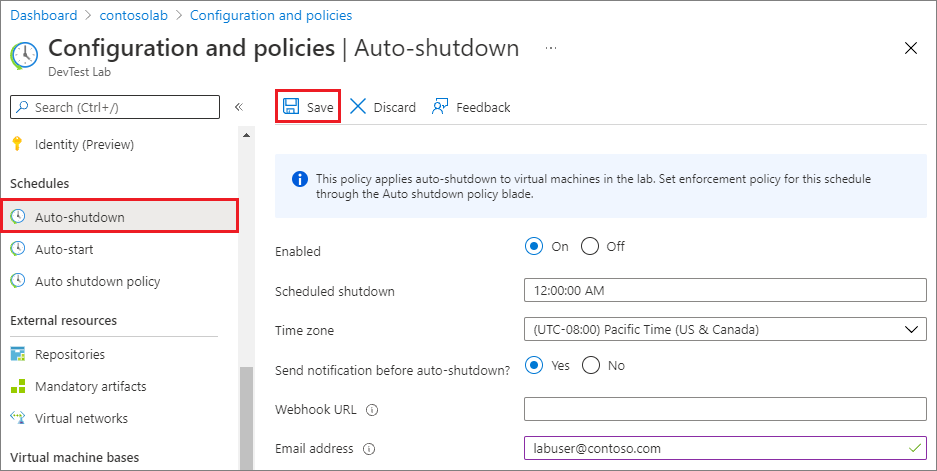
- On the lab's Configuration and policies page, select Auto-shutdown from the left navigation menu.
- On the Auto-shutdown page, select On or Off to enable or disable the policy.
- If you select On, for Scheduled shutdown and Time zone, specify the time and time zone to shut down all lab VMs.
- For Send notification before auto-shutdown, select Yes or No for the option to send a notification before the specified autoshutdown time.
- If you choose Yes, enter a webhook URL endpoint under Webhook URL or semicolon-separated email addresses under Email address to post or send the notification.
- Select Save.
By default, the autoshutdown schedule applies to all lab VMs. If allowed by autoshutdown policy, lab users can override lab autoshutdown settings for their own individual VMs. To set a shutdown schedule for an individual VM:
- Select the VM from My virtual machines on the lab Overview page.
- On the home page for the VM, select Auto-shutdown from the Operations section of the left navigation menu, and configure the autoshutdown settings the same way as for a lab.
For more information about autoshutdown and sending notifications, see Configure autoshutdown for labs and VMs in DevTest Labs.
Autostart
Autostart policy helps you minimize waste by specifying a specific time of day and days of the week to start up lab VMs. The default policy setting is No.
Important
This policy isn't automatically applied to lab VMs. To apply this setting to individual VMs, open the VM's page and select Auto-start from the left navigation menu. On the Auto-start page, select Yes for Allow this virtual machine to be scheduled for automatic start, and then select Save.
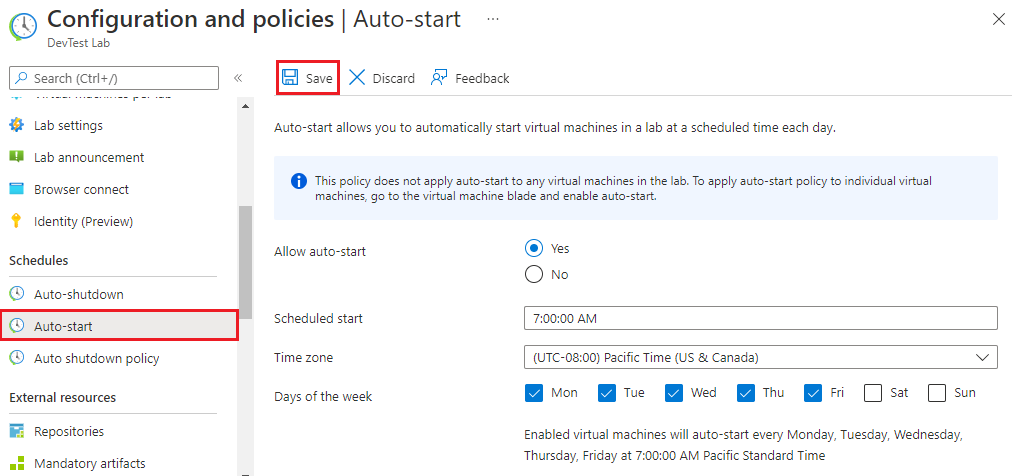
- On the lab's Configuration and policies page, select Auto-start from the left navigation menu.
- Select Yes or No to enable or disable the policy.
- If you select Yes, specify the Scheduled start, Time zone, and Days of the week to start up the lab VMs.
- Select Save.
For more information and details about autostart policy, see Start up lab virtual machines automatically.
Autoshutdown policy
If you set an autoshutdown schedule for lab VMs, you can also set a policy to let lab users override the lab autoshutdown settings for their own VMs. You can set autoshutdown policy to allow lab users full control, partial control, or no control over their own VMs' autoshutdown activity.
Important
Autoshutdown policy changes apply only to new lab VMs, not to already-existing VMs.
On the lab's Configuration and policies page, select Auto shutdown policy from the left navigation.
Select one of the following options:
- User sets a schedule and can opt out: Lab users can override or opt out of lab autoshutdown. Lab users can override the lab autoshutdown schedule time, or set no autoshutdown for their VMs. This setting is the default.
- User sets a schedule and cannot opt out: Lab users can set the shutdown time for their own VMs, but they can't opt out of autoshutdown entirely. This option ensures that every VM in the lab is on some autoshutdown schedule.
- User has no control over the schedule set by lab administrator: Lab users can't override or opt out of the lab autoshutdown schedule. They can set up autoshutdown notifications for their own VMs.
Select Save.

For more information and details about autoshutdown policy, see Configure lab autoshutdown policy.
Related content
Besides setting policies, here are more ways to control and manage DevTest Labs costs:
- Set a VM expiration date when you create the VM.
- Delete labs or lab VMs when you're finished with them.
- View and manage lab costs, trends, and targets.