Migrate SQL Server Integration Services packages to an Azure SQL Managed Instance
If you use SQL Server Integration Services (SSIS) and want to migrate your SSIS projects/packages from the source SSISDB hosted by SQL Server to the destination SSISDB hosted by an Azure SQL Managed Instance, you can use Azure Database Migration Service.
If the version of SSIS you use is earlier than 2012 or you use non-SSISDB package store types, before migrating your SSIS projects/packages, you need to convert them by using the Integration Services Project Conversion Wizard, which can also be launched from SSMS. For more information, see the article Converting projects to the project deployment model.
Note
Azure Database Migration Service (DMS) currently does not support Azure SQL Database as a target migration destination. To redeploy SSIS projects/packages to Azure SQL Database, see the article Redeploy SQL Server Integration Services packages to Azure SQL Database.
In this article, you learn how to:
- Assess source SSIS projects/packages.
- Migrate SSIS projects/packages to Azure.
Prerequisites
To complete these steps, you need:
- To create a Microsoft Azure Virtual Network for the Azure Database Migration Service by using the Azure Resource Manager deployment model, which provides site-to-site connectivity to your on-premises source servers by using either ExpressRoute or VPN. For more information, see the article Network topologies for SQL Managed Instance migrations using Azure Database Migration Service. For more information about creating a virtual network, see the Virtual Network Documentation, and especially the quickstart articles with step-by-step details.
- To ensure that your virtual network Network Security Group rules don't block the outbound port 443 of ServiceTag for ServiceBus, Storage and AzureMonitor. For more detail on virtual network NSG traffic filtering, see the article Filter network traffic with network security groups.
- To configure your Windows Firewall for source database engine access.
- To open your Windows Firewall to allow the Azure Database Migration Service to access the source SQL Server, which by default is TCP port 1433.
- If you're running multiple named SQL Server instances using dynamic ports, you may wish to enable the SQL Browser Service and allow access to UDP port 1434 through your firewalls so that the Azure Database Migration Service can connect to a named instance on your source server.
- If you're using a firewall appliance in front of your source databases, you may need to add firewall rules to allow the Azure Database Migration Service to access the source database(s) for migration, as well as files via SMB port 445.
- A SQL Managed Instance to host SSISDB. If you need to create one, follow the detail in the article Create a Azure SQL Managed Instance.
- To ensure that the logins used to connect the source SQL Server and target managed instance are members of the sysadmin server role.
- To verify that SSIS is provisioned in Azure Data Factory (ADF) containing Azure-SSIS Integration Runtime (IR) with the destination SSISDB hosted by a SQL Managed Instance (as described in the article Create the Azure-SSIS integration runtime in Azure Data Factory).
Assess source SSIS projects/packages
While assessment of source SSISDB isn't yet integrated into the Database Migration Assistant (DMA), your SSIS projects/packages will be assessed/validated as they're redeployed to the destination SSISDB hosted on a Azure SQL Managed Instance.
Register the Microsoft.DataMigration resource provider
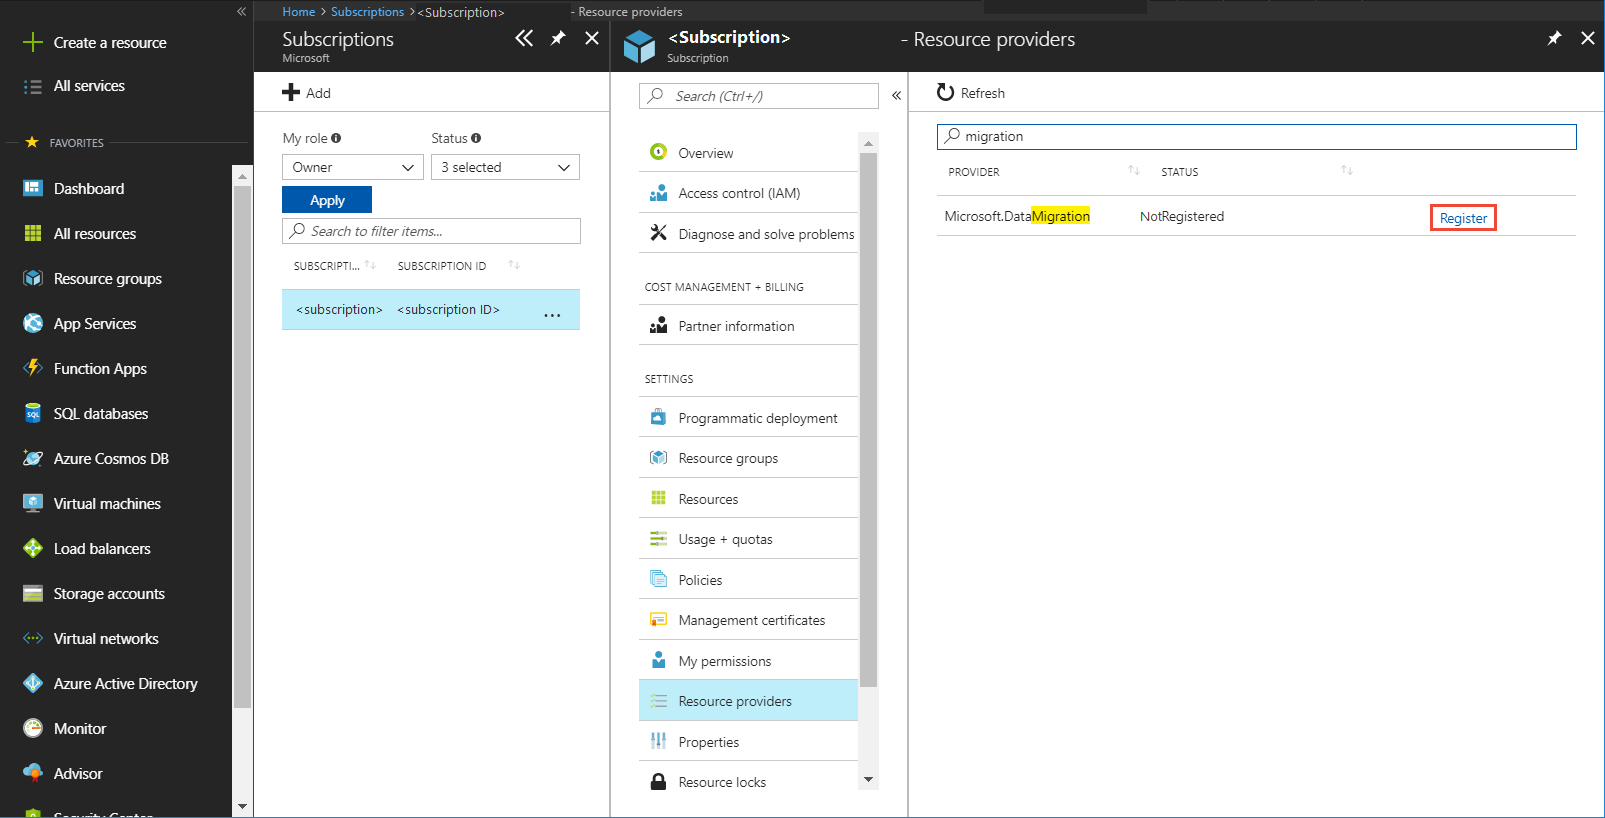
Sign in to the Azure portal, select All services, and then select Subscriptions.
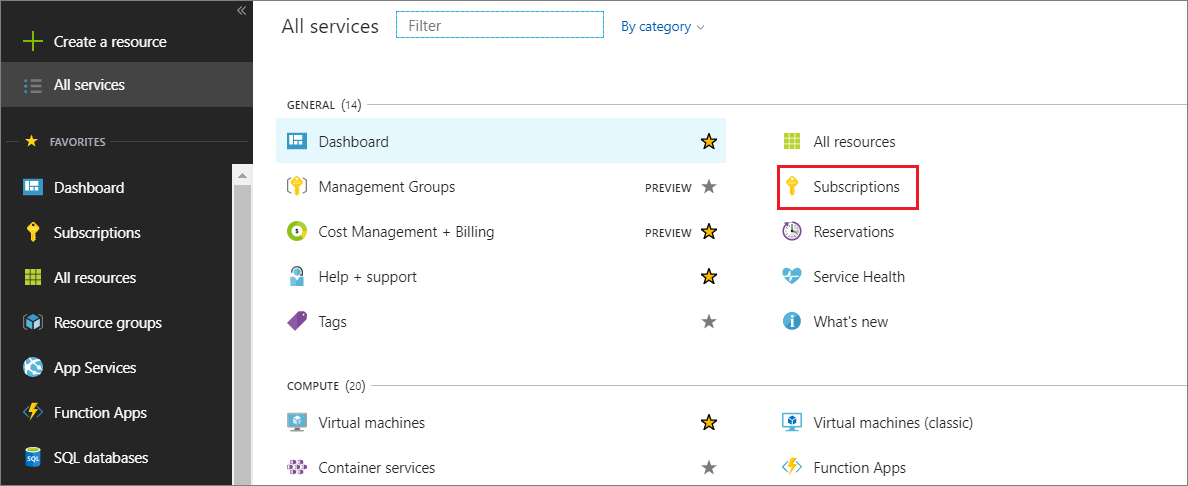
Select the subscription in which you want to create the instance of Azure Database Migration Service, and then select Resource providers.

Search for migration, and then to the right of Microsoft.DataMigration, select Register.
Create an Azure Database Migration Service instance
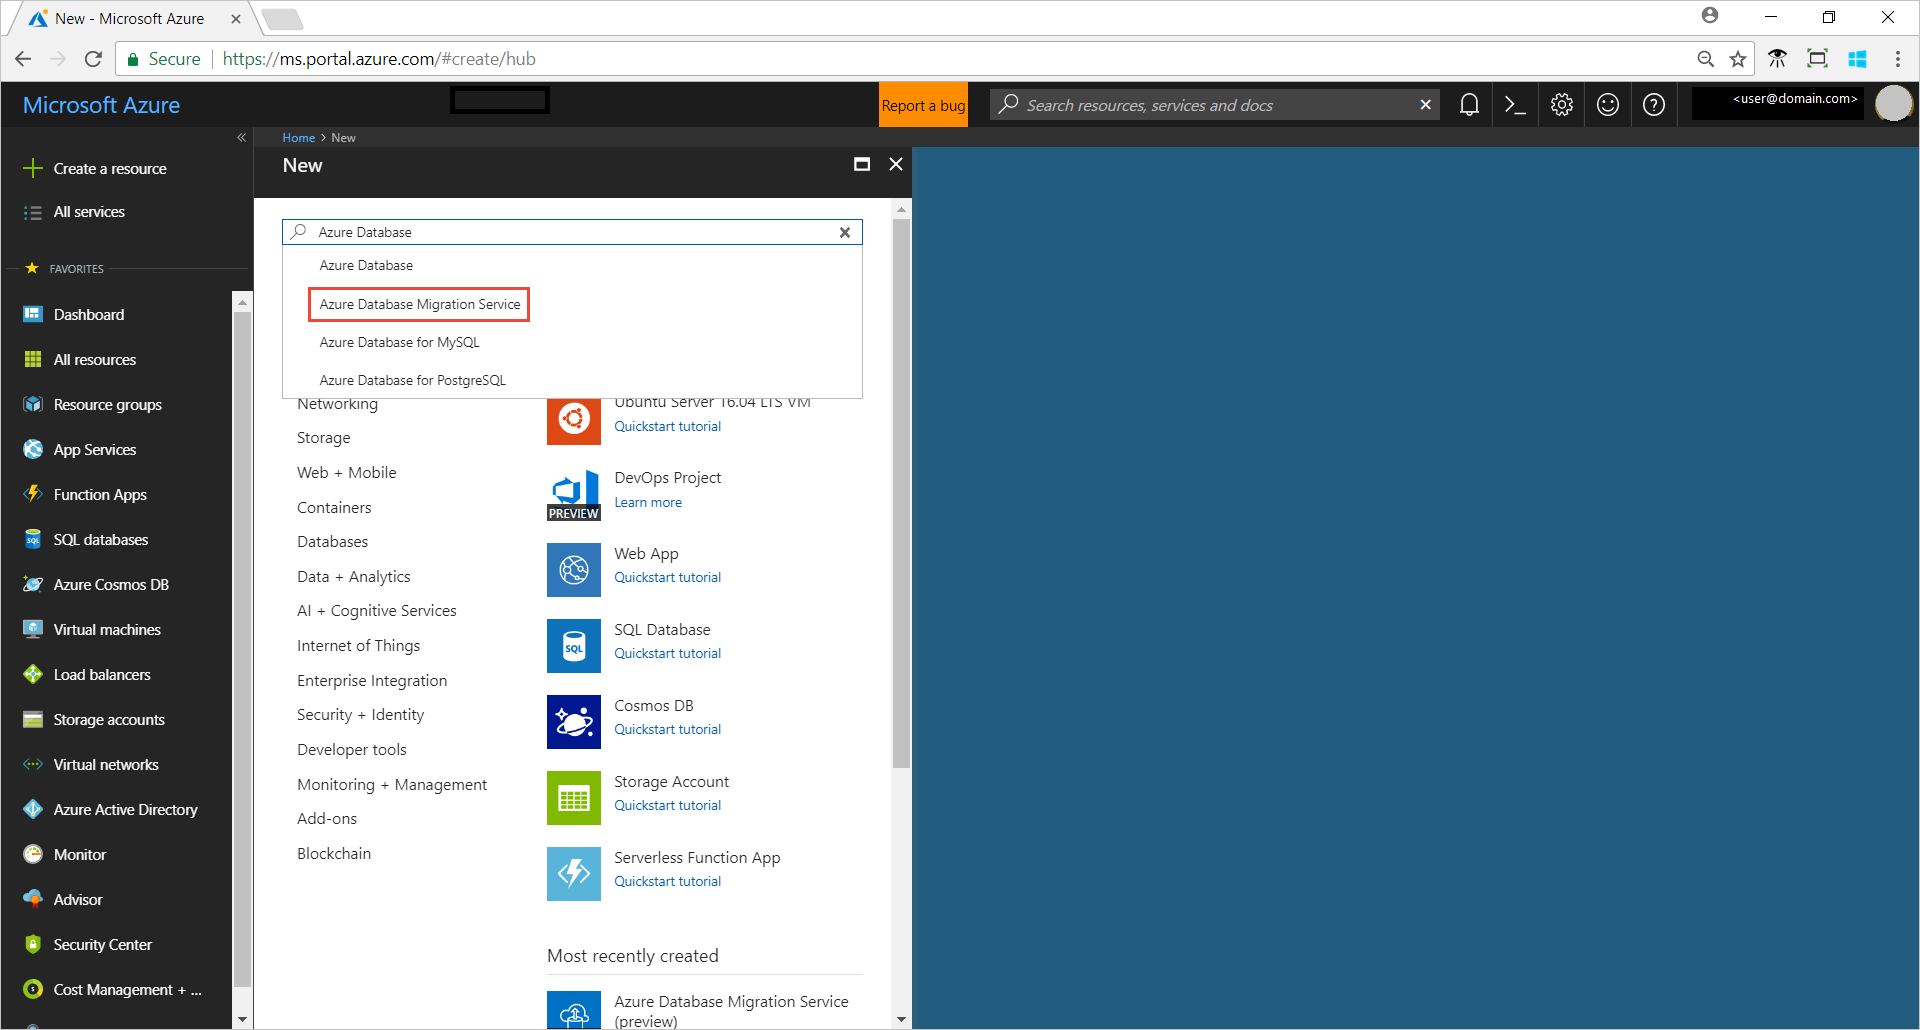
In the Azure portal, select + Create a resource, search for Azure Database Migration Service, and then select Azure Database Migration Service from the drop-down list.
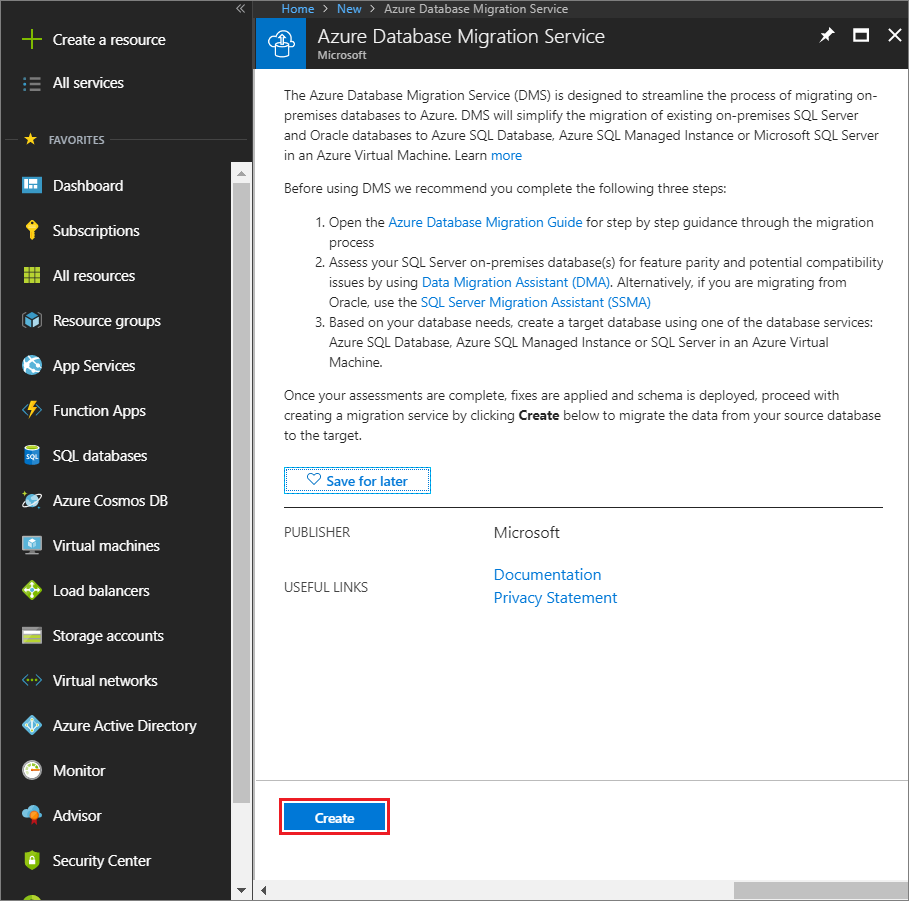
On the Azure Database Migration Service screen, select Create.
On the Create Migration Service screen, specify a name for the service, the subscription, and a new or existing resource group.
Select the location in which you want to create the instance of DMS.
Select an existing virtual network or create one.
The virtual network provides Azure Database Migration Service with access to the source SQL Server and target Azure SQL Managed Instance.
For more information on how to create a virtual network in Azure portal, see the article Create a virtual network using the Azure portal.
For additional detail, see the article Network topologies for Azure SQL Managed Instance migrations using the Azure Database Migration Service.
Select a pricing tier.
For more information on costs and pricing tiers, see the pricing page.
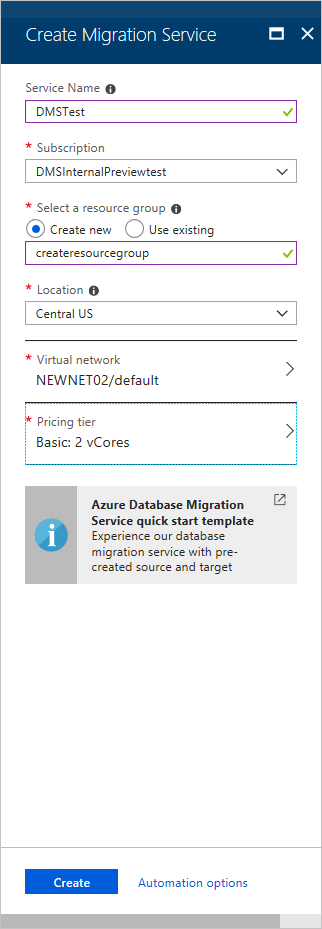
Select Create to create the service.
Create a migration project
After an instance of the service is created, locate it within the Azure portal, open it, and then create a new migration project.
In the Azure portal, select All services, search for Azure Database Migration Service, and then select Azure Database Migration Services.

On the Azure Database Migration Service screen, search for the name of the instance that you created, and then select the instance.
Select + New Migration Project.
On the New migration project screen, specify a name for the project, in the Source server type text box, select SQL Server, in the Target server type text box, select Azure SQL Managed Instance, and then for Choose type of activity, select SSIS package migration.

Select Create to create the project.
Specify source details
On the Migration source detail screen, specify the connection details for the source SQL Server.
If you haven't installed a trusted certificate on your server, select the Trust server certificate check box.
When a trusted certificate isn't installed, SQL Server generates a self-signed certificate when the instance is started. This certificate is used to encrypt the credentials for client connections.
Caution
TLS connections that are encrypted using a self-signed certificate does not provide strong security. They are susceptible to man-in-the-middle attacks. You should not rely on TLS using self-signed certificates in a production environment or on servers that are connected to the internet.
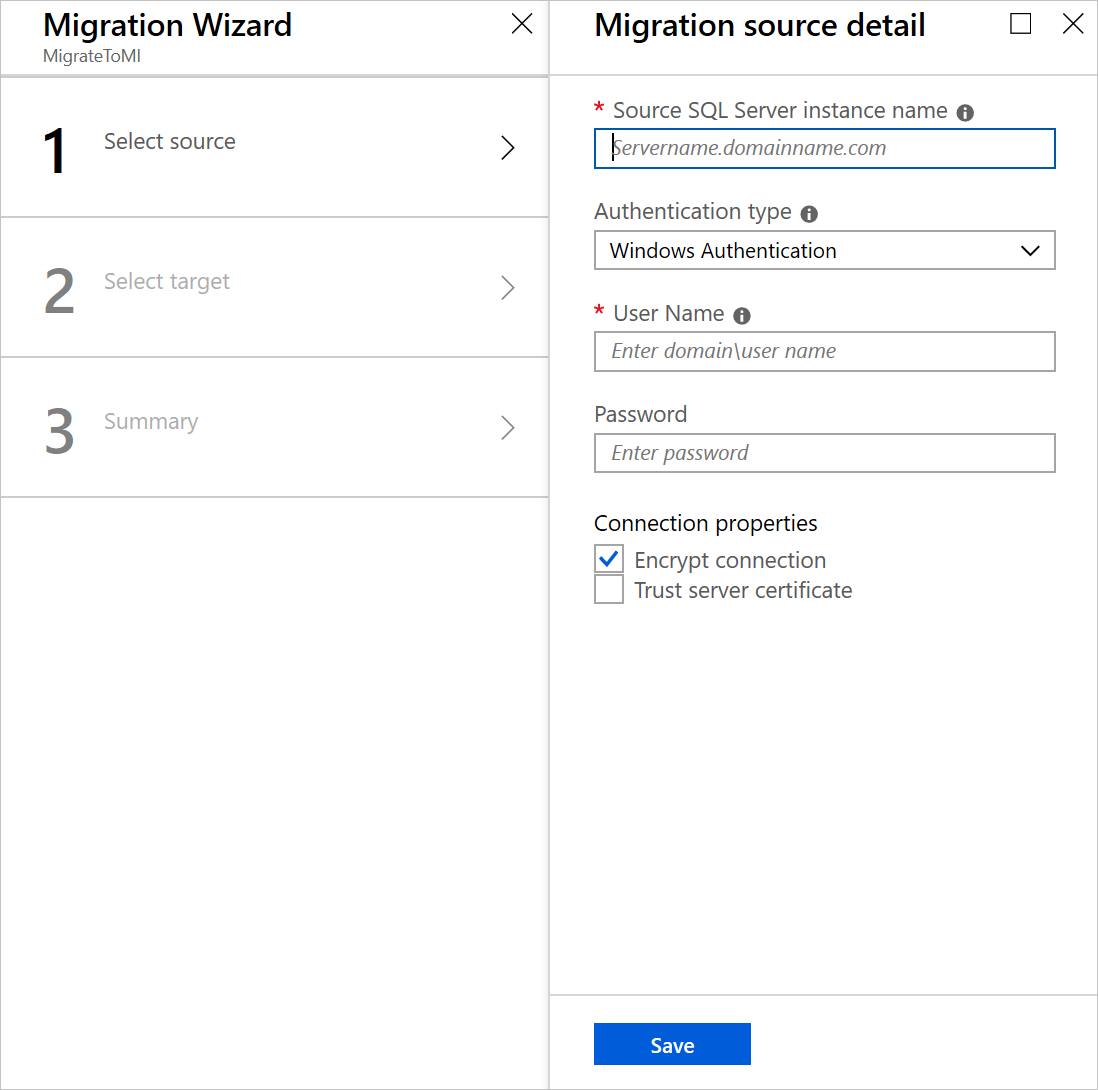
Select Save.
Specify target details
On the Migration target details screen, specify the connection details for the target.
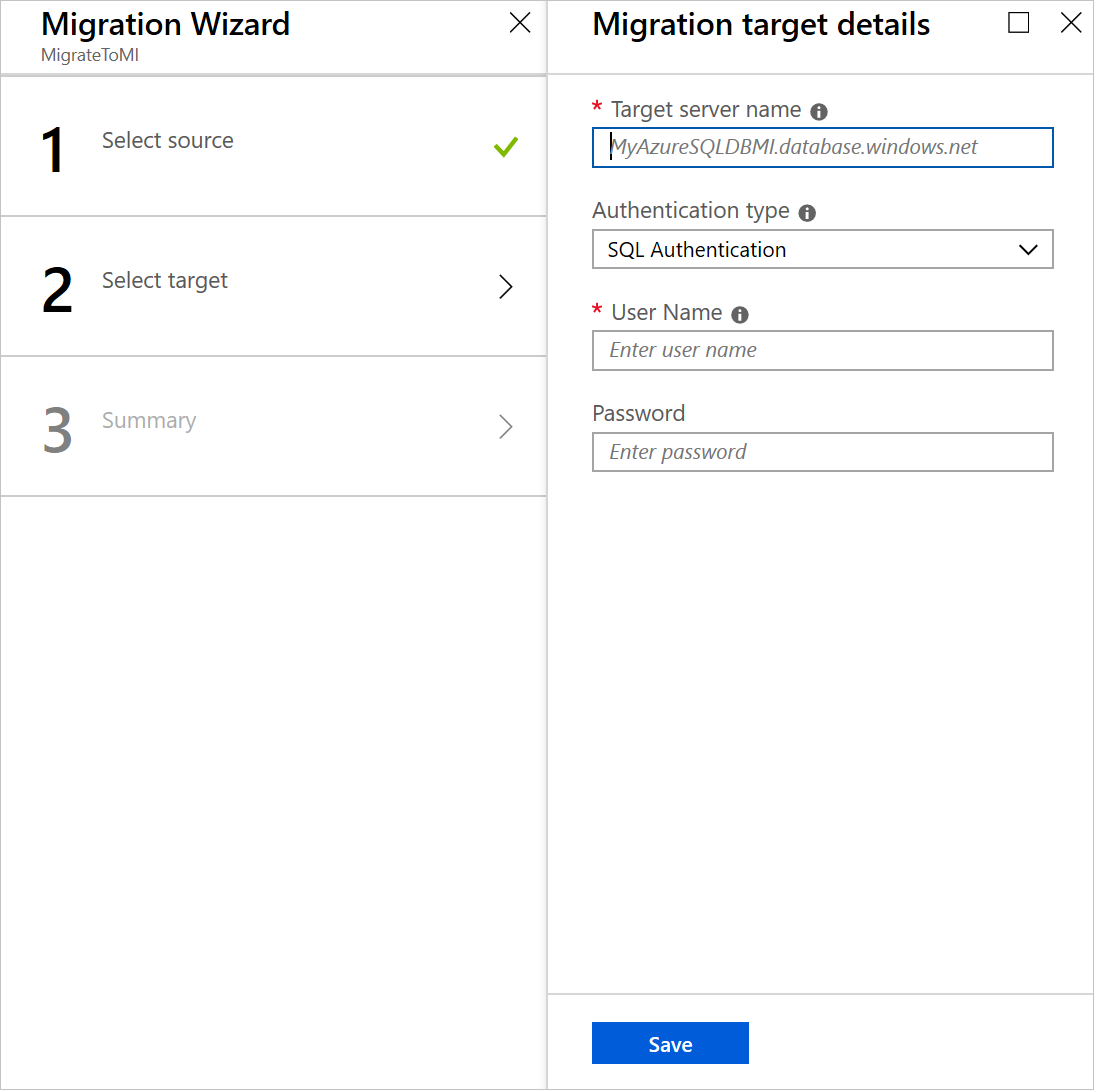
Select Save.
Review the migration summary
On the Migration summary screen, in the Activity name text box, specify a name for the migration activity.
For the SSIS project(s) and environment(s) overwrite option, specify whether to overwrite or ignore existing SSIS projects and environments.
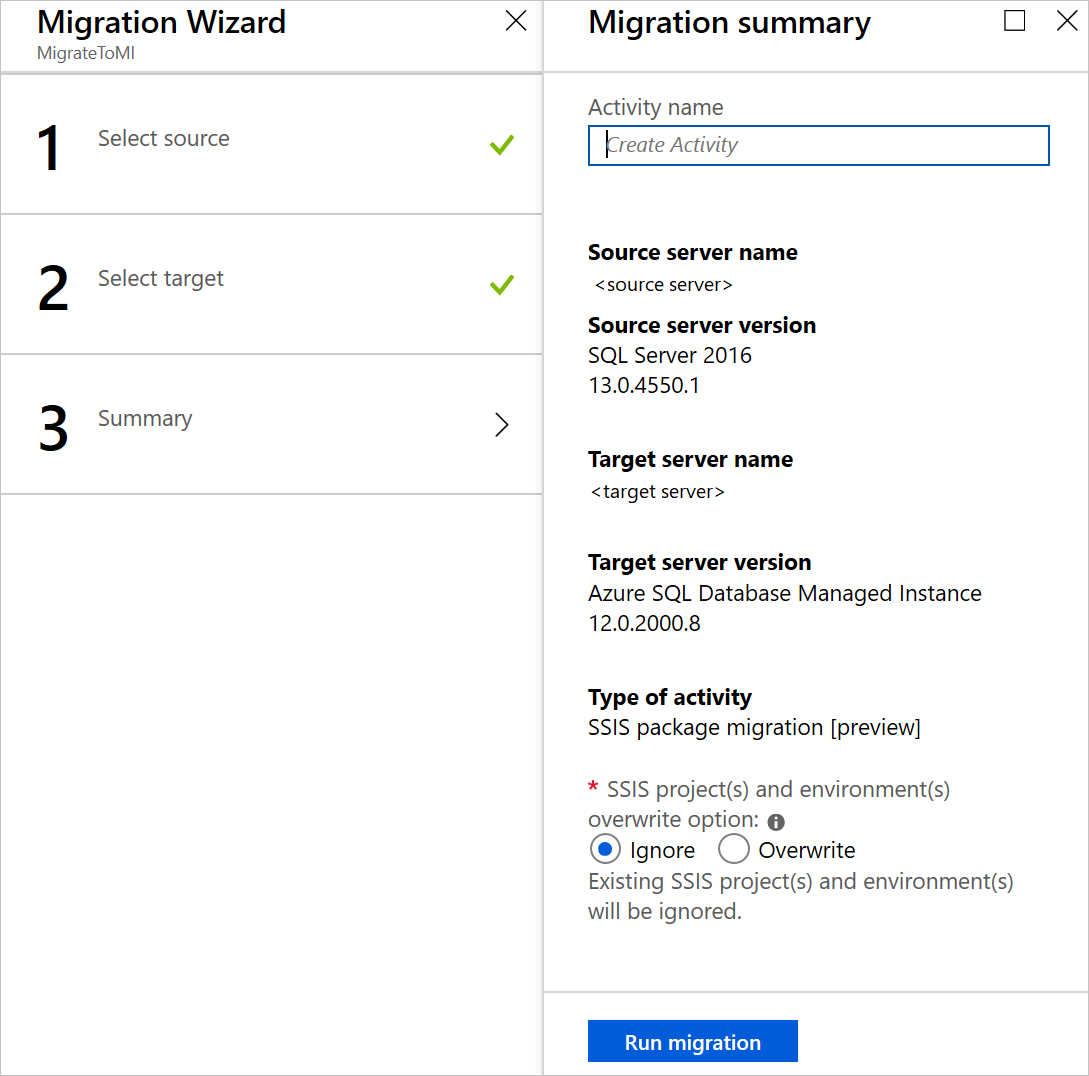
Review and verify the details associated with the migration project.
Run the migration
- Select Run migration.
Next steps
- Review the migration guidance in the Microsoft Database Migration Guide.
Feedback
Coming soon: Throughout 2024 we will be phasing out GitHub Issues as the feedback mechanism for content and replacing it with a new feedback system. For more information see: https://aka.ms/ContentUserFeedback.
Submit and view feedback for