Note
Access to this page requires authorization. You can try signing in or changing directories.
Access to this page requires authorization. You can try changing directories.
This article shows you how to manage your DNS zones by using the Azure portal. You can also manage your DNS zones using the cross-platform Azure CLI or the Azure PowerShell.
Create a DNS zone
Sign in to the Azure portal.
On the top left-hand side of the screen, select Create a resource.
Search for DNS zone, select DNS zone, and then select Create.
On the Create DNS zone page enter the following values, then select Create:
Setting Details Subscription Select your subscription. Resource group Select or create a new resource group. To learn more about resource groups, read the Resource Manager overview article. Name Enter a name for the DNS zone. For example: contoso.com. Location Select the location for the resource group. The location will already be selected if you're using a previously created resource group.
Note
The resource group refers to the location of the resource group, and has no impact on the DNS zone. The DNS zone location is always "global", and is not shown.
List DNS zones
In the search resources at the top of the Azure portal, search for DNS zones. Each DNS zone is its own resource. Information such as number of record sets, the resource group, and subscription are viewable from this page. Name servers aren't visible from this view. To view name servers for a DNS zone, select the zone. Name servers (NS records) are displayed on the Overview page. To view other record sets in the zone, select Recordsets.
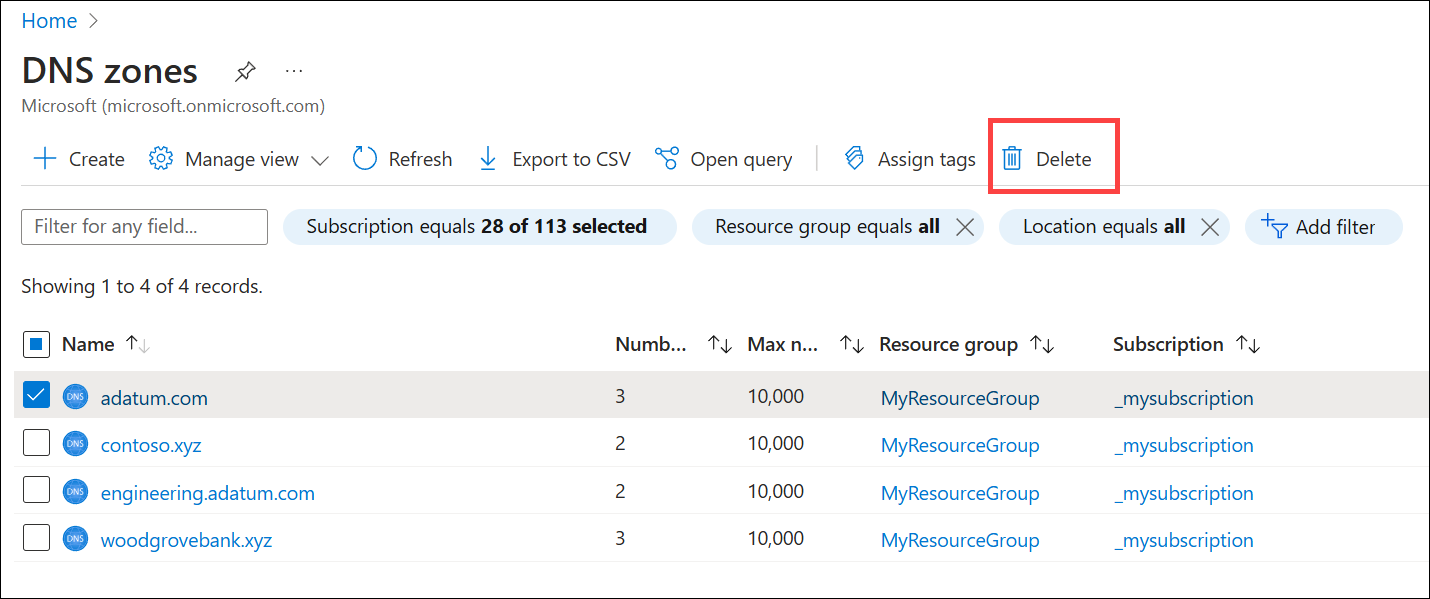
Delete a DNS zone
Using the list of DNS zones, select the checkbox next to the zone you wish to delete and then select Delete.
Enter delete into the text box to confirm deletion and select Delete.
Next steps
Learn how to work with your DNS Zone and records by visiting Get started with Azure DNS using the Azure portal.