How to connect Kafka cluster with VM in different VNet
This Document lists steps that must be followed to set up connectivity between VM and HDI Kafka residing in two different VNet.
Create two different VNets where HDInsight Kafka cluster and VM will be hosted respectively. For more information, see Create a virtual network using the Azure portal
Note
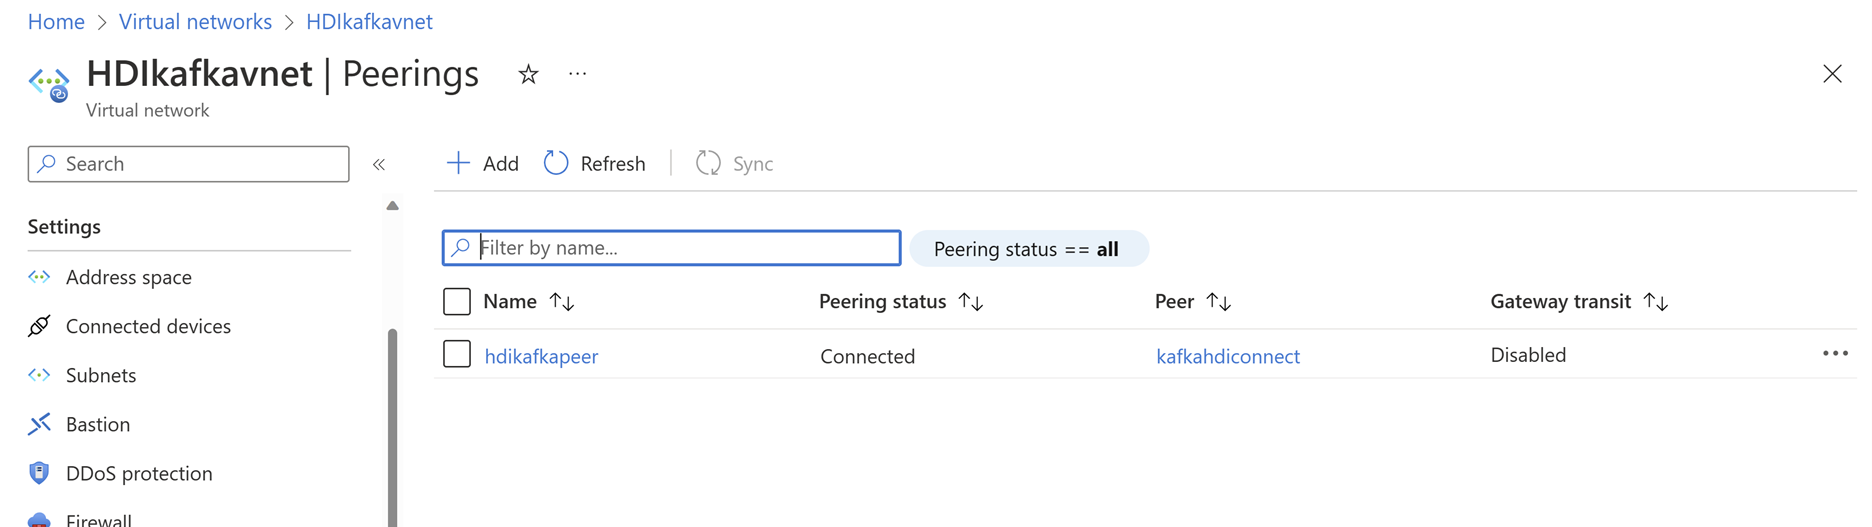
These two VNets must be peered, so that IP addresses of their subnets must not overlap with each other. For more information, see Connect virtual networks with virtual network peering using the Azure portal
Make sure that the peering status shows as connected.
After the above steps are completed, we can create HDInsight Kafka cluster in one VNet. For more information, see Create an Apache Kafka cluster
Create a Virtual Machine in the second VNet. While creating the VM, specify the second VNet name where this virtual machine must be deployed. For more information, see Create a Linux virtual machine in the Azure portal
After this step, we can copy the entries of the file /etc/host from Kafka headnode to VM.
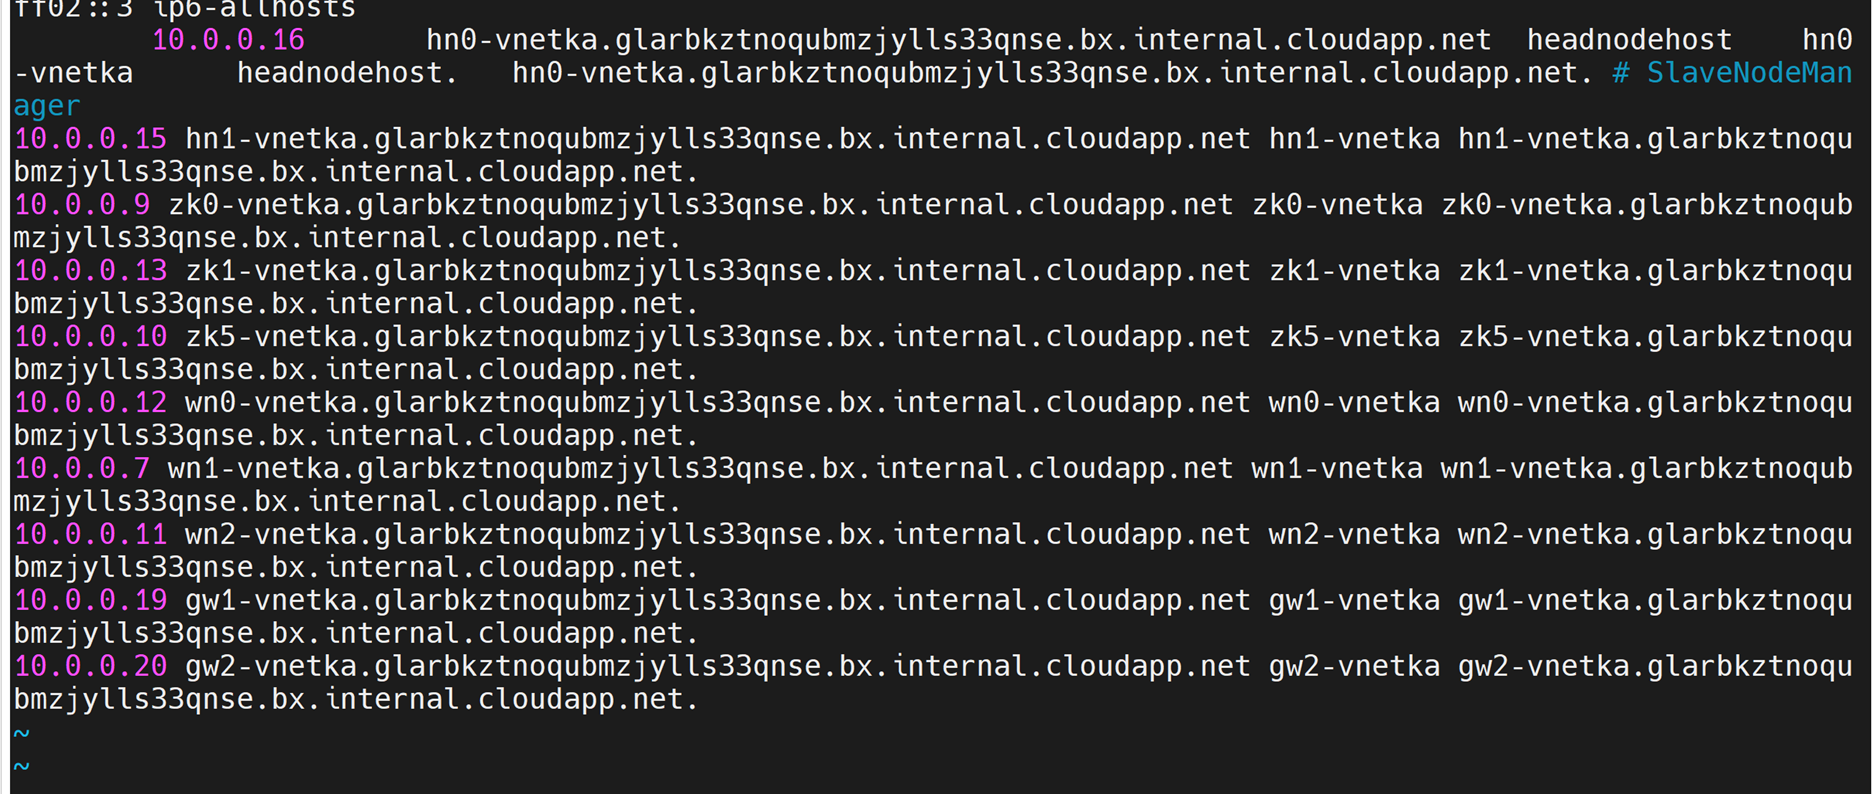
Remove the
headnodehoststring entries from the file. For example, the above image hasheadnodehostentry for the ip 10.0.0.16. After removal, it will be as
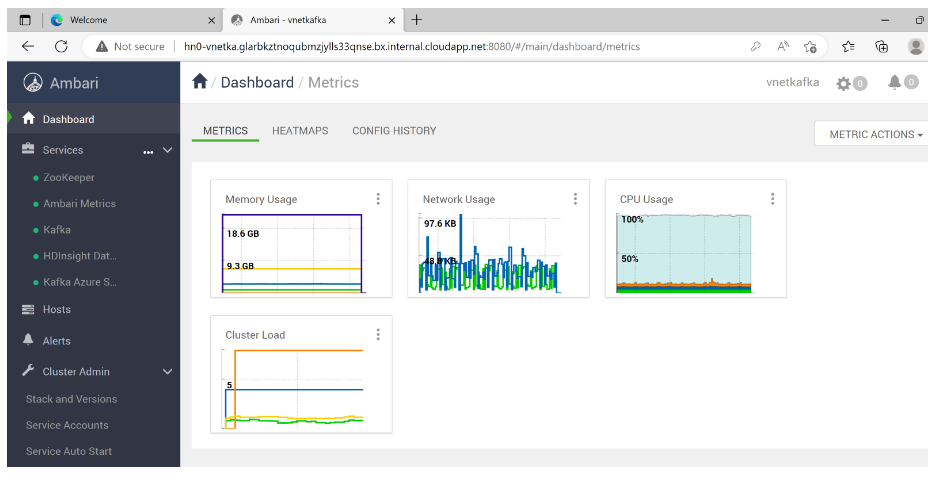
After these entries are made, try to reach the Kafka Ambari dashboard using the curl command using the hn0 or hn1 FQDN as
From Linux VM
curl hn0-vnetka.glarbkztnoqubmzjylls33qnse.bx.internal.cloudapp.net:8080Output:
“<!--
* Licensed to the Apache Software Foundation (ASF) under one or more contributor license agreements.  See the NOTICE file  distributed with this work for   additional information regarding copyright ownership.  The ASF licenses this file to you under the Apache License, Version 2.0 (the "License"); you may not use this file except in compliance with the License.  You may obtain a copy of the License at http://www.apache.org/licenses/LICENSE-2.0 Unless required by applicable law or agreed to in writing, software distributed under the License is distributed on an "AS IS" BASIS, WITHOUT WARRANTIES OR CONDITIONS OF ANY KIND, either express or implied. See the License for the specific language governing permissions and limitations under the License.

-->

<!DOCTYPE html>
<html lang="en">

<head>

  <meta charset="utf-8">
  <meta http-equiv="X-UA-Compatible" content="IE=edge">
  <meta name="viewport" content="width=device-width, initial-scale=1.0">
  <link rel="stylesheet" href="stylesheets/vendor.css">
  <link rel="stylesheet" href="stylesheets/app.css">
  <script src="javascripts/vendor.js"></script>
  <script src="javascripts/app.js"></script>

  <script>
   $(document).ready(function() {
       require('initialize');
       // make favicon work in firefox
       $('link[type*=icon]').detach().appendTo('head');
       $('#loading').remove();
   });

 </script>

 <title>Ambari</title>
 <link rel="shortcut icon" href="/img/logo.png" type="image/x-icon">
 </head>
 <body>
  <div id="loading">...Loading...</div>
  <div id="wrapper">
  <!-- ApplicationView -->
  </div>
  <footer>

     <div class="container footer-links">

         <a data-qa="license-link" href="http://www.apache.org/licenses/LICENSE-2.0" target="_blank">Licensed under the Apache License, Version 2.0</a>.        <br>

         <a data-qa="third-party-link" href="/licenses/NOTICE.txt" target="_blank">See third-party tools/resources that Ambari uses and their respective authors</a>

      </div>

  </footer>

</body>

</html>”
From Windows VM
Note
- In Windows VM , static hostnames are added in the file hosts present in the path
C:\Windows\System32\drivers\etc\ - This document assumes that the Ambari server is active on hn0. If the Ambari server is active on hn1 use the FQDN of hn1 to access the Ambari UI.
- In Windows VM , static hostnames are added in the file hosts present in the path
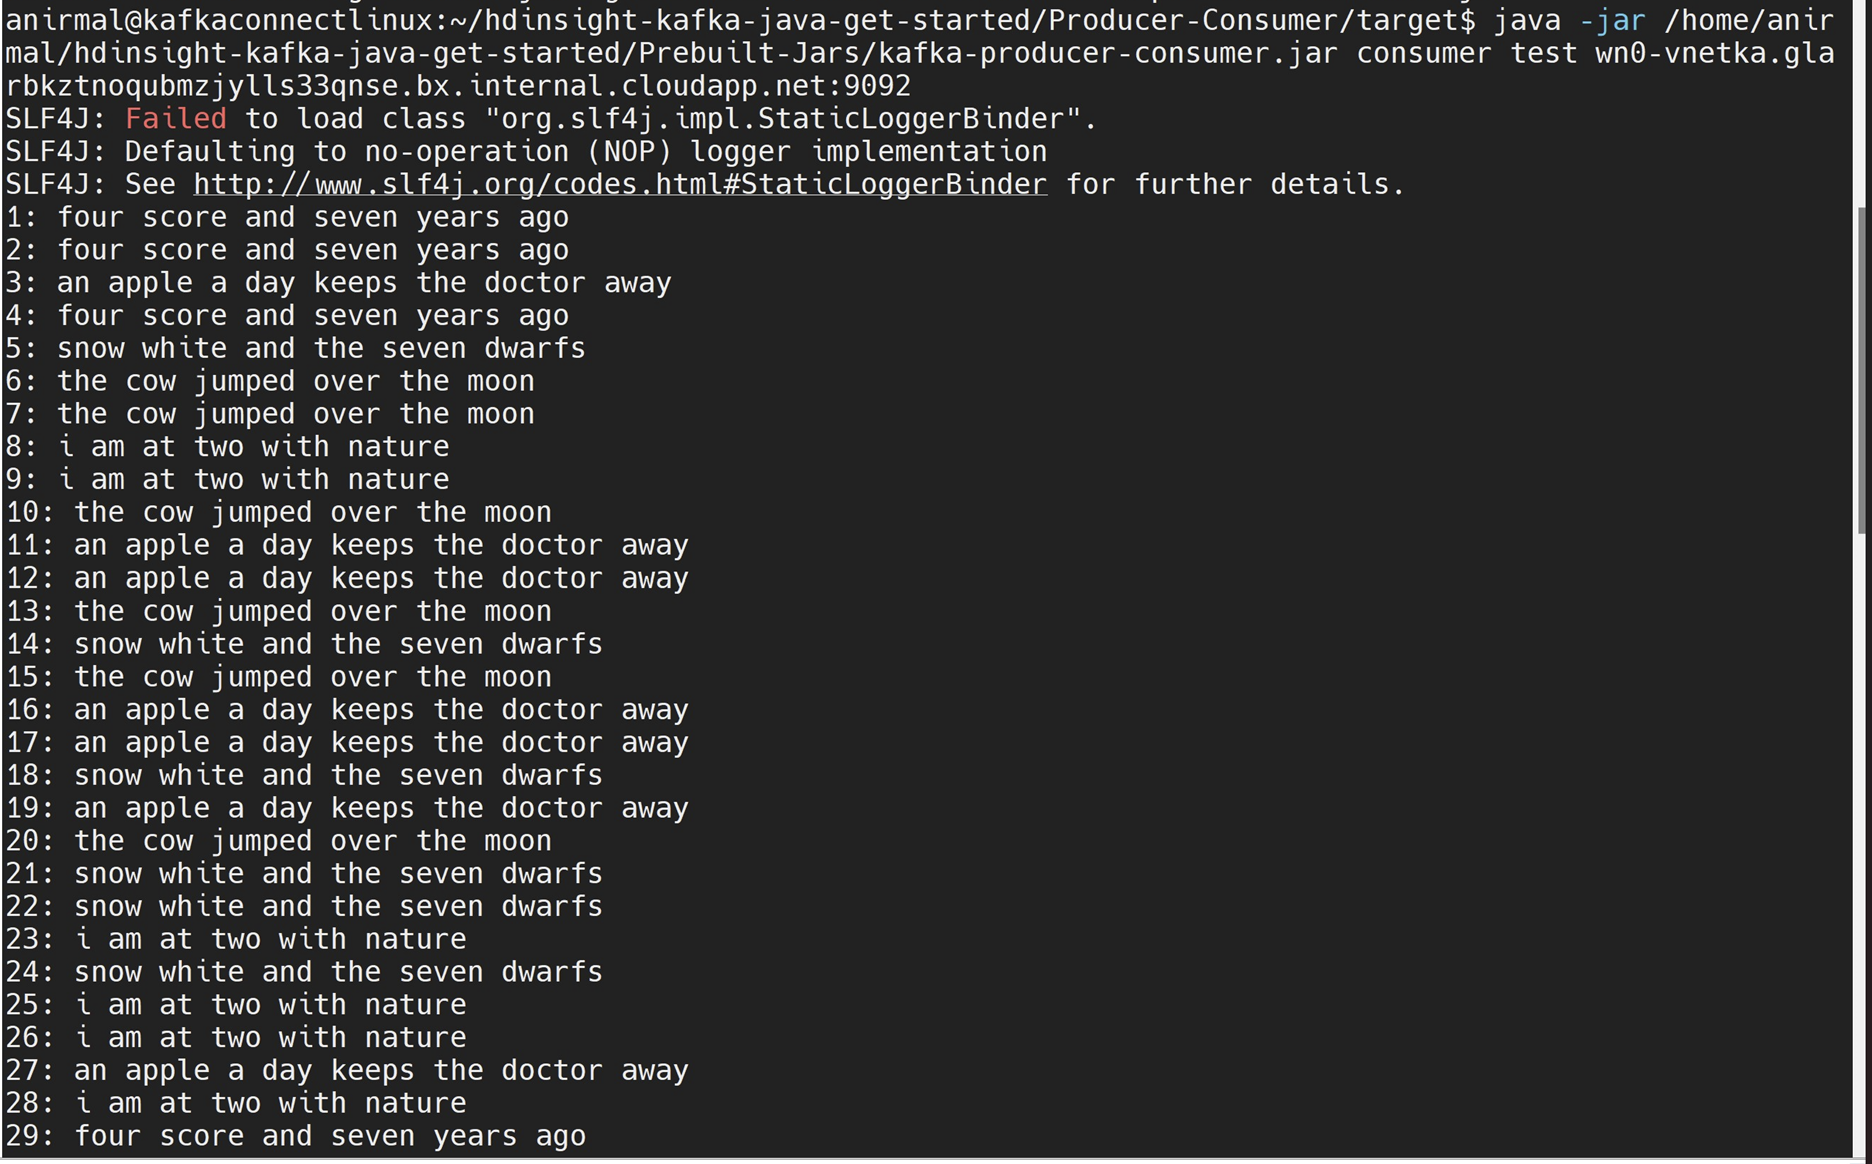
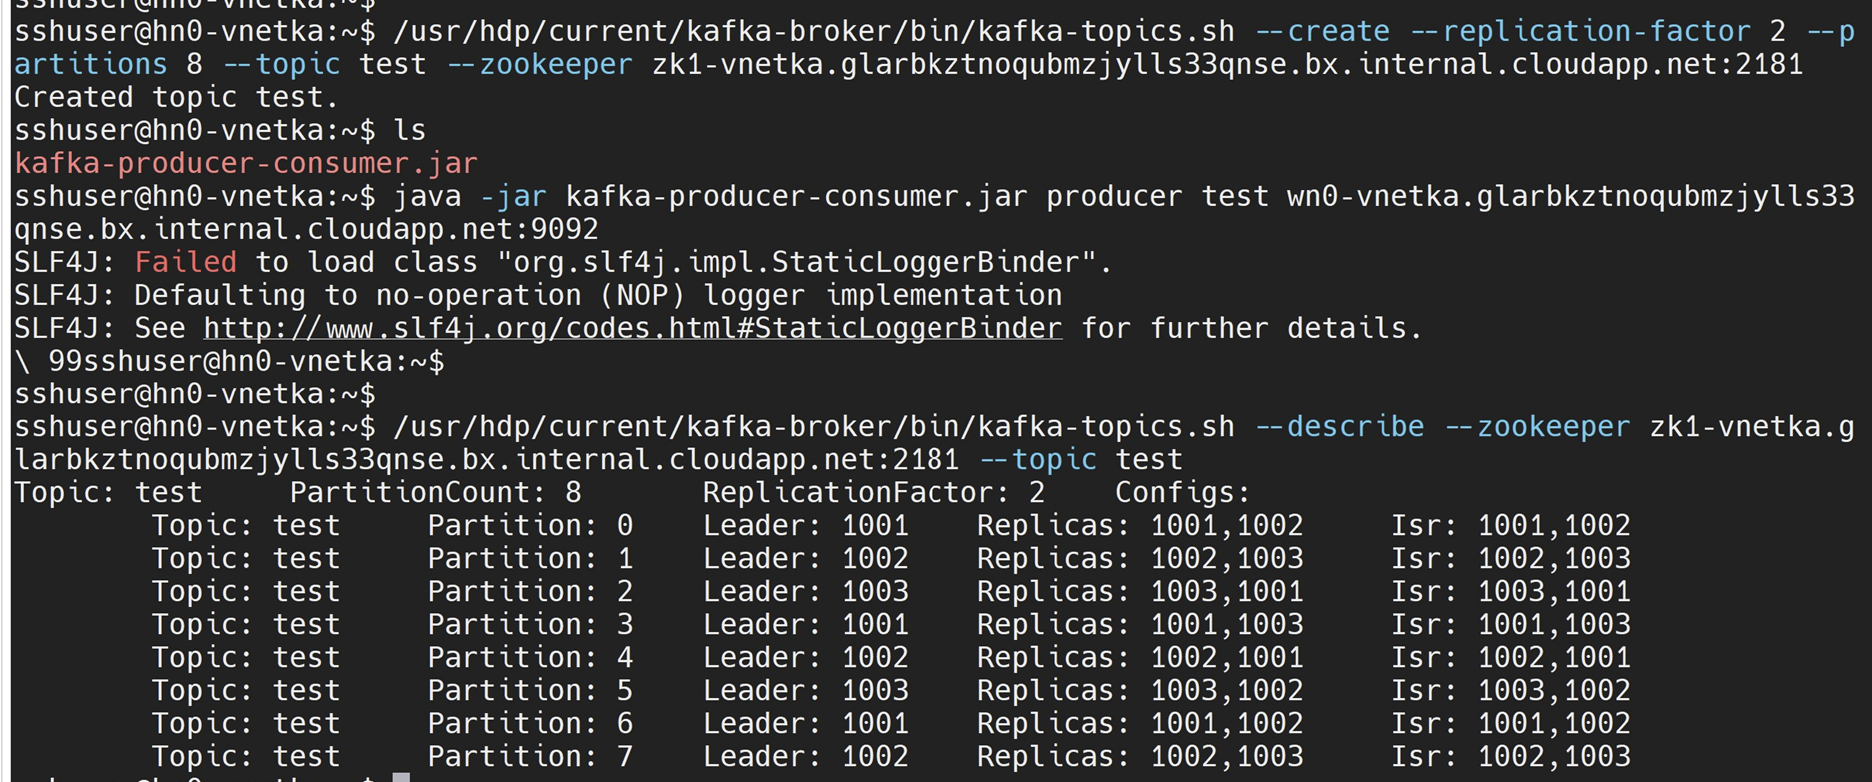
You can also send messages to kafka topic and read the topics from the VM. For that you can try to use this sample java application, https://github.com/Azure-Samples/hdinsight-kafka-java-get-started
Make sure to create the topic inside the Kafka cluster using the command
java -jar kafka-producer-consumer.jar create <topic_name> $KAFKABROKERSAfter creating the topic, we can use the below commands to produce and consume. The $KAFKABROKERS must be replaced appropriately with the broker worker node FQDN and port as mentioned in the documentation.
java -jar kafka-producer-consumer.jar producer test $KAFKABROKERS `
java -jar kafka-producer-consumer.jar consumer test $KAFKABROKERS
After this step you get an output as
Producer output:
Consumer output: