Note
Access to this page requires authorization. You can try signing in or changing directories.
Access to this page requires authorization. You can try changing directories.
This article provides step-by-step instructions on how to use the Azure Import/Export service to securely export large amounts of data from Azure Blob storage. The service requires you to ship empty drives to the Azure datacenter. The service exports data from your storage account to the drives and then ships the drives back.
In this tutorial, you learn how to:
- Prerequisites to export data from Azure Blob storage with Azure Import/Export
- Step 1: Create an export job
- Step 2: Ship the drives
- Step 3: Update the job with tracking information
- Step 4: Receive the disks
- Step 5: Unlock the disks
Prerequisites
Before you create an export job to transfer data out of Azure Blob Storage, carefully review and complete the following list of prerequisites for this service. You must:
Have an active Azure subscription that can be used for the Import/Export service.
Have at least one Azure Storage account. See the list of Supported storage accounts and storage types for Import/Export service. For information on creating a new storage account, see How to Create a Storage Account.
Have adequate number of disks of Supported types. You can use the Azure Import/Export tool to determine how many disks to provide. For steps, see Determine drives to use.
-
Have a valid carrier account and a tracking number for the order:
- You must use a carrier in the Carrier names list on the Shipping tab for your order. If you don't have a carrier account, contact the carrier to create one.
- The carrier account must be valid, should have a balance, and must have return shipping capabilities. Microsoft uses the selected carrier to return all storage media.
- Generate a tracking number for the import/export job in the carrier account. Every job should have a separate tracking number. Multiple jobs with the same tracking number aren't supported.
Step 1: Create an export job
Perform the following steps to order an import job in Azure Import/Export. The Azure Import/Export service creates a job of the type "Data Box."
Use your Microsoft Azure credentials to sign in at this URL: https://portal.azure.com.
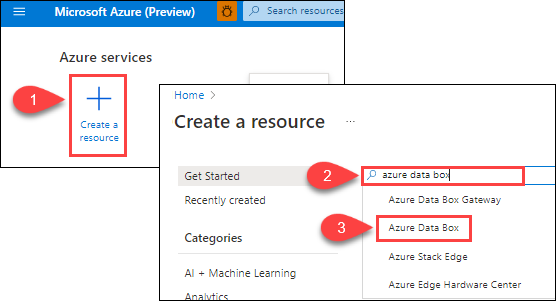
Select + Create a resource and search for Azure Data Box. Select Azure Data Box.
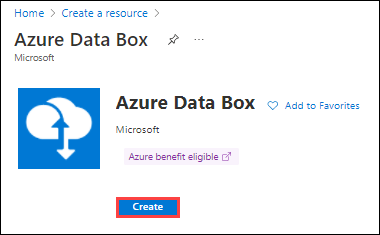
Select Create.
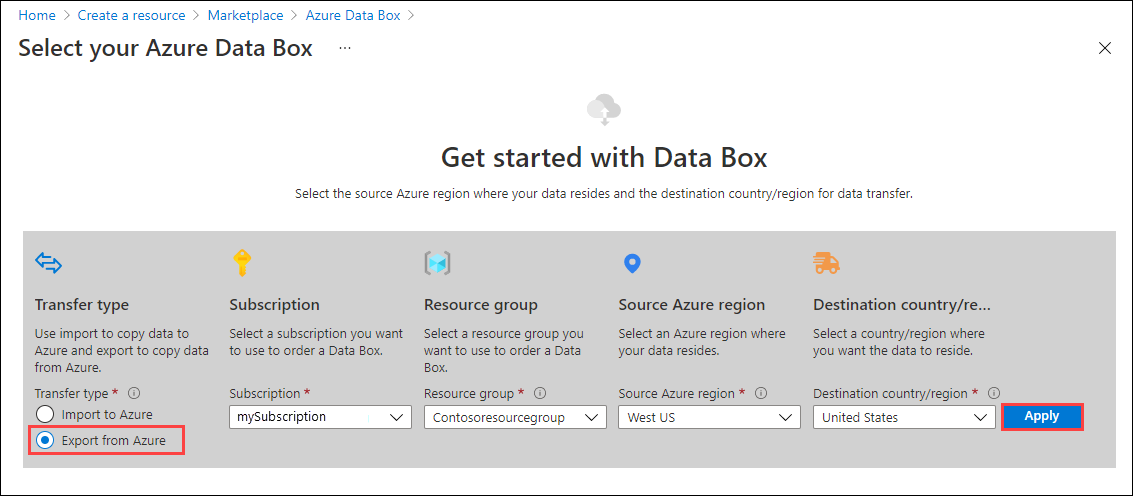
To get started with the import order, select the following options:
- Select the Export from Azure transfer type.
- Select the subscription to use for the Import/Export job.
- Select a resource group.
- Select the Source Azure region for the job.
- Select the Destination country/region for the job.
- Then select Apply.
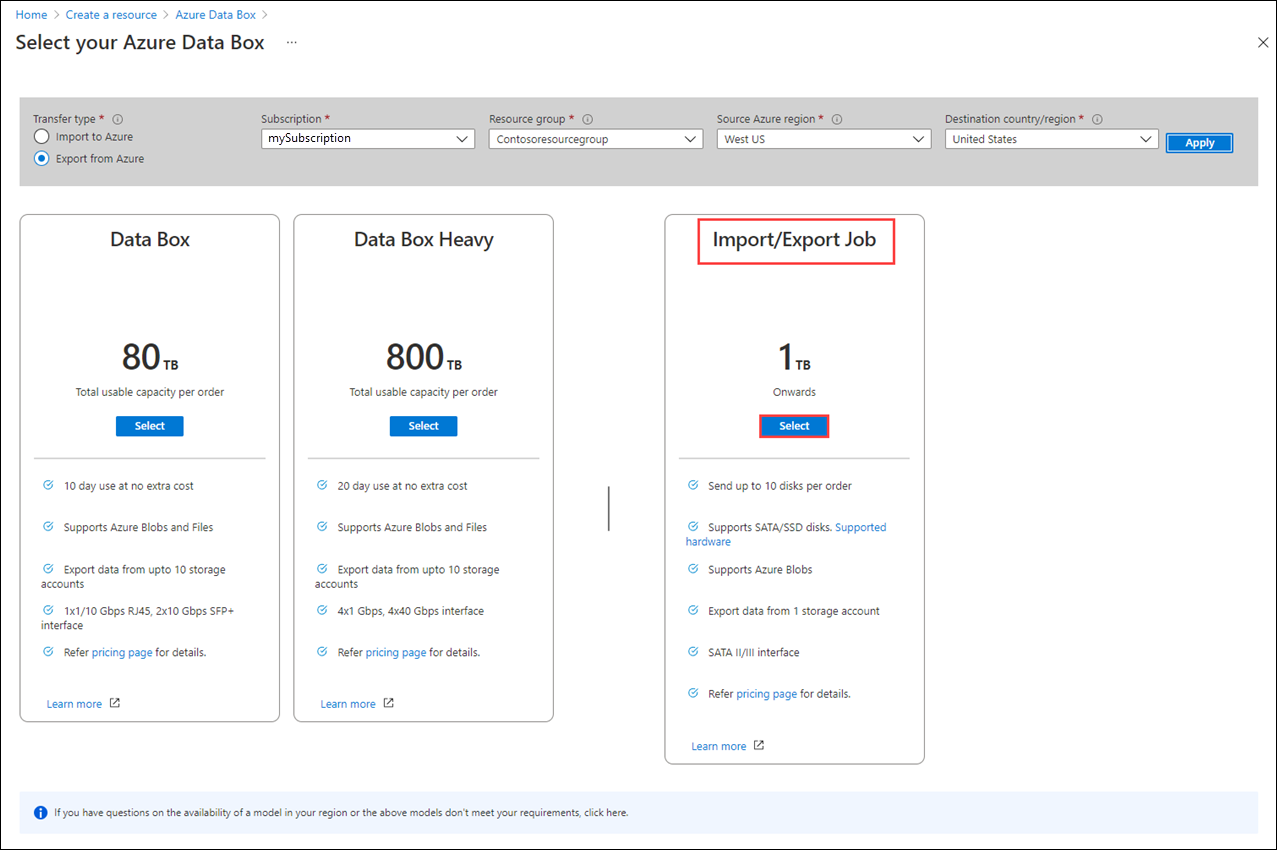
Choose the Select button for Import/Export Job.
In Basics:
- Enter a descriptive name for the job. Use the name to track the progress of your job.
- The name must have from 3 to 24 characters.
- The name must include only letters, numbers, and hyphens.
- The name must start and end with a letter or number.
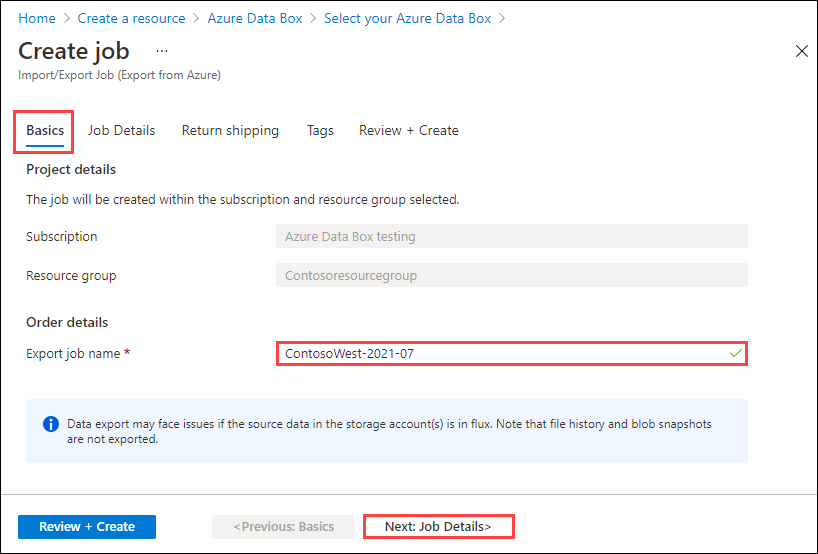
Select Next: Job details > to proceed.
- Enter a descriptive name for the job. Use the name to track the progress of your job.
In Job Details:
Select the Source Azure region where your data currently is.
Select the storage account from which you want to export data. Use a storage account close to your location.
The drop-off location is automatically populated based on the region of the storage account that you select.
Specify the blob data to export from your storage account to your blank drive or drives. For Blobs to export, choose one of the three following methods.
Choose to export All objects in the storage account.

Choose Selected containers and blobs, and specify containers and blobs to export. You can use more than one of the selection methods. Selecting an Add option opens a panel on the right where you can add your selection strings.
Option Description Add containers Export all blobs in a container.
Select Add containers, and enter each container name.Add blobs Specify individual blobs to export.
Select Add blobs. Then specify the relative path to the blob, beginning with the container name. Use $root to specify the root container.
You must provide the blob paths in valid format, as shown in this screenshot, to avoid errors during processing. For more information, see Examples of valid blob paths.Add prefixes Use a prefix to select a set of similarly named containers or similarly named blobs in a container. The prefix may be the prefix of the container name, the complete container name, or a complete container name followed by the prefix of the blob name. 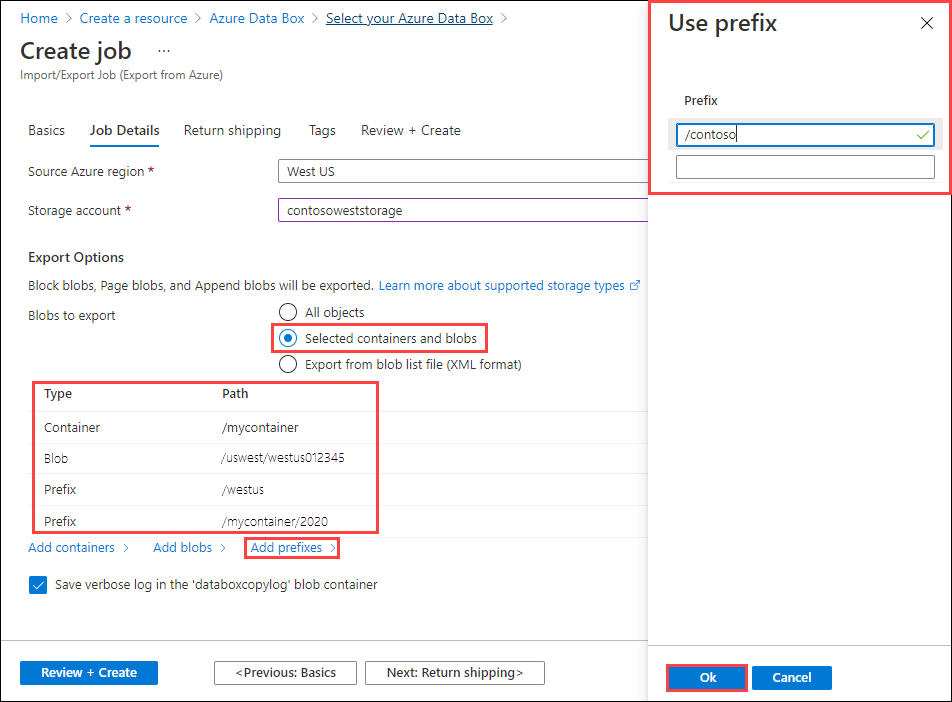
Choose Export from blob list file (XML format), and select an XML file that contains a list of paths and prefixes for the blobs to be exported from the storage account. You must construct the XML file and store it in a container for the storage account. The file can't be empty.
Important
If you use an XML file to select the blobs to export, make sure that the XML contains valid paths and/or prefixes. If the file is invalid or no data matches the paths specified, the order terminates with partial data or no data exported.
To see how to add an XML file to a container, go to Export order using XML file.

Note
If a blob to be exported is in use during data copy, the Azure Import/Export service takes a snapshot of the blob and copies the snapshot.
Select Next: Return shipping > to proceed.
In Return shipping:
Select a shipping carrier from the drop-down list for Carrier. The location of the Microsoft datacenter for the selected region determines which carriers are available.
Enter a Carrier account number. The account number for a valid carrier account is required.
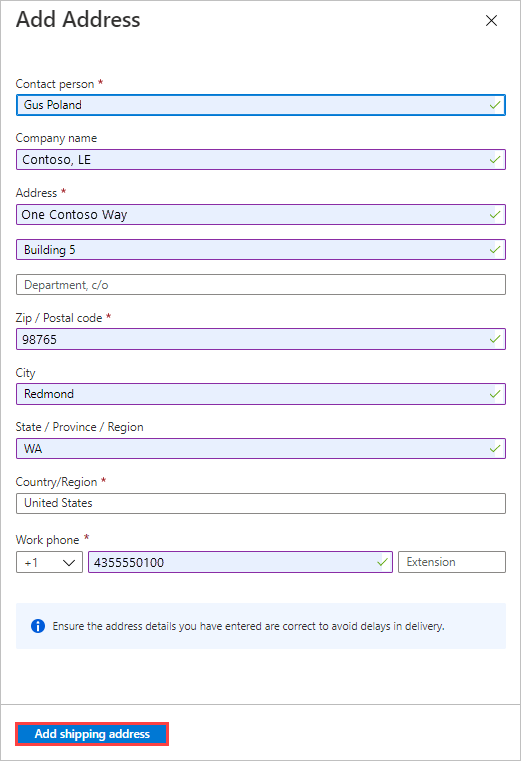
In the Return address area, use + Add Address to add the address to ship to.
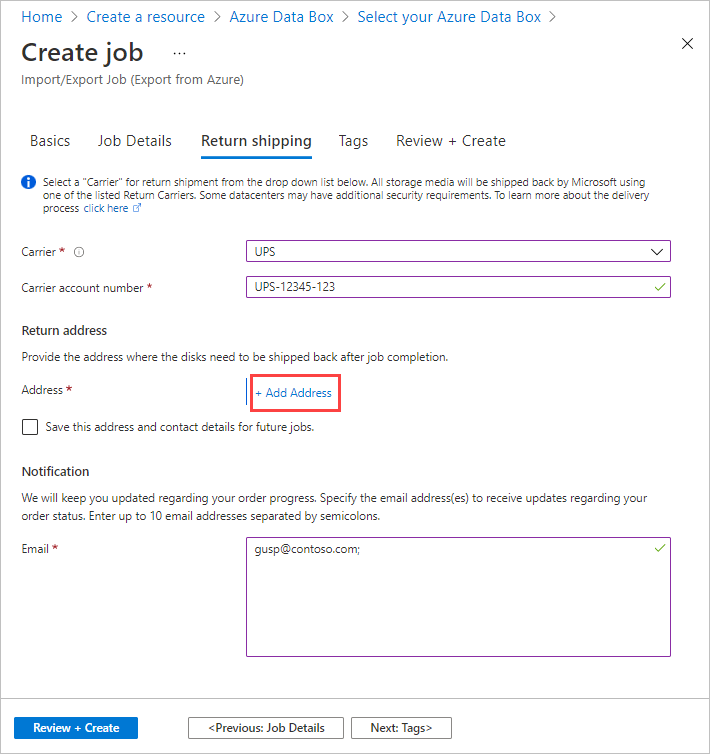
On the Add Address blade, you can add an address or use an existing one. When you finish entering address information, select Add shipping address.
In the Notification area, enter email addresses for the people you want to notify of the job's progress.
Tip
Instead of specifying an email address for a single user, provide a group email to ensure that you receive notifications even if an admin leaves.
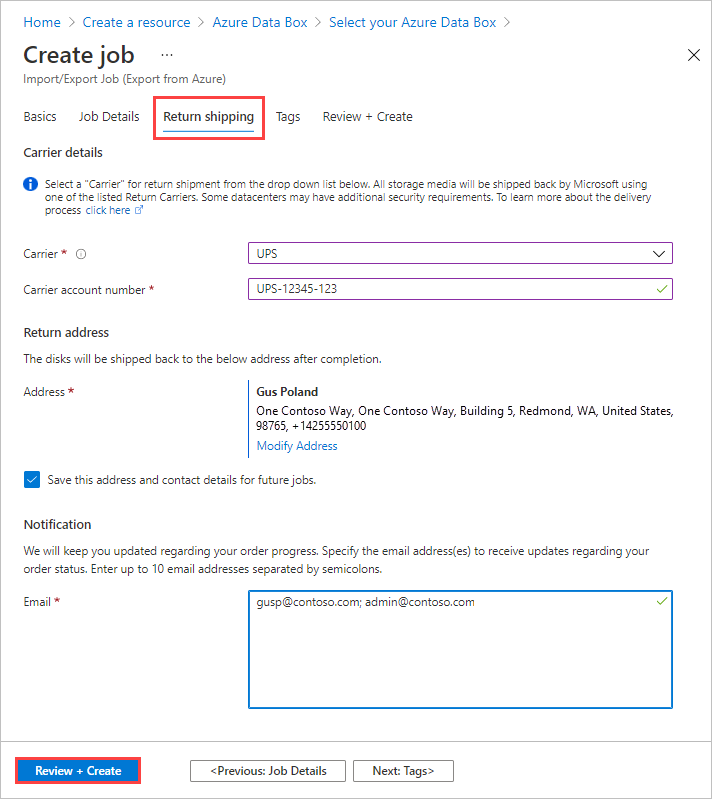
Select Review + Create to proceed.
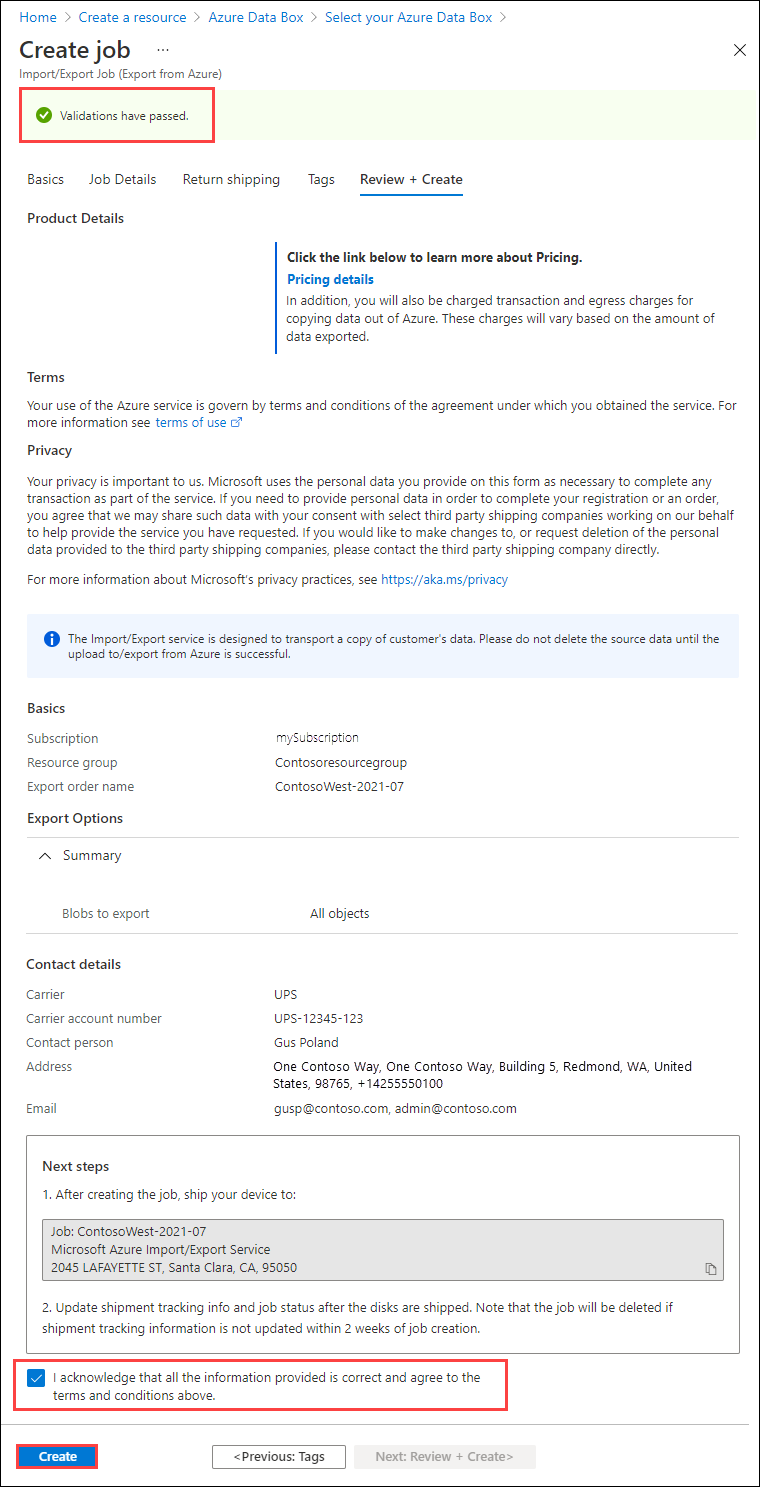
In Review + Create:
- Review the Terms, and then select "I acknowledge that all the information provided is correct and agree to the terms and conditions above." Validation is then performed.
- Review the job information. Make a note of the job name and the Azure datacenter shipping address to ship disks back to. This information is used later on the shipping label.
- Select Create.
After the job is created, you'll see the following message.
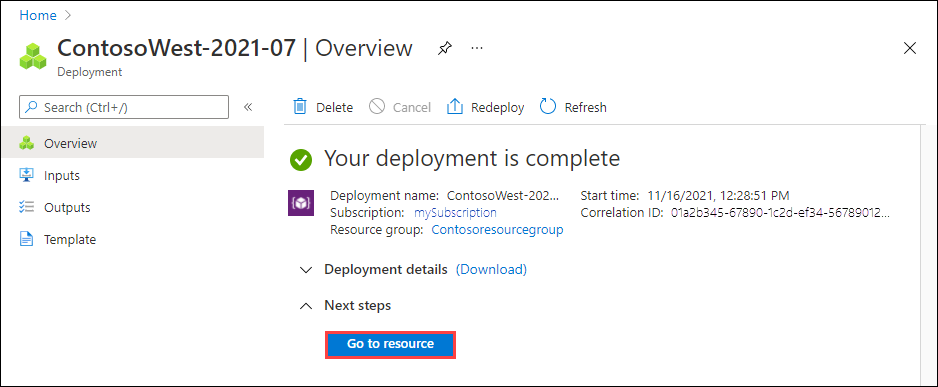
You can select Go to resource to open the Overview of the job.


Step 2: Ship the drives
If you don't know the number of drives you need, see Determine how many drives you need. If you know the number of drives, proceed to ship the drives.
FedEx, UPS, or DHL can be used to ship the package to Azure datacenter. If you want to use a carrier other than FedEx/DHL, contact Azure Data Box Operations team at adbops@microsoft.com
- Provide a valid FedEx, UPS, or DHL carrier account number for use by Microsoft to return the drives.
- When shipping your packages, you must follow the Microsoft Azure Service Terms.
- Properly package your disks to avoid potential damage and delays in processing. Follow these recommended best practices:
- Wrap the disk drives securely with protective bubble wrap. Bubble wrap acts as a shock absorber and protects the drive from impact during transit. Before shipping, ensure that the entire drive is thoroughly covered and cushioned.
- Place the wrapped drives within a foam shipper. The foam shipper provides extra protection and keeps the drive securely in place during transit.
Step 3: Update the job with tracking information
After you ship the disks, return to the job in the Azure portal and fill in the tracking information.
After you provide tracking details, the job status changes to Shipping, and the job can't be canceled. You can only cancel a job while it's in Creating state.
Important
If the tracking number is not updated within 2 weeks of creating the job, the job expires.
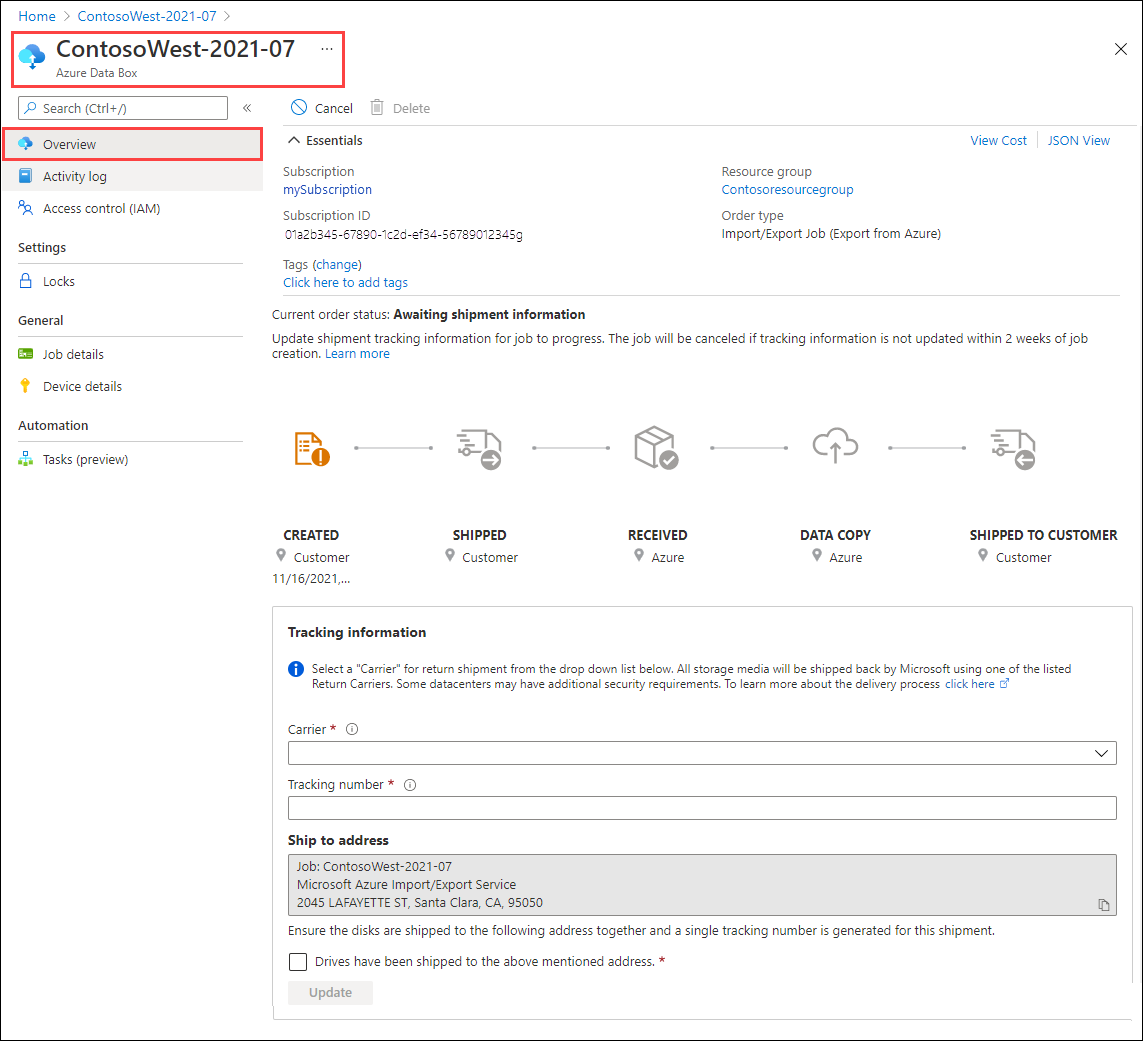
To complete the tracking information for a job that you created in the portal, do these steps:
Open the job in the Azure portal/.
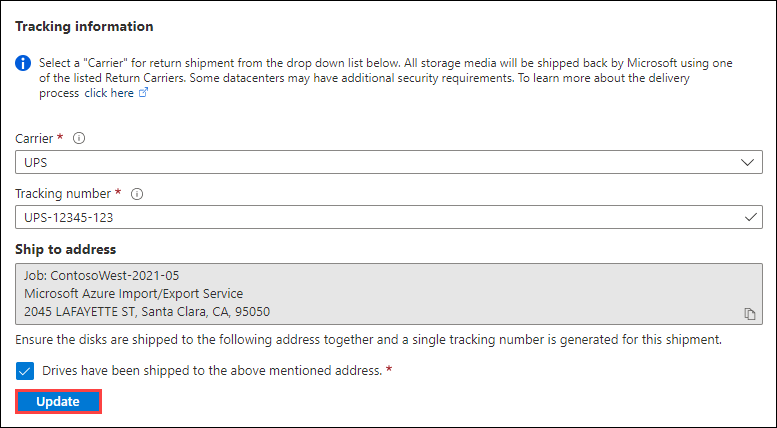
On the Overview pane, scroll down to Tracking information and complete the entries:
- Provide the Carrier and Tracking number.
- Make sure the Ship to address is correct.
- Select the checkbox by "Drives have been shipped to the above mentioned address."
- When you finish, select Update.
You can track the job progress on the Overview pane. For a description of each job state, go to View your job status.
![]()
Step 4: Receive the disks
When the dashboard reports the job is complete, the disks are shipped to you and the tracking number for the shipment is available in the portal.
After you receive the drives with exported data, you need to get the BitLocker keys to unlock the drives. Go to the export job in the Azure portal. Select Import/Export tab.
Select your export job from the list. Go to Encryption and copy the keys.
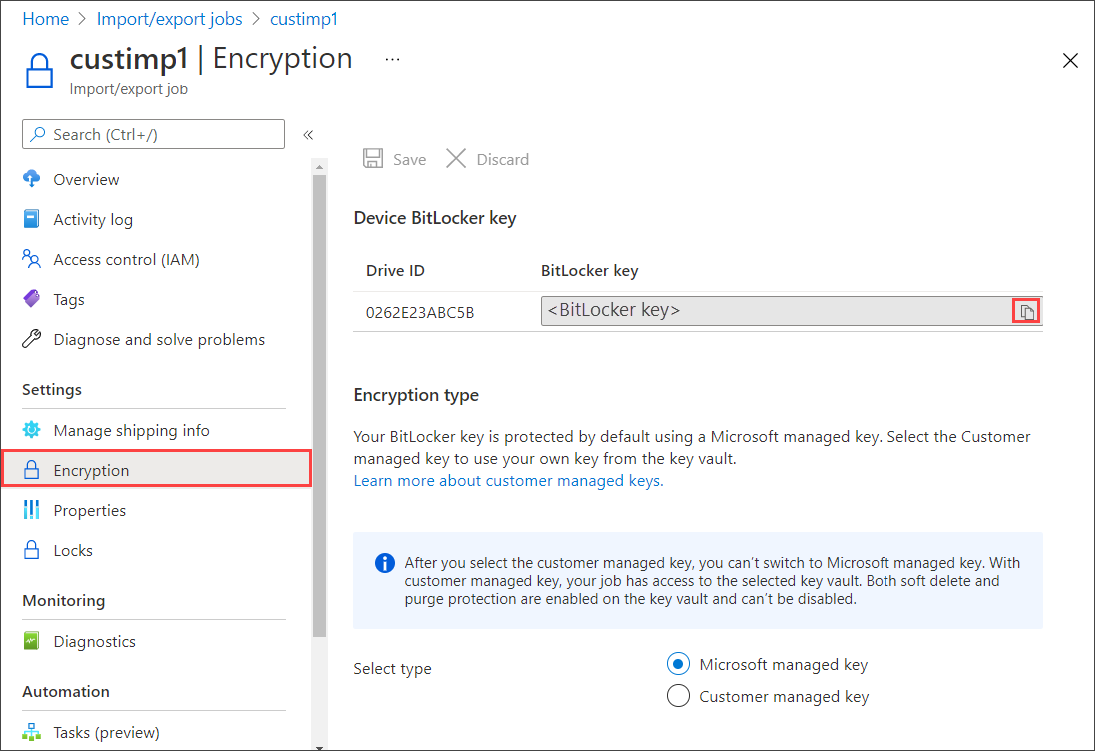
Use the BitLocker keys to unlock the disks.
The export is complete.
Step 5: Unlock the disks
Use the following command to unlock the drive:
WAImportExport Unlock /bk:<BitLocker key (base 64 string) copied from Encryption blade in Azure portal> /driveLetter:<Drive letter>
Here's an example of the sample input.
WAImportExport.exe Unlock /bk:CAAcwBoAG8AdQBsAGQAIABiAGUAIABoAGkAZABkAGUAbgA= /driveLetter:e
You can use the copy logs from the job to verify that all data transferred successfully:
- Use the verbose log to verify each successfully transferred file.
- Use the copy log to find the source of each failed data copy.
To find the log locations, open the job in the Azure portal/. The Data copy details show the Copy log path and Verbose log path for each drive that was included in the order.

At this time, you can delete the job or leave it. Jobs automatically get deleted after 90 days.