Learner Experience on the web portal
This article explains how learners can access training content using the web portal for your organization's Community Training setup.
Step 1: Sign in to your learning portal
Open the web browser and visit the Community Training platform instance for your organization. For example: fabrikamlearning.azurewebsites.net/
.png)
On the home page, select the Sign In or Get Started button.
Depending on the login identity setup, you'll be asked to sign in using your 10-digit mobile number, email address, social account, or Azure Active Directory account.
Step 2: Create your profile
For new users
When you sign in to the platform for the first time, you'll be asked to complete your profile information (or at least the mandatory fields).
The fields displayed on the profile page are configured by the administrator. For more information, see Customize profile information for learners on the platform.
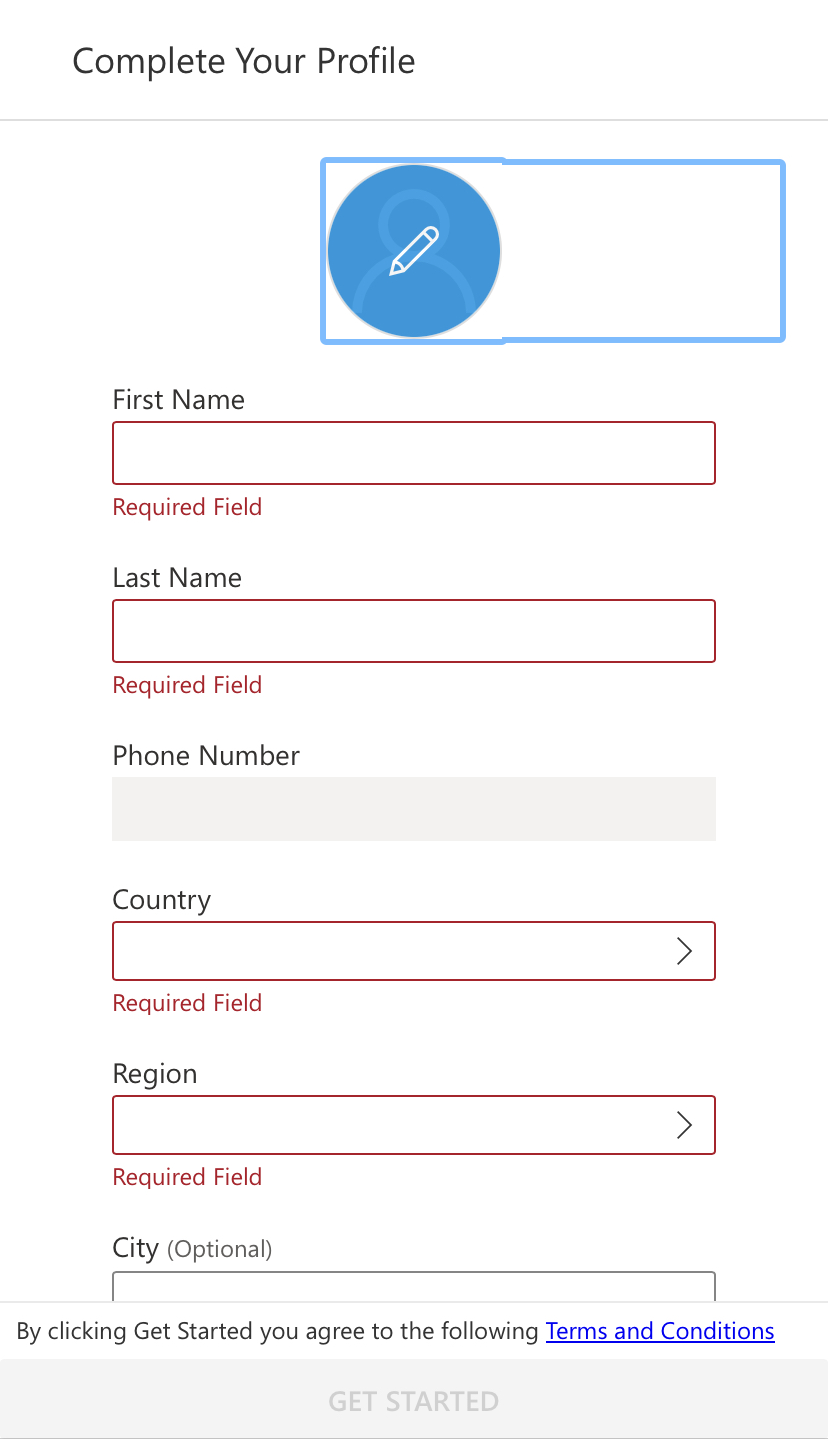
Complete the profile information and select Get Started.
For existing users
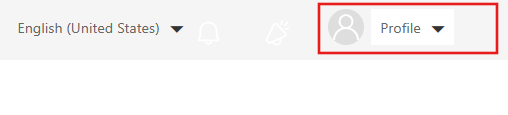
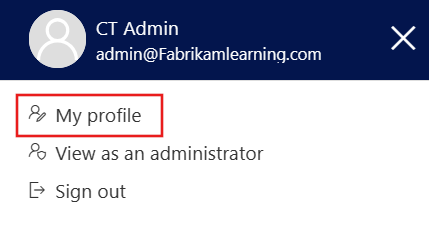
Select the profile icon on the top right corner of the learner view page. Then select My profile.
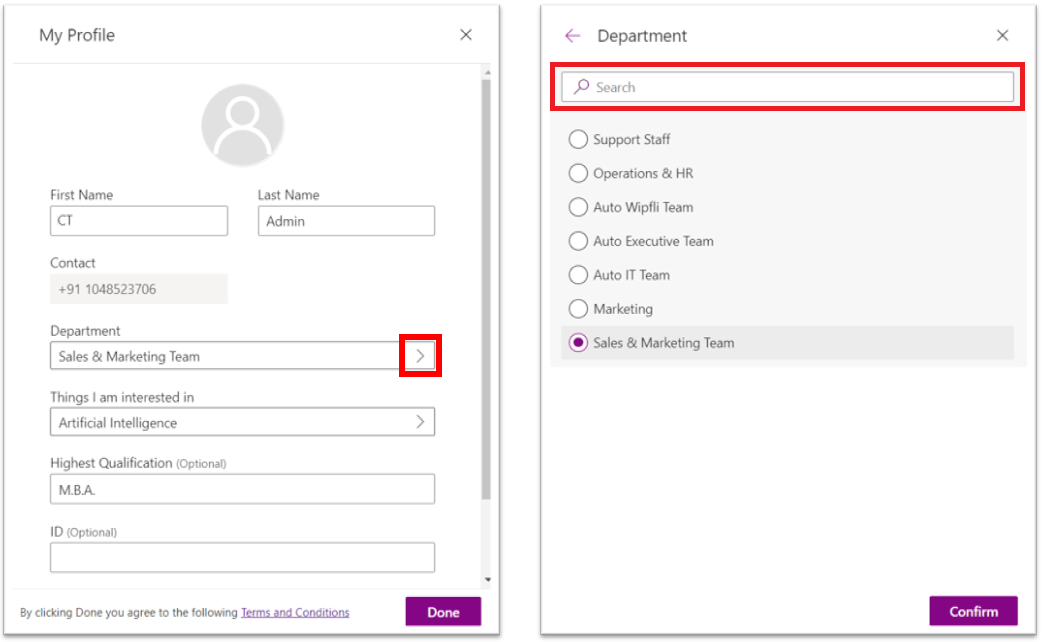
Modify the profile field(s) as required.
Tip
You can now search for the relevant value from a long list of profile field values your admin has provided. For example, you can search for your city name from a list of all cities in your country or region.
Select Confirm, then select Done.
Step 3: Choose the language
After setting up the profile, you can change the language from the dropdown in the navigation bar.
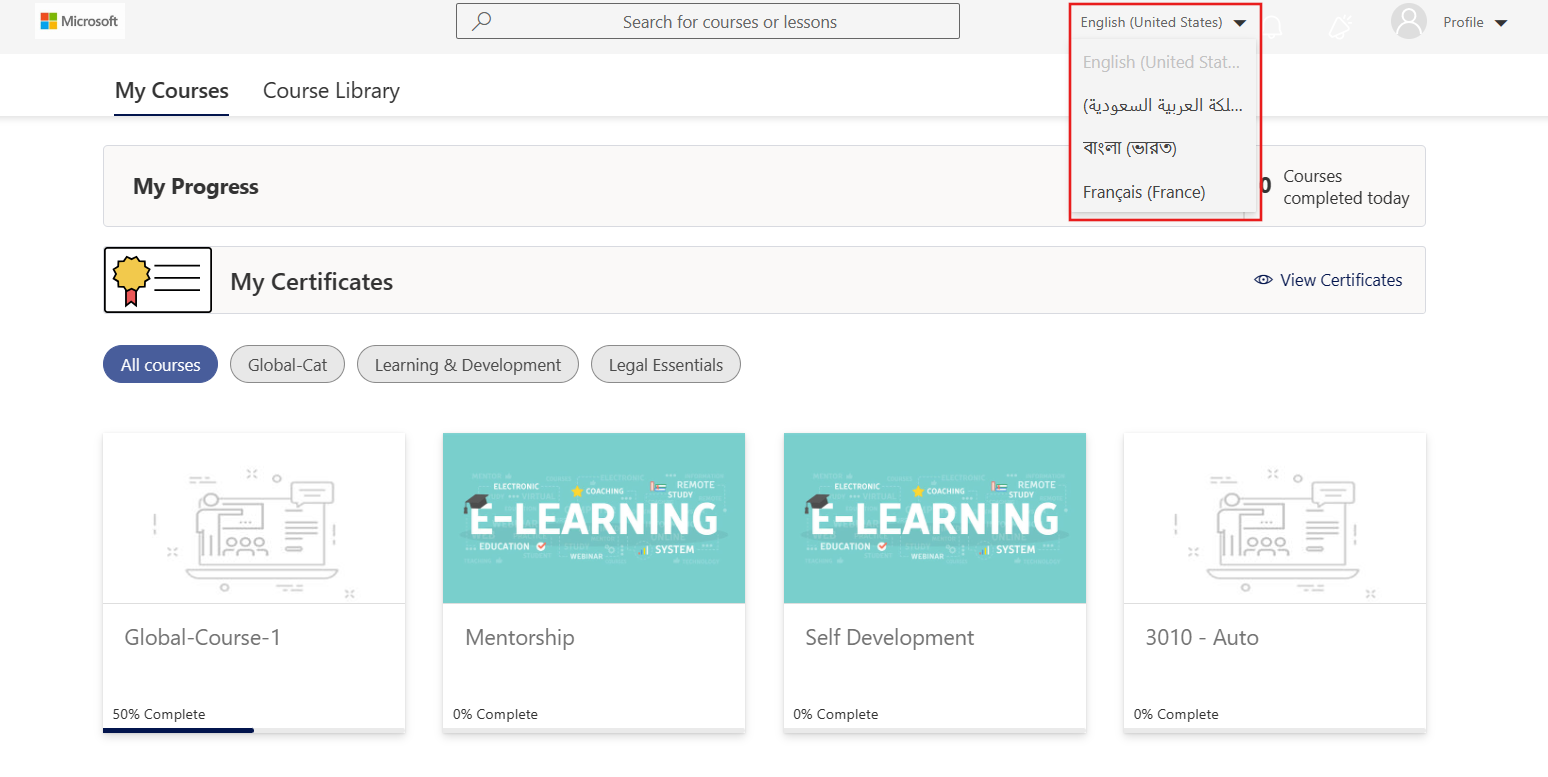
Select the dropdown and choose a language from the available options.
Content on the homepage will be updated based on your chosen language. Refer to Course Translations to understand how language change impacts the learner view.
Note
Only the languages enabled by the Global administrator will be available for selection. The dropdown will not be available to learners if only one language is enabled on the platform.
Step 4: Browse and register for courses
After signing in, you can see all the registered courses and their completion status.
.png)
You can also browse the course library and register for more courses as required. Select the Course Library button and filter the list by selecting an individual category.
.png)
To enroll for a course, select a course item and then select Register in the pop-up window.
.png)
Note
Users can search for courses using the search option on the home page.
Step 5: Access and learn course content
On the My Course page, select the course item which you want to view and learn.
Every course consists of a course description, lessons, and assessments as shown in the course outline. Any completed course item gets a green circled tick mark:
.png)
To view any lesson content or attempt an assessmenet select the course item in the outline.
A graded assessment is always the last item in each course and it's available only when you have completed all the previous course items.
.png)
On successful completion of the course, you'll receive a certificate if enabled by the administrator.
Step 6: View progress
On the My Courses page, you can view your overall progress on the portal.
.png)
Below the My Progress bar, you can find courses with completion status represented in the form of a percentage and progress bar.
.png)
All the completed courses are stacked together at the bottom of the page.
Step 7: Discuss and share information with peers
While viewing content on the portal, you can interact with other users and ask questions to the trainers using the comment feature in Community Training.
To add a comment for a lesson, select the Add a comment button in the top-right of the page.
.png)
Enter your comments and select the Send button to submit the comments.
You can also view and reply to the comments added by other learners.
Step 8: View Notifications
On the top right of the screen, you'll find the Notifications icon.
.png)
Select the icon to open the Notification drawer and get updates on new courses assigned to you, replies to your comments, and more.
Step 9: View Notice Board
On the top right of the screen, you'll find the Notice Board icon.
.png)
Select the icon to open the Notice Board and read all announcements posted by the administrator.
Please reach out to us via HelpDesk if you have any further queries.