Note
Access to this page requires authorization. You can try signing in or changing directories.
Access to this page requires authorization. You can try changing directories.
To deploy an update to devices using Azure Device Update for IoT Hub, you first import the update files into the Device Update service, which stores the imported update for deployment to devices. In this article, you learn how to import an update into the Device Update service by using the Azure portal, Azure CLI, or Device Update APIs.
Prerequisites
A Device Update account and instance configured with an IoT hub.
An IoT device or simulator provisioned for Device Update within the IoT hub.
Update files for your device, and an associated import manifest file created by following the instructions in Prepare an update to import into Device Update.
An Azure Storage account and container to hold the imported files. Or, you can create a new storage account and container as part of the Azure portal based import process.
Important
Make sure the storage account you use or create doesn't have private endpoints enabled. To see if private endpoints are enabled, you can check for your Azure Storage account name under Private endpoints in the Private Link Center.
- Supported browsers Microsoft Edge or Google Chrome.

Import an update
This section shows how to import an update using either the Azure portal or the Azure CLI. You can also import an update by using the Device Update APIs instead.
To import an update, you first upload the update and import manifest files into an Azure Storage container. Then, you import the update from Azure Storage into Device Update for IoT Hub, which stores it for deployment to devices.
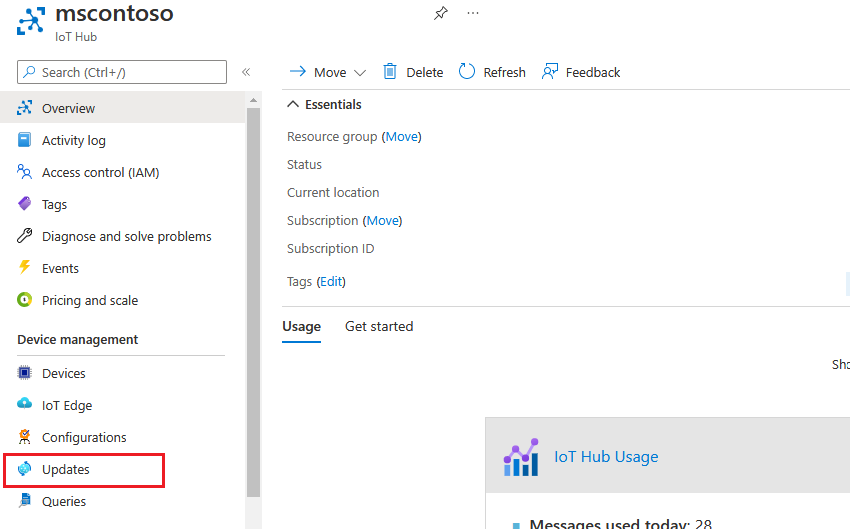
In the Azure portal, on the IoT hub page for your Device Update instance, select Device management > Updates from the left navigation.
On the Updates page, select Import a new update.

On the Import update page, select Select from storage container.
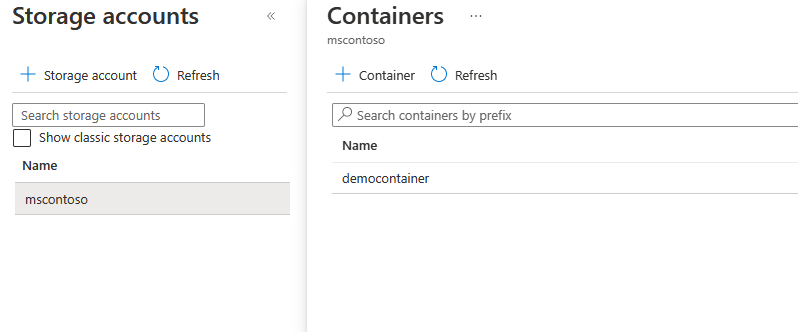
On the Storage accounts page, select an existing storage account or create a new account by selecting Storage account. You use the storage account for a container to stage the update files.
On the Containers page, select an existing container or create a new container by selecting Container. You use the container to stage the update files for import.
Tip
Using a new container each time you import an update helps prevent accidentally importing files from previous updates. If you don't use a new container, be sure to delete any previous files from the existing container.
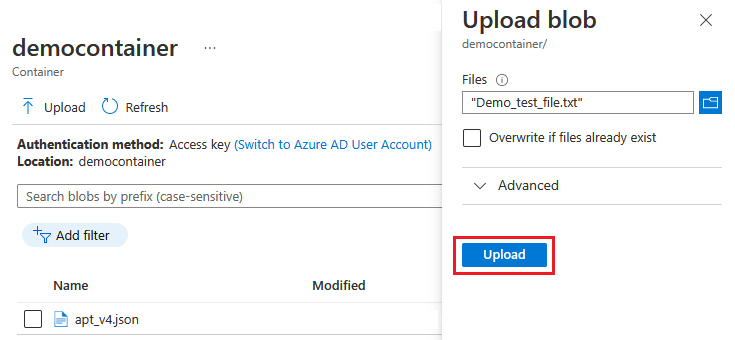
On the container page, select Upload.
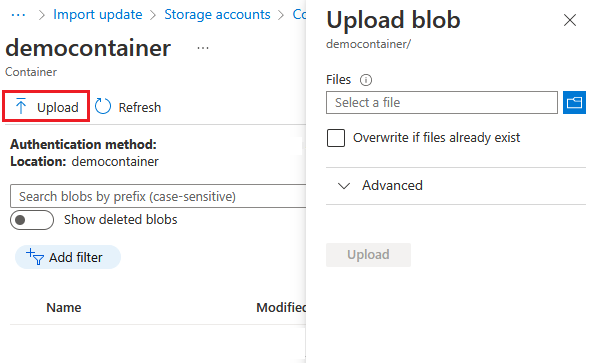
On the Upload blob screen, select the folder icon next to the Files. Use the file picker to navigate to the location of your update and import manifest files, select the files, and then select Open. You can use the Shift key to multiselect files.
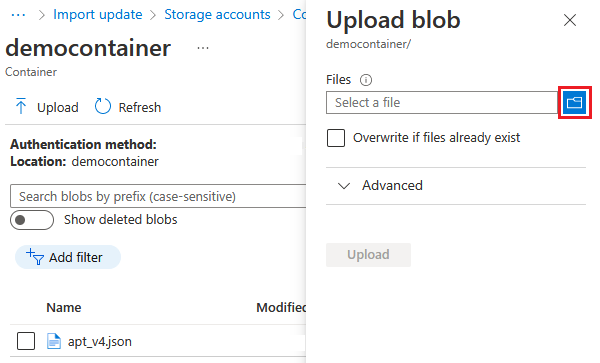
After you select all the files, select Upload.
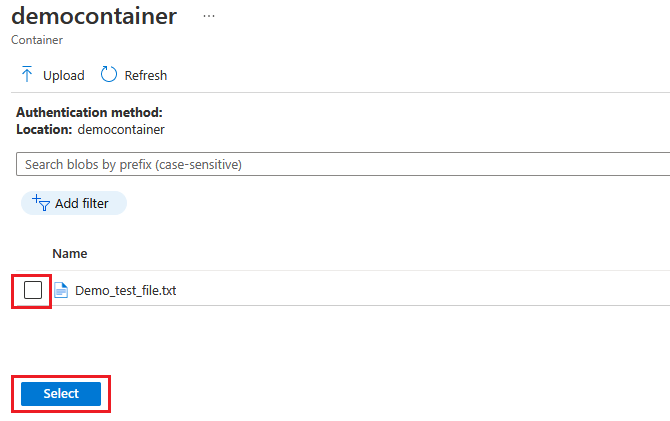
After they upload, the files appear on the container page. On the container page, review and select the files to import, and then select Select.
On the Import update screen, select Import update.
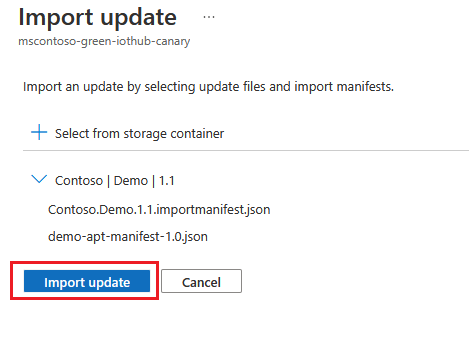


The import process begins, and the screen switches to the Updates screen. After the import succeeds, it appears on the Updates tab. To resolve any errors, see Proxy update troubleshooting.

Import using the Device Update APIs
You can also import an update programmatically by using any of the following methods:
- The Device Update APIs in the Azure SDKs for .NET, Java, JavaScript, or Python
- The Device Update Import Update REST API
- Sample PowerShell modules (requires PowerShell 5 or later for Linux, macOS, or Windows)
Note
See Device Update user roles and access for required API permission.
The update files and import manifest must be uploaded to an Azure Storage Blob container for staging. To import the staged files, provide the blob URL, or shared access signature (SAS) for private blobs, to the Device Update API. If using a SAS, be sure to provide an expiration window of three hours or more.
Tip
To upload large update files to an Azure Storage Blob container, you can use one of the following methods for better performance: