Attach or detach a shared image gallery to a lab account in Azure Lab Services
Important
Azure Lab Services will be retired on June 28, 2027. For more information, see the retirement guide.
Important
The information in this article applies to lab accounts. Azure Lab Services lab plans replace lab accounts. Learn how you can get started by creating a lab plan. For existing lab account customers, we recommend that you migrate from lab accounts to lab plans.
This article shows you how to attach or detach a shared image gallery to a lab account.
Note
When you save a template image of a lab in Azure Lab Services to a shared image gallery, the image is uploaded to the gallery as a specialized image. Specialized images keep machine-specific information and user profiles. You can still directly upload a generalized image to the gallery outside of Azure Lab Services.
A lab creator can create a template VM based on both generalized and specialized images in Azure Lab Services.
Scenarios
Here are the couple of scenarios supported by this feature:
A lab account admin attaches a shared image gallery to the lab account. The VM image is uploaded to the shared image gallery outside the context of a lab. The lab admin has to enable the use of the image on the lab account. Lab creators can use that image from the shared image gallery when creating labs.
A lab account admin attaches a shared image gallery to the lab account. A lab creator (educator) saves the customized image of their lab to the shared image gallery. Then, other lab creators can select this image from the shared image gallery to create a template for their labs.
When an image is saved to a shared image gallery, Azure Lab Services replicates the saved image to other regions available in the same geography. It ensures that the image is available for labs created in other regions in the same geography. Saving images to a shared image gallery incurs an additional cost, which includes cost for all replicated images. This cost is separate from the Azure Lab Services usage cost. For more information about Shared Image Gallery pricing, see Azure Compute Gallery – Billing.
Important
While using a Shared Image Gallery, Azure Lab Services supports only images with less than 128 GB of OS Disk Space. Images with more than 128 GB of disk space or multiple disks will not be shown in the list of virtual machine images during lab creation.
Configure at the time of lab account creation
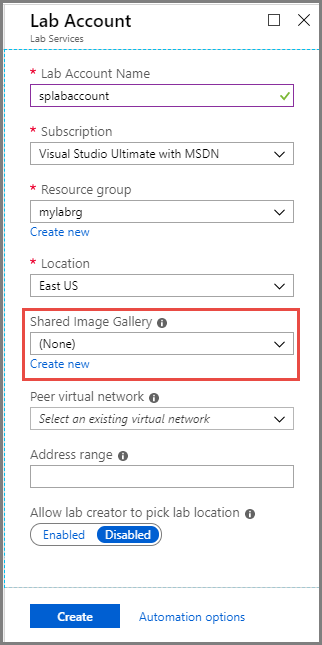
When you are creating a lab account, you can attach a shared image gallery to the lab account. You can select an existing shared image gallery from the drop-down list or create a new one. To create and attach a shared image gallery to the lab account, select Create new, enter a name for the gallery, and enter OK.
Configure after the lab account is created
After the lab account is created, you can do the following tasks:
- Create and attach a shared image gallery
- Attach a shared image gallery to the lab account
- Detach a shared image gallery from the lab account
Create and attach a shared image gallery
Sign in to the Azure portal.
Select All Services on the left menu. Select Lab Services in the DEVOPS section. If you select star (
*) next to Lab Services, it's added to the FAVORITES section on the left menu. From the next time onwards, you select Lab Services under FAVORITES.
Select your lab account to see the Lab Account page.
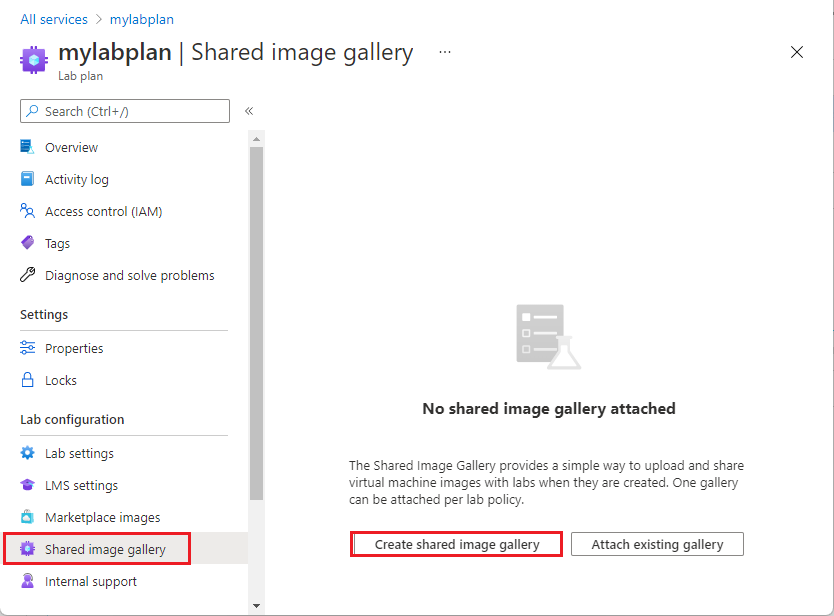
Select Shared image gallery on the left menu, and select + Create on the toolbar.
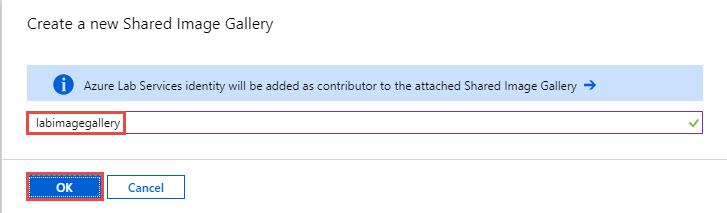
In the Create shared image gallery window, enter a name for the gallery, and enter OK.
Azure Lab Services creates the shared image gallery and attached it to the lab account. All labs created in this lab account have access to the attached shared image gallery.
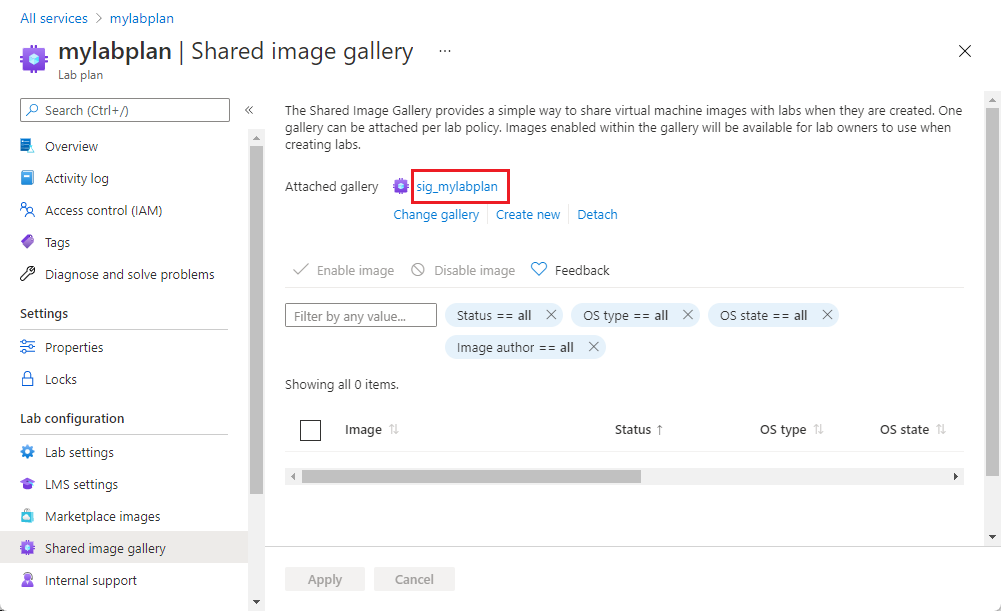
In the bottom pane, you see images in the shared image gallery. There will be no images initially. When you upload images to the gallery, you see them on this page.
All images in the attached shared image gallery are enabled by default. You can enable or disable selected images by selecting them in the list and using the Enable selected images or Disable selected images button.
Attach an existing shared image gallery
The following procedure shows you how to attach an existing shared image gallery to a lab account.
On the Lab Account page, select Shared image gallery on the left menu, and select Attach on the toolbar.
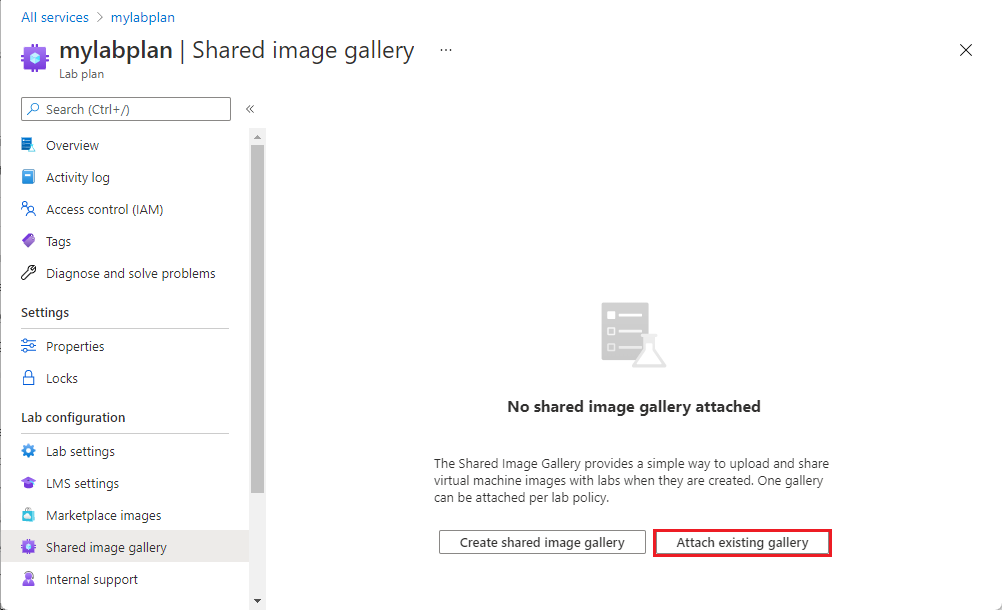
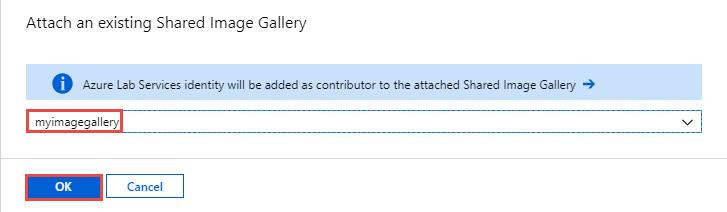
On the Attach an existing Shared Image Gallery page, select your shared image gallery, and select OK.
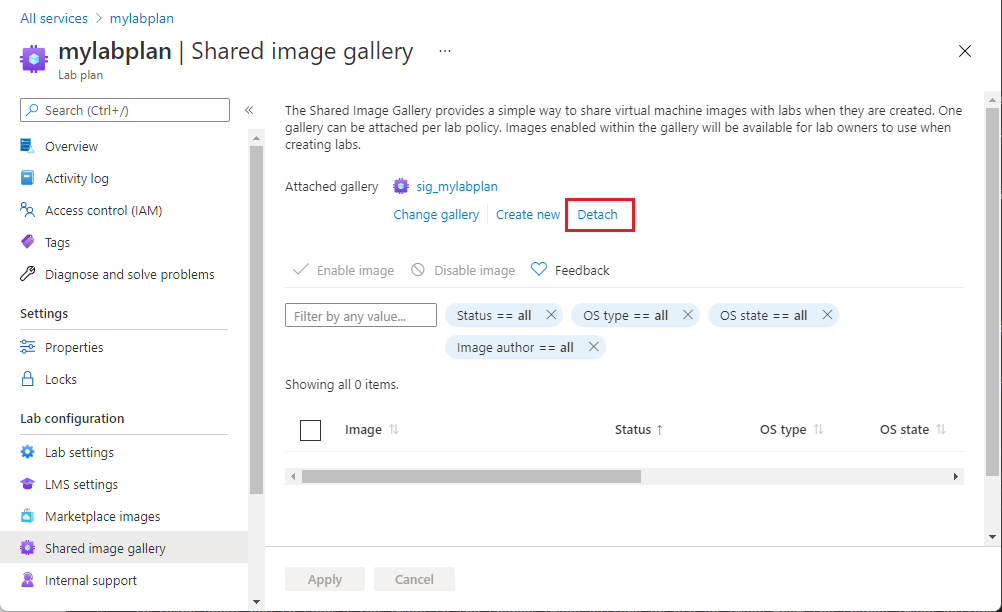
You see the following screen:

In this example, there are no images in the shared image gallery yet.
Azure Lab Services identity is added as a contributor to the shared image gallery that is attached to the lab. It allows educators/IT admins to save virtual machine images to the shared image gallery. All labs created in this lab account have access to the attached shared image gallery.
All images in the attached shared image gallery are enabled by default. You can enable or disable selected images by selecting them in the list and using the Enable selected images or Disable selected images button.
Detach a shared image gallery
Only one shared image gallery can be attached to a lab. If you would like to attach another shared image gallery, detach the current one before attaching the new one. To detach a shared image gallery from your lab, select Detach on the toolbar, and confirm the detach operation.
Next steps
To learn about how to save a lab image to the shared image gallery or use an image from the shared image gallery to create a VM, see How to use shared image gallery.
To explore other options for bringing custom images to shared image gallery outside of the context of a lab, see Recommended approaches for creating custom images.
For more information about shared image galleries in general, see shared image gallery.