Note
Access to this page requires authorization. You can try signing in or changing directories.
Access to this page requires authorization. You can try changing directories.
Important
Azure Lab Services will be retired on June 28, 2027. For more information, see the retirement guide.
Note
This article references features available in lab plans, which replaced lab accounts.
Keeping track of how your quota of VM cores is being used across your subscriptions can be difficult. You may want to know what your current usage is, how much you have left, and in what regions you have capacity. To help you understand where and how you're using your quota, Azure provides the Usage + Quotas page.
Determine your usage and quota
In the Azure portal, go to the subscription you want to examine.
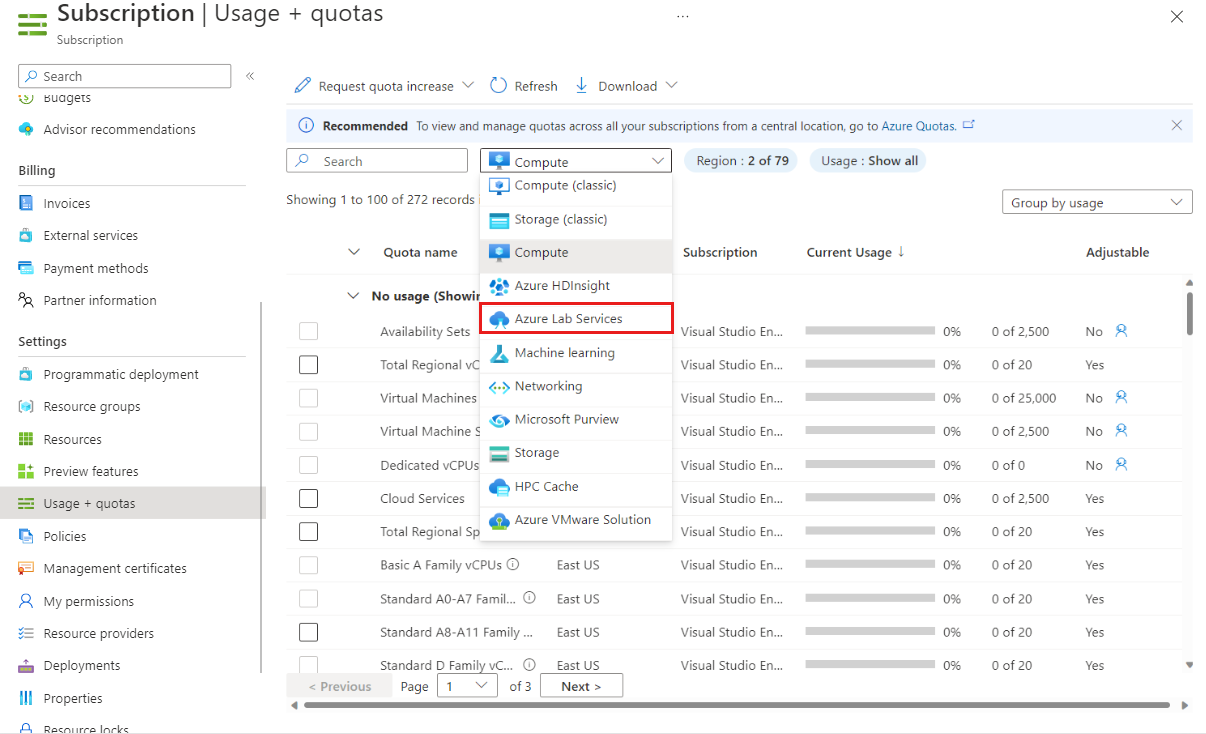
On the Subscription page, under Settings, select Usage + quotas.

To view Usage + quotas information about Azure Lab Services, select Azure Lab Services.
Tip
If you don’t see any data on the Usage + quotas page, or you’re not able to select Azure Lab Services from the list, your subscription may not be registered with Azure Lab Services. Follow the steps in the Register your subscription with Azure Labs Services section below to resolve the issue.
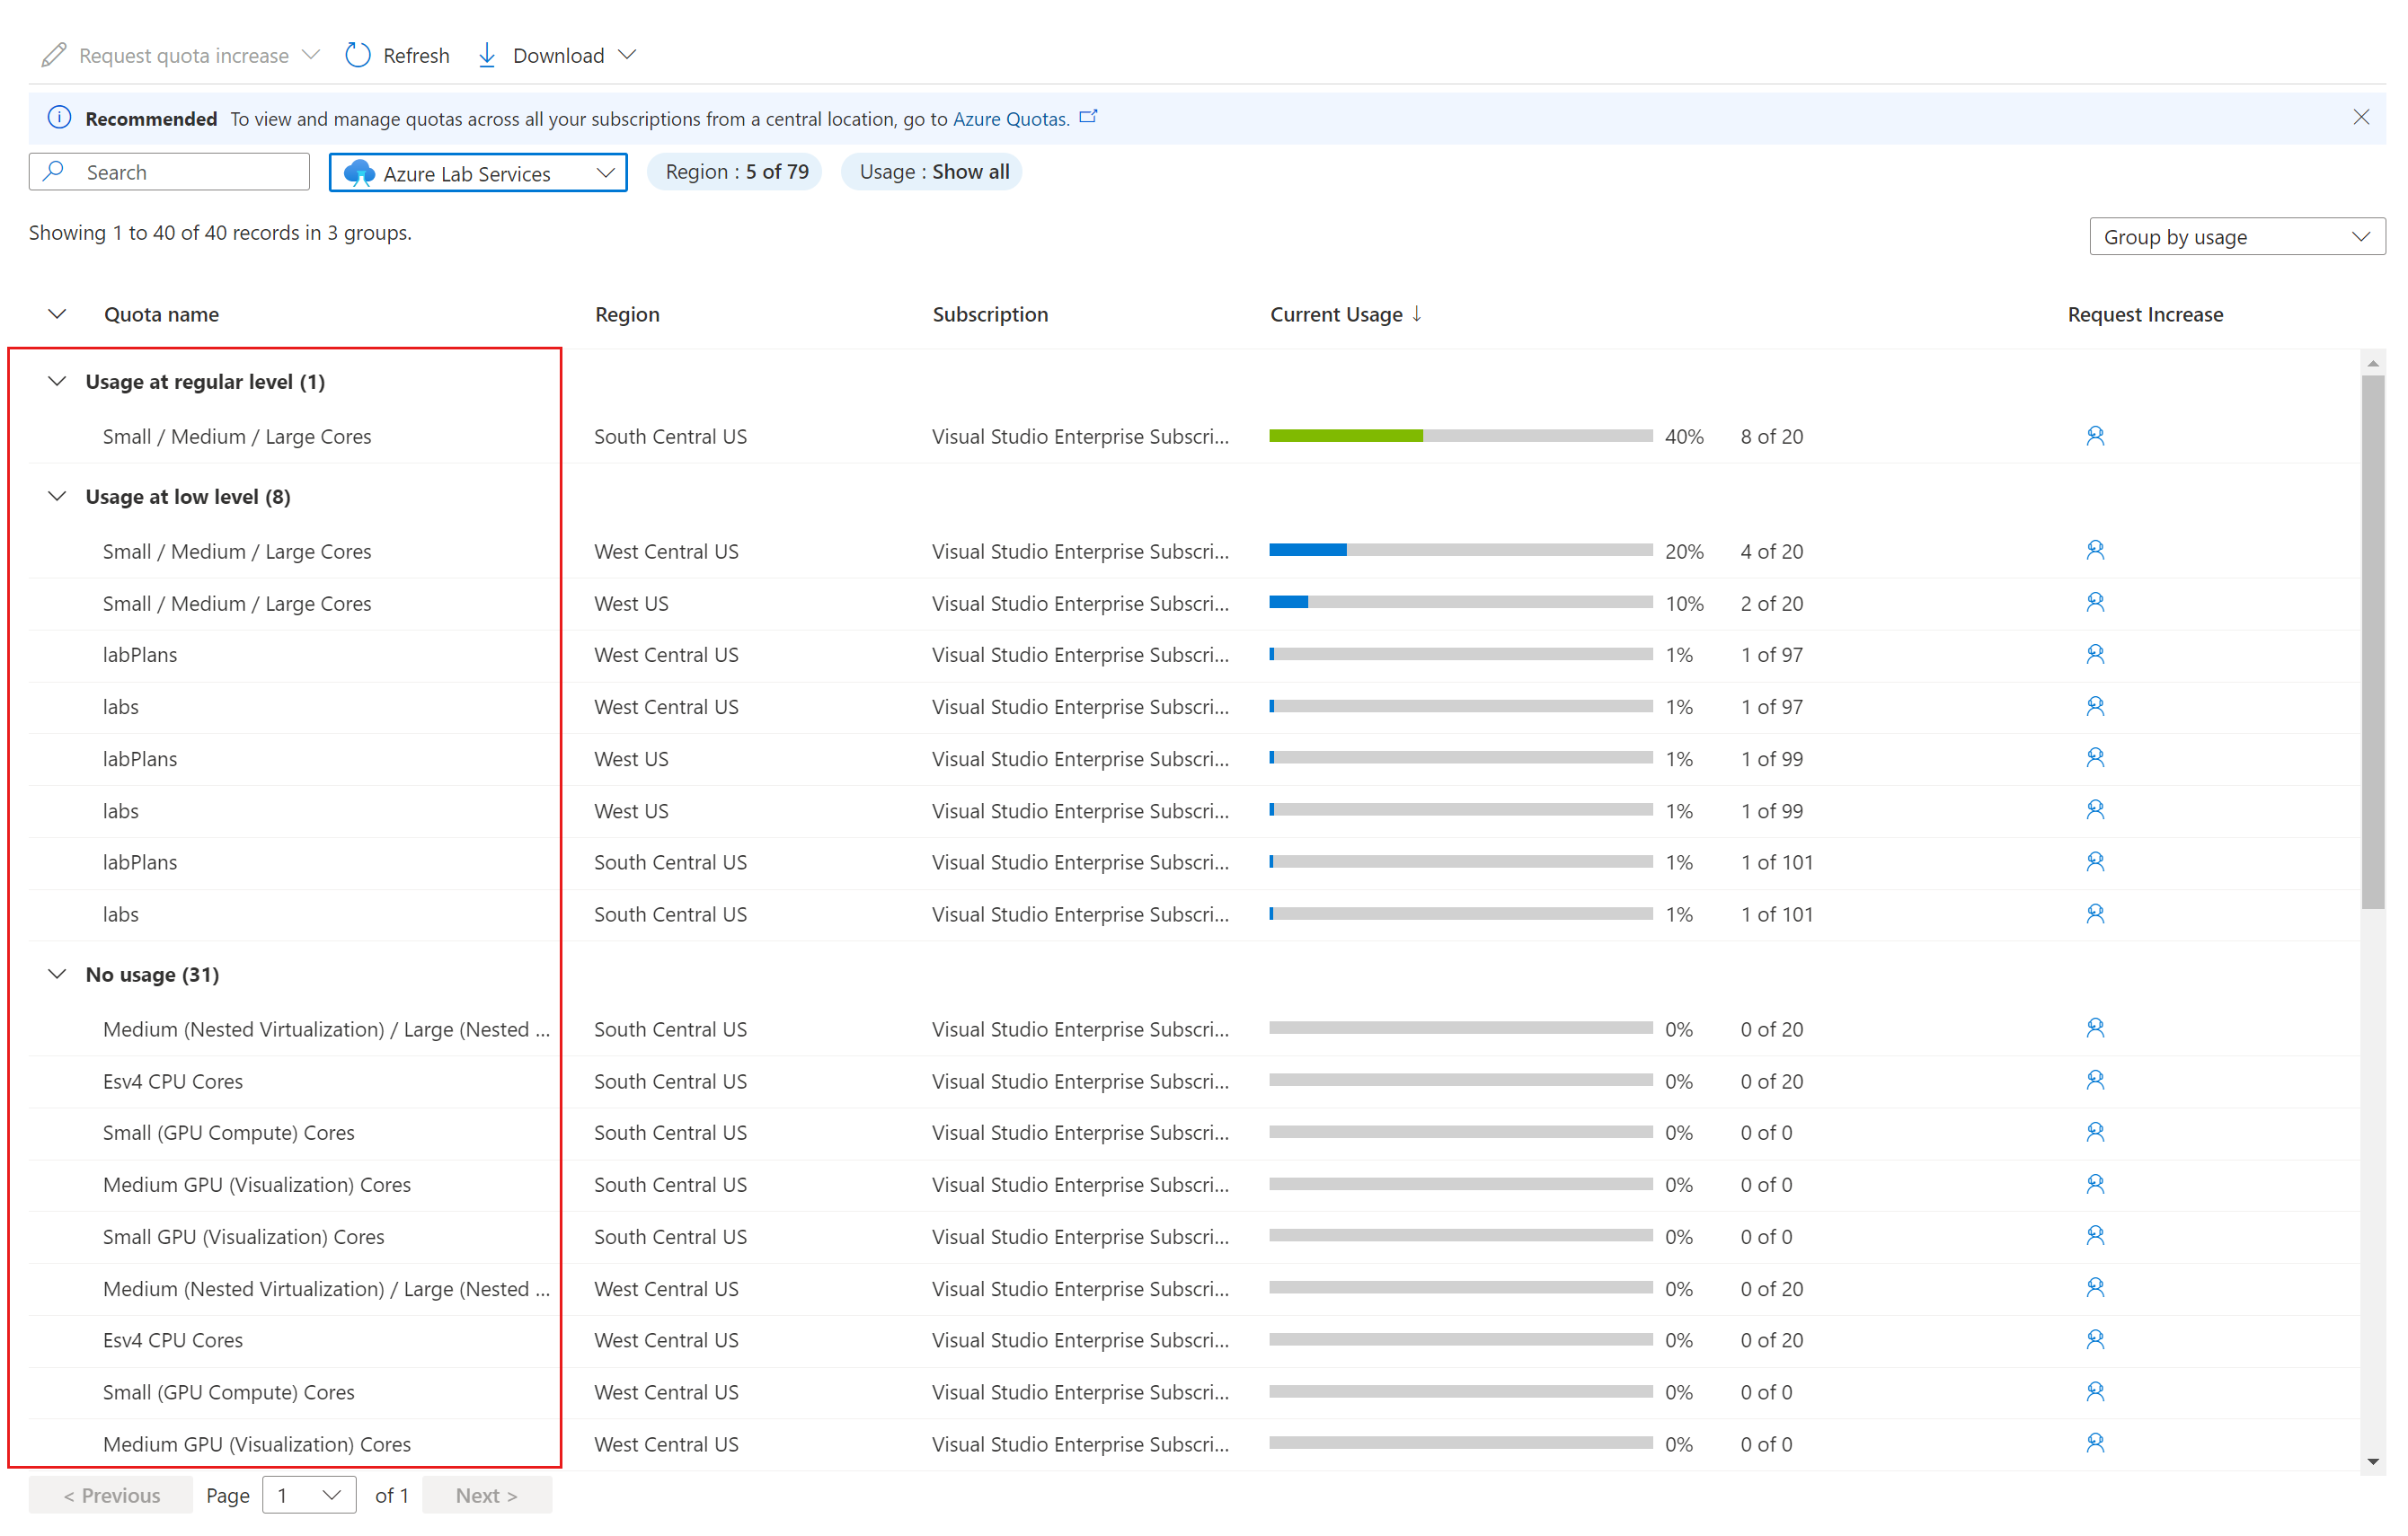
In this example, you can see the Quota name, the Region, the Subscription the quota is assigned to, and the Current Usage.
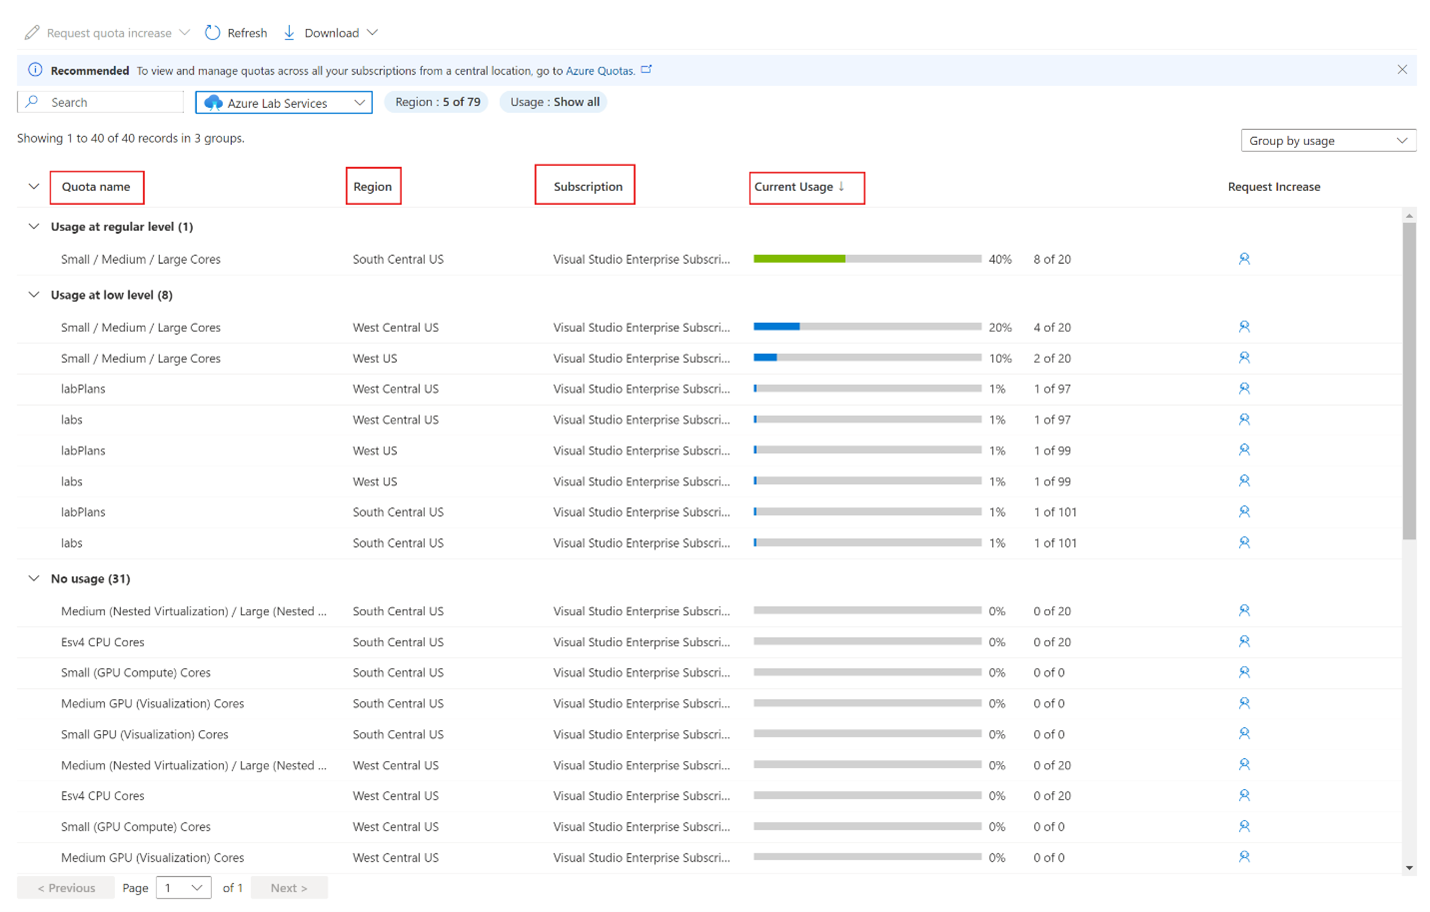
You can also see that the usage is grouped by level; regular, low, and no usage. Within the usage levels, the items are grouped in their sizes – including Small / Medium / Large cores, and by labs and lab plans.
To view quota and usage information for specific regions, select Region: and select the regions to display, and then select Apply.

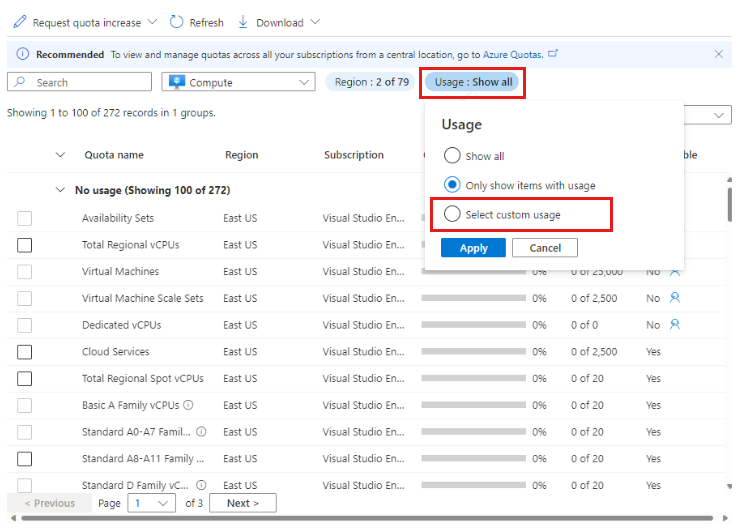
To view only the items that are using part of your quota, select Usage:, and then select Only items with usage.
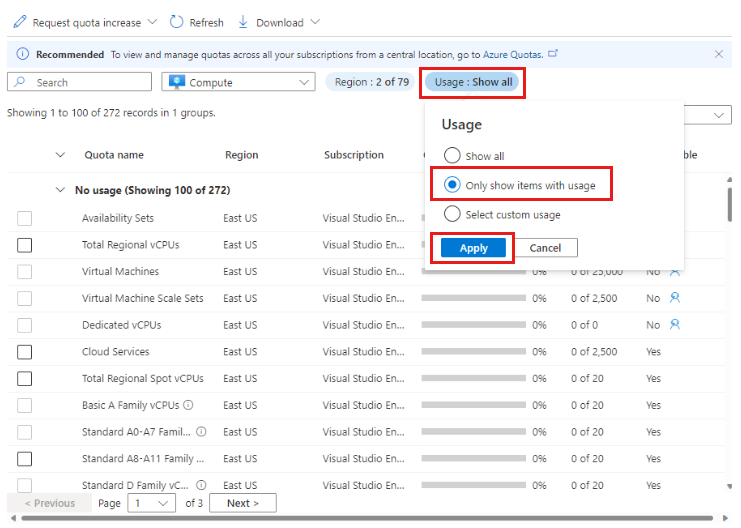
To view items that are using above a certain amount of your quota, select Usage:, and then select Select custom usage.
You can then set a custom usage threshold, so only the items using above the specified percentage of the quota are displayed.
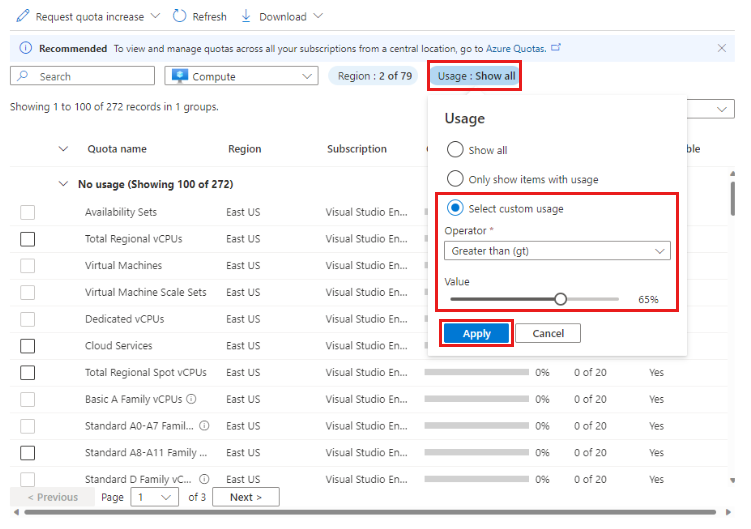
Select Apply.
Each subscription has its own Usage + quotas page, which covers all the various services in the subscription, not just Azure Lab Services. Although you can request a quota increase from the Usage + quotas page, you'll have more relevant information at hand if you make your request from your lab plan page.
Register your subscription with Azure Labs Services
In most cases, Azure Lab Services will register your subscription when you perform certain actions, like creating a lab plan. In some cases, you must register your subscription with the Azure Labs Service manually before you can view your usage and quota information on the Usage + Quotas page.
To register your subscription:
In the Azure portal, go to the subscription you want to examine.
On the Subscription page, under Settings, select Usage + quotas.
If you aren’t registered with Azure Lab Services, you’ll see the message “One or more resource providers selected are not registered for this subscription. To access your quotas, register the resource provider.”
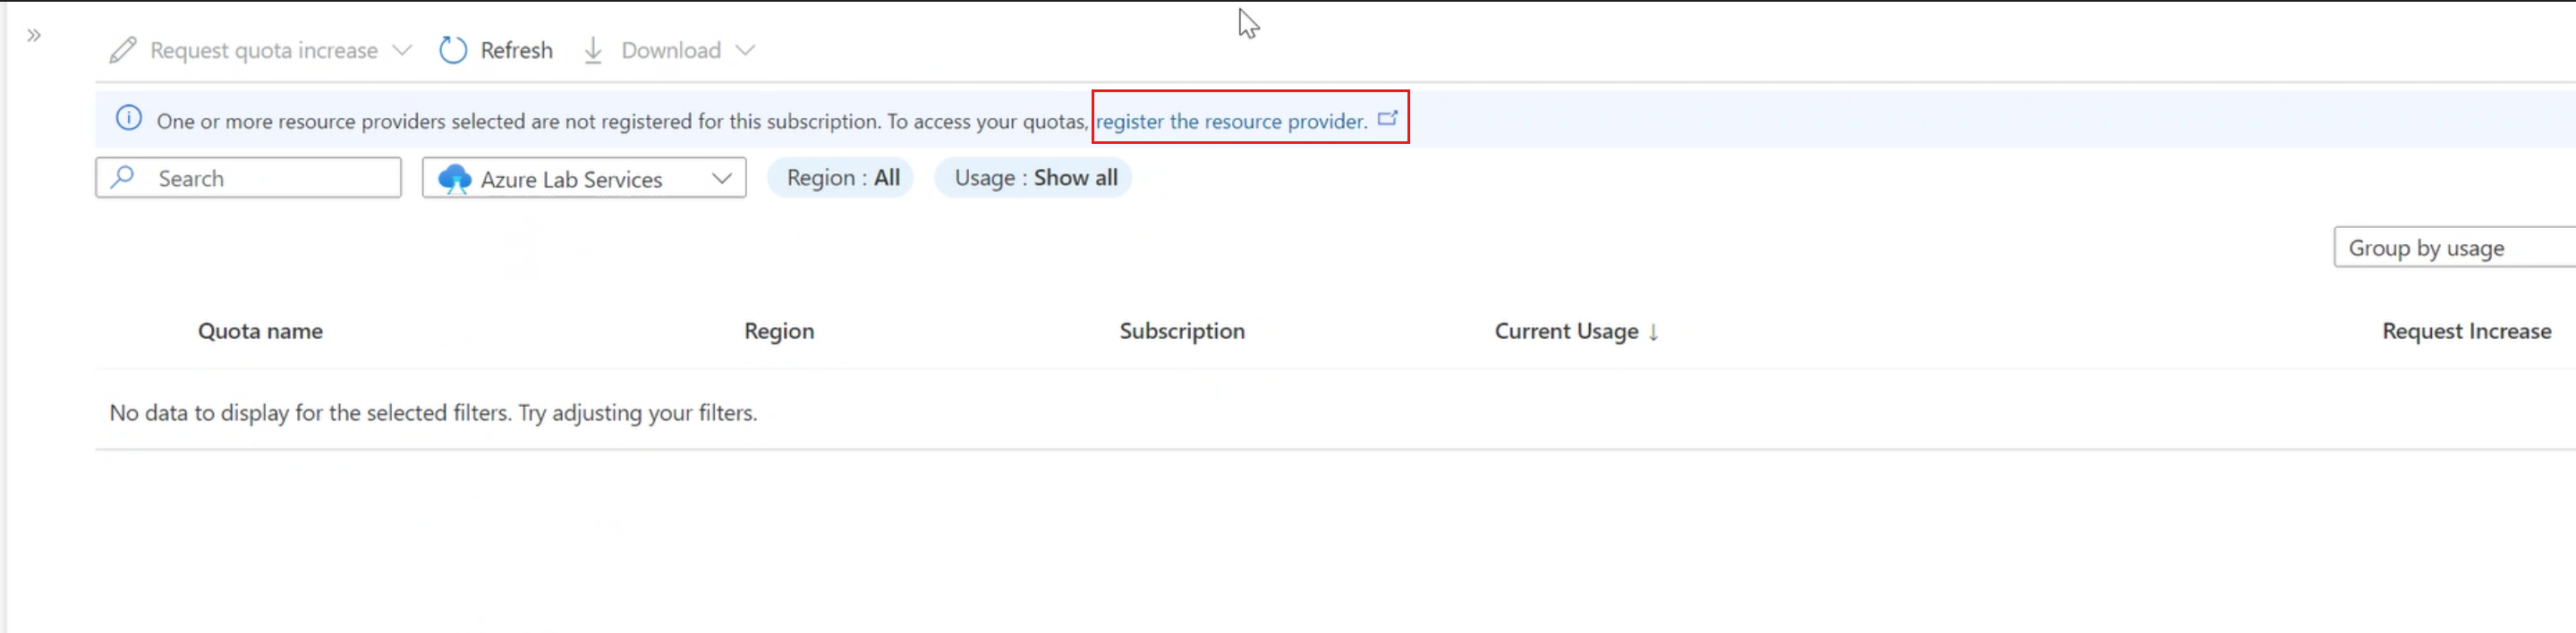
Select the link and follow the instructions to register your account with Azure Lab Services.
Next steps
- Learn more about Capacity limits in Azure Lab Services.
- Learn how to Request a core limit increase.