Note
Access to this page requires authorization. You can try signing in or changing directories.
Access to this page requires authorization. You can try changing directories.
APPLIES TO:  Azure Machine Learning SDK v1 for Python
Important
This article provides information on using the Azure Machine Learning SDK v1. SDK v1 is deprecated as of March 31, 2025. Support for it will end on June 30, 2026. You can install and use SDK v1 until that date. Your existing workflows using SDK v1 will continue to operate after the end-of-support date. However, they could be exposed to security risks or breaking changes in the event of architectural changes in the product.
We recommend that you transition to the SDK v2 before June 30, 2026. For more information on SDK v2, see What is Azure Machine Learning CLI and Python SDK v2? and the SDK v2 reference.
Note
Retired packages: The following SDK v1 pipeline packages are being retired: azureml-train-core, azureml-pipeline, azureml-pipeline-core, azureml-pipeline-internal, and azureml-pipeline-steps. For v2 pipelines, see Build and run machine learning pipelines with Azure Machine Learning CLI/SDK v2.
This article describes how to share a machine learning pipeline with your colleagues or customers.
Machine learning pipelines are reusable workflows for machine learning tasks. One benefit of pipelines is increased collaboration. You can also version pipelines to enable customers to use the current model while you're working on a new version.
Prerequisites
Create an Azure Machine Learning workspace to contain your pipeline resources.
Configure your development environment by installing the Azure Machine Learning SDK, or use an Azure Machine Learning compute instance that already has the SDK installed.
Create and run a machine learning pipeline. One way to meet this requirement is to complete Tutorial: Build an Azure Machine Learning pipeline for batch scoring. For other options, see Create and run machine learning pipelines with Azure Machine Learning SDK.
Publish a pipeline
After you have a running pipeline, you can publish it so that it runs with different inputs. For the REST endpoint of a published pipeline to accept parameters, you must configure your pipeline to use PipelineParameter objects for the arguments that will vary.
To create a pipeline parameter, use a PipelineParameter object with a default value:
from azureml.pipeline.core.graph import PipelineParameter

pipeline_param = PipelineParameter(
  name="pipeline_arg",
  default_value=10)
Add the
PipelineParameterobject as a parameter to any of the steps in the pipeline, as shown here:compareStep = PythonScriptStep( script_name="compare.py", arguments=["--comp_data1", comp_data1, "--comp_data2", comp_data2, "--output_data", out_data3, "--param1", pipeline_param], inputs=[ comp_data1, comp_data2], outputs=[out_data3], compute_target=compute_target, source_directory=project_folder)Publish this pipeline, which will accept a parameter when invoked:
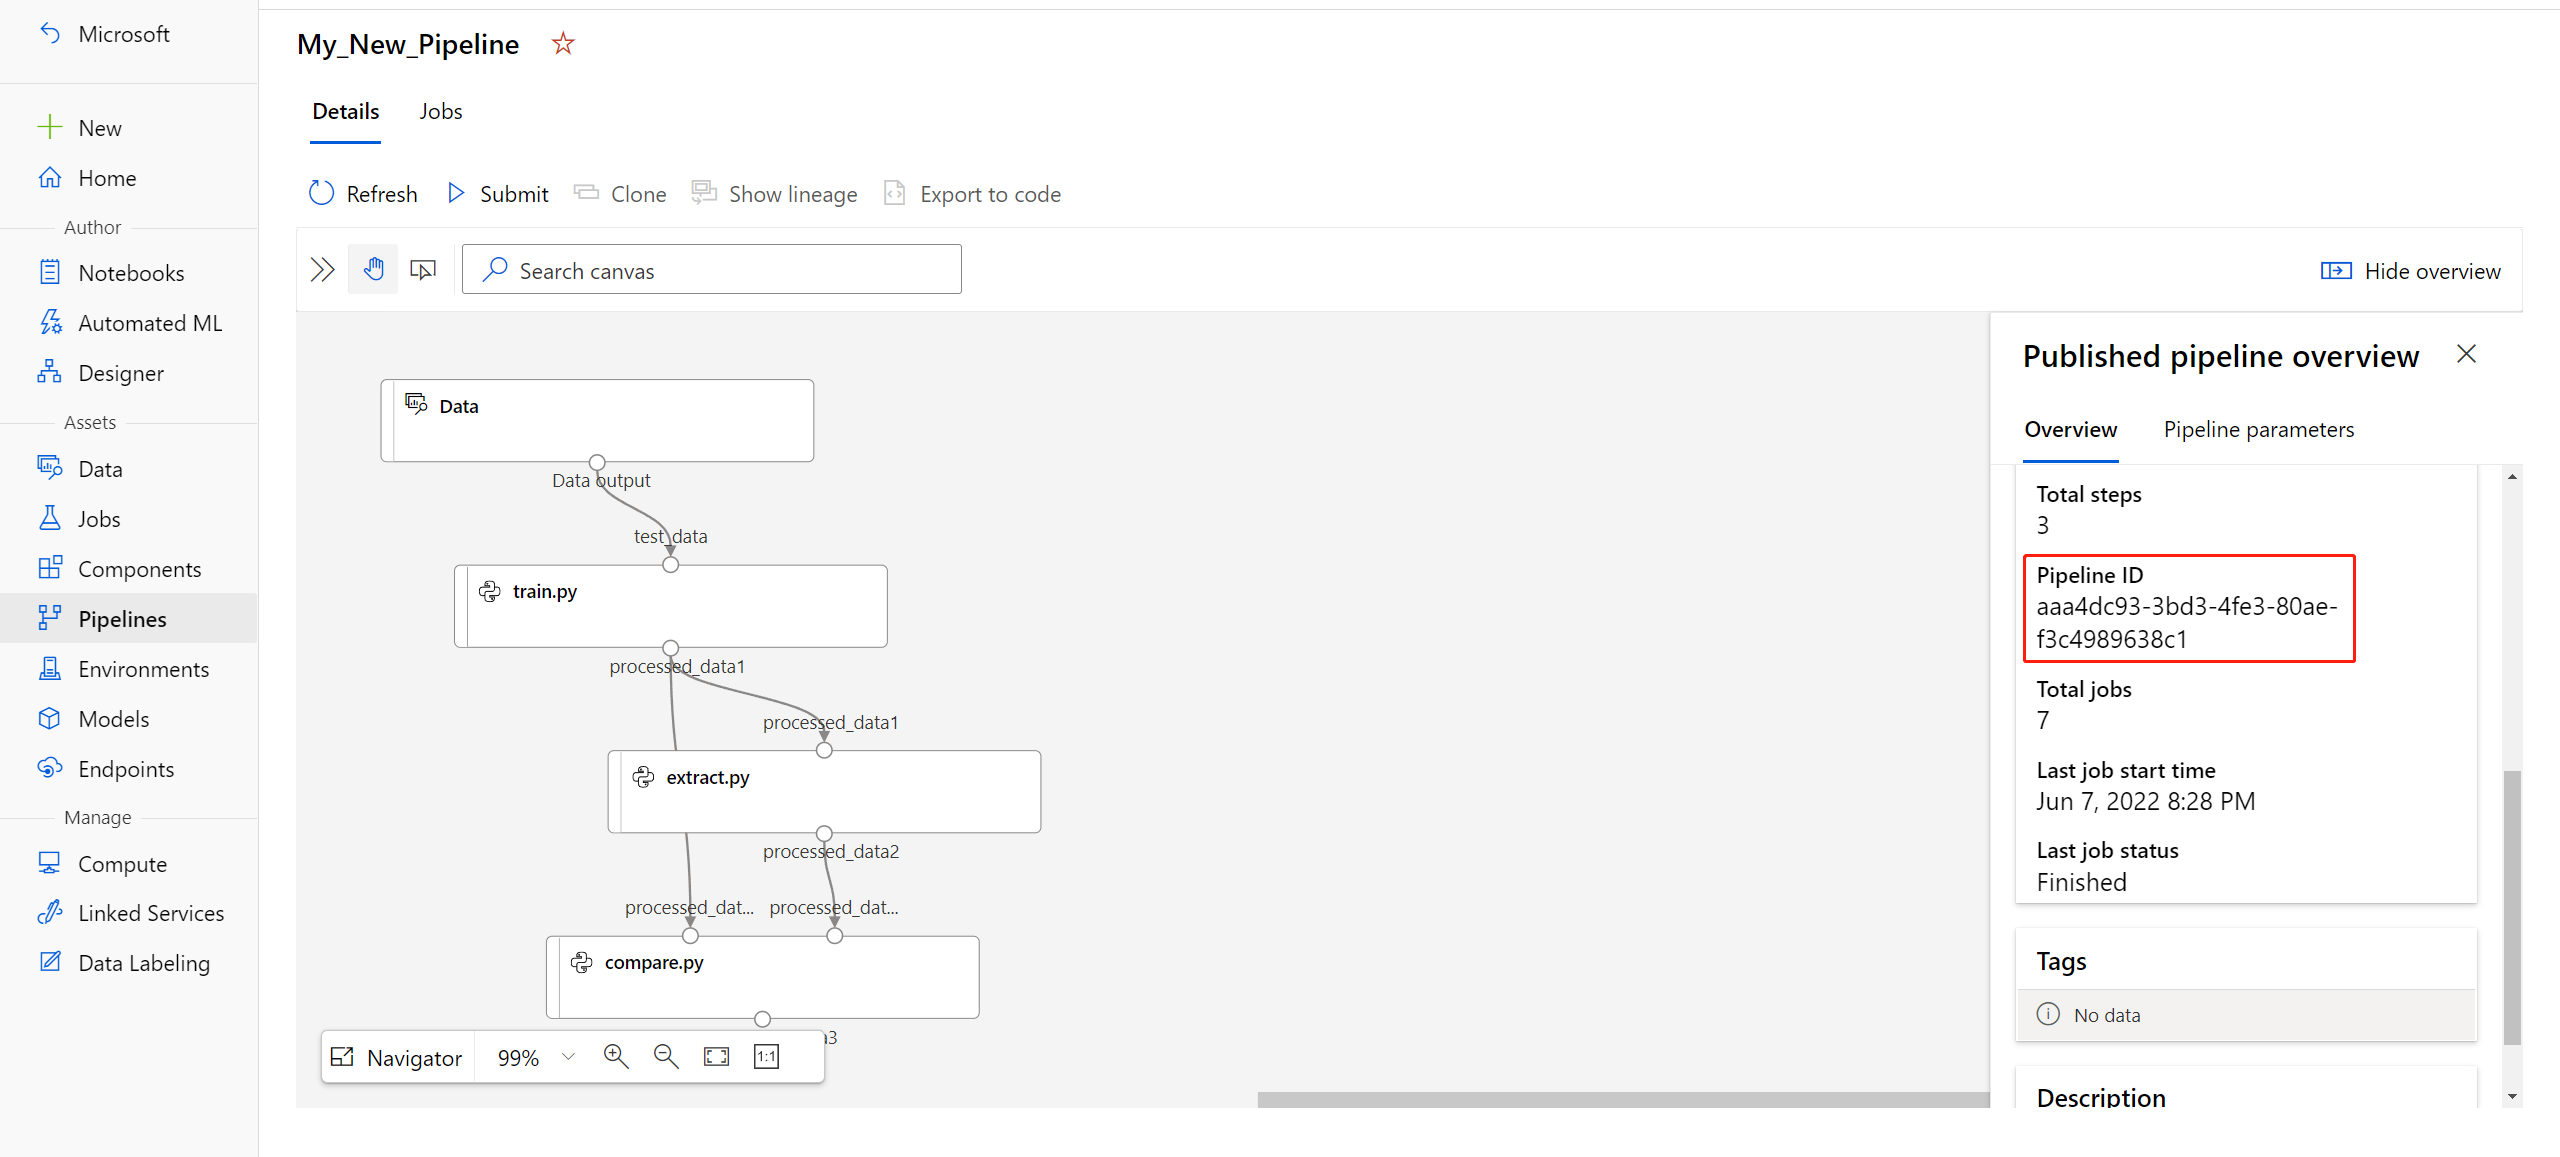
published_pipeline1 = pipeline_run1.publish_pipeline(
     name="My_Published_Pipeline",
     description="My Published Pipeline Description",
     version="1.0")
After you publish your pipeline, you can check it in the UI. Pipeline ID is the unique identifier of the published pipeline.

Run a published pipeline
All published pipelines have a REST endpoint. By using the pipeline endpoint, you can trigger a run of the pipeline from external systems, including non-Python clients. This endpoint enables managed repeatability in batch scoring and retraining scenarios.
Important
If you use Azure role-based access control (RBAC) to manage access to your pipeline, set the permissions for your pipeline scenario (training or scoring).
To invoke the run of the preceding pipeline, you need a Microsoft Entra authentication header token. The process for getting a token is described in the AzureCliAuthentication class reference and in the Authentication in Azure Machine Learning notebook.
from azureml.pipeline.core import PublishedPipeline
import requests

response = requests.post(published_pipeline1.endpoint,
                         headers=aad_token,
                         json={"ExperimentName": "My_Pipeline",
                               "ParameterAssignments": {"pipeline_arg": 20}})
The json argument to the POST request must contain, for the ParameterAssignments key, a dictionary that contains the pipeline parameters and their values. In addition, the json argument can contain the following keys:
| Key | Description |
|---|---|
ExperimentName |
The name of the experiment associated with the endpoint. |
Description |
Freeform text that describes the endpoint. |
Tags |
Freeform key-value pairs that can be used to label and annotate requests. |
DataSetDefinitionValueAssignments |
A dictionary that's used for changing datasets without retraining. (See the discussion later in this article.) |
DataPathAssignments |
A dictionary that's used for changing datapaths without retraining. (See the discussion later in this article.) |
Run a published pipeline by using C#
The following code shows how to call a pipeline asynchronously from C#. The partial code snippet just shows the call structure. It doesn't show complete classes or error handling. It isn't part of a Microsoft sample.
[DataContract]
public class SubmitPipelineRunRequest
{
    [DataMember]
    public string ExperimentName { get; set; }

    [DataMember]
    public string Description { get; set; }

    [DataMember(IsRequired = false)]
    public IDictionary<string, string> ParameterAssignments { get; set; }
}

// ... in its own class and method ...
const string RestEndpoint = "your-pipeline-endpoint";

using (HttpClient client = new HttpClient())
{
    var submitPipelineRunRequest = new SubmitPipelineRunRequest()
    {
        ExperimentName = "YourExperimentName",
        Description = "Asynchronous C# REST api call",
        ParameterAssignments = new Dictionary<string, string>
        {
            {
                // Replace with your pipeline parameter keys and values
                "your-pipeline-parameter", "default-value"
            }
        }
    };

    string auth_key = "your-auth-key";
    client.DefaultRequestHeaders.Authorization = new AuthenticationHeaderValue("Bearer", auth_key);

    // Submit the job
    var requestPayload = JsonConvert.SerializeObject(submitPipelineRunRequest);
    var httpContent = new StringContent(requestPayload, Encoding.UTF8, "application/json");
    var submitResponse = await client.PostAsync(RestEndpoint, httpContent).ConfigureAwait(false);
    if (!submitResponse.IsSuccessStatusCode)
    {
        await WriteFailedResponse(submitResponse); // ... method not shown ...
        return;
    }

    var result = await submitResponse.Content.ReadAsStringAsync().ConfigureAwait(false);
    var obj = JObject.Parse(result);
    // ... use `obj` dictionary to access results
}
Run a published pipeline by using Java
The following code shows a call to a pipeline that requires authentication. (See Set up authentication for Azure Machine Learning resources and workflows.) If your pipeline is deployed publicly, you don't need the calls that produce authKey. The partial code snippet doesn't show Java class and exception-handling boilerplate. The code uses Optional.flatMap for chaining together functions that might return an empty Optional. The use of flatMap shortens and clarifies the code, but note that getRequestBody() swallows exceptions.
import java.net.URI;
import java.net.http.HttpClient;
import java.net.http.HttpRequest;
import java.net.http.HttpResponse;
import java.util.Optional;
// JSON library
import com.google.gson.Gson;

String scoringUri = "scoring-endpoint";
String tenantId = "your-tenant-id";
String clientId = "your-client-id";
String clientSecret = "your-client-secret";
String resourceManagerUrl = "https://management.azure.com";
String dataToBeScored = "{ \"ExperimentName\" : \"My_Pipeline\", \"ParameterAssignments\" : { \"pipeline_arg\" : \"20\" }}";

HttpClient client = HttpClient.newBuilder().build();
Gson gson = new Gson();

HttpRequest tokenAuthenticationRequest = tokenAuthenticationRequest(tenantId, clientId, clientSecret, resourceManagerUrl);
Optional<String> authBody = getRequestBody(client, tokenAuthenticationRequest);
Optional<String> authKey = authBody.flatMap(body -> Optional.of(gson.fromJson(body, AuthenticationBody.class).access_token));
Optional<HttpRequest> scoringRequest = authKey.flatMap(key -> Optional.of(scoringRequest(key, scoringUri, dataToBeScored)));
Optional<String> scoringResult = scoringRequest.flatMap(req -> getRequestBody(client, req));
// ... etc. (`scoringResult.orElse()`) ...

static HttpRequest tokenAuthenticationRequest(String tenantId, String clientId, String clientSecret, String resourceManagerUrl)
{
    String authUrl = String.format("https://login.microsoftonline.com/%s/oauth2/token", tenantId);
    String clientIdParam = String.format("client_id=%s", clientId);
    String resourceParam = String.format("resource=%s", resourceManagerUrl);
    String clientSecretParam = String.format("client_secret=%s", clientSecret);

    String bodyString = String.format("grant_type=client_credentials&%s&%s&%s", clientIdParam, resourceParam, clientSecretParam);

    HttpRequest request = HttpRequest.newBuilder()
        .uri(URI.create(authUrl))
        .POST(HttpRequest.BodyPublishers.ofString(bodyString))
        .build();
    return request;
}

static HttpRequest scoringRequest(String authKey, String scoringUri, String dataToBeScored)
{
    HttpRequest request = HttpRequest.newBuilder()
        .uri(URI.create(scoringUri))
        .header("Authorization", String.format("Token %s", authKey))
        .POST(HttpRequest.BodyPublishers.ofString(dataToBeScored))
        .build();
    return request;

}

static Optional<String> getRequestBody(HttpClient client, HttpRequest request) {
    try {
        HttpResponse<String> response = client.send(request, HttpResponse.BodyHandlers.ofString());
        if (response.statusCode() != 200) {
            System.out.println(String.format("Unexpected server response %d", response.statusCode()));
            return Optional.empty();
        }
        return Optional.of(response.body());
    }catch(Exception x)
    {
        System.out.println(x.toString());
        return Optional.empty();
    }
}

class AuthenticationBody {
    String access_token;
    String token_type;
    int expires_in;
    String scope;
    String refresh_token;
    String id_token;

    AuthenticationBody() {}
}
Change datasets and datapaths without retraining
You might want to train and inference on different datasets and datapaths. For example, you might want to train on a smaller dataset but inference on the complete dataset. You can switch datasets by using the DataSetDefinitionValueAssignments key in the request's json argument. You can switch datapaths by using DataPathAssignments. The technique is similar for both:
In your pipeline definition script, create a
PipelineParameterfor the dataset. Create aDatasetConsumptionConfigorDataPathfrom thePipelineParameter:tabular_dataset = Dataset.Tabular.from_delimited_files('https://dprepdata.blob.core.windows.net/demo/Titanic.csv') tabular_pipeline_param = PipelineParameter(name="tabular_ds_param", default_value=tabular_dataset) tabular_ds_consumption = DatasetConsumptionConfig("tabular_dataset", tabular_pipeline_param)In your machine learning script, access the dynamically specified dataset by using
Run.get_context().input_datasets:from azureml.core import Run input_tabular_ds = Run.get_context().input_datasets['tabular_dataset'] dataframe = input_tabular_ds.to_pandas_dataframe() # ... etc. ...Notice that the machine learning script accesses the value specified for
DatasetConsumptionConfig(tabular_dataset) and not the value ofPipelineParameter(tabular_ds_param).In your pipeline definition script, set
DatasetConsumptionConfigas a parameter toPipelineScriptStep:train_step = PythonScriptStep( name="train_step", script_name="train_with_dataset.py", arguments=["--param1", tabular_ds_consumption], inputs=[tabular_ds_consumption], compute_target=compute_target, source_directory=source_directory) pipeline = Pipeline(workspace=ws, steps=[train_step])To switch datasets dynamically in your inferencing REST call, use
DataSetDefinitionValueAssignments:tabular_ds1 = Dataset.Tabular.from_delimited_files('path_to_training_dataset') tabular_ds2 = Dataset.Tabular.from_delimited_files('path_to_inference_dataset') ds1_id = tabular_ds1.id d22_id = tabular_ds2.id response = requests.post(rest_endpoint, headers=aad_token, json={ "ExperimentName": "MyRestPipeline", "DataSetDefinitionValueAssignments": { "tabular_ds_param": { "SavedDataSetReference": {"Id": ds1_id #or ds2_id }}}})
The notebooks Showcasing Dataset and PipelineParameter and Showcasing DataPath and PipelineParameter include complete examples of this technique.
Create a versioned pipeline endpoint
You can create a pipeline endpoint that has multiple published pipelines behind it. This technique gives you a fixed REST endpoint as you iterate on and update your machine learning pipelines.
from azureml.pipeline.core import PipelineEndpoint

published_pipeline = PublishedPipeline.get(workspace=ws, id="My_Published_Pipeline_id")
pipeline_endpoint = PipelineEndpoint.publish(workspace=ws, name="PipelineEndpointTest",
                                            pipeline=published_pipeline, description="Test description Notebook")
Submit a job to a pipeline endpoint
You can submit a job to the default version of a pipeline endpoint:
pipeline_endpoint_by_name = PipelineEndpoint.get(workspace=ws, name="PipelineEndpointTest")
run_id = pipeline_endpoint_by_name.submit("PipelineEndpointExperiment")
print(run_id)
You can also submit a job to a specific version:
run_id = pipeline_endpoint_by_name.submit("PipelineEndpointExperiment", pipeline_version="0")
print(run_id)
You can accomplish the same thing by using the REST API:
rest_endpoint = pipeline_endpoint_by_name.endpoint
response = requests.post(rest_endpoint,
                         headers=aad_token,
                         json={"ExperimentName": "PipelineEndpointExperiment",
                               "RunSource": "API",
                               "ParameterAssignments": {"1": "united", "2":"city"}})
Use published pipelines in the studio
You can also run a published pipeline from the studio:
Sign in to Azure Machine Learning studio.
In the left menu, select Endpoints.
Select Pipeline endpoints:
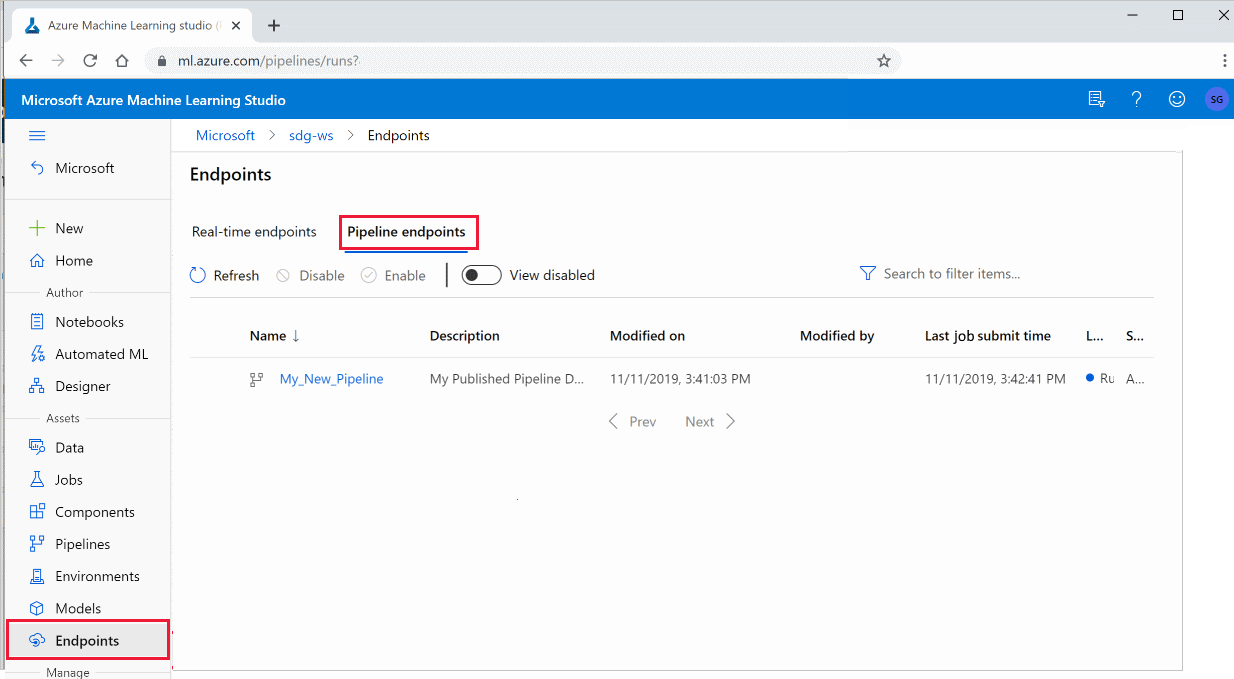
Select a specific pipeline to run, consume, or review results of previous runs of the pipeline endpoint.

Disable a published pipeline
To hide a pipeline from your list of published pipelines, you disable it, either in the studio or via the SDK:
# Get the pipeline by using its ID from Azure Machine Learning studio
p = PublishedPipeline.get(ws, id="068f4885-7088-424b-8ce2-eeb9ba5381a6")
p.disable()
You can enable it again by using p.enable(). For more information, see the PublishedPipeline class reference.
Next steps
Note
These are SDK v1 packages; see the deprecation notice at the top of this article.
- Use these Jupyter notebooks on GitHub to further explore machine learning pipelines.
- See the SDK reference for the azureml-pipelines-core package and the azureml-pipelines-steps package.
- For tips on debugging and troubleshooting pipelines, see How to debug pipelines.