Azure Data Explorer is a logs & telemetry data exploration service. In this guide, you learn how to add an Azure Data Explorer data source to Grafana and you learn how to configure Azure Data Explorer using each authentication option available for this data source.
Add an Azure Data Explorer data source to Grafana by following the steps below.
Open an Azure Managed Grafana instance in the Azure portal.
In the Overview section, open the Endpoint URL.
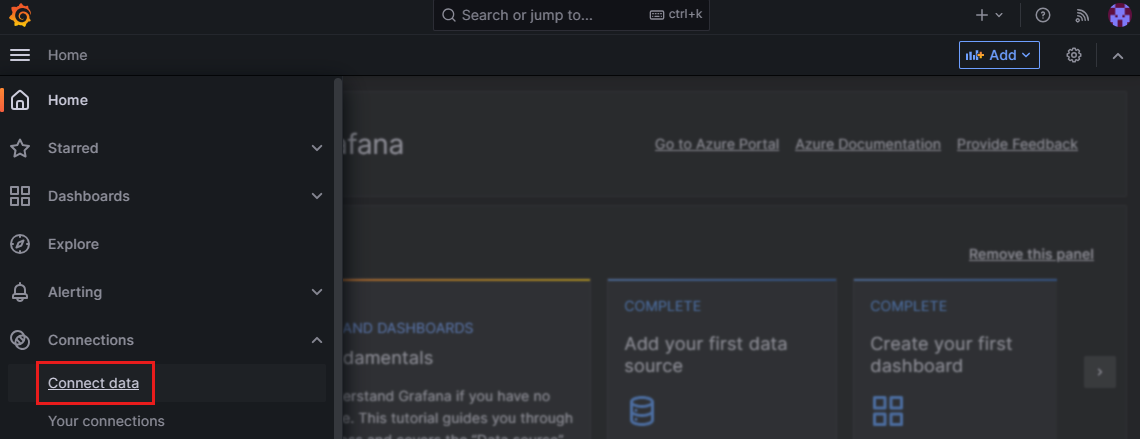
In the Grafana portal, deploy the menu on the left and select Connections > Connect data.
Select Azure Data Explorer Datasource from the list, and add it to Grafana by selecting Create a Azure Data Explorer Datasource data source.
Configure an Azure Data Explorer data source
Enter Azure Data Explorer configuration settings.
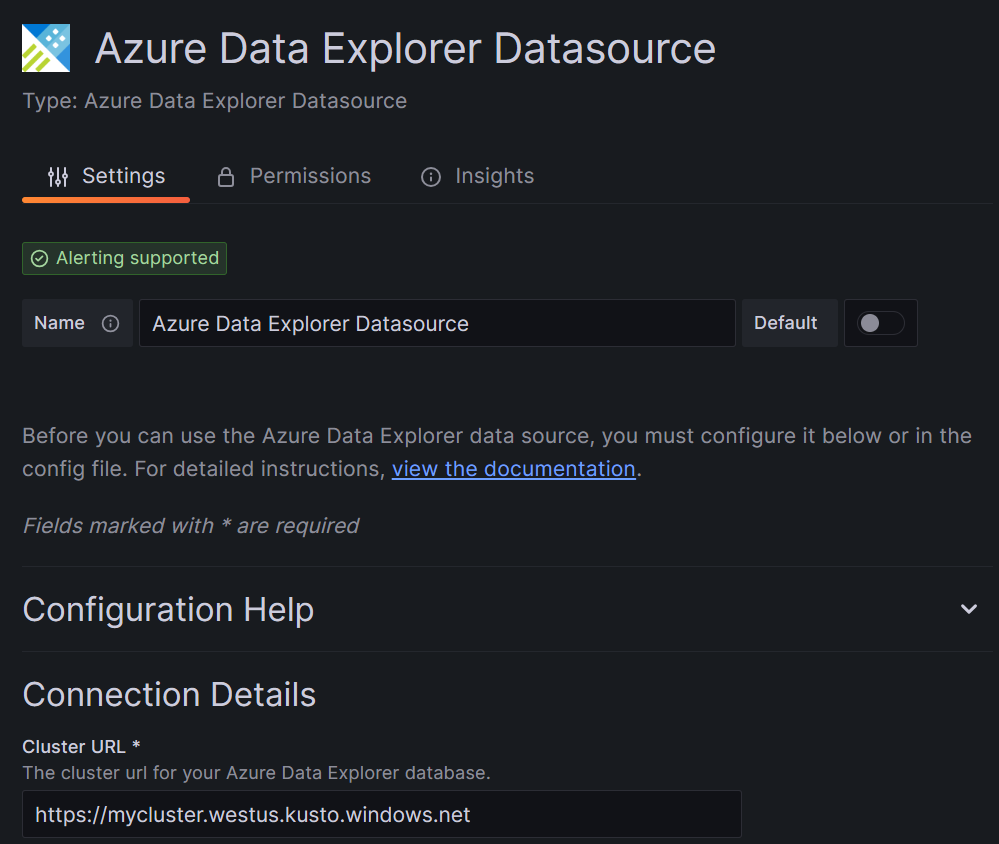
In the Settings tab, optionally edit the data source Name.
Under Connection Details, enter the Azure Data Explorer database Cluster URL.
Select your preferred authentication option between Managed Identity, App Registration (service principal) or Current User (user-based authentication).
Follow the three first steps of the Retrieve application details guide to gather the Directory (tenant) ID, Application (client) ID and Client Secret ID required in the next step.
Configure the data source in Grafana
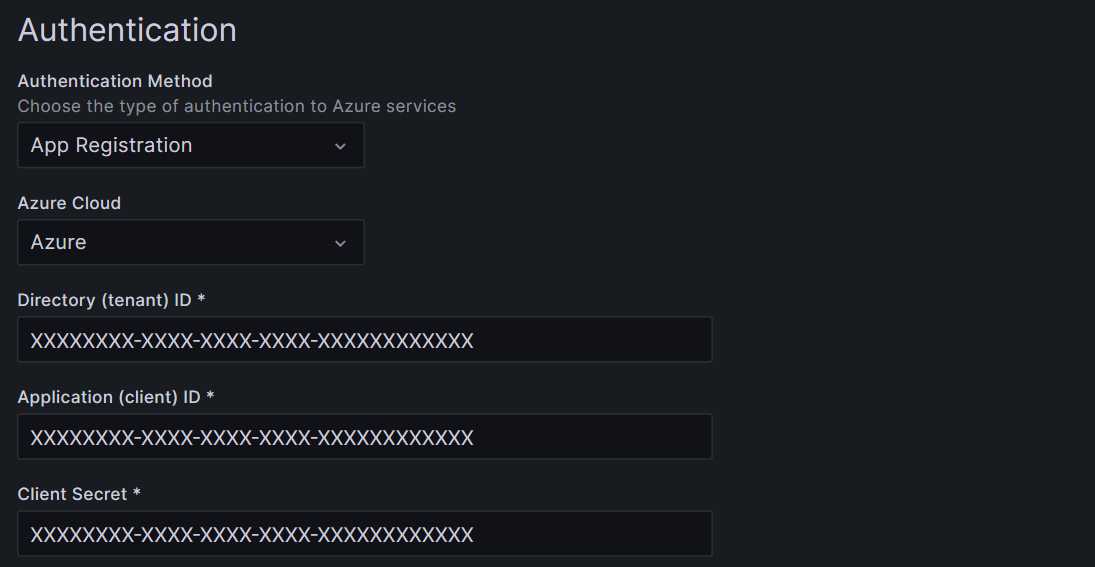
In Grafana, under Authentication Method, select App Registration.
For Azure Cloud, select your Azure Cloud. For example, Azure.
Enter a Directory (tenant) ID, Application (client) ID and Client Secret
Optionally also edit the Query Optimizations, Database schema settings, and Tracking sections.
Select Save & test to validate the connection. The "Success" notification displayed indicates that Grafana is able to connect to the database.
Use the user-based authentication method, leveraging the current Grafana user's Microsoft Entra ID credentials in the configured data source.
When you configure an Azure Data Explorer data source with the Current User authentication method, Grafana queries Azure Data Explorer using the user's credentials.
Caution
User-based authentication in Grafana data sources is experimental.
Caution
This feature is incompatible with use cases that requires always-on machine access to the queried data, including Alerting, Reporting, Query caching and Public dashboards. The Current User authentication method relies on a user being logged in, in an interactive session, for Grafana to reach the database. When user-based authentication is used and no user is logged in, automated tasks can't run in the background. To leverage automated tasks for Azure Data Explorer, we recommend setting up another Azure Data Explorer data source using another authentication method.
Add a new permission
Add a new permission for your user account to access the database.
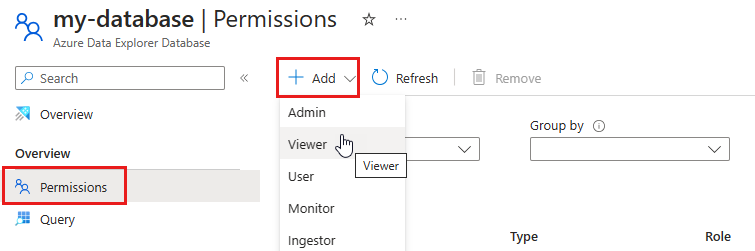
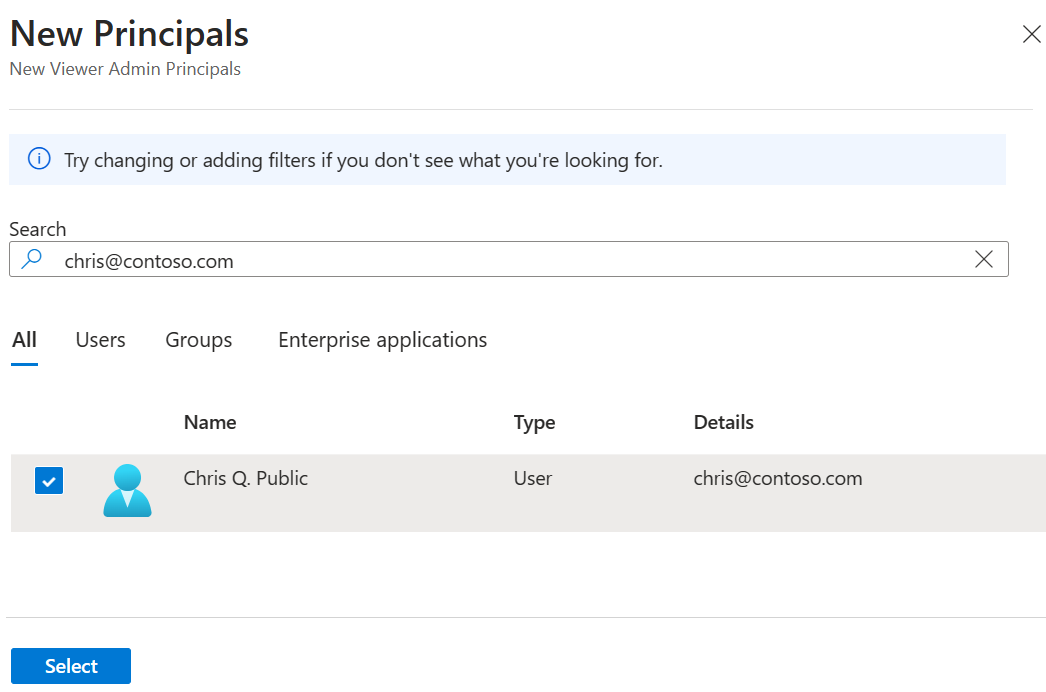
In the Azure portal, open the Azure Data Explorer Database resource, and select Permissions > Add > Viewer.
Enter your name or email address in the search bar, select your user account and choose Select.
A notification confirms that the permission has been added to the database.
Configure the data source in Grafana
In Grafana, under Authentication Method, select Current User.
Select Save & test. The "Success" notification displayed indicates that Grafana is able to fetch data from the database.
Create an Azure Data Explorer data source
In the Azure CLI, add and configure an Azure Data Explorer data source, by running the az grafana data-source create command. Choose your preferred authentication method and refer to the corresponding tab below for details.
When running these commands, replace all placeholders with your own information.
Authenticate with the current user method. This method leverages the current Grafana user's Microsoft Entra ID credentials in the configured data source.
When you configure an Azure Data Explorer data source with the Current User authentication method, Grafana queries Azure Data Explorer using the user's credentials.
Note
Rollout of the user-based authentication in Azure Managed Grafana is in progress and will be complete in all regions by the end of 2023.
Caution
User-based authentication in Grafana data sources is experimental.
Caution
This feature is incompatible with use cases that requires always-on machine access to the queried data, including Alerting, Reporting, Query caching and Public dashboards. The Current User authentication method relies on a user being logged in, in an interactive session, for Grafana to reach the database. When user-based authentication is used and no user is logged in, automated tasks can't run in the background. To leverage automated tasks for Azure Data Explorer, we recommend setting up another Azure Data Explorer data source using another authentication method.
az grafana data-source list --resource-group <azure-managed-grafana-resource-group> --name <azure-managed-grafana-workspace> --query "[?type=='grafana-azure-data-explorer-datasource'].id"