Note
Access to this page requires authorization. You can try signing in or changing directories.
Access to this page requires authorization. You can try changing directories.
Applies to: Azure Logic Apps (Consumption)
This quickstart shows how to create an automated workflow using Azure Logic Apps with Azure Database for MySQL Flexible Server Connector (Preview).
Prerequisites
An Azure account and subscription. If you don't have a subscription, sign up for a free Azure account.
Create an Azure Database for MySQL Flexible Server instance using Quickstart: Create an instance of Azure Database for MySQL with the Azure portal
or Quickstart: Create an instance of Azure Database for MySQL - Flexible Server by using the Azure CLI if you don't have one.Get the inbound and outbound IP addresses used by the Logic Apps service in the Azure region where you create your logic app workflow.
Configure networking settings of Azure Database for MySQL Flexible Server to make sure your logic Apps IP address have access to it. If you're using Azure App Service or Azure Kubernetes service, enable Allow public access from any Azure service within Azure to this server setting in the Azure portal.
Populate the database server with a new database
orderdband a tableordersusing the SQL script.
CREATE DATABASE `orderdb`;
USE `orderdb`;
CREATE TABLE `orders` (
  `orderNumber` int(11) NOT NULL,
  `orderDate` date NOT NULL,
  `status` varchar(15) NOT NULL,
  PRIMARY KEY (`orderNumber`),
 ) ;
Create a Consumption logic app resource
Sign in to the Azure portal with your Azure account.
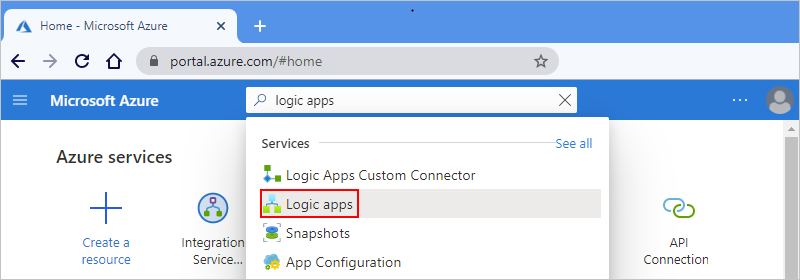
In the Azure search box, enter
logic apps, and select Logic apps.On the Logic apps page, select Add.
On the Create Logic App pane, on the Basics tab, provide the following basic information about your logic app:
- Subscription: Your Azure subscription name.
- Resource Group: The Azure resource group where you create your logic app and related resources. This name must be unique across regions and can contain only letters, numbers, hyphens (-), underscores (_), parentheses (()), and periods (.).
- Logic App name: Your logic app name, which must be unique across regions and can contain only letters, numbers, hyphens (
-), underscores (_), parentheses ((,)), and periods (.).
Before you continue making selections, go to the Plan section. For Plan type, select Consumption so that you view only the settings that apply to the Consumption plan-based logic app type. The Plan type property specifies the logic app type and billing model to use.
Now continue making the following selections:
- Region: The Azure datacenter region for storing your app's information. This example deploys the sample logic app to the West US region in Azure.
- Enable log analytics: This option appears and applies only when you select the Consumption logic app type.
Change this option only when you want to enable diagnostic logging. For this quickstart, keep the default selection.
When you're ready, select Review + Create.
On the validation page that appears, confirm all the information that you provided, and select Create.
Select HTTP request trigger template
Follow this section to create a new logic app starting with a When an HTTP Request is received trigger to perform a data operation on the Azure Database for MySQL Flexible Server database.
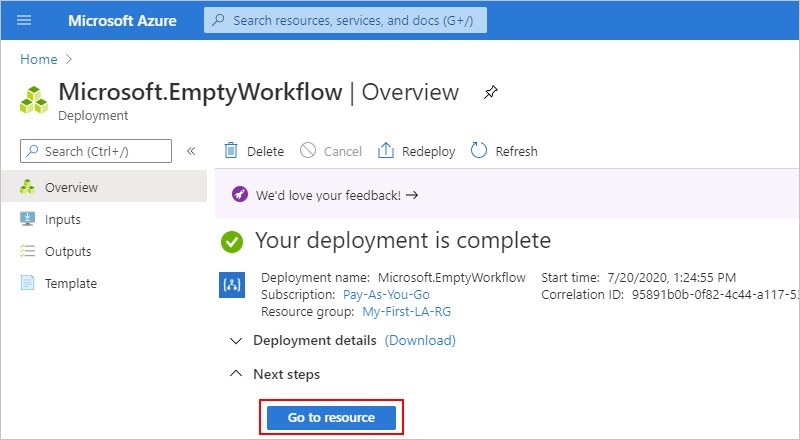
After Azure successfully deploys your app, select Go to resource. Or, find and select your logic app resource by typing the name in the Azure search box.
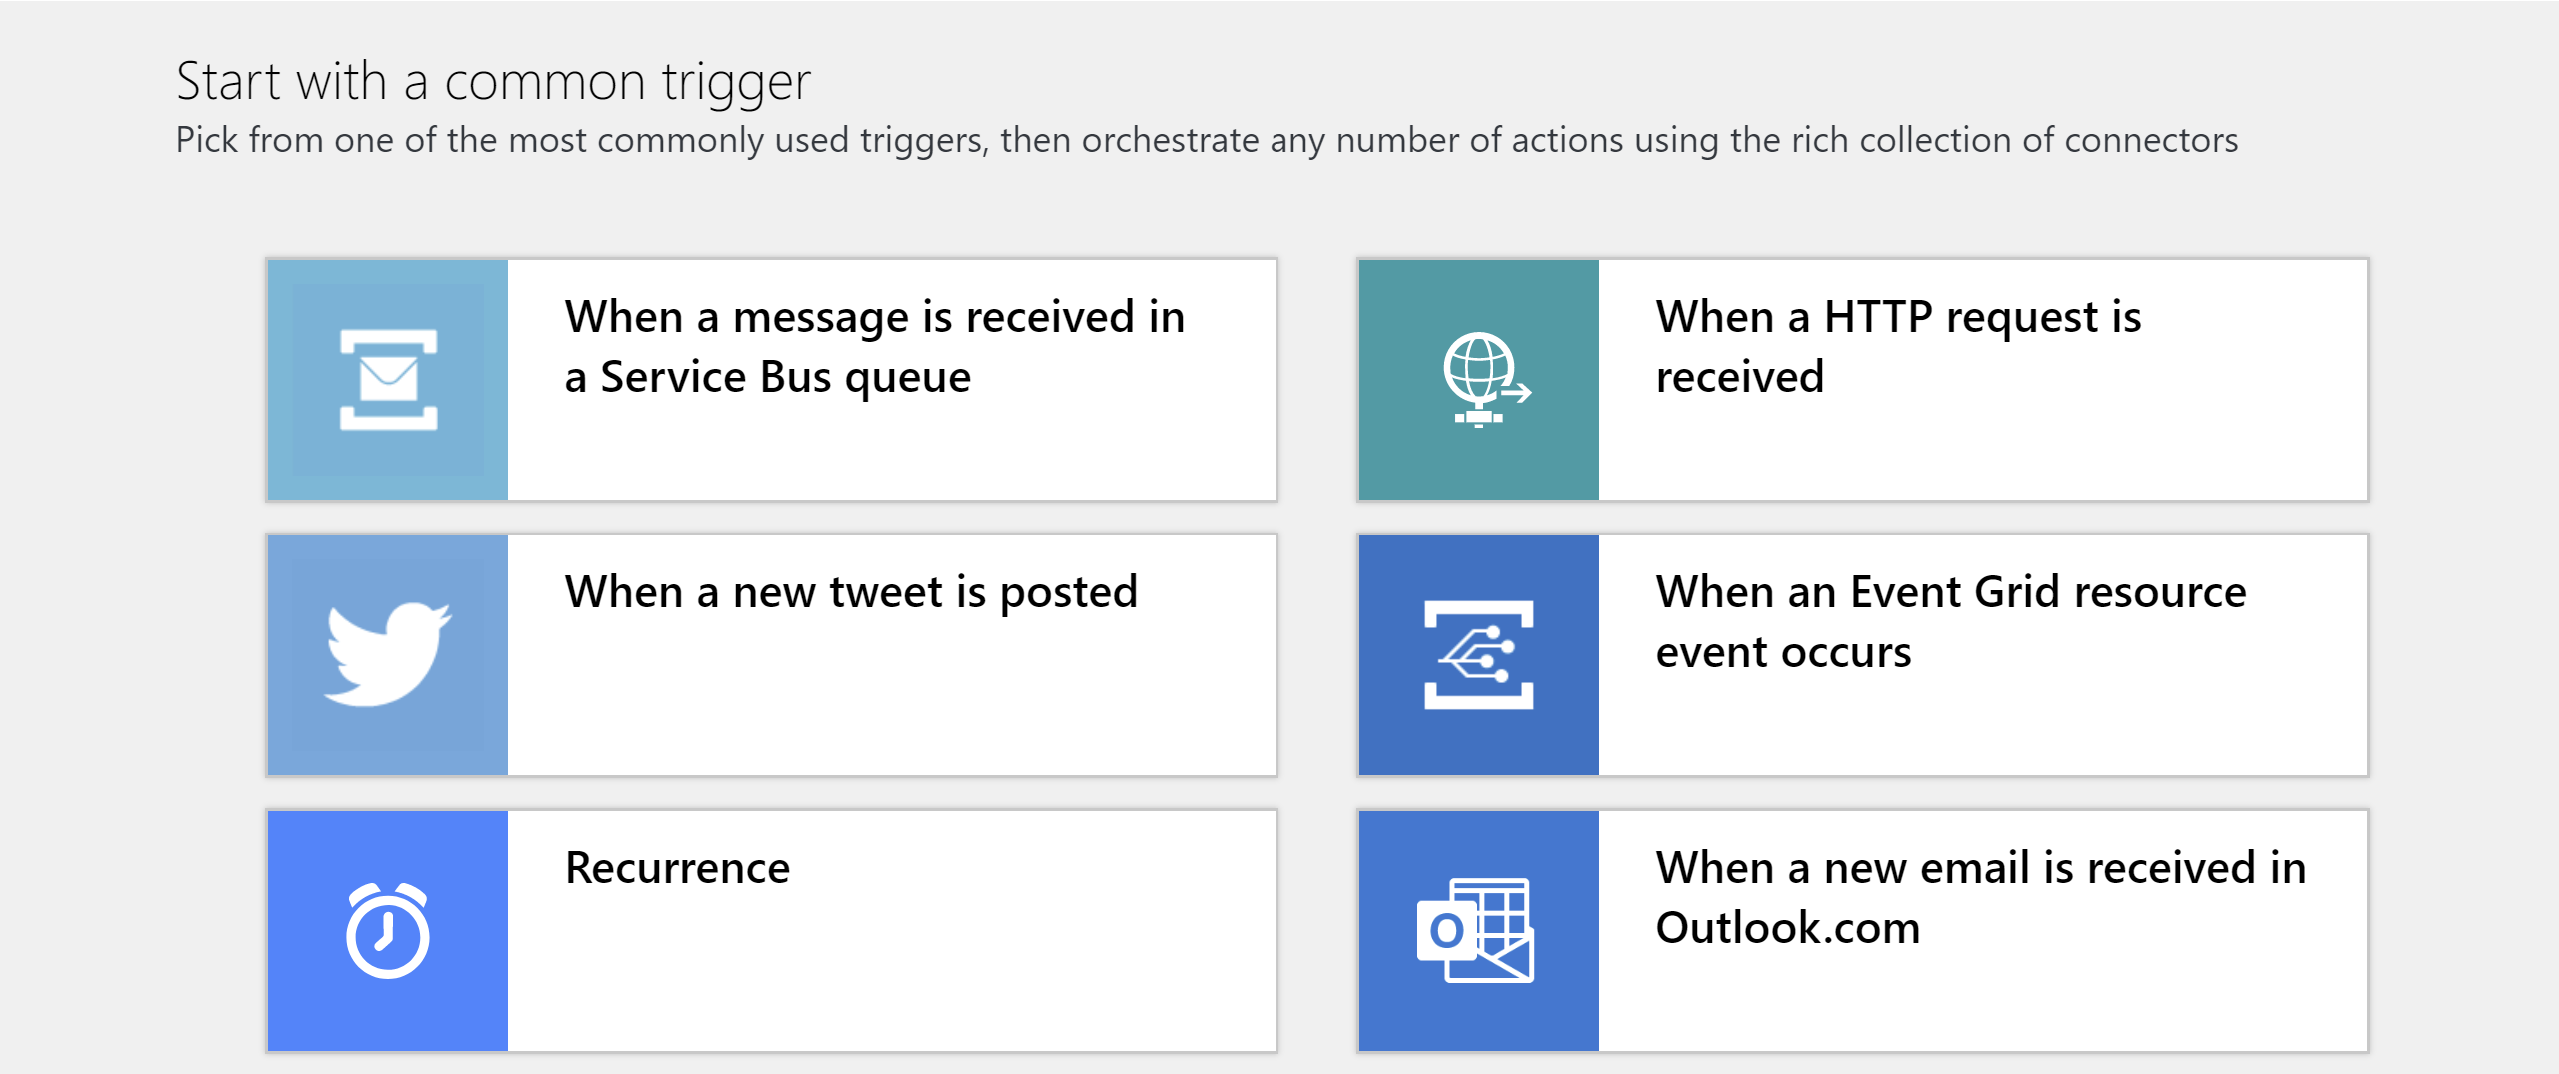
Scroll down past the video and the section named Start with a common trigger.
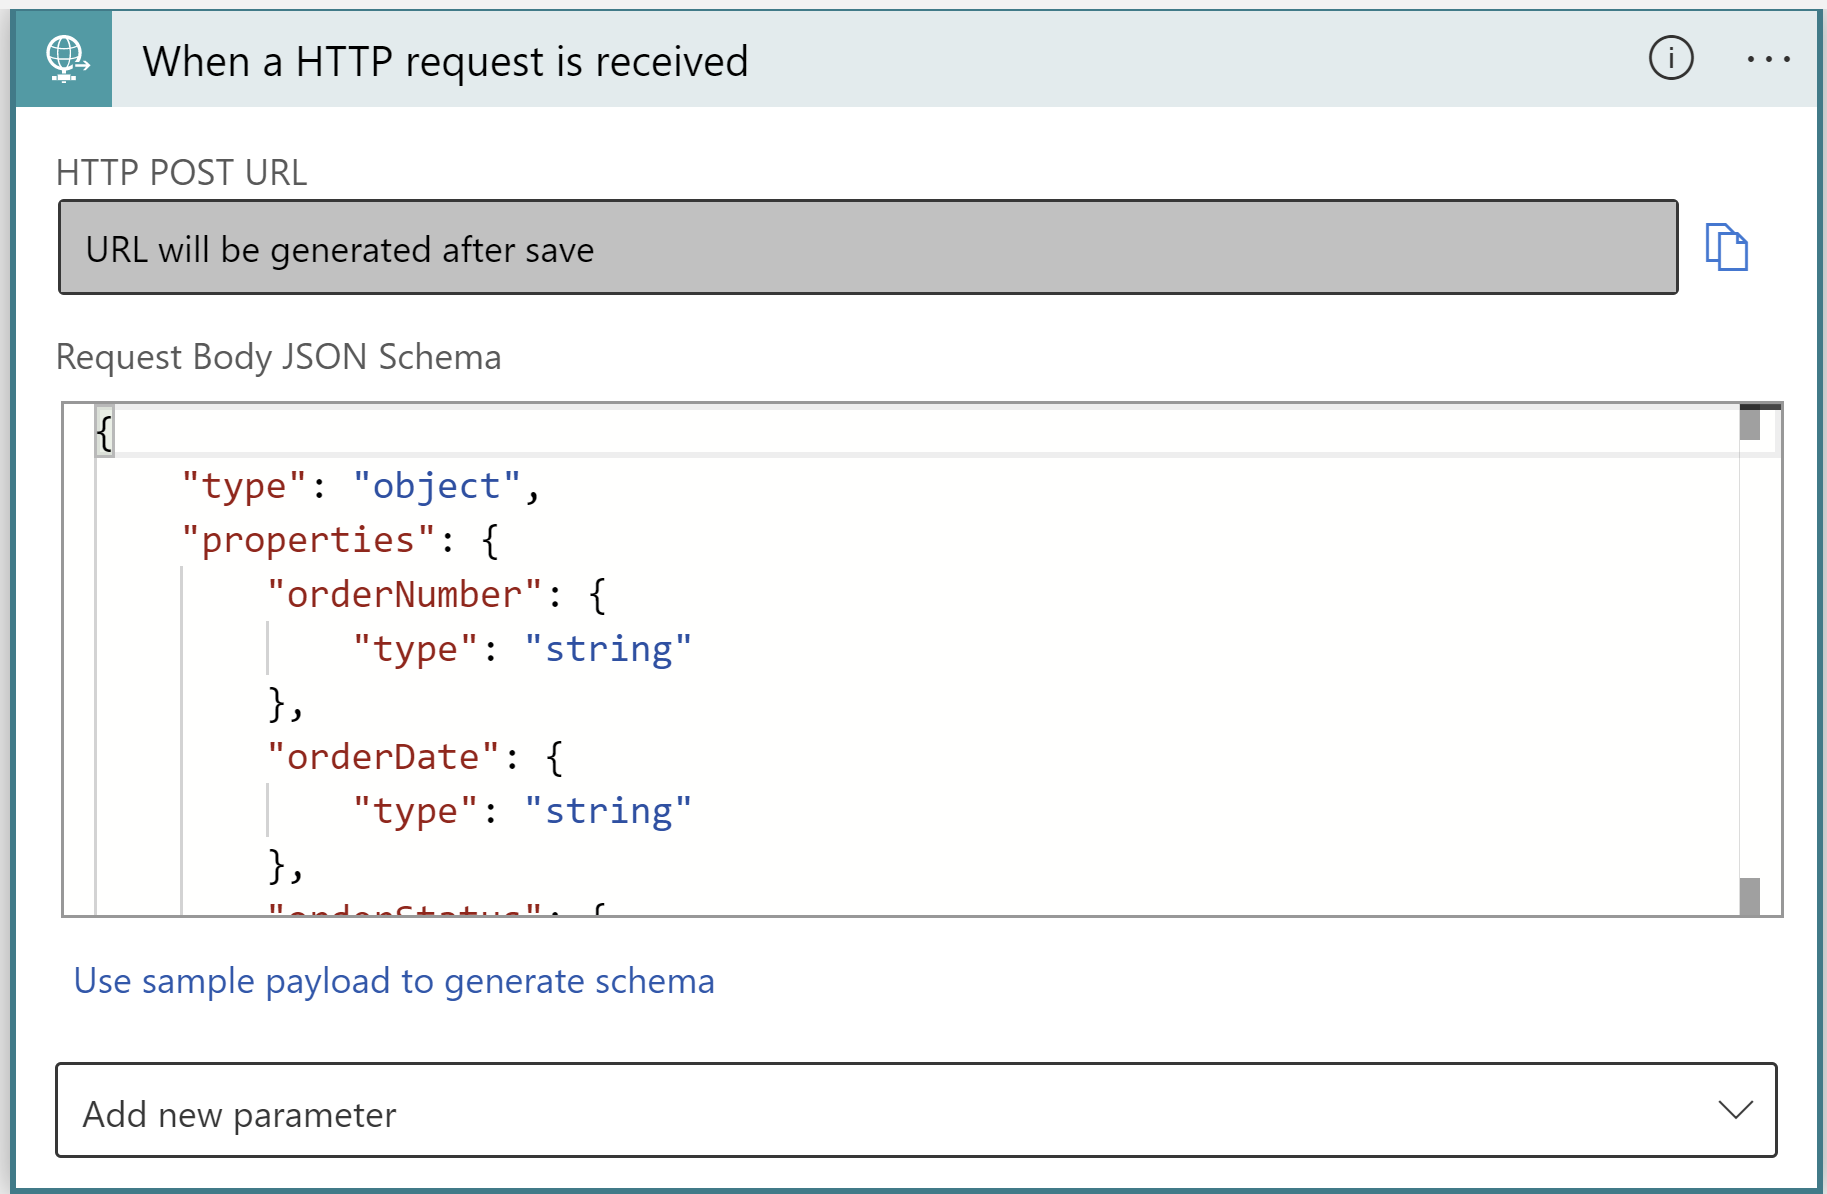
Select When an HTTP Request is received.
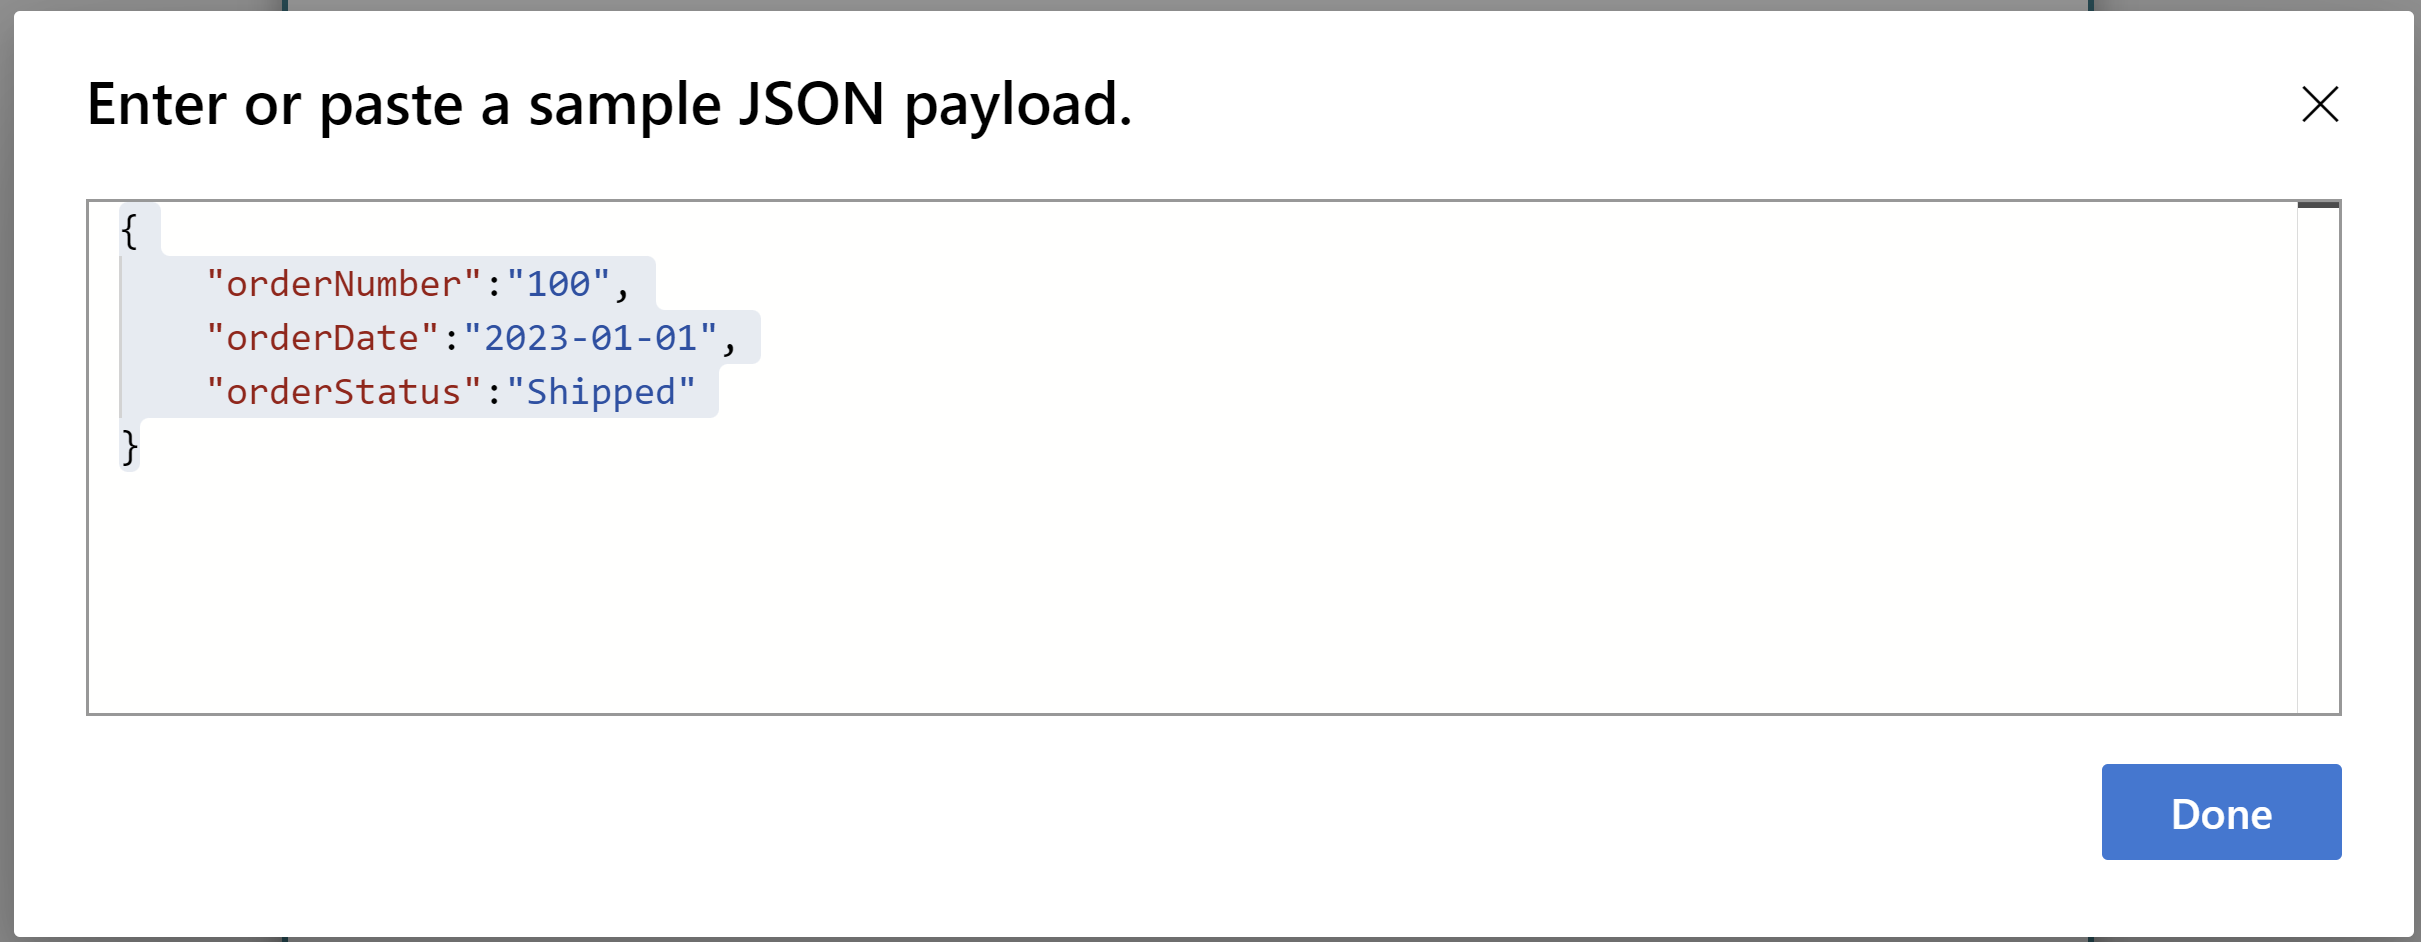
Add a sample payload in json.
{
"orderNumber":"100",
"orderDate":"2023-01-01",
"orderStatus":"Shipped"
}
An HTTP request body payload will be generated.
Add am Azure Database for MySQL Flexible Server database action
You can add an action as the next step after the HTTP request trigger to run subsequent operations in your workflow. You can add an action to get, insert or update or delete data in the Azure Database for MySQL Flexible Server database. For this tutorial we will insert a new row into the orders table.
Add a New Step in the workflow
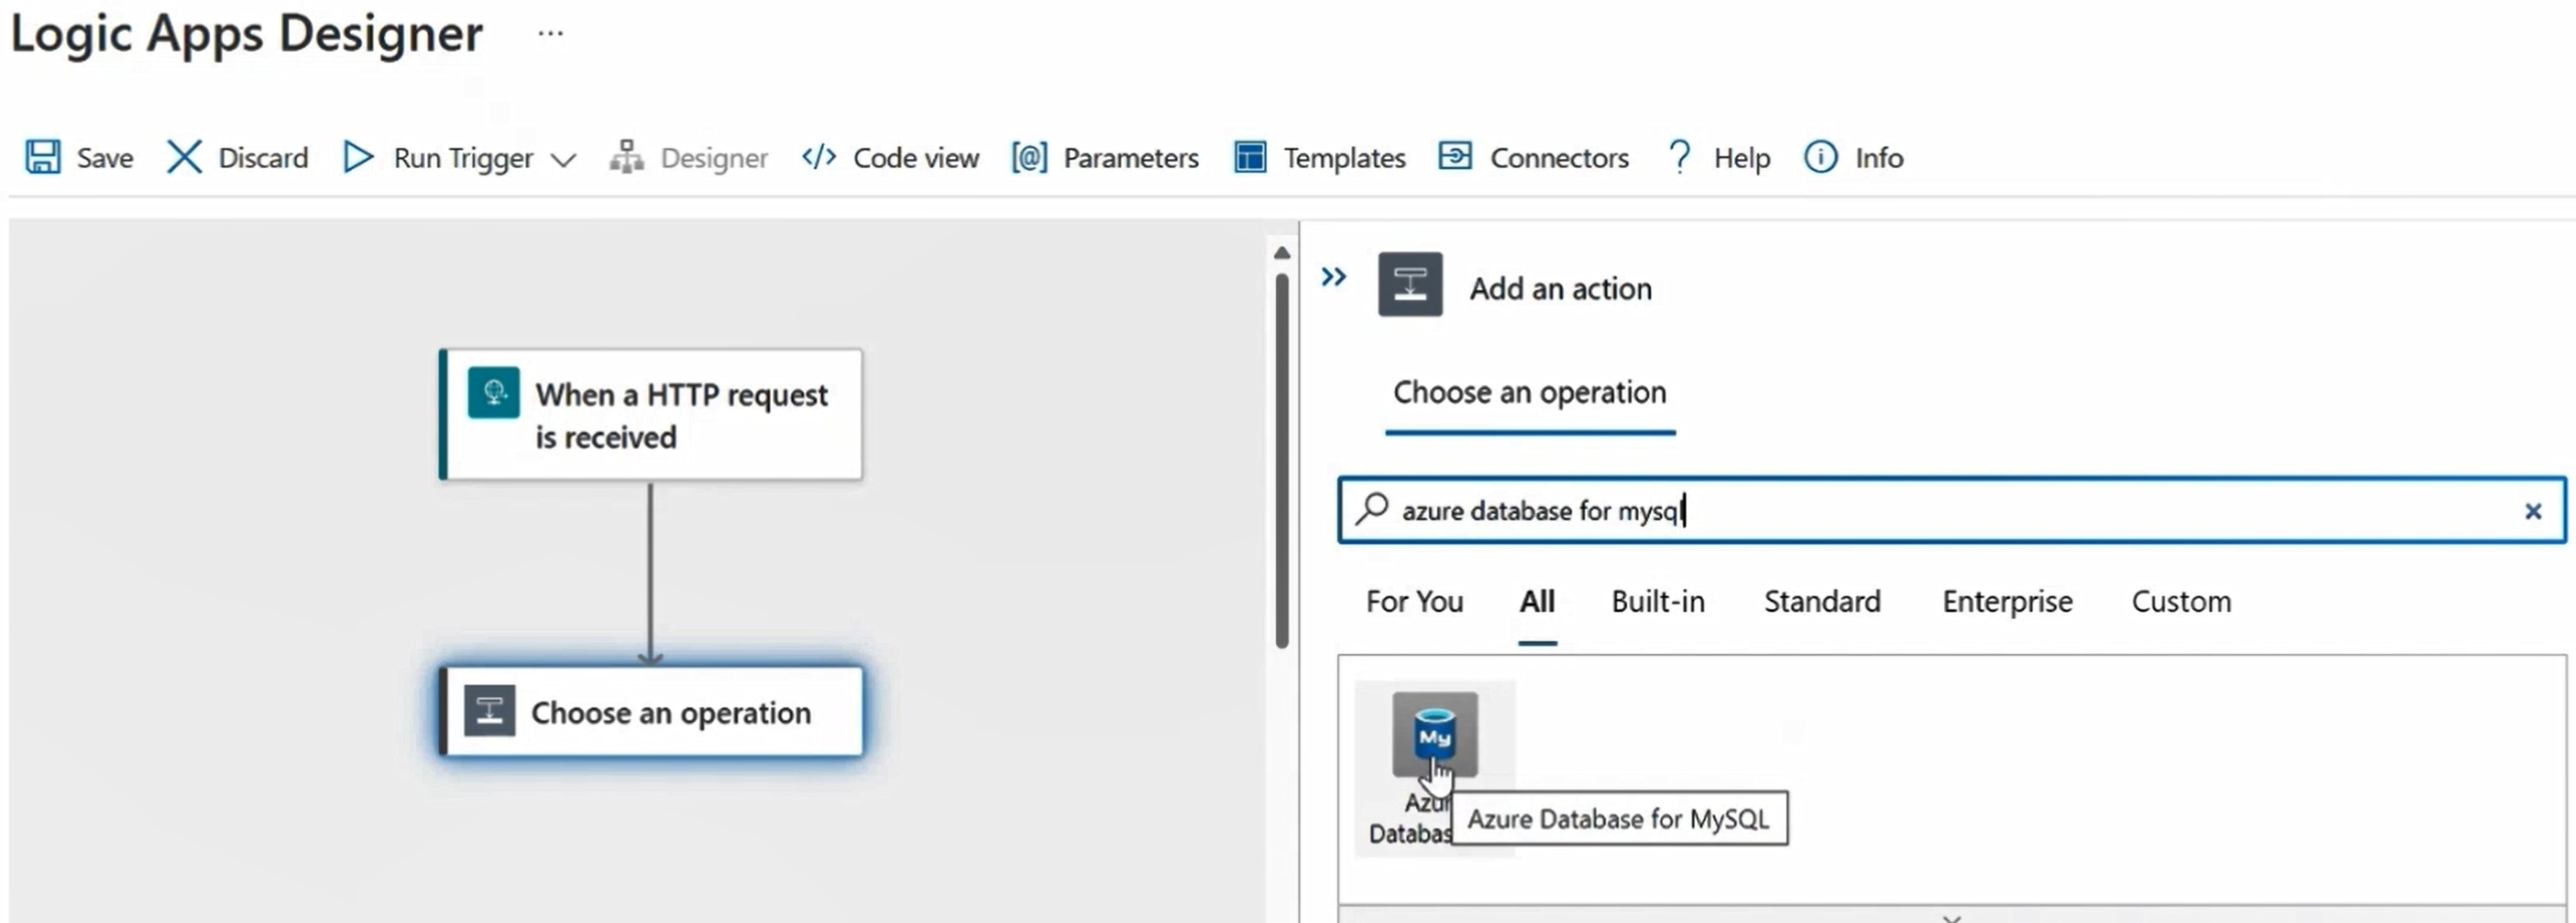
Search for Azure Database for MySQL connector.
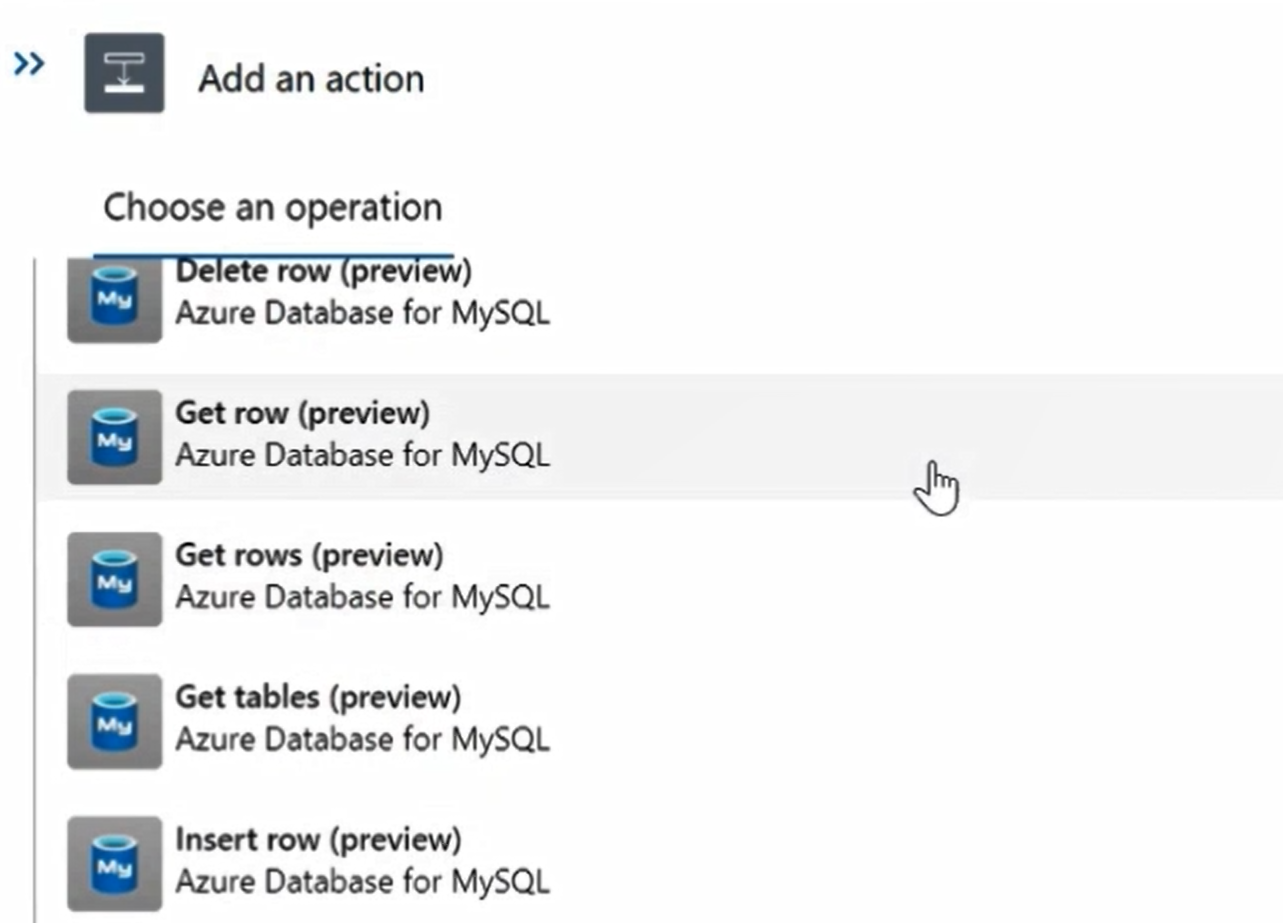
View all the actions for Azure Database for MySQL Flexible Server connector.
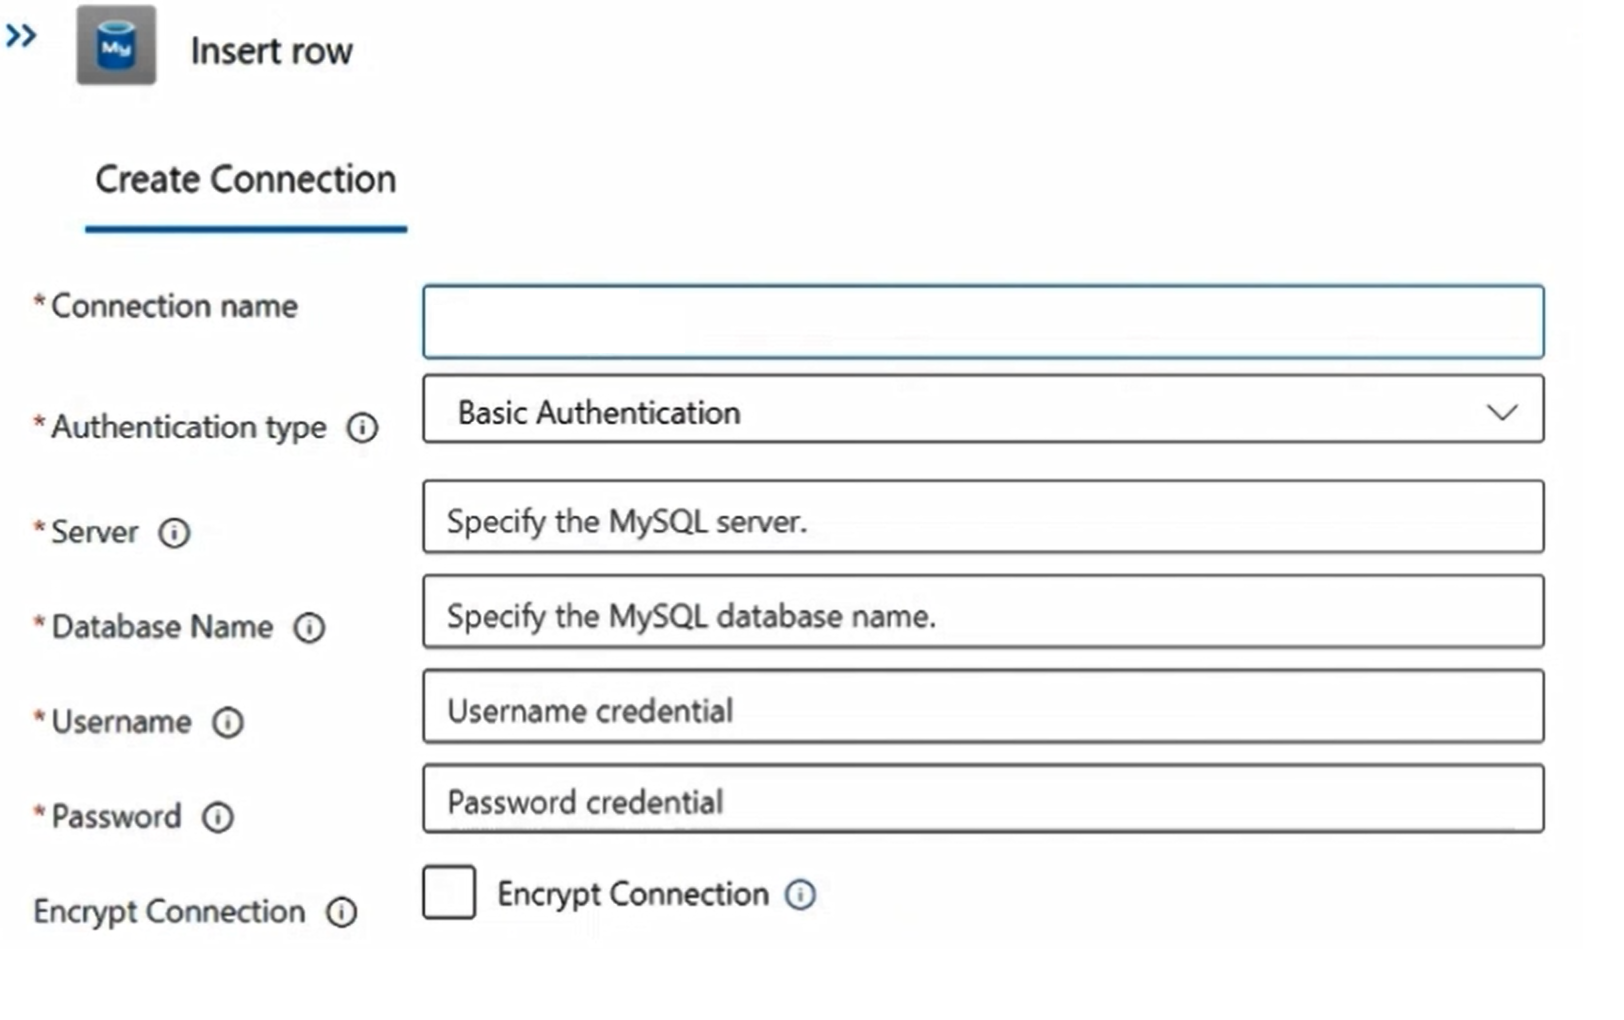
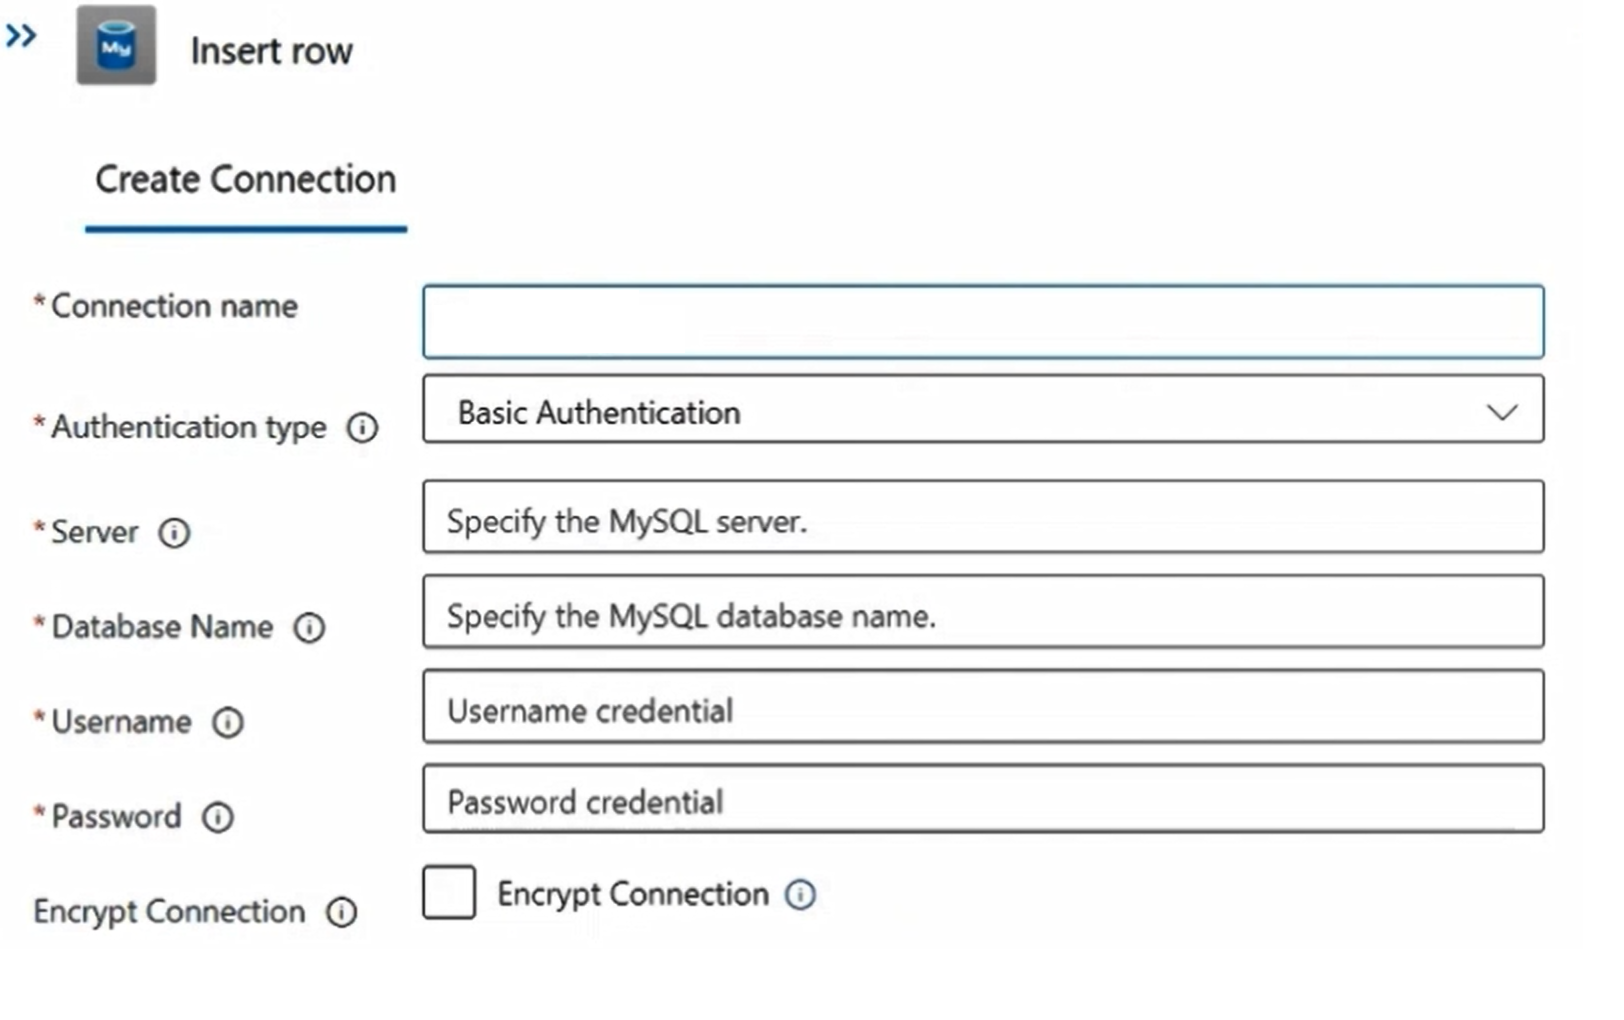
Select the Insert Row action. Select Change connection to add a new connection.
Add a new connection to the existing Azure Database for MySQL Flexible Server database.
Run your workflow
Select Run Trigger to execute the workflow and test if it actually inserts the row into the table. You can use any MySQL client to check if the row was inserted into the table.
