Tutorial: Send push notifications to Xamarin.Android apps using Notification Hubs
Overview
Note
For information about Firebase Cloud Messaging deprecation and migration steps, see Google Firebase Cloud Messaging migration.
This tutorial shows you how to use Azure Notification Hubs to send push notifications to a Xamarin.Android application. You create a blank Xamarin.Android app that receives push notifications by using Firebase Cloud Messaging (FCM). You use your notification hub to broadcast push notifications to all the devices running your app. The finished code is available in the NotificationHubs app sample.
In this tutorial, you take the following steps:
- Create a Firebase project and enable Firebase Cloud Messaging
- Create a notification hub
- Create a Xamarin.Android app and connect it to the notification hub
- Send test notifications from the Azure portal
Prerequisites
- Azure subscription. If you don't have an Azure subscription, create a free Azure account before you begin.
- Visual Studio with Xamarin on Windows or Visual Studio for Mac on OS X.
- Active Google account
Create a Firebase project and enable Firebase Cloud Messaging
Sign in to the Firebase console. Create a new Firebase project if you don't already have one.
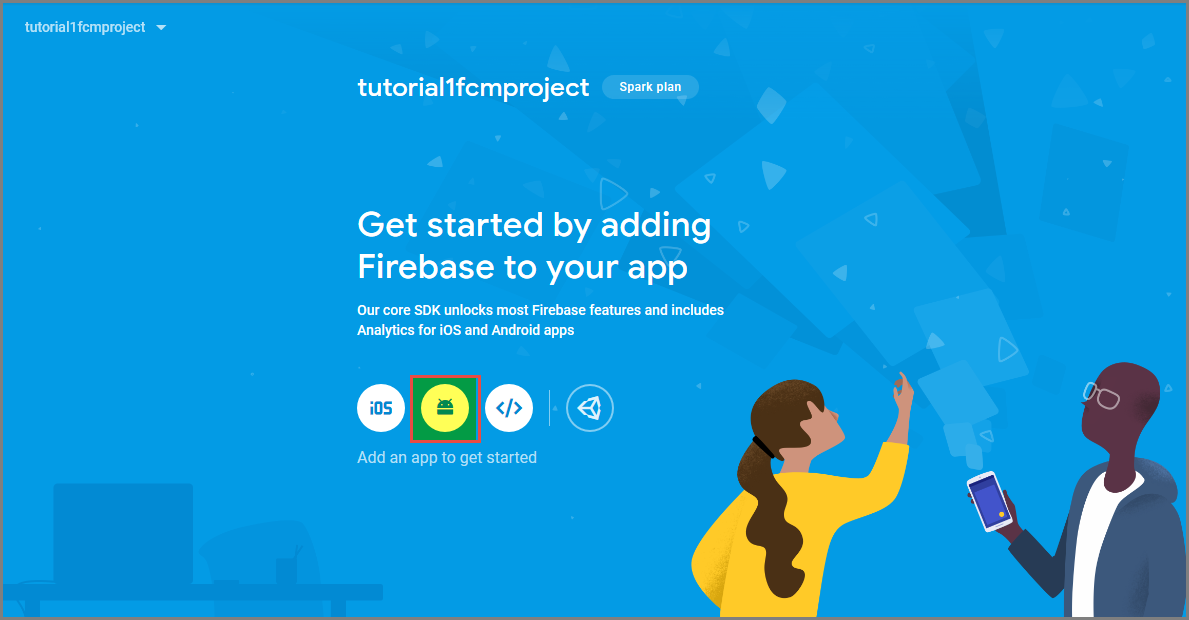
After you create your project, select Add Firebase to your Android app.
On the Add Firebase to your Android app page, take the following steps:
For the Android package name, enter a name for your package. For example:
tutorials.tutorial1.xamarinfcmapp.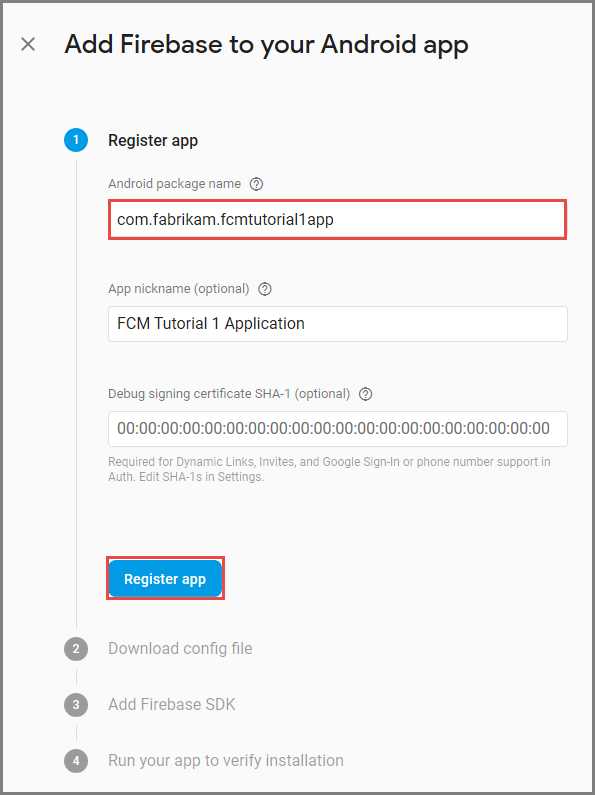
Select Register app.
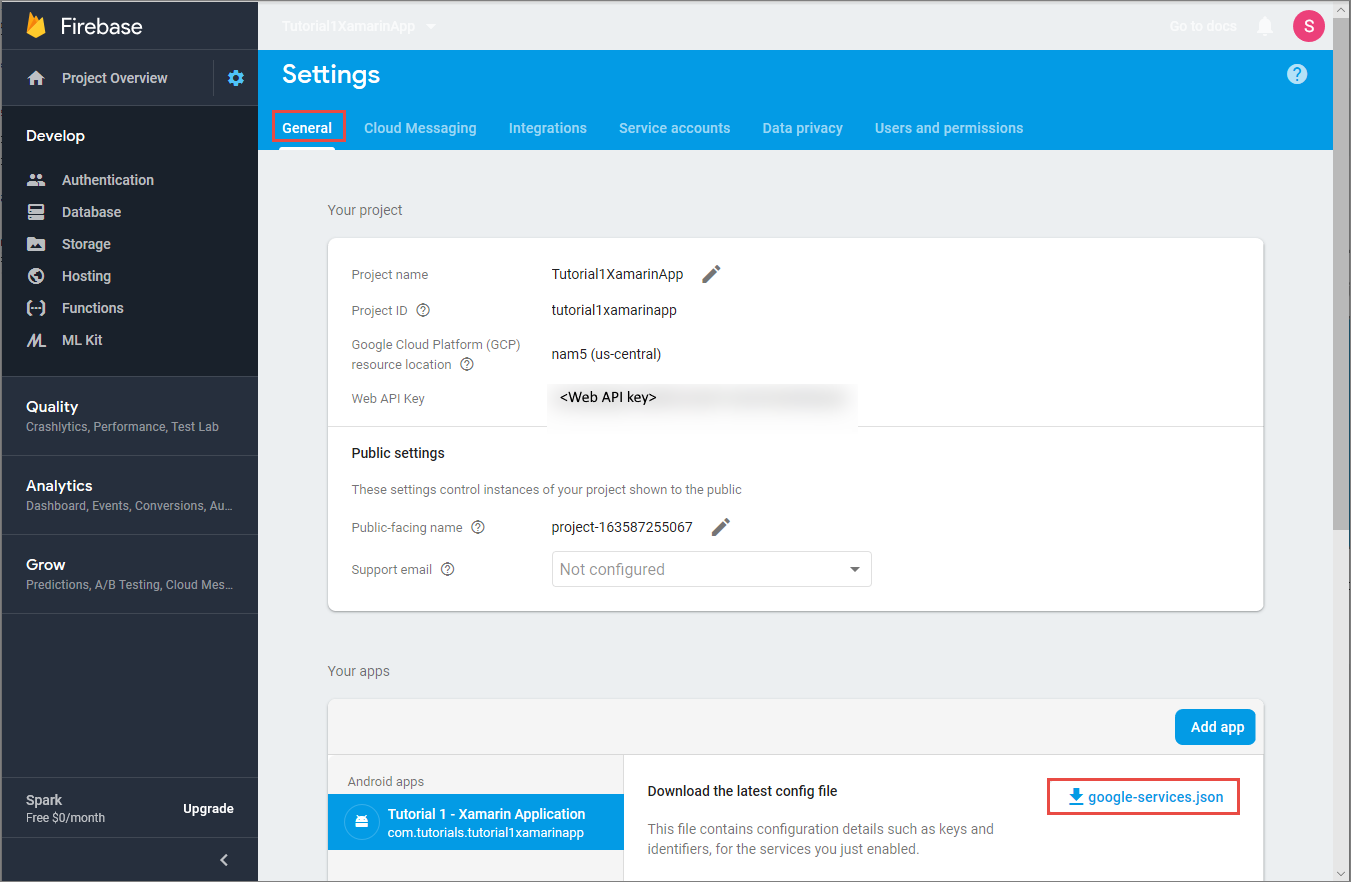
Select Download google-services.json. Then save the file into the folder of your project and select Next. If you haven't created the Visual Studio project yet, you can do this step after you create the project.
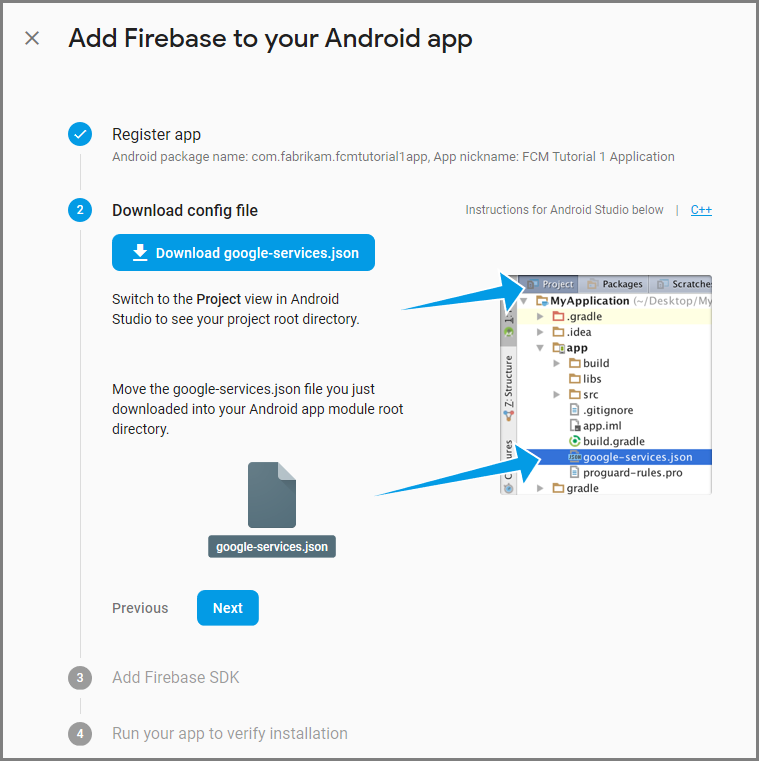
Select Next.
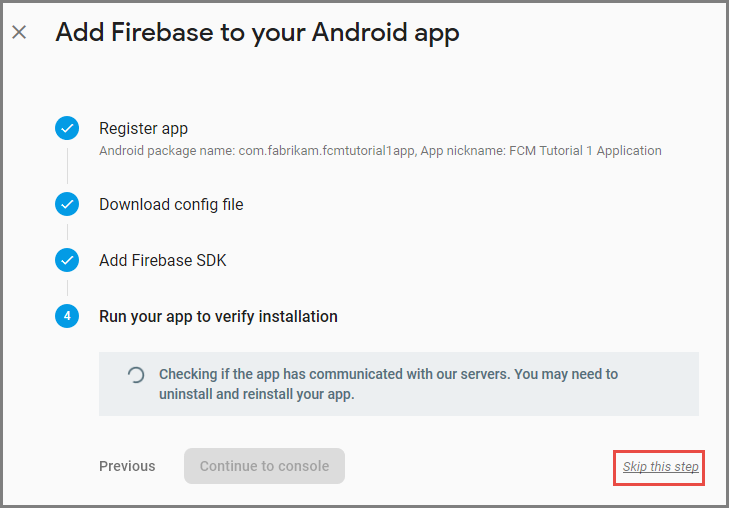
Select Skip this step.
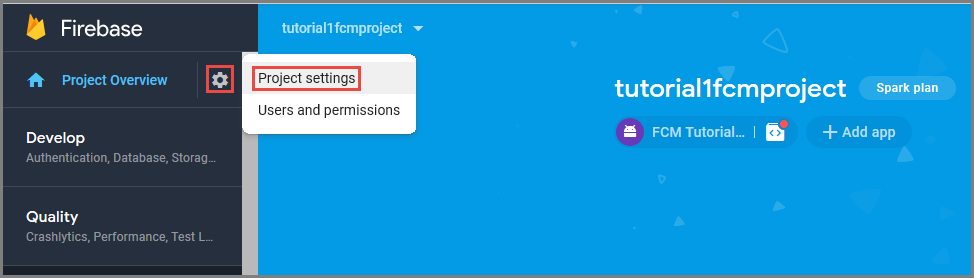
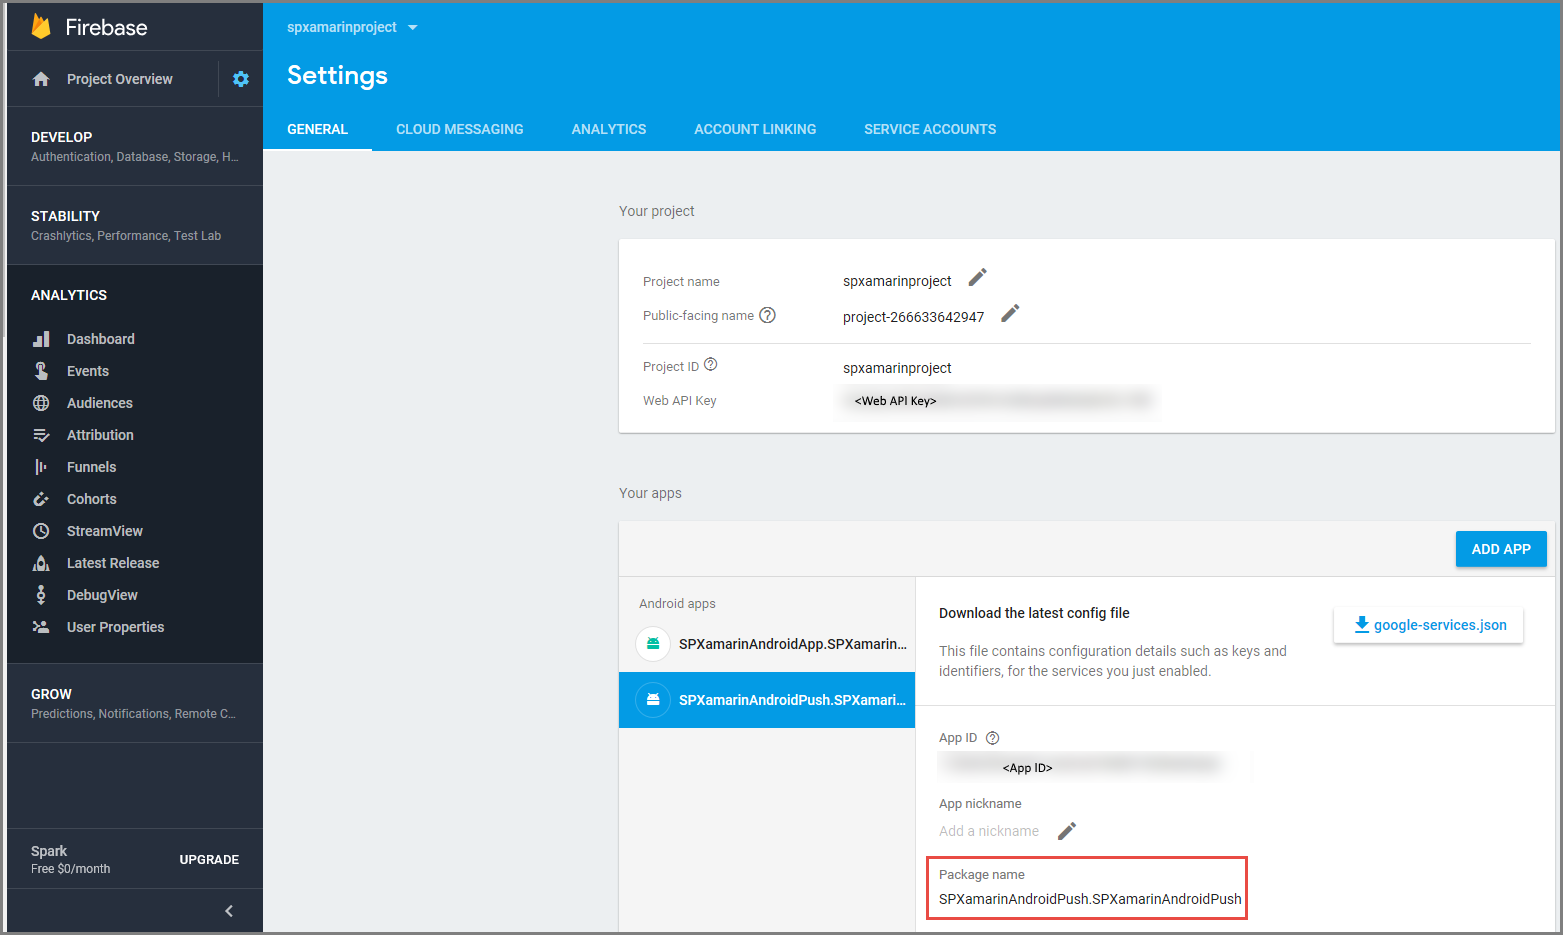
In the Firebase console, select the cog for your project. Then select Project Settings.
If you haven't downloaded the google-services.json file, you can do download it on this page.
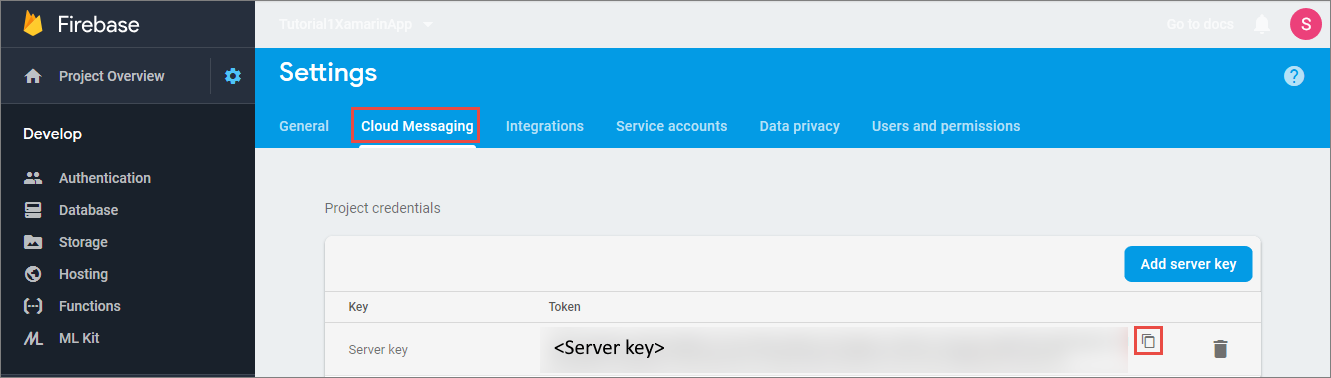
Switch to the Cloud Messaging tab at the top. Copy and save the Server key for later use. You use this value to configure your notification hub.
Create a notification hub
Sign in to the Azure portal.
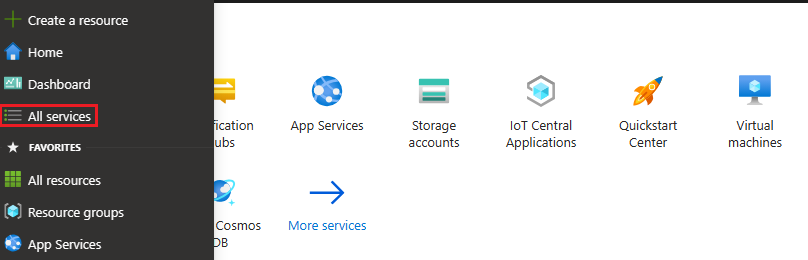
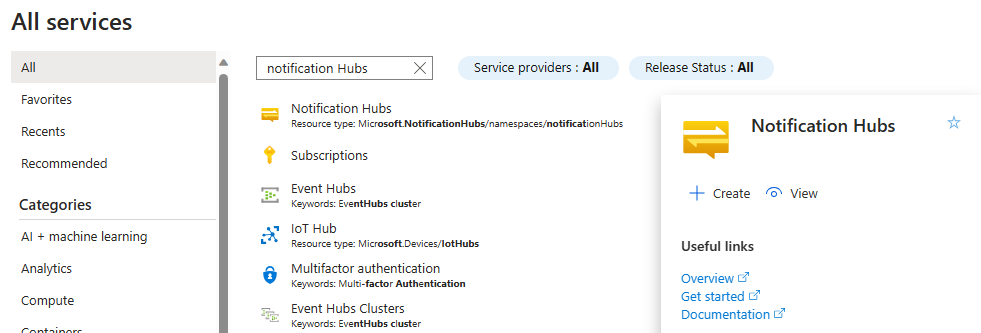
Select All services on the left menu.
Type Notification Hubs in the Filter services text box. Select the star icon next to the service name to add the service to the FAVORITES section on the left menu. Select Notification Hubs.
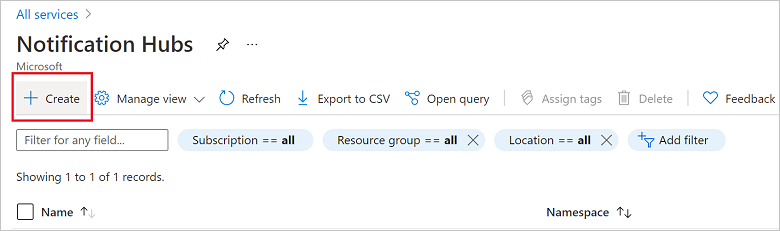
On the Notification Hubs page, select Create on the toolbar.
In the Basics tab on the Notification Hub page, do the following steps:
In Subscription, select the name of the Azure subscription you want to use, and then select an existing resource group, or create a new one.
Enter a unique name for the new namespace in Namespace Details.
A namespace contains one or more notification hubs, so type a name for the hub in Notification Hub Details.
Select a value from the Location drop-down list box. This value specifies the location in which you want to create the hub.
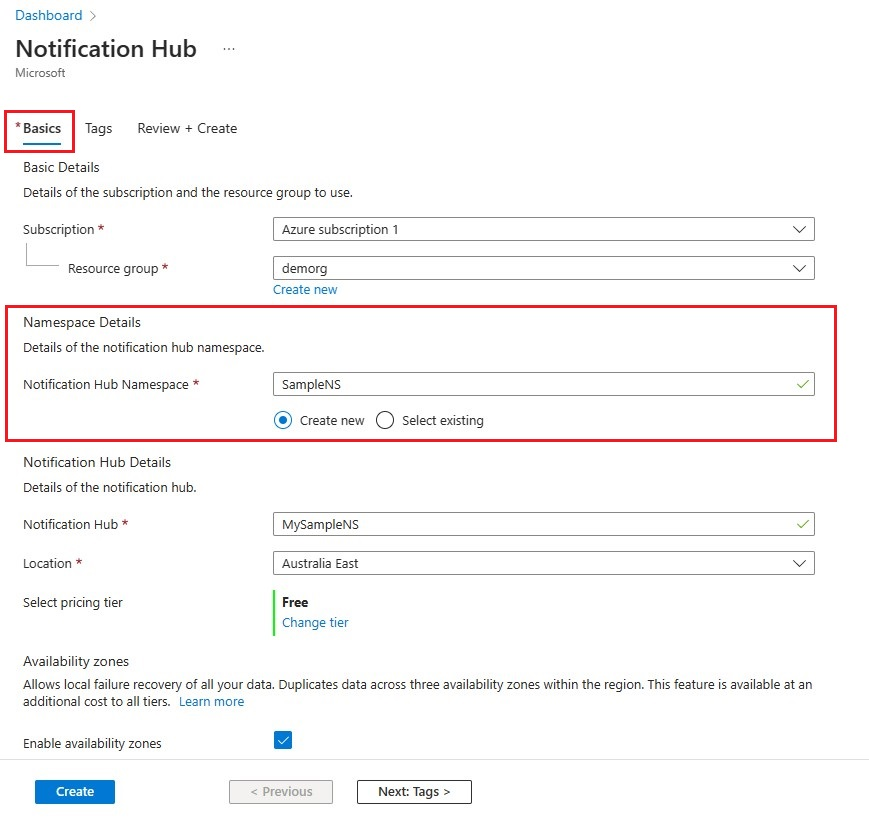
Review the Availability Zones option. If you chose a region that has availability zones, the check box is selected by default. Availability Zones is a paid feature, so an additional fee is added to your tier.
Choose a Disaster recovery option: None, Paired recovery region, or Flexible recovery region. If you choose Paired recovery region, the failover region is displayed. If you select Flexible recovery region, use the drop-down to choose from a list of recovery regions.

Select Create.
When the deployment is complete select Go to resource.


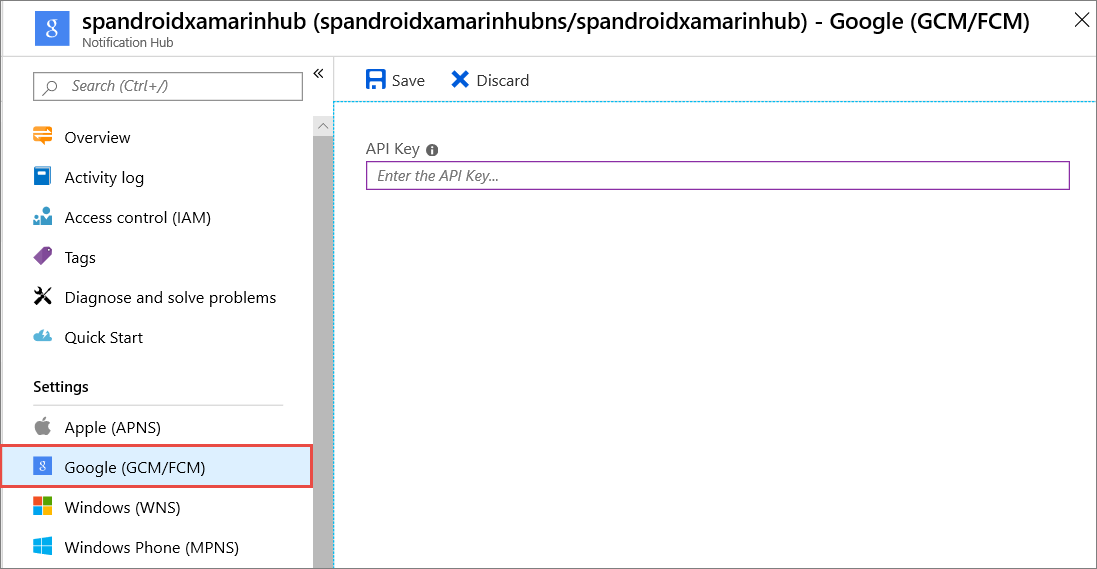
Configure GCM/FCM settings for the notification hub
Select Google (GCM/FCM)/ in the Settings section on the left menu.
Enter the server key you noted down from the Google Firebase Console.
Select Save on the toolbar.
Your notification hub is configured to work with FCM, and you have the connection strings to both register your app to receive notifications and to send push notifications.
Create a Xamarin.Android app and connect it to notification hub
Create Visual Studio project and add NuGet packages
Note
The steps documented in this tutorial are for Visual Studio 2017.
In Visual Studio, open the File menu, select New, and then select Project. In the New Project window, do these steps:
Expand Installed, Visual C#, and then click Android.
Select Android App (Xamarin) from the list.
Enter a name for the project.
Select a location for the project.
Select OK

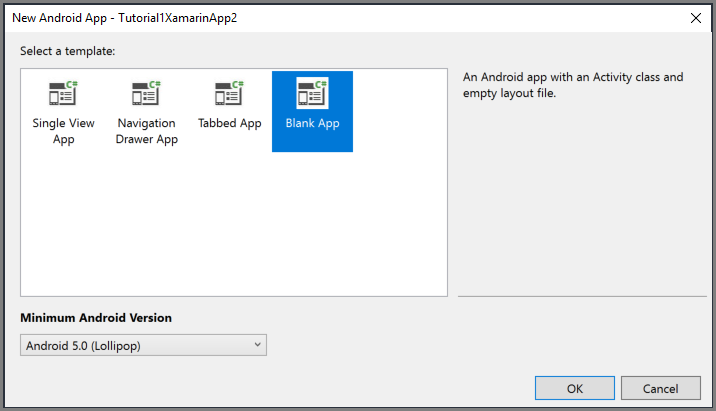
On the New Android App dialog box, select Blank App, and select OK.
In the Solution Explorer window, expand Properties, and click AndroidManifest.xml. Update the package name to match the package name you entered when adding Firebase Cloud Messaging to your project in the Google Firebase Console.
Set the target Android version for the project to Android 10.0 by following these steps:
- Right-click your project, and select Properties.
- For the Compile using Android version: (Target framework) field, select Android 10.0.
- Select Yes on the message box to continue with changing the target framework.
Add required NuGet packages to the project by following these steps:
Right-click your project, and select Manage NuGet Packages....
Switch to the Installed tab, select Xamarin.Android.Support.Design, and select Update in the right pane to update the package to the latest version.
Switch to the Browse tab. Search for Xamarin.GooglePlayServices.Base. Select Xamarin.GooglePlayServices.Base in the result list. Then, select Install.

In the NuGet Package Manager window, search for Xamarin.Firebase.Messaging. Select Xamarin.Firebase.Messaging in the result list. Then, select Install.
Now, search for Xamarin.Azure.NotificationHubs.Android. Select Xamarin.Azure.NotificationHubs.Android in the result list. Then, select Install.
Add the Google Services JSON File
Copy the
google-services.jsonfile that you downloaded from the Google Firebase Console to the project folder.Add
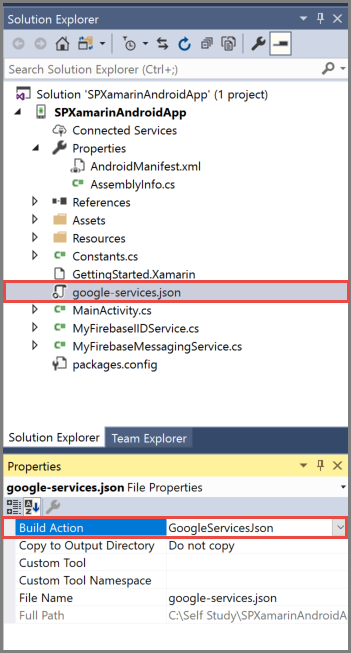
google-services.jsonto the project.Select
google-services.jsonin the Solution Explorer window.In the Properties pane, set the Build Action to GoogleServicesJson. If you don't see GoogleServicesJson, close Visual Studio, relaunch it, reopen the project, and retry.
Set up notification hubs in your project
Registering with Firebase Cloud Messaging
If you're migrating from Google Cloud Messaging to Firebase, your project's
AndroidManifest.xmlfile might contain an outdated GCM configuration, which may cause notification duplication. Edit the file and remove the following lines inside the<application>section, if present:<receiver android:name="com.google.firebase.iid.FirebaseInstanceIdInternalReceiver" android:exported="false" /> <receiver android:name="com.google.firebase.iid.FirebaseInstanceIdReceiver" android:exported="true" android:permission="com.google.android.c2dm.permission.SEND"> <intent-filter> <action android:name="com.google.android.c2dm.intent.RECEIVE" /> <action android:name="com.google.android.c2dm.intent.REGISTRATION" /> <category android:name="${applicationId}" /> </intent-filter> </receiver>Add the following statements before the application element.
<uses-permission android:name="android.permission.INTERNET" />
<uses-permission android:name="com.google.android.c2dm.permission.RECEIVE" />
<uses-permission android:name="android.permission.WAKE_LOCK" />
<uses-permission android:name="android.permission.GET_ACCOUNTS"/>
Gather the following information for your Android app and notification hub:
- Listen connection string: On the dashboard in the Azure portal, choose View connection strings. Copy the
DefaultListenSharedAccessSignatureconnection string for this value. - Hub name: Name of your hub from the Azure portal. For example, mynotificationhub2.
- Listen connection string: On the dashboard in the Azure portal, choose View connection strings. Copy the
In the Solution Explorer window, right-click your project, select Add, and then select Class.
Create a
Constants.csclass for your Xamarin project and define the following constant values in the class. Replace the placeholders with your values.public static class Constants { public const string ListenConnectionString = "<Listen connection string>"; public const string NotificationHubName = "<hub name>"; }Add the following using statements to
MainActivity.cs:using WindowsAzure.Messaging.NotificationHubs;Add the following properties to the MainActivity class:
internal static readonly string CHANNEL_ID = "my_notification_channel";In
MainActivity.cs, add the following code toOnCreateafterbase.OnCreate(savedInstanceState):// Listen for push notifications NotificationHub.SetListener(new AzureListener()); // Start the SDK NotificationHub.Start(this.Application, HubName, ConnectionString);Add a class named
AzureListenerto your project.Add the following using statements to
AzureListener.cs.using Android.Content; using WindowsAzure.Messaging.NotificationHubs;Add the following above your class declaration, and have your class inherit from
Java.Lang.Objectand implement theINotificationListener:public class AzureListener : Java.Lang.Object, INotificationListenerAdd the following code inside
AzureListenerclass, to process messages that are received.public void OnPushNotificationReceived(Context context, INotificationMessage message) { var intent = new Intent(this, typeof(MainActivity)); intent.AddFlags(ActivityFlags.ClearTop); var pendingIntent = PendingIntent.GetActivity(this, 0, intent, PendingIntentFlags.OneShot); var notificationBuilder = new NotificationCompat.Builder(this, MainActivity.CHANNEL_ID); notificationBuilder.SetContentTitle(message.Title) .SetSmallIcon(Resource.Drawable.ic_launcher) .SetContentText(message.Body) .SetAutoCancel(true) .SetShowWhen(false) .SetContentIntent(pendingIntent); var notificationManager = NotificationManager.FromContext(this); notificationManager.Notify(0, notificationBuilder.Build()); }Build your project.
Run your app on your device or loaded emulator
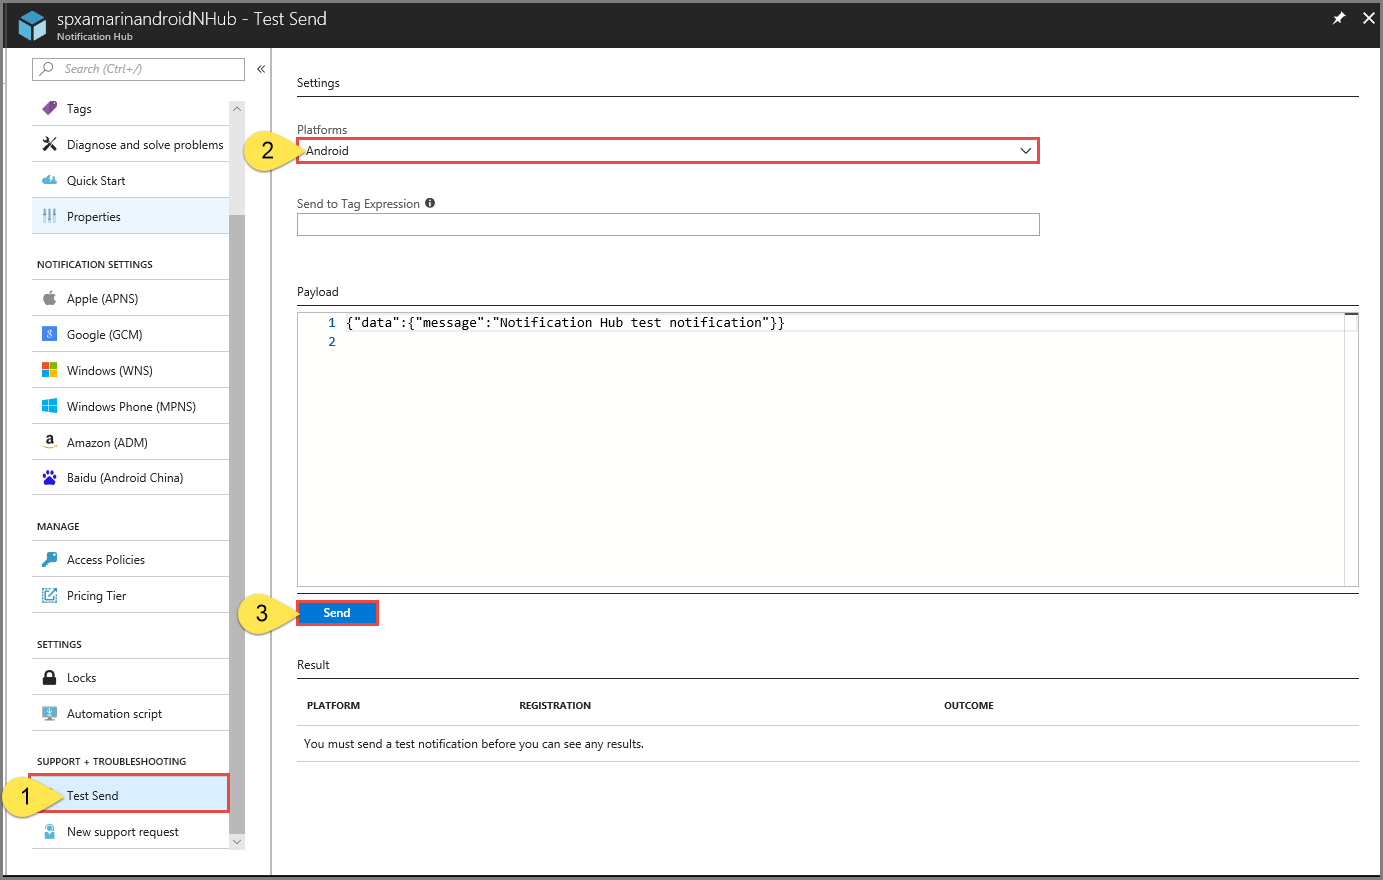
Send test notification from the Azure portal
You can test receiving notifications in your app with the Test Send option in the Azure portal. It sends a test push notification to your device.
Push notifications are normally sent in a back-end service like Mobile Services or ASP.NET through a compatible library. If a library isn't available for your back-end, you can also use the REST API directly to send notification messages.
Next steps
In this tutorial, you sent broadcast notifications to all your Android devices registered with the backend. To learn how to push notifications to specific Android devices, advance to the following tutorial: