Note
Access to this page requires authorization. You can try signing in or changing directories.
Access to this page requires authorization. You can try changing directories.
This article walks you through the process of creating a Site Network Service (SNS) using the Azure portal. Site Networks Services is an essential part of a Network Service Instance and is associated with a specific site. Each Site Network Service instance references a particular version of a Network Service Design (NSD).
Prerequisites
- An Azure account with an active subscription. If you don't have an Azure subscription, create a free account before you begin.
- Complete the Quickstart: Complete the prerequisites to deploy a Containerized Network Function in Azure Operator Service Manager
- Complete the Quickstart: Create a Containerized Network Functions site with Nginx
Create the site network service
Sign in to the Azure portal.
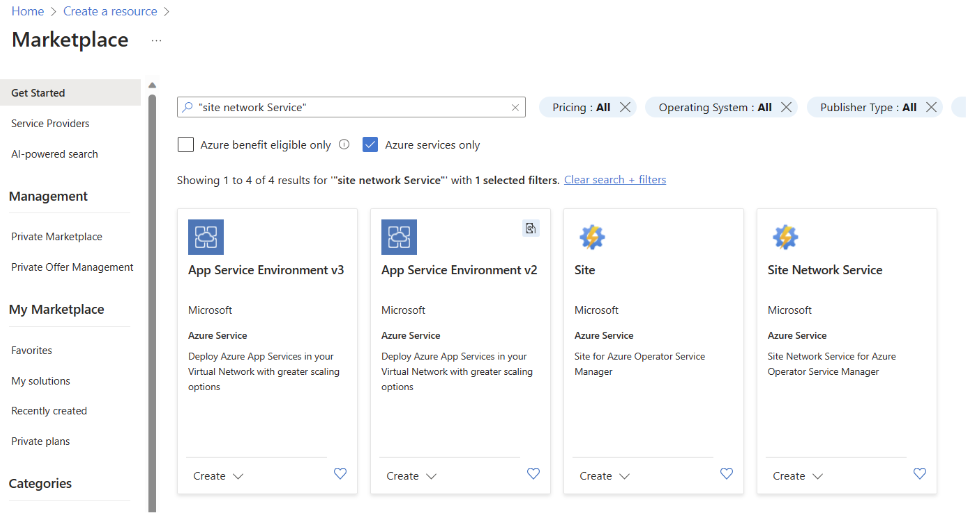
Select Create a resource.
Search for Site network service, then select Create.
On the Basics tab, enter for select the information in the table and accept the default values for the remaining settings.
Setting Value Subscription Select your subscription. Resource group Select resource group operator-rg. Name Enter nginx-sns. Region Select the location you used for your prerequisite resources. Site Enter nginx-site. Managed Identity Type Select User Assigned. User Assigned Identity Select identity-for-nginx 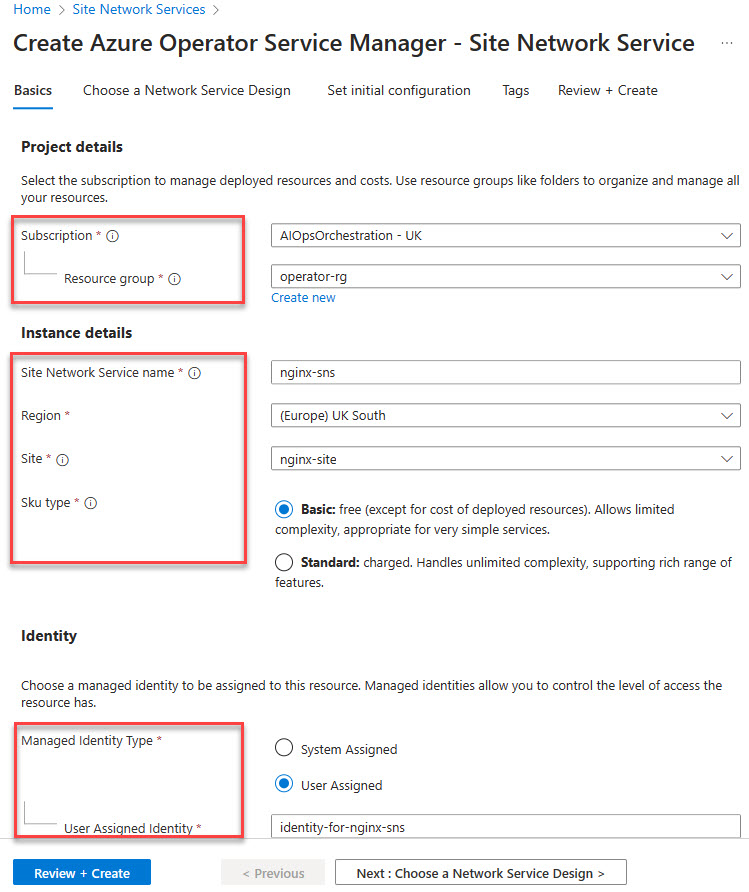
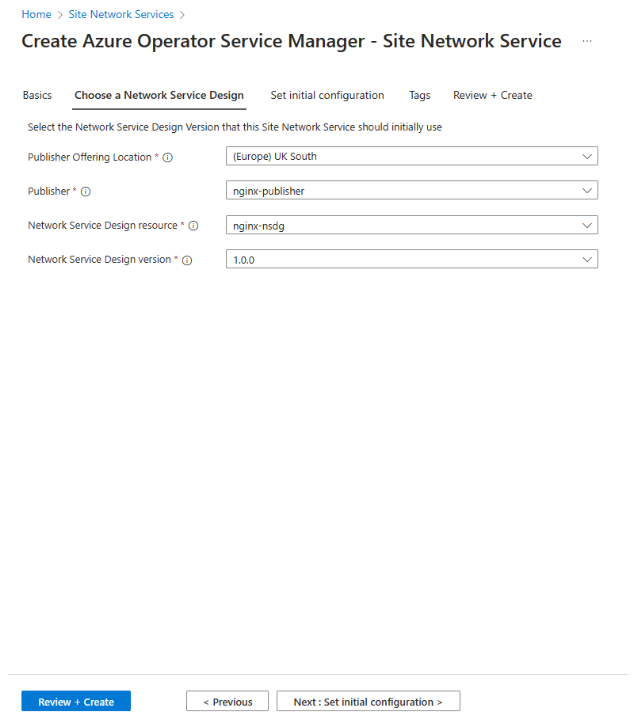
Select Next: Choose a Network Site Design >.
On this screen, select the Publisher, Network Service Design Resource, and the Network Service Design Version you published earlier.
Note
Be sure to select the same Publisher Offering Location you defined in the Network Service Design Quickstart (nginx-nsdg_NFVI.)
Select Next: Set initial configuration >.
Select Create New and enter nginx-sns-cgvs in the Name field.
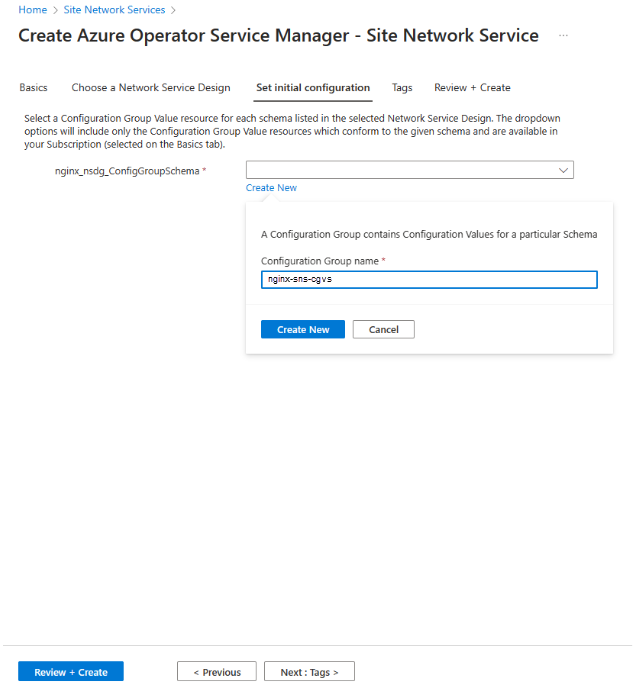
In the resulting editor panel, enter the following configuration:
{
"nginx-nsdg": {
    "deployParameters": [{}],
    "customLocationId": "<resource id of your custom location>",
    "nfdv": "1.0.0",
    "managedIdentityId": "<managed-identity-resource-id>"
},

}
Tip
Refer to the Retrieve Custom Location section for config group value for the customlocationID. For more information, see Quickstart: Prerequisites for Operator and Containerized Network Function (CNF).
Select Review + Create then Create.
Allow the deployment state to reach a state of Succeeded. This status indicates your CNF is up and running.
Access your CNF by navigating to the Site Network Service Object in the Azure portal. Select the Current State -> Resources to view the managed resource group created by Azure Operator Service Manager (AOSM).
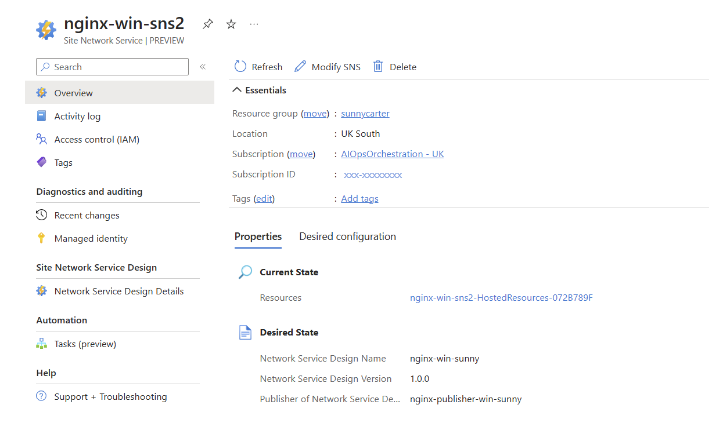


You have successfully created a Site Network Service for a Nginx Container as a CNF in Azure. You can now manage and monitor your CNF through the Azure portal.
When you have finished, remember to delete the resources. To do this:
- Delete the Operator Resource Group.
- When step 1 is complete, delete the Publisher Resource Group.