Note
Access to this page requires authorization. You can try signing in or changing directories.
Access to this page requires authorization. You can try changing directories.
In this quickstart, you use Azure Marketplace and Azure PowerShell to create a resource in Apache Kafka & Apache Flink on Confluent Cloud, an Azure Native Integrations service.
Prerequisites
- An Azure account. If you don't have an active Azure subscription, create a free account.
- The Owner or Contributor role for your Azure subscription. Only users who are assigned one of these roles can set up integration between Azure and Confluent. Before you get started, verify that you have the required access.
Find the offer
Use the Azure portal to find the Apache Kafka & Apache Flink on Confluent Cloud application:
Go to the Azure portal and sign in.
Search for and then select Marketplace.
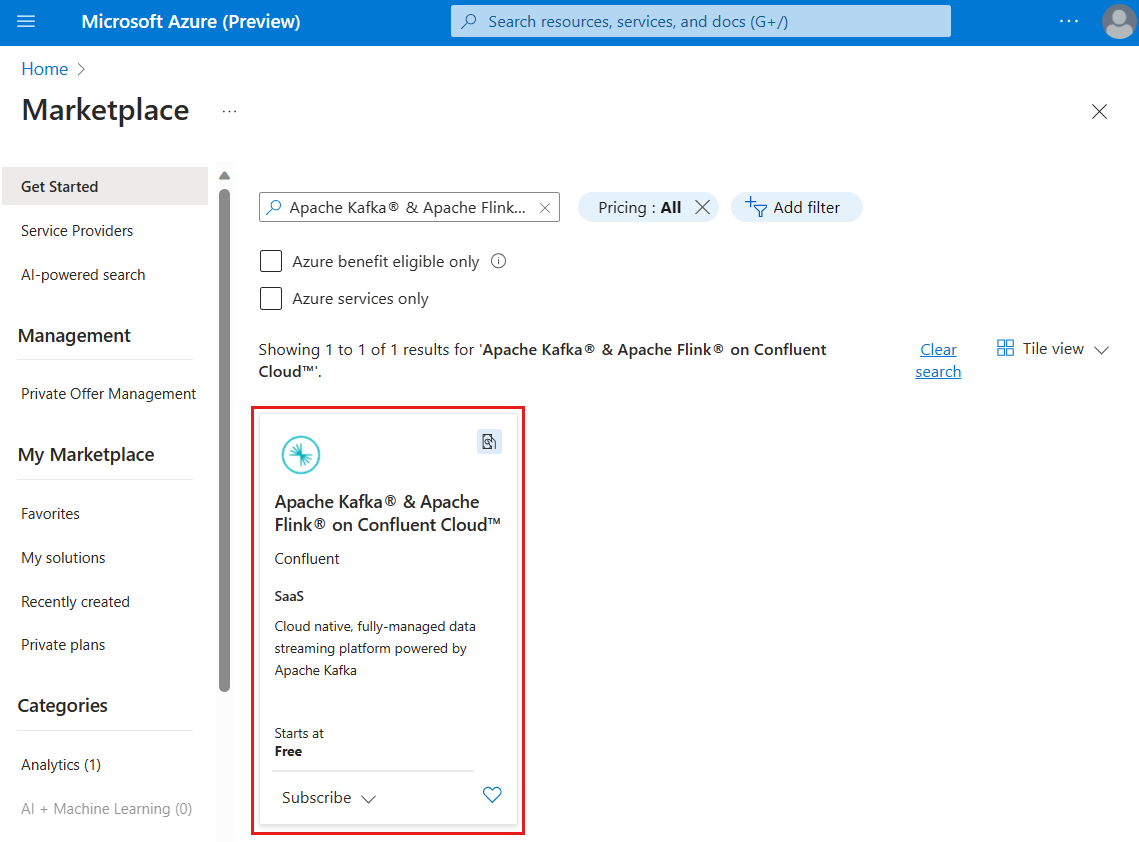
On the Marketplace page, search for and then select the Apache Kafka & Apache Flink on Confluent Cloud - An Azure Native ISV Service offer.
Select the Apache Kafka & Apache Flink on Confluent Cloud tile.
On the Apache Kafka & Apache Flink on Confluent Cloud - An Azure Native ISV Service page, select your subscription.
Under Plan, choose a billing plan. There are several billing options:
- Pay-as-you-go free trial.
- Commitment plans. You sign up for a minimum spend amount. Annual, monthly, multi-year, and one-time commitment plans are available. You can read about the plans on the Plans + Pricing tab.
Select Subscribe. The Create a Confluent organization page opens. Rather than using this form, you'll create the organization in the next section by using the Azure CLI.
Create a resource
Start by preparing your environment for Azure PowerShell:
- If you choose to use Azure PowerShell locally:
- Install the latest version of the Az PowerShell module.
- Connect to your Azure account using the Connect-AzAccount cmdlet.
- If you choose to use Azure Cloud Shell:
- See Overview of Azure Cloud Shell for more information.
Important
Currently, the Az.Confluent PowerShell module is in preview. During the preview, you must install the module separately by using the Install-Module cmdlet:
Install-Module -Name Az.Confluent -Scope CurrentUser -Repository PSGallery -Force
After you sign in, use the New-AzConfluentOrganization cmdlet to create the new organization resource:
$ConfluentOrgParams = @{
    Name = 'myOrganization'
    ResourceGroupName = 'myResourceGroup'
    Location = 'my location'
    OfferDetailId = 'string'
    OfferDetailPlanId = 'string'
    OfferDetailPlanName = 'string'
    OfferDetailPublisherId = 'string'
    OfferDetailTermUnit = 'string'
    UserDetailEmailAddress = 'contoso@microsoft.com'
    UserDetailFirstName = 'string'
    UserDetailLastName = 'string'
    Tag = @{Environment='Dev'}
}

New-AzConfluentOrganization @ConfluentOrgParams
Note
If you want the command to return before the create operation finishes, add the optional parameter -NoWait. The operation continues to run until the Confluent organization is created.
To see a list of existing organizations, use the Get-AzConfluentOrganization cmdlet.
To view all organizations in your subscription:
Get-AzConfluentOrganization
To view all organizations in a resource group:
Get-AzConfluentOrganization -ResourceGroupName myResourceGroup
To see the properties of a specific organization, use the Get-AzConfluentOrganization cmdlet and the Name and ResourceGroupName parameters.
You can view the organization by name:
Get-AzConfluentOrganization -Name myOrganization -ResourceGroupName myResourceGroup
If you get an error, see Troubleshoot Apache Kafka & Apache Flink on Confluent Cloud solutions.
