Note
Access to this page requires authorization. You can try signing in or changing directories.
Access to this page requires authorization. You can try changing directories.
User access management is a feature that enables the organization admin to add, view and remove users and roles inside a Confluent organization. By managing user permissions, you can ensure that only authorized users can access and perform actions on your Confluent Cloud resources.
This guide presents step by step instructions to manage users and roles in Apache Kafka® & Apache Flink® on Confluent Cloud™ - An Azure Native ISV Service, via Azure portal.
The following actions are supported:
- Adding a user to a Confluent organization.
- Viewing a user's role permissions in a Confluent organization.
- Adding or removing role permissions assigned to a user in a Confluent organization.
Prerequisites
- An Azure account with an active subscription. Create an account for free
- An existing Confluent organization.
- Required permission: Azure subscription Owner, or subscription Contributor with minimum permission AccountAdmin in the Confluent Organization.
Add a user to a Confluent organization
Follow the steps below to add a user to a Confluent organization.
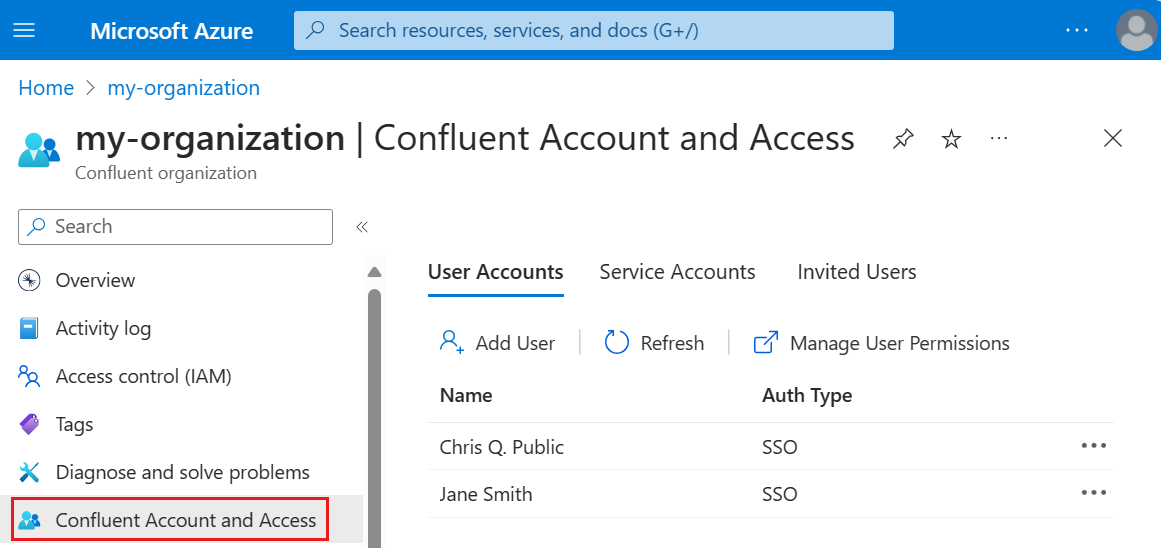
Open your Confluent organization in the Azure portal and select Confluent Account and Access from the left menu. The page shows a list of users who currently belong to this Confluent organization. The same list is visible under Accounts & access in the Confluent portal.
Tip
If you get the error "You do not have enough permissions on the organization to perform this operation", make sure that you have the required permissions. You must be a subscription Owner or Contributor.
Select Add User. A new pane opens with a list of users who belong to your tenant.

Select the user you want to add and select Add User.

A notification indicates that the user has been added. The newly added user is listed in the Confluent Account and Access page and in the Confluent portal.
View a user's permissions
Review permissions assigned to a user in their Confluent resource.
The Confluent Account and Access page shows the list of users in your current Confluent organization. Select Manage Permissions on the right end of the user you want to see the permissions for.
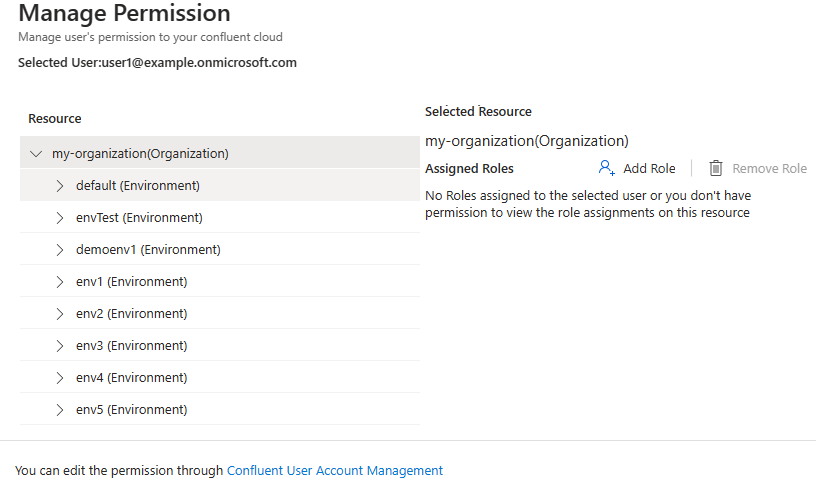
A pane opens, showing permissions. It shows that the newly added user doesn't have any permission in this Confluent organization yet. Optionally select the chevron next to the organization to expand into user permissions view for all environments and clusters.
Assign a permission to a user
Give the new user some permissions in your Confluent organization.
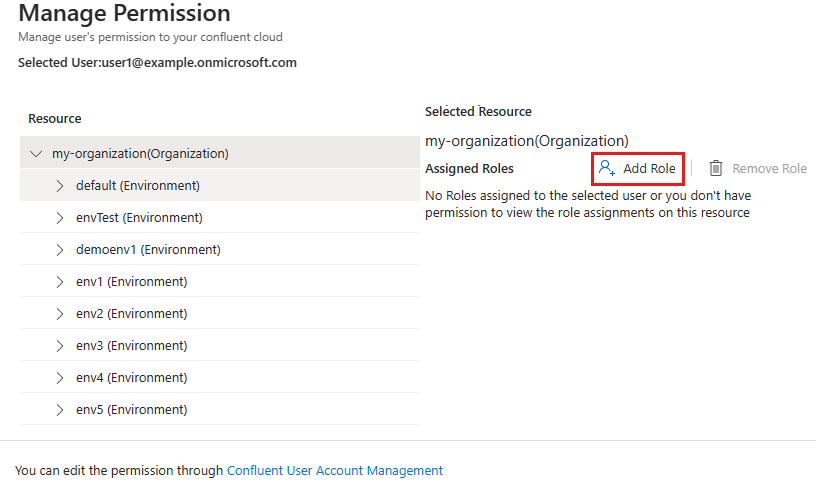
In your Confluent organization, select Confluent Account and Access from the left menu and select Manage Permissions on the right end of the user you want to assign a permission to.
Select Add Role to get a list of role permissions available.
Check the list of role permissions available, select the one you want to assign to the user, then select Add Role.
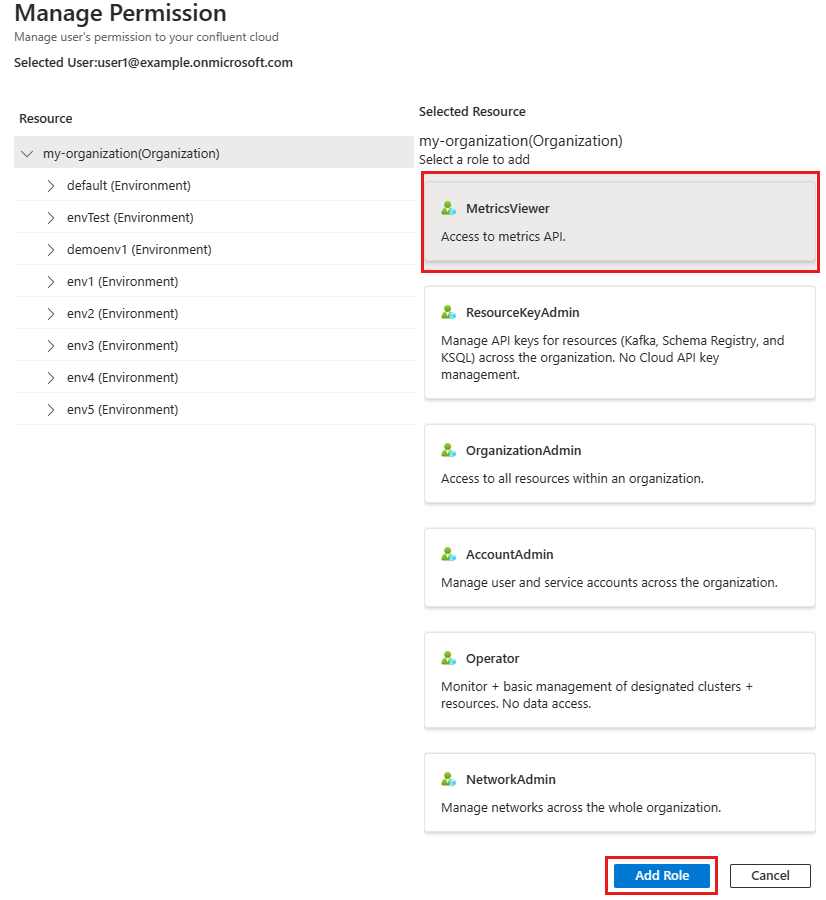
A notification indicates that the new user role has been added. The list of assigned roles for the user is updated with the newly added role.
Remove a user's permissions
Remove a permission assigned to a user in the Confluent organization.
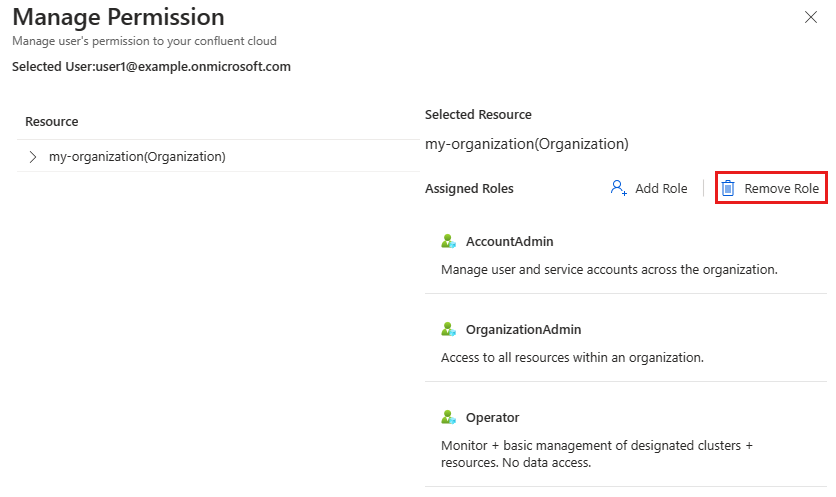
In your Confluent organization, select Confluent Account and Access from the left menu and select Manage Permissions on the right end of the user whose permission you want to remove.
In Manage Permissions, select Remove Role.
Under Enter Role Name to be removed, enter the name of the role you want to remove. Optionally select the copy icon next to the name of the role to copy and then paste it in the text box. Select Remove Role.
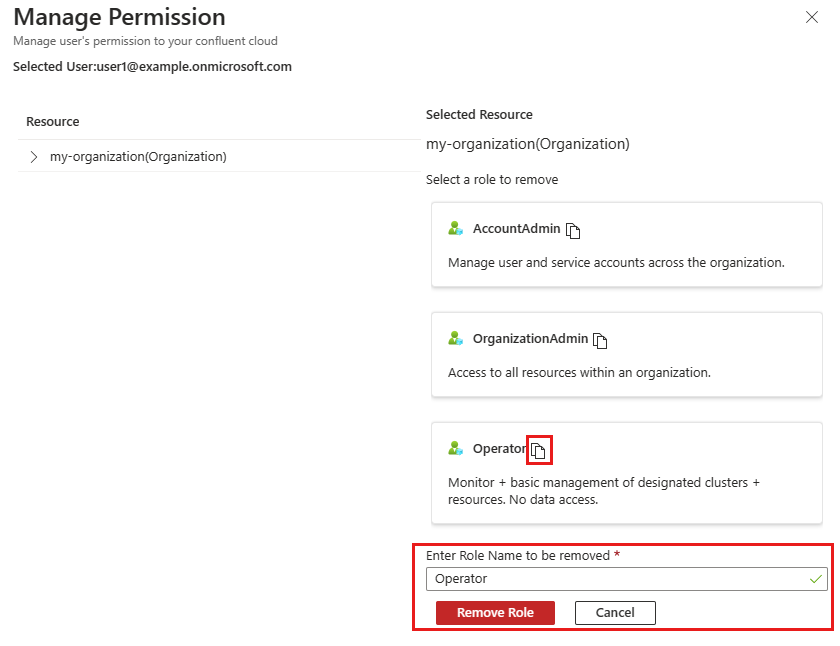
The role is removed and you see the refreshed roles.
Related content
- For help with troubleshooting, see Troubleshooting Apache Kafka & Apache Flink on Confluent Cloud solutions.
- If you need to contact support, see Get support for Confluent Cloud resource.
- To learn more about managing Confluent Cloud, go to Manage the Confluent Cloud resource.