Manage your Astro integration through the portal
Single sign-on
Single sign-on (SSO) is already enabled when you created your Astro resource. To access Astro through SSO, follow these steps:
Navigate to the Overview for your instance of the Astro resource. Select on the SSO Url.
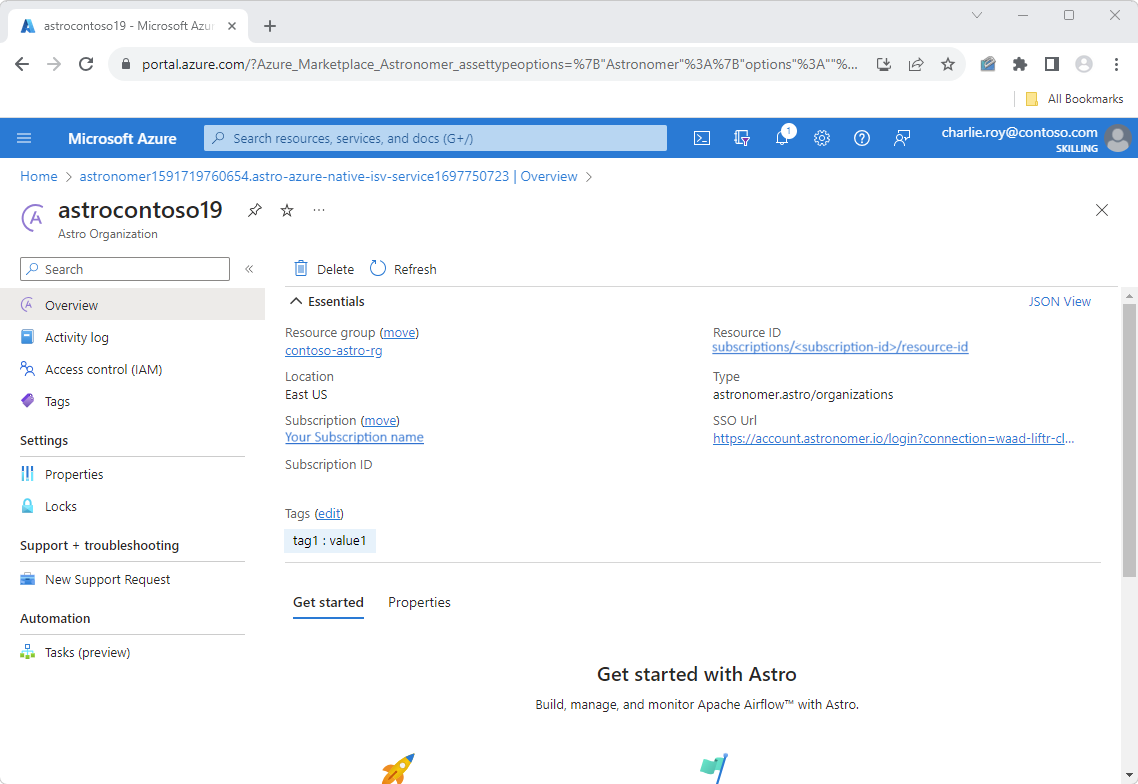
The first time you access this Url, depending on your Azure tenant settings, you might see a request to grant permissions and User consent. This step is only needed the first time you access the SSO Url.
Note
If you are also seeing Admin consent screen then please check your tenant consent settings.
Choose a Microsoft Entra account for the Single Sign-on. Once consent is provided, you're redirected to the Astro portal.
Delete an Astro deployment
Once the Astro resource is deleted, all billing stops for that resource through Azure Marketplace. If you're done using your resource and would like to delete the same, follow these steps:
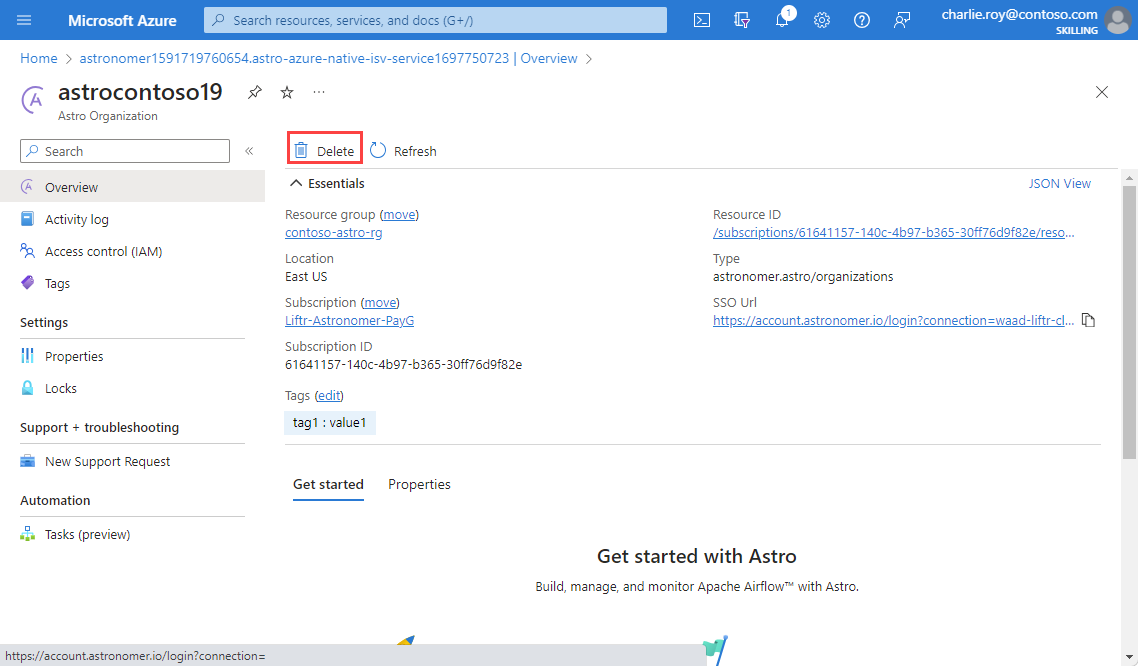
From the Resource menu, select the Astro deployment you would like to delete.
On the working pane of the Overview, select Delete.
Confirm that you want to delete the Astro resource by entering the name of the resource.
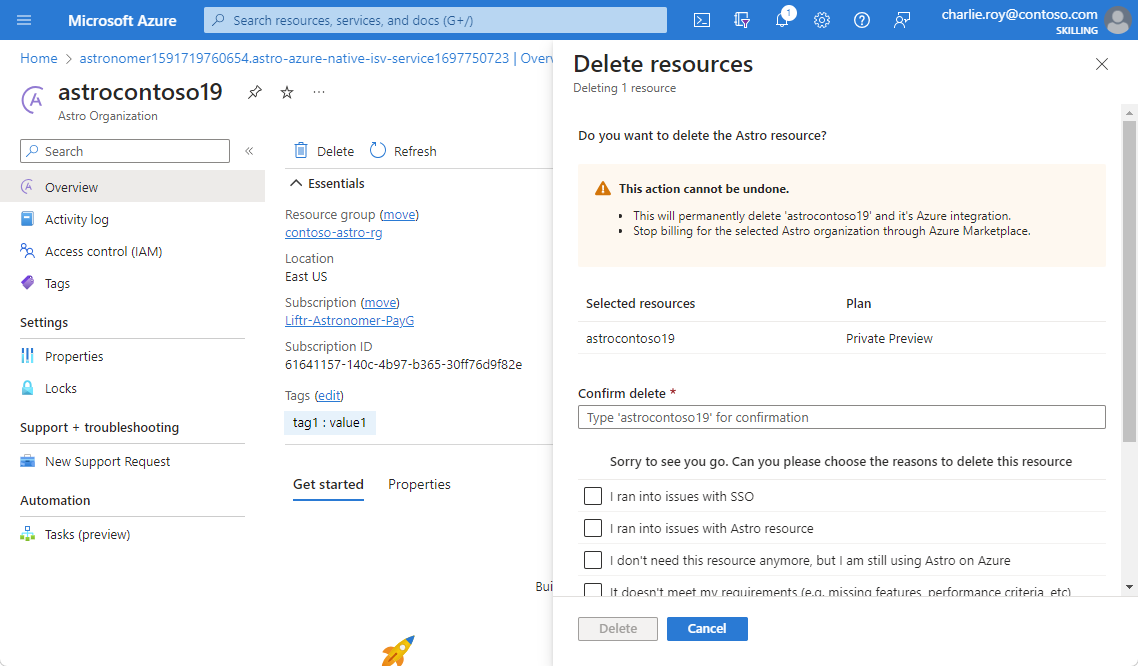
Select the reason why would you like to delete the resource.
Select Delete.
Next steps
For help with troubleshooting, see Troubleshooting Astro integration with Azure.
Get started with Apache Airflow on Astro – An Azure Native ISV Service on