Note
Access to this page requires authorization. You can try signing in or changing directories.
Access to this page requires authorization. You can try changing directories.
In this quickstart, use Azure Marketplace to create an instance of NGINXaaS.
Prerequisites
- An Azure account with an active subscription is required. If you don't have one, create an account for free.
- The Owner or Contributor role for your Azure subscription. Only users who are assigned one of these roles can set up the partner service integration for your Azure subscription. Before you begin, verify that you have the appropriate access.
Create a resource
From the Azure portal menu's global search bar, search for marketplace. Select Marketplace from the Services results.
In the Marketplace, search for F5 NGINX as a Service. In the results, subscribe to NGINX as a Service.
In Create NGINXaaS, in the Basics tab, select a Subscription and resource group. You can create a resource group, if necessary.
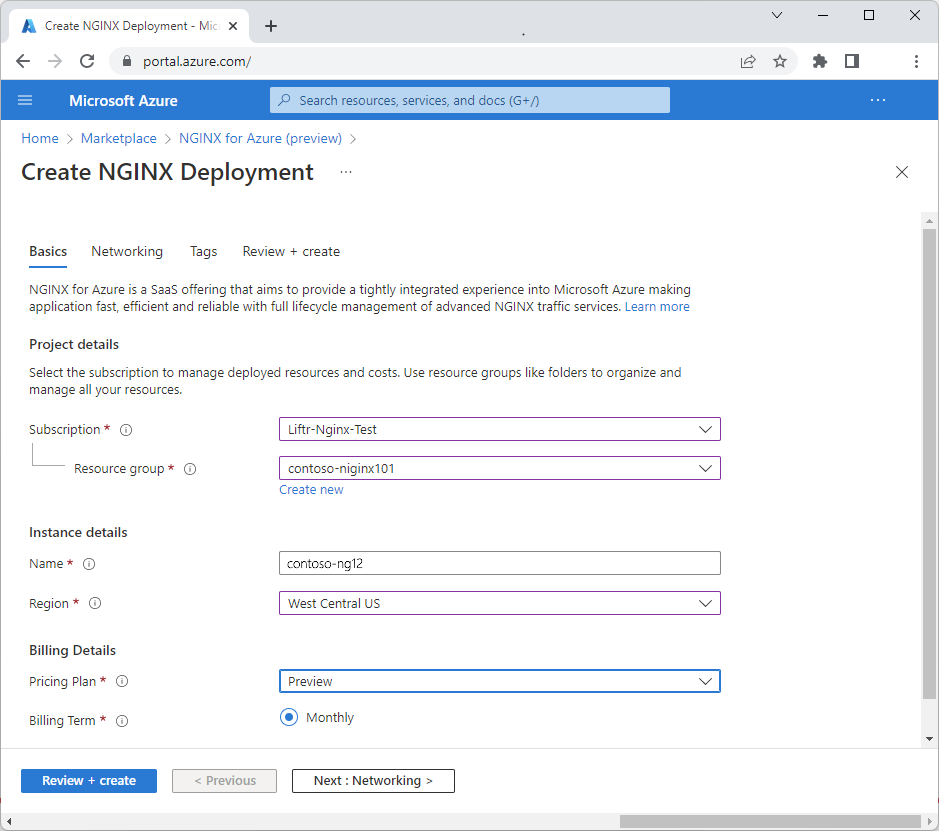
Provide a name for your NGINXaaS instance and select a region. Not all marketplace plans are available for all regions.
Use the link to select a pricing plan.
Enter a valid address for Support Contact.
Select Next to view the Networking tab.
Networking
In the Networking tab:
Specify a virtual network and subnet or accept the option to create new ones.
Select I allow NGINX service provider to access the above virtual network for deployment.
For IP address type, select Public Only or Private Only.
Select Review + create.
Review and create
The Review + Create tab runs validations. Review the selections made in the Basics, Networking, and optionally Tags tabs. You can also review the NGINXaaS and Azure Marketplace terms and conditions.
After you review all the information, select Create.
Deployment can take some time.
Deployment completed
After the Azure portal finishes creating the resource, select Go to Resource to view your new NGINXaaS resource.
Select Overview in the left menu to see information on the deployed resources.