Manage your NGINXaaS integration through the portal
Once your NGINXaaS resource is created in the Azure portal, you might need to get information about it or change it. Here's list of ways to manage your NGINXaaS resource.
- Configure managed identity
- Changing the configuration
- Adding certificates
- Send metrics to monitoring
- Delete an NGINXaaS deployment
- GitHub integration
Configure managed identity
Add a new User Assigned Managed Identity.
From the Resource menu, select your NGINXaaS deployment.
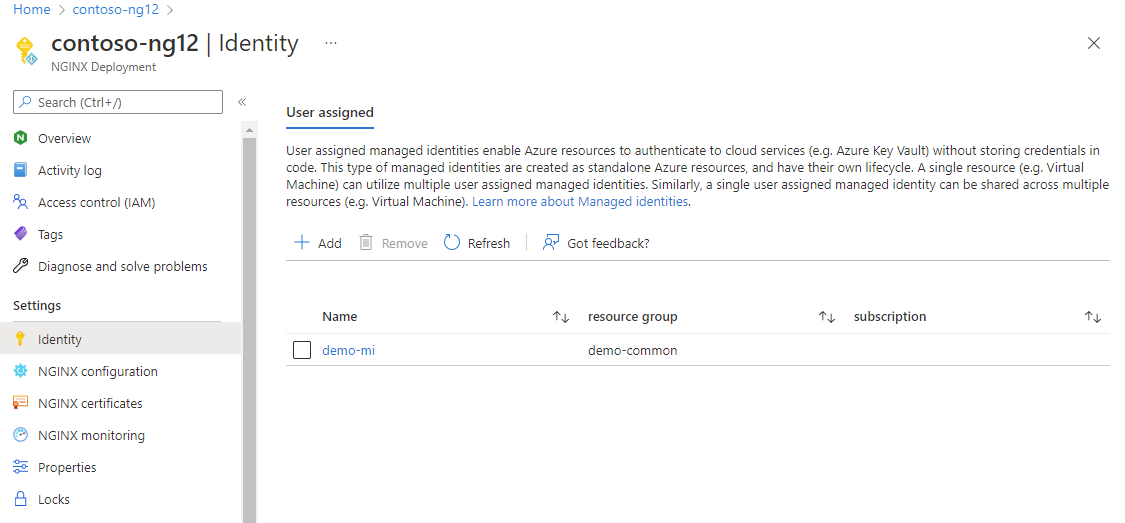
From Settings in the Resource menu, select Identity.
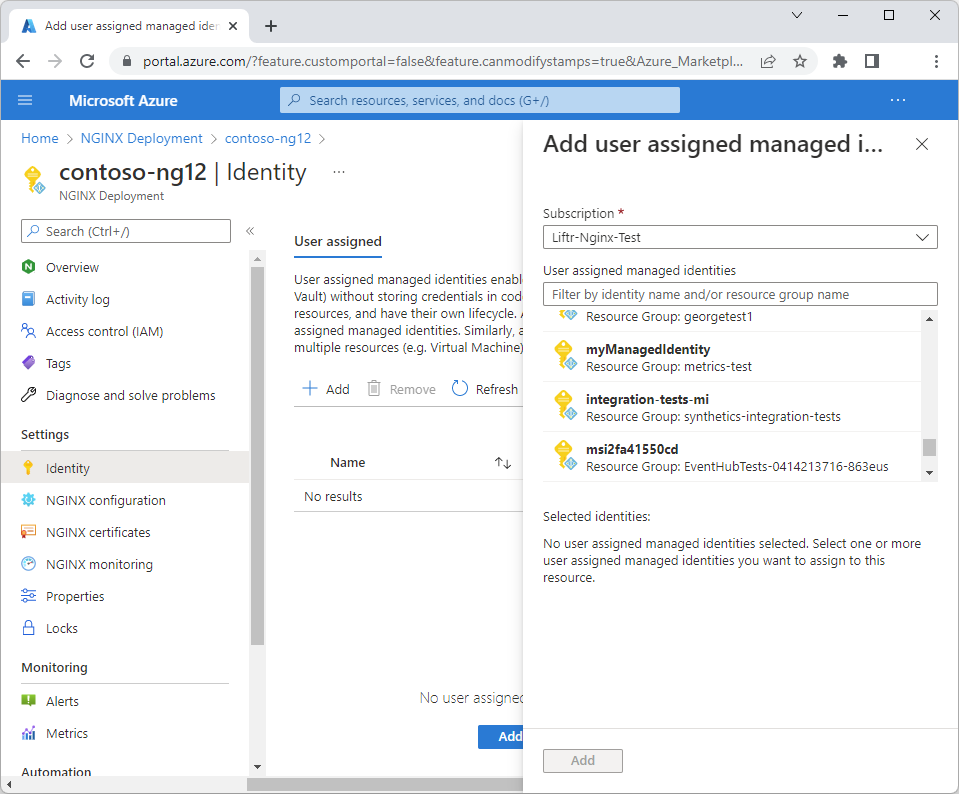
To add a User Assigned identity, select Add in the working pane. You see a new pane for adding User assigned managed identities on the right that are part of the subscription. Select an identity and select Add.
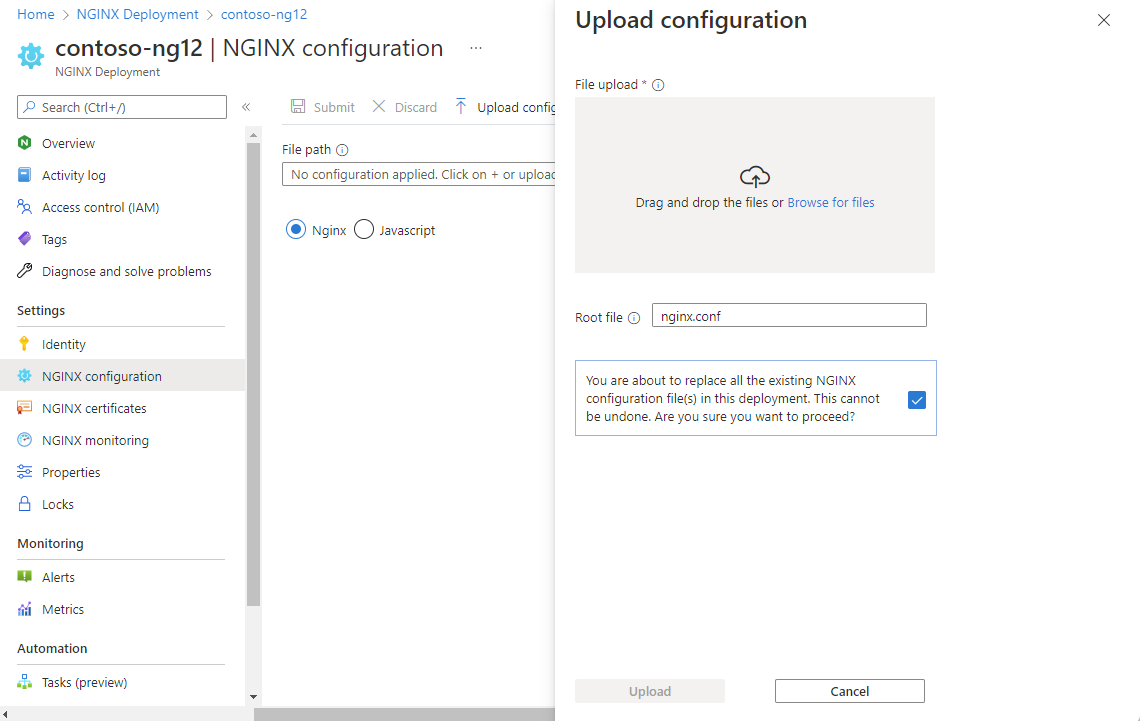
Changing the configuration
From the Resource menu, select your NGINXaaS deployment.
Select NGINXaaS configuration in the Resource menu.
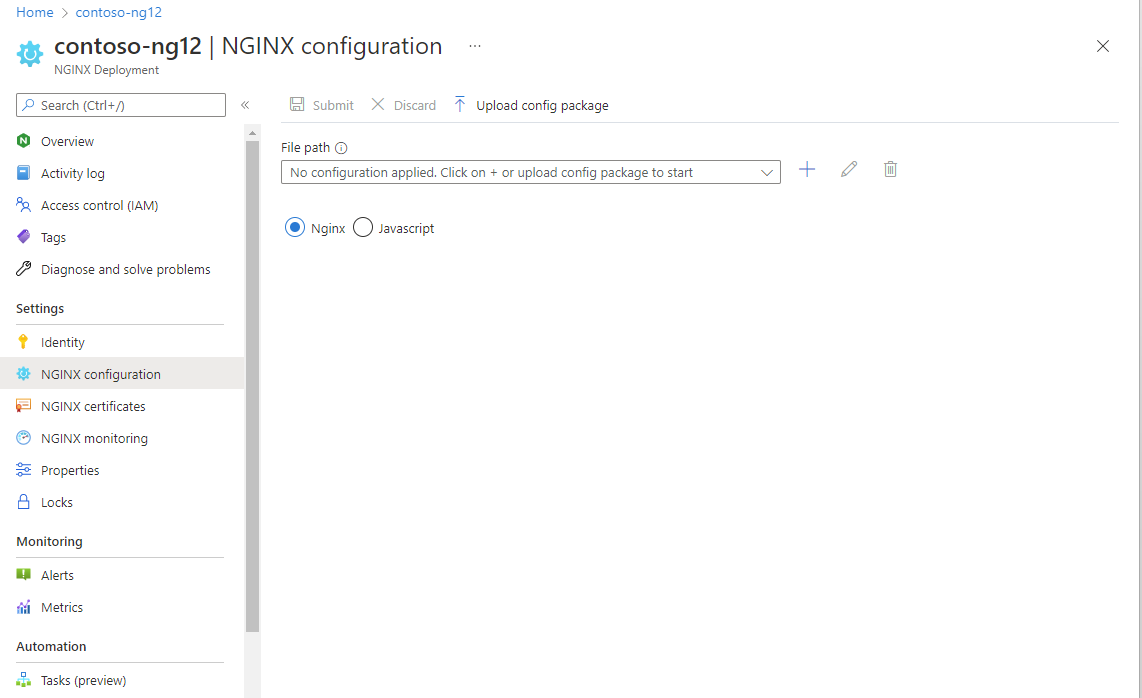
To upload an existing NGINXaaS config package, type the appropriate
.conf filein File path in the working paned and select the + button and for config package.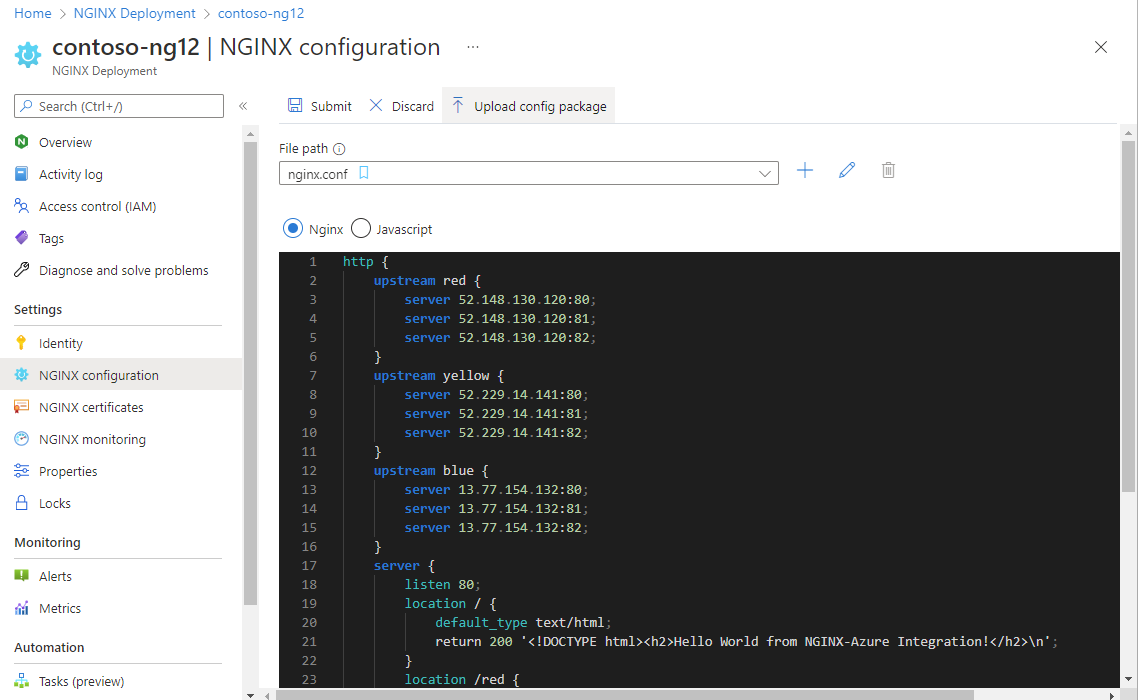
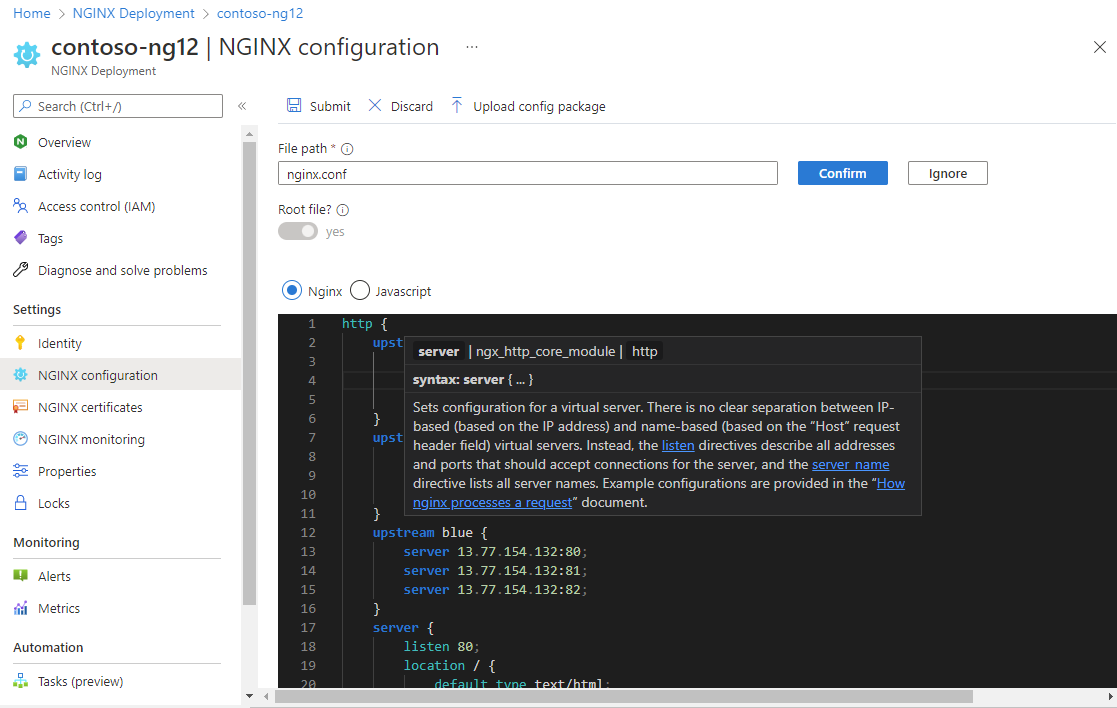
You see the contents of the file in the working pane. Select Confirm if correct.
To edit the config file within the Editor, select the pencil icon. When you're done editing, select Submit.
Adding certificates
You can add a certificate by uploading it to Azure Key vault, and then associating the certificate with your deployment.
From the Resource menu, select your NGINXaaS deployment.
Select NGINXaaS certificates in Settings in the Resource menu.
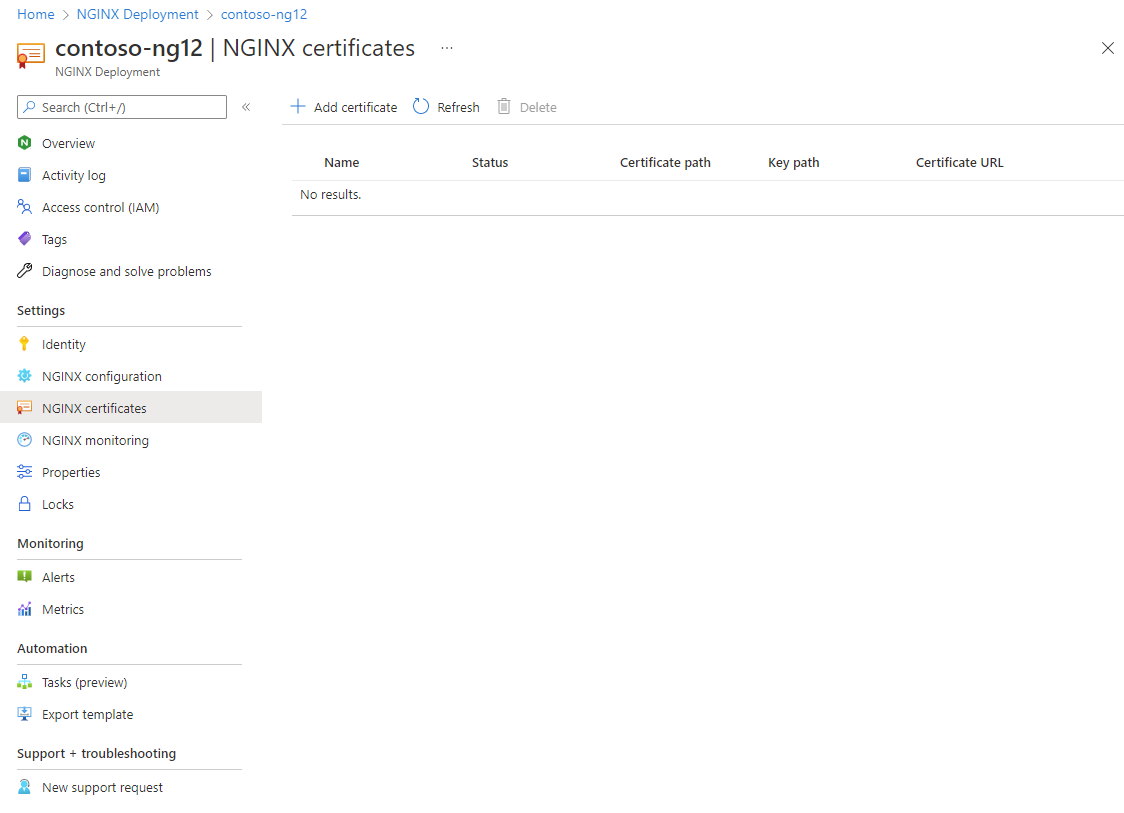
Select Add certificate. You see an Add certificate in the working pane. Add the appropriate information
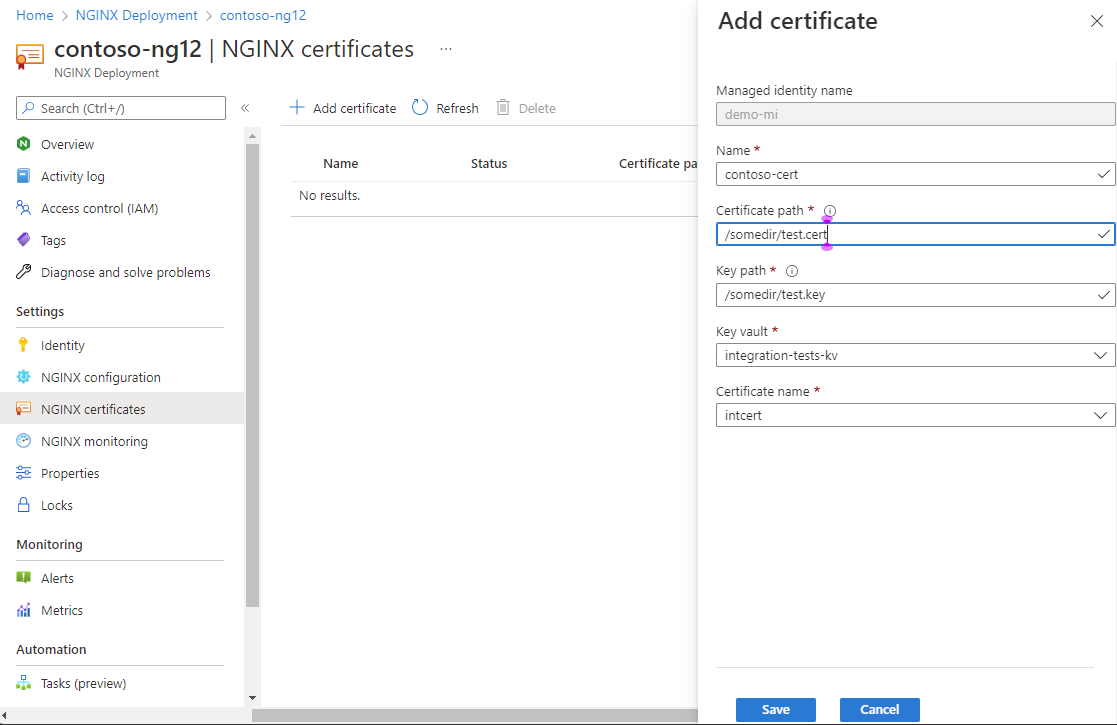
When you've added the needed information, select Save.
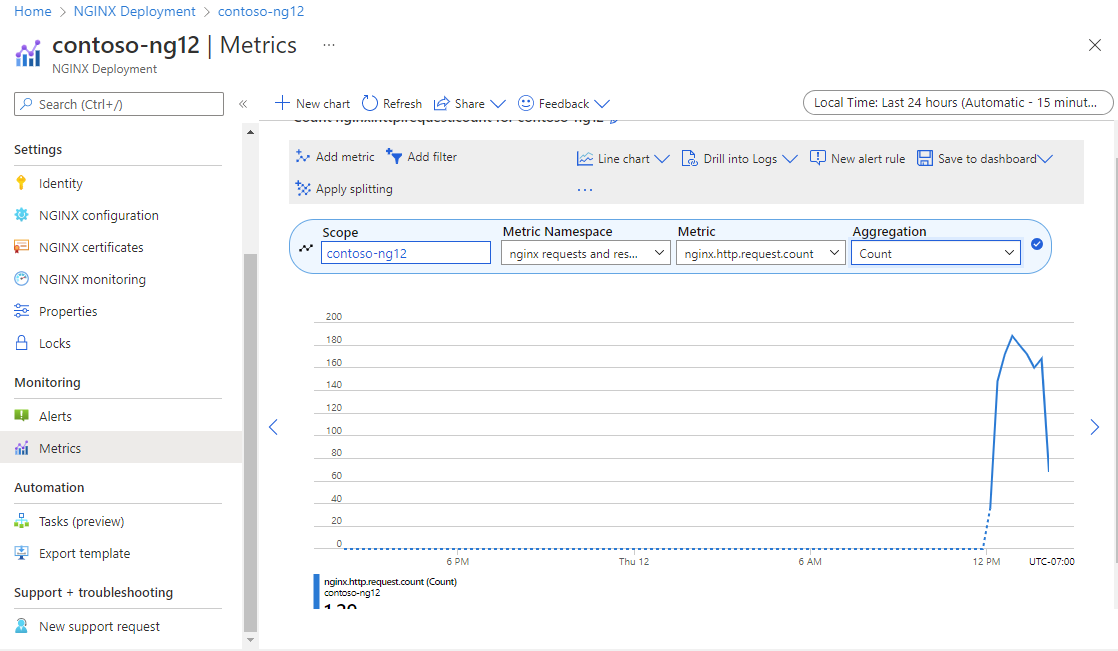
Send metrics to monitoring
From the Resource menu, select your NGINXaaS deployment.
Select NGINXaaS Monitoring under the Settings in the Resource menu.
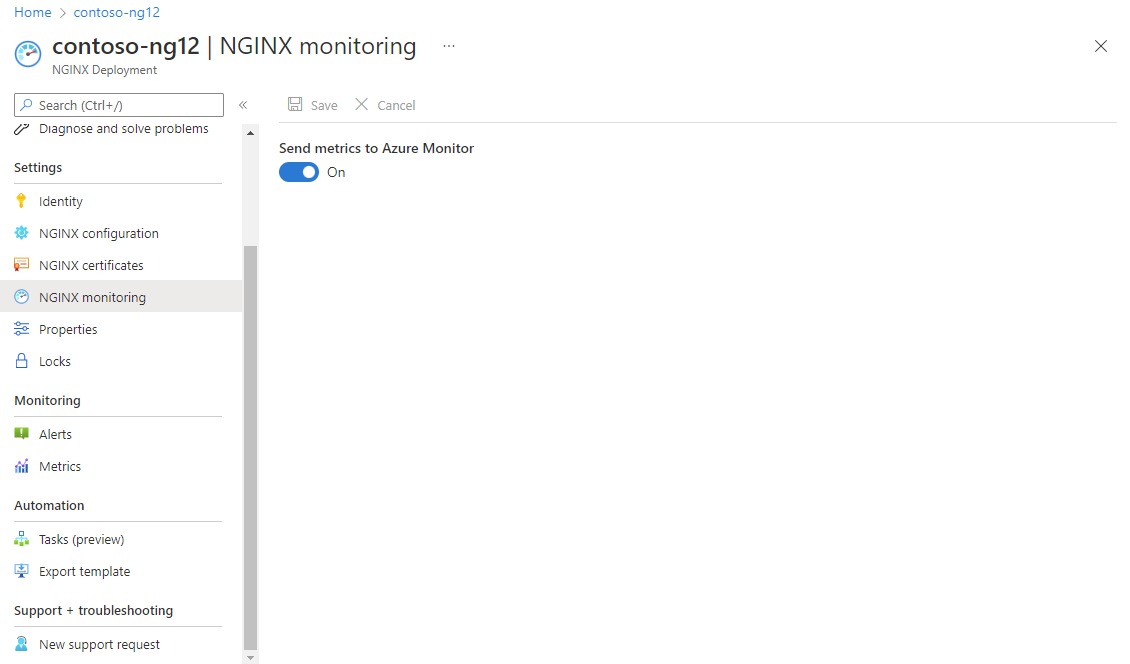
Select Send metrics to Azure Monitor to enable metrics and select Save.
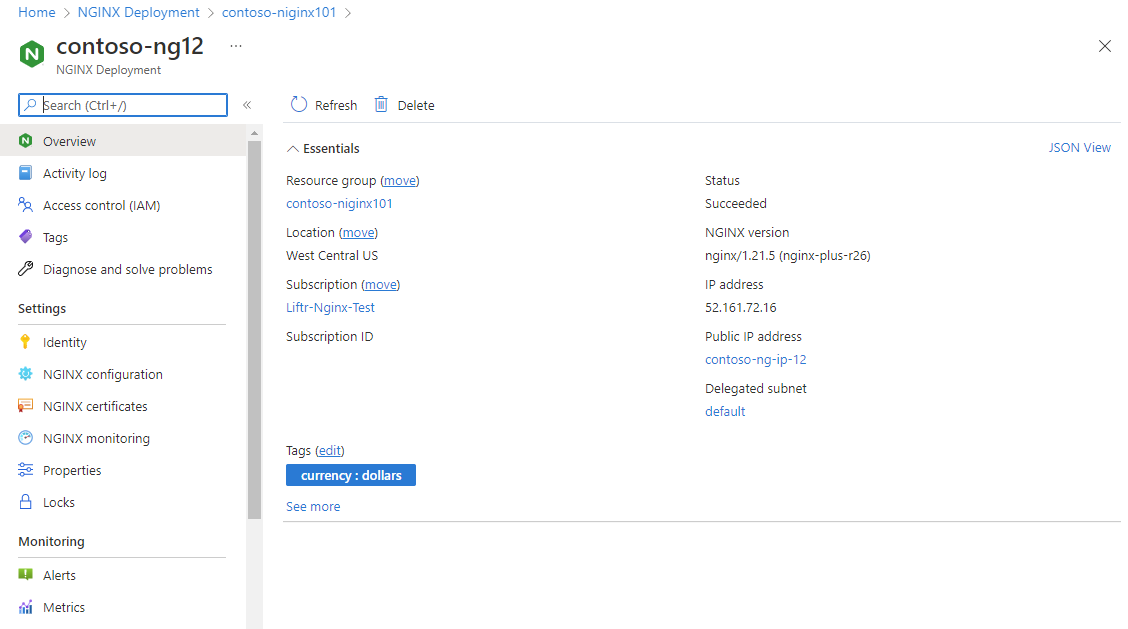
Delete an NGINXaaS deployment
To delete a deployment of NGINXaaS:
From the Resource menu, select your NGINXaaS deployment.
Select Overview in the Resource menu.
Select Delete.
Confirm that you want to delete the NGINXaaS resource.
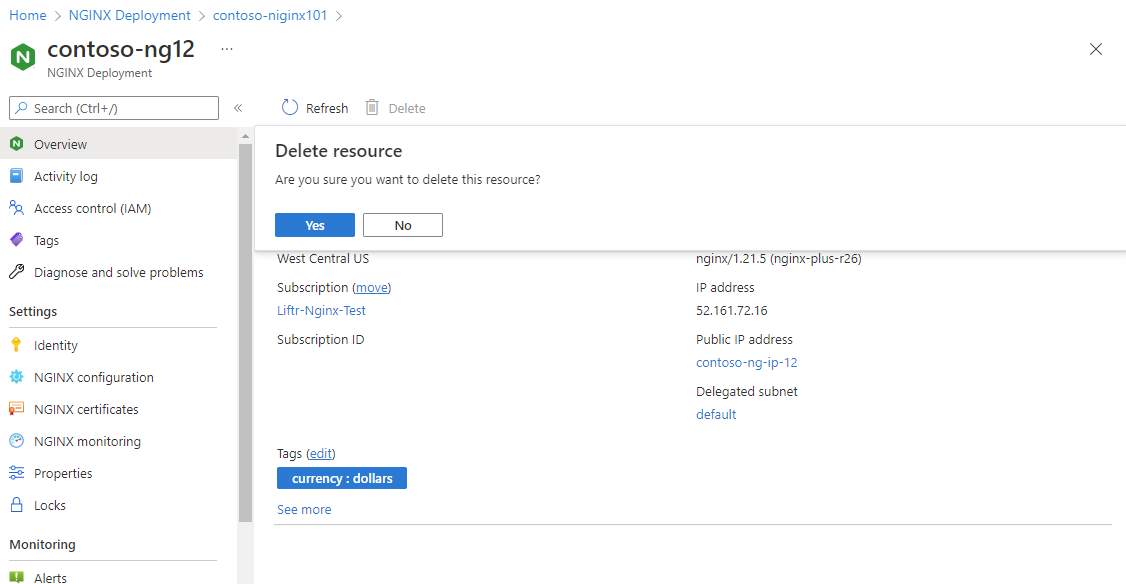
Select Delete.
After the account is deleted, logs are no longer sent to NGINXaaS, and all billing stops for NGINXaaS through Azure Marketplace.
Note
The delete button on the main account is only activated if all the sub-accounts mapped to the main account are already deleted. Refer to section for deleting sub-accounts here.
GitHub Integration
Enable CI/CD deployments via GitHub Actions integrations.
Next steps
For help with troubleshooting, see Troubleshooting NGINXaaS integration with Azure.
Get started with NGINXaaS – An Azure Native ISV Service on