Note
Access to this page requires authorization. You can try signing in or changing directories.
Access to this page requires authorization. You can try changing directories.
Note
If a free trial is available, you can find more information about it here.
You can create automation tasks for your Azure Database for PostgreSQL flexible server instance to start or stop the server on a predefined schedule. Set the Interval and Frequency values on the task's Configure tab to automatically start or stop the server a specific number of times every day, week, or month. The automation task continues to work until you delete or disable the task.
You can also set up automation tasks for other routine tasks such as 'Send monthly cost for resource' and 'Scale Azure Database for PostgreSQL'.
How do automation tasks differ from Azure Automation?
Automation tasks are more basic and lightweight than Azure Automation. You can only create an automation task at the Azure resource level. An automation task is a logic app resource that runs a workflow powered by the multitenant Azure Logic Apps service. You can view and edit the underlying workflow by opening the task in the workflow designer after it has completed at least one run.
In contrast, Azure Automation is a comprehensive cloud-based automation and configuration service providing consistent management across Azure and non-Azure environments.
Pricing
Creating an automation task doesn't immediately incur charges. Underneath, an automation task is powered by a workflow in a logic app resource hosted in multitenant Azure Logic Apps; thus, the Consumption pricing model applies to automation tasks. Metering and billing are based on the trigger and action executions in the underlying logic app workflow.
Prerequisites
- An Azure account and subscription.
- An Azure Database for PostgreSQL flexible server instance you want to manage.
Create an automation task to stop the server
In the Azure portal, find the Azure Database for PostgreSQL flexible server resource you want to manage.
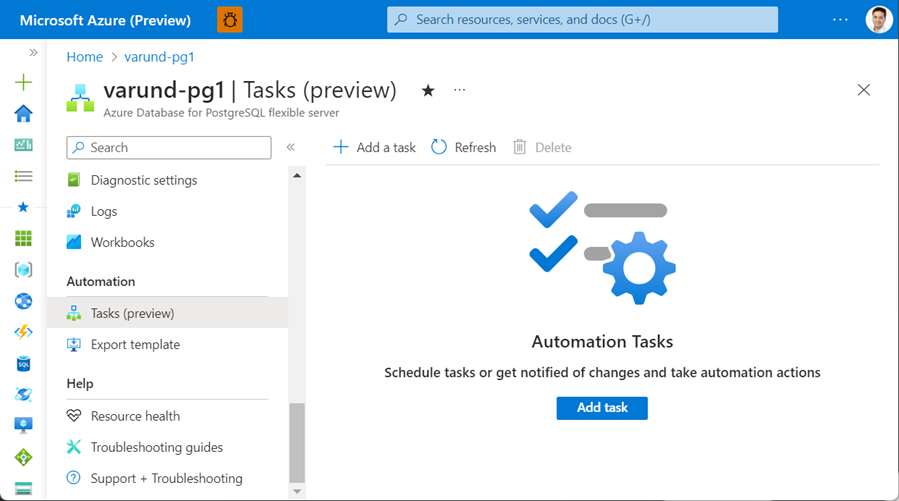
On the resource navigation menu, in the Automation section, select Tasks.
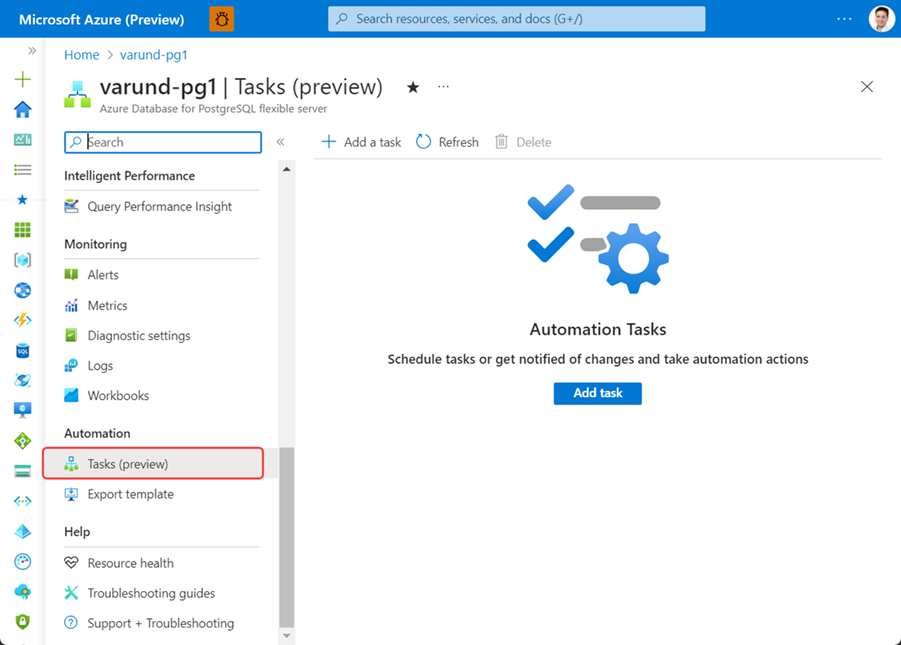
On the Tasks pane, select Add a task to select a task template.
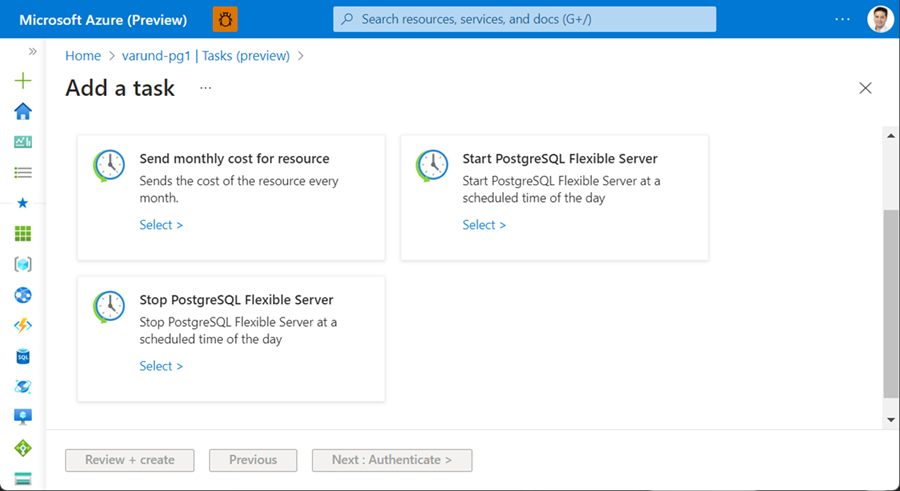
Under Select a template, select the task for stopping your Azure Database for PostgreSQL flexible server instance.
Under Authenticate, in the Connections section, select Create for every connection that appears in the task so that you can provide authentication credentials for all the connections. The types of connections in each task vary based on the task.
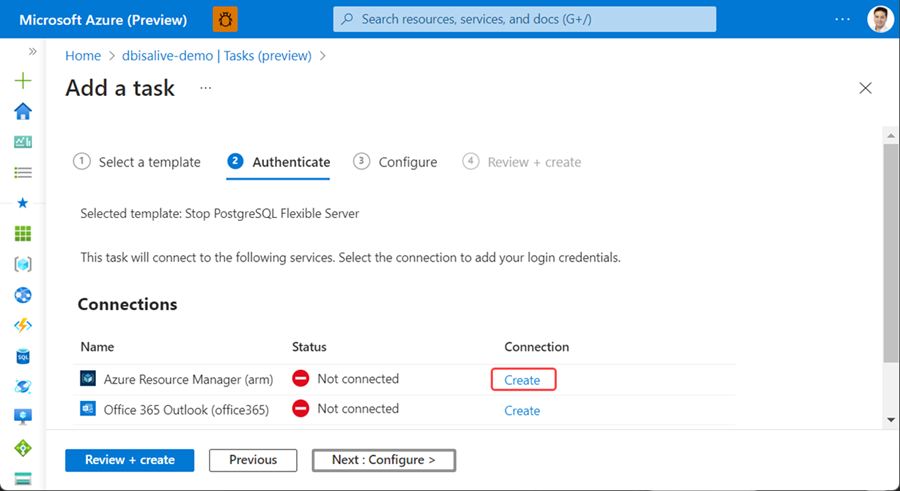
When prompted, sign in with your Azure account credentials.
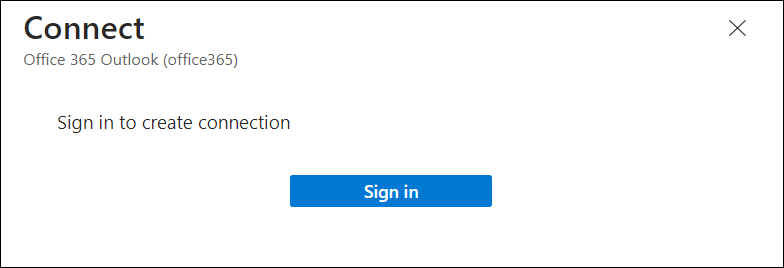
Each successfully authenticated connection looks similar to this example:
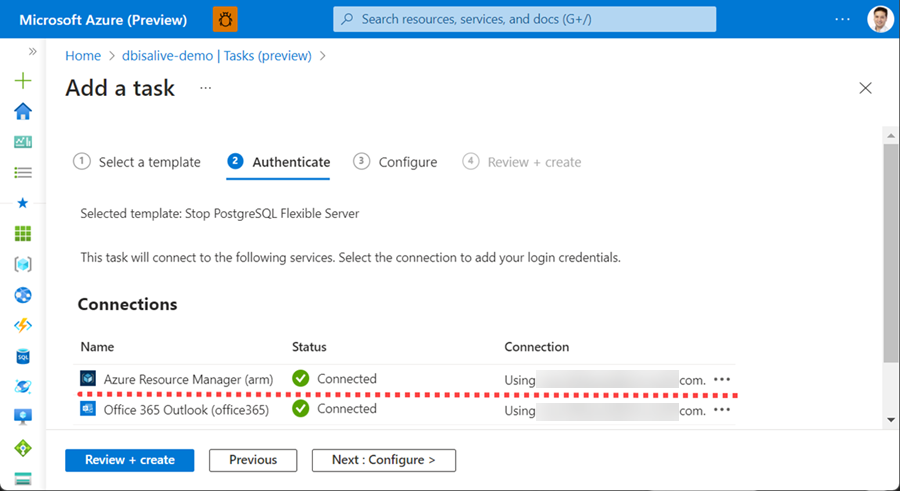
After you authenticate all the connections, select Next: Configure.
Under Configure, provide a name for the task and any other information required. When you're done, select Review + create.
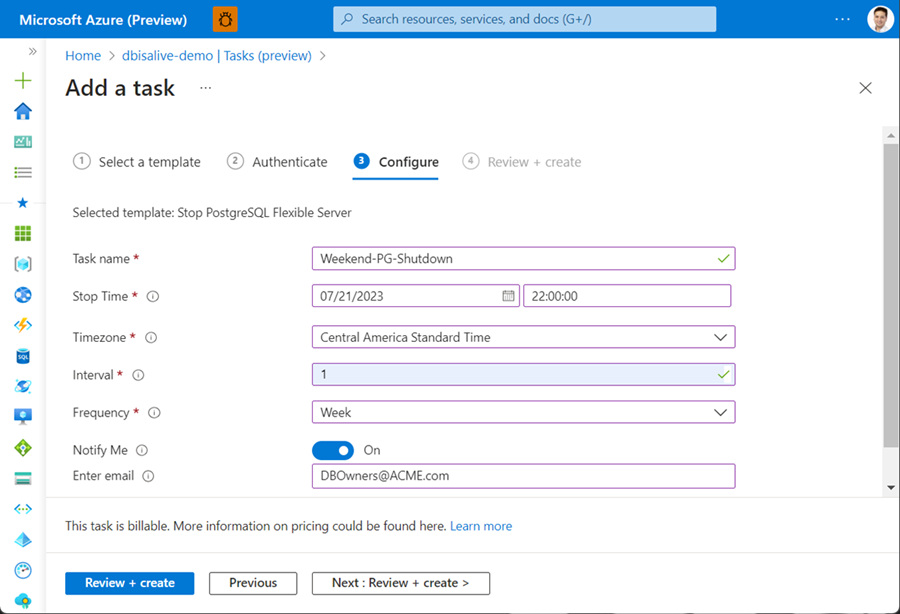
Tasks that send email notifications require an email address.
Note
You can't change the task name after creation, so consider a name that still applies if you edit the underlying workflow. Changes you make to the underlying workflow apply only to the task you created, not the task template.
For example, if you name your task Stop-Instance-Weekly but later edit the underlying workflow to run daily, you can't change it to Stop-Instance-Daily.
The task you've created, which is automatically live and running, appears on the Tasks list.
Create an automation task to start the server
You can apply the same steps outlined above to create separate automation tasks for starting the Azure Database for PostgreSQL flexible server instance at a specific time. Here's how:
- Follow the steps outlined in the "Create an automation task" section until you reach the "Select a template" stage.
- Here, instead of selecting the "Stop PostgreSQL flexible server" task, select the template for "Start PostgreSQL flexible server."
- Proceed to fill in the rest of the required details as described in the subsequent steps, defining the specific schedule at which you want the server to start in the 'Configure' section.
Review task history
To view a task's history of runs along with their status:
- In the Azure portal, find the Azure Database for PostgreSQL flexible server resource you want to manage.
- On the resource navigation menu, in the Automation section, select Tasks.
- find the task you want to review in the tasks list. In that task's Runs column, select View.
Here are the possible statuses for a run:
| Status | Description |
|---|---|
| Canceled | The task was canceled while running. |
| Failed | The task has at least one failed action, but no subsequent actions exist to handle the failure. |
| Running | The task is currently running. |
| Succeeded | All actions succeeded. A task can still finish successfully if an action fails, but a subsequent action exists to handle the failure. |
| Waiting | The run hasn't started yet and is paused because an earlier task instance is still running. |
For more information, see Review runs history in monitoring view.
Edit the task
To change a task, you have these options:
Edit the task "inline" to change its properties, such as connection information or configuration information, such as your email address.
- Edit the task's underlying workflow in the workflow designer.
Edit the task inline
- In the Azure portal, find the Azure Database for PostgreSQL flexible server resource you want to manage.
- On the resource navigation menu, in the Automation section, select Tasks.
- find the task you want to update in the tasks list. Open the task's ellipses (...) menu, and select Edit inline.
- By default, the Authenticate tab shows existing connections.
- To add new authentication credentials or select different existing authentication credentials for a connection, open the connection's ellipses (...) menu and select either Add new connection or, if available, different authentication credentials.
- To update other task properties, select Next: Configure.
- When you're done, select Save
Edit the task's underlying workflow
- For details on editing the underlying workflow, refer to Edit the task's underlying workflow
