Note
Access to this page requires authorization. You can try signing in or changing directories.
Access to this page requires authorization. You can try changing directories.
You can use Microsoft Entra ID or a local username and password to authenticate access to the distributed tracing and packet core dashboards. Additionally, you can use a self-signed certificate or provide your own to attest access to your local diagnostics tools.
To improve security in your deployment, we recommend setting up Microsoft Entra authentication over local usernames and passwords, as well as providing a certificate signed by a globally known and trusted certificate authority (CA).
In this how-to guide, you'll learn how to use the Azure portal to change the authentication method and the certificate used for securing access to a site's local monitoring tools.
Tip
Instead, if you want to modify the user-assigned identity configured for HTTPS certificates, create a new or edit an existing user-assigned identity using the information collected in Collect local monitoring values.
Prerequisites
- Refer to Choose the authentication method for local monitoring tools and Collect local monitoring values to collect the required values and make sure they're in the correct format.
- If you want to add or update a custom HTTPS certificate for accessing your local monitoring tools, you'll need a certificate signed by a globally known and trusted CA and stored in an Azure Key Vault. Your certificate must use a private key of type RSA or EC to ensure it's exportable (see Exportable or non-exportable key for more information).
- If you want to update your local monitoring authentication method, ensure your local machine has core kubectl access to the Azure Arc-enabled Kubernetes cluster. This requires a core kubeconfig file, which you can obtain by following Core namespace access.
- Ensure you can sign in to the Azure portal using an account with access to the active subscription you used to create your private mobile network. This account must have the built-in Contributor or Owner role at the subscription scope.
View the local access configuration
In this step, you'll navigate to the Packet Core Control Plane resource representing your packet core instance.
Sign in to the Azure portal.
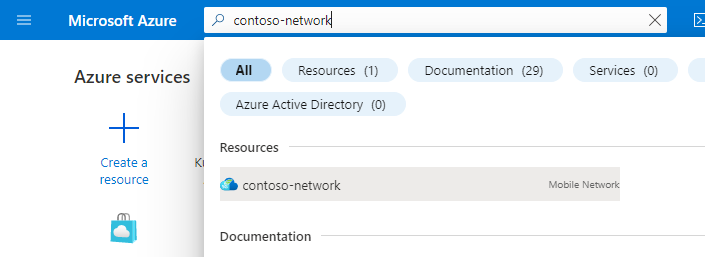
Search for and select the Mobile Network resource representing the private mobile network.
In the resource menu, select Sites.
Select the site containing the packet core instance you want to modify.
Under the Network function heading, select the name of the Packet Core Control Plane resource shown next to Packet Core.
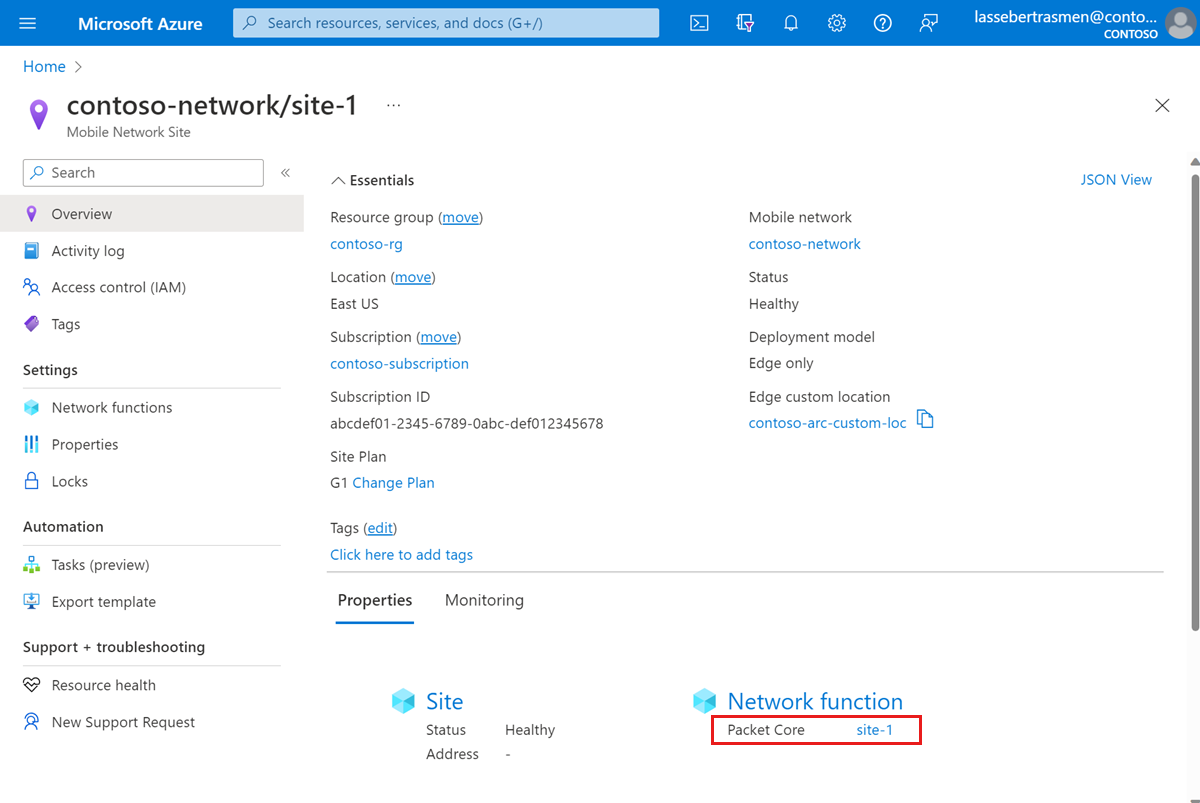
Check the fields under the Local access heading to view the current local access configuration and status.
Modify the local access configuration
Select Modify local access.

Under Authentication type, select the authentication method you want to use.
Under HTTPS certificate, choose whether you want to provide a custom HTTPS certificate for accessing your local monitoring tools.
If you selected Yes for Provide custom HTTPS certificate?, use the information you collected in Collect local monitoring values to select a certificate.
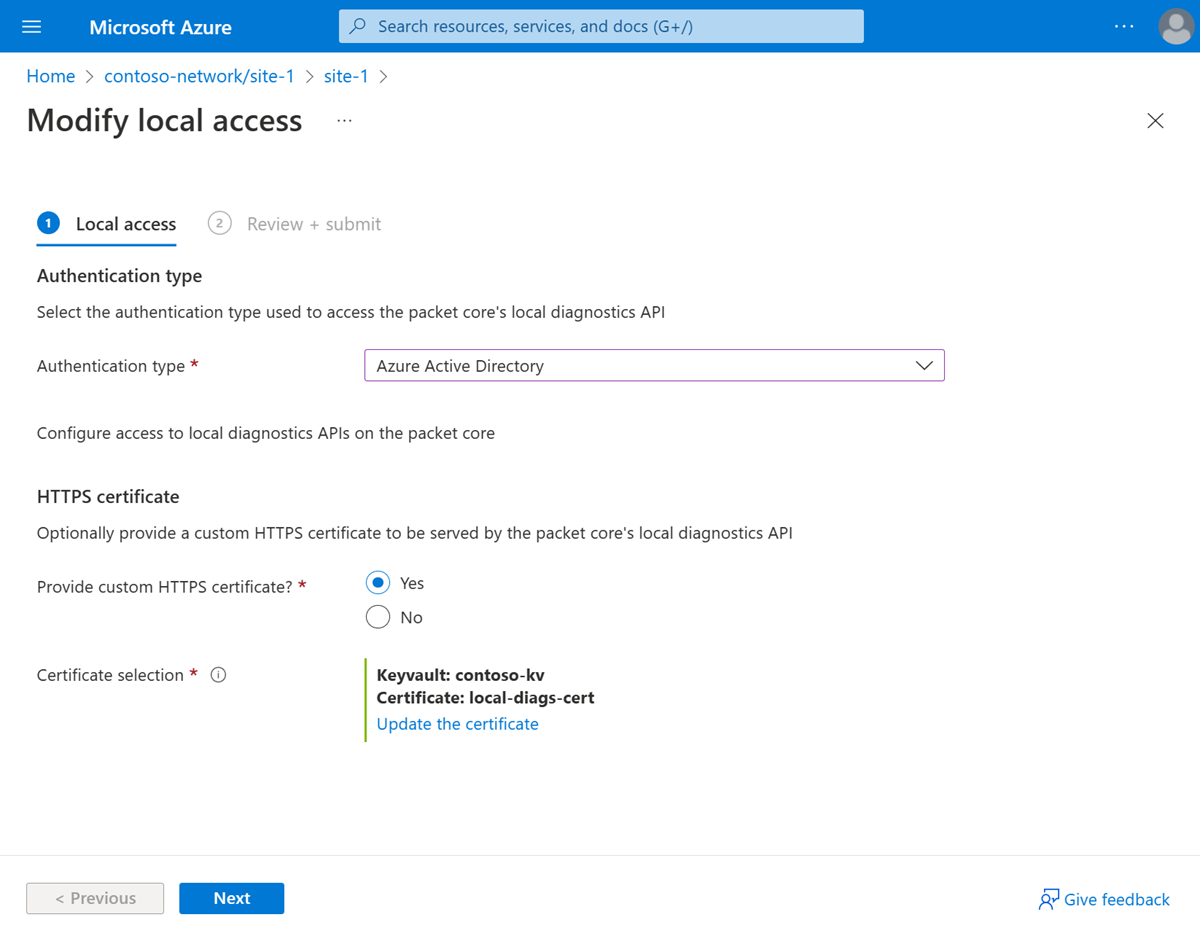
Select Next.
Azure will now validate the configuration values you entered. You should see a message indicating that your values have passed validation.
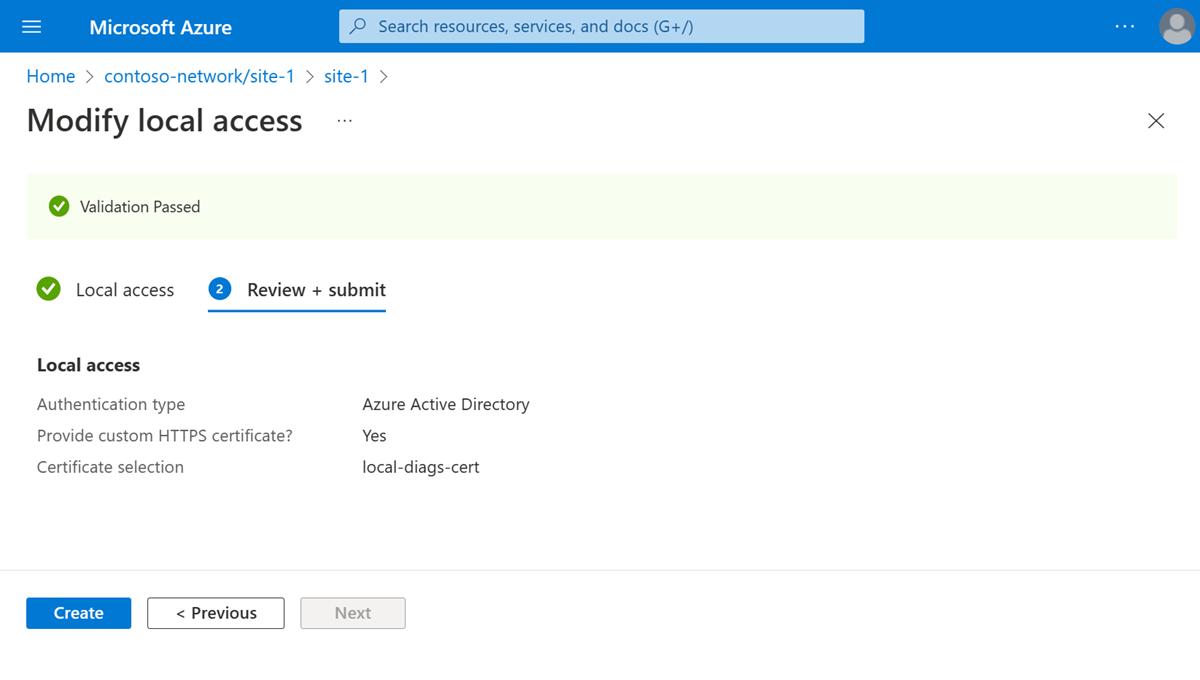
Select Create.
Azure will now redeploy the packet core instance with the new configuration. The Azure portal will display a confirmation screen when this deployment is complete.
Select Go to resource. Check that the fields under Local access contain the updated authentication and certificate information.
If you added or updated a custom HTTPS certificate, follow Access the distributed tracing web GUI and Access the packet core dashboards to check if your browser trusts the connection to your local monitoring tools. Note that:
- It may take up to four hours for the changes in the Key Vault to synchronize with the edge location.
- You may need to clear your browser cache to observe the changes.
Configure local monitoring access authentication
Follow this step if you changed the authentication type for local monitoring access.
If you switched from local usernames and passwords to Microsoft Entra ID, follow the steps in Enable Microsoft Entra ID for local monitoring tools.
If you switched from Microsoft Entra ID to local usernames and passwords:
Sign in to Azure Cloud Shell and select PowerShell. If this is your first time accessing your cluster via Azure Cloud Shell, follow Access your cluster to configure kubectl access.
Delete the Kubernetes Secret Objects:
kubectl delete secrets sas-auth-secrets grafana-auth-secrets --kubeconfig=<core kubeconfig> -n coreRestart the distributed tracing and packet core dashboards pods.
Obtain the name of your packet core dashboards pod:
kubectl get pods -n core --kubeconfig=<core kubeconfig> | grep "grafana"Copy the output of the previous step and replace it into the following command to restart your pods.
kubectl delete pod sas-core-search-0 <packet core dashboards pod> -n core --kubeconfig=<core kubeconfig>
Follow Access the distributed tracing web GUI and Access the packet core dashboards to check if you can access your local monitoring tools using local usernames and passwords.