Approval workflow for asset curation
Important
This feature is currently in preview. The Supplemental Terms of Use for Microsoft Azure Previews include additional legal terms that apply to Azure features that are in beta, in preview, or otherwise not yet released into general availability.
This guide will take you through the creation and management of approval workflows for asset curation.
Create and enable a new approval workflow for asset curation
Sign in to the Microsoft Purview governance portal and select the Management center. You'll see three new icons in the table of contents.
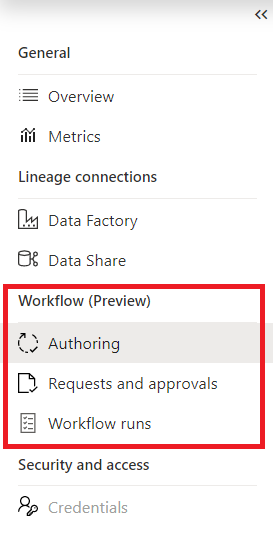
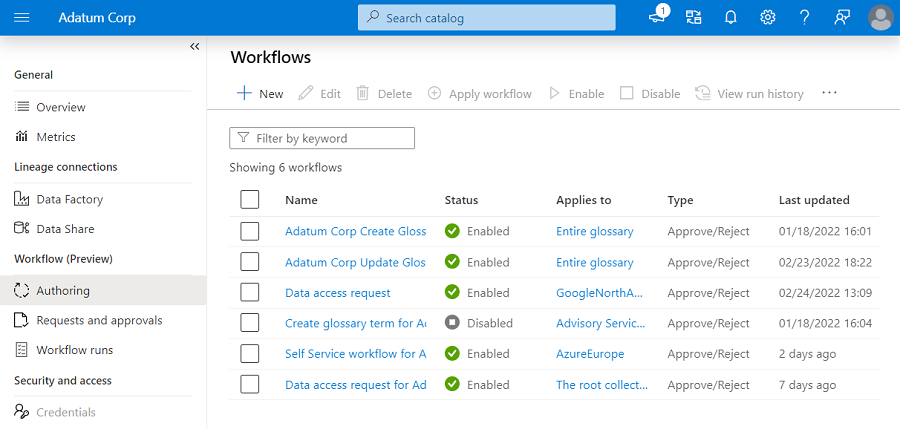
To create new workflows, select Authoring in the workflow section. This will take you to the workflow authoring experiences.
Note
If the authoring tab is greyed out, you don't have the permissions to be able to author workflows. You'll need the workflow admin role.
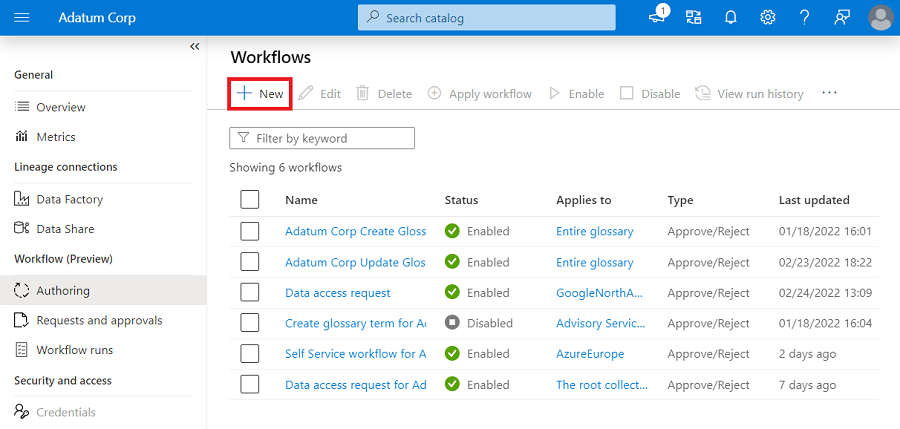
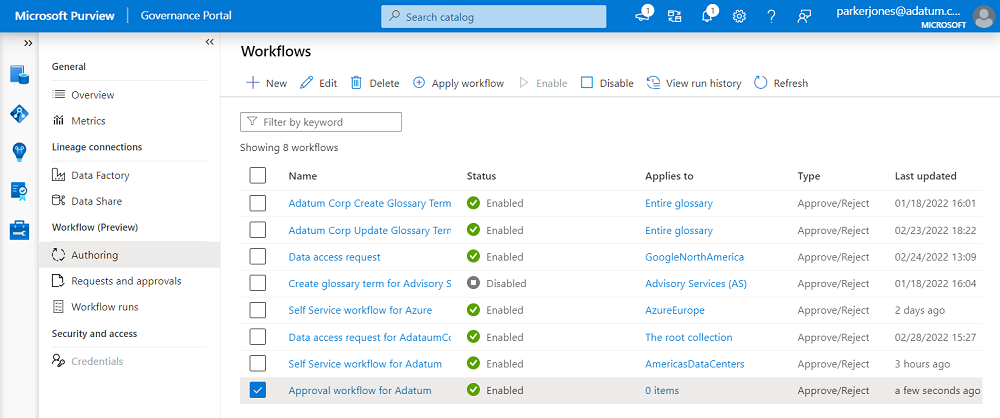
To create a new workflow, select the +New button.
To create Approval workflows for asset curation Select Data Catalog and select Continue

In the next screen, you'll see all the templates provided by Microsoft Purview to create a workflow. Select the template using which you want to start your authoring experiences and select Continue. Each of these templates specifies the kind of action that will trigger the workflow. In the screenshot below we've selected Update asset attributes to create approval workflow for asset updates.

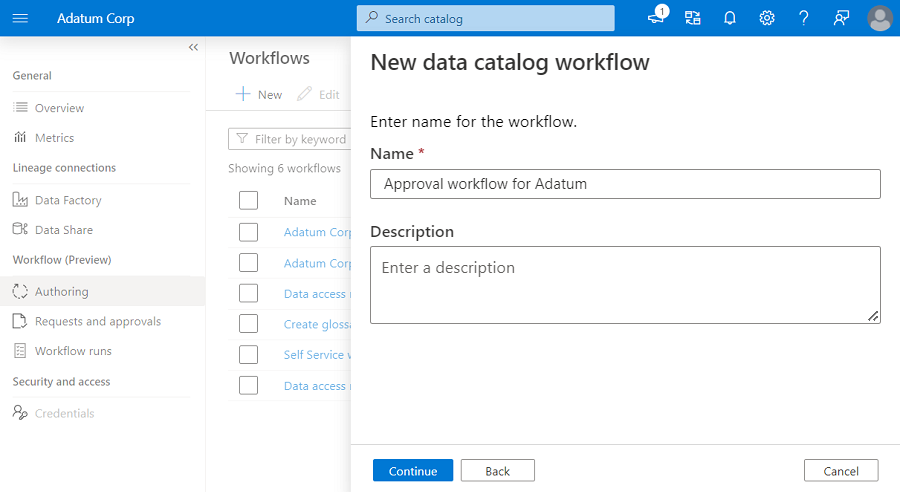
Next, enter a workflow name and optionally add a description. Then select Continue.
You'll now be presented with a canvas where the selected template is loaded by default.
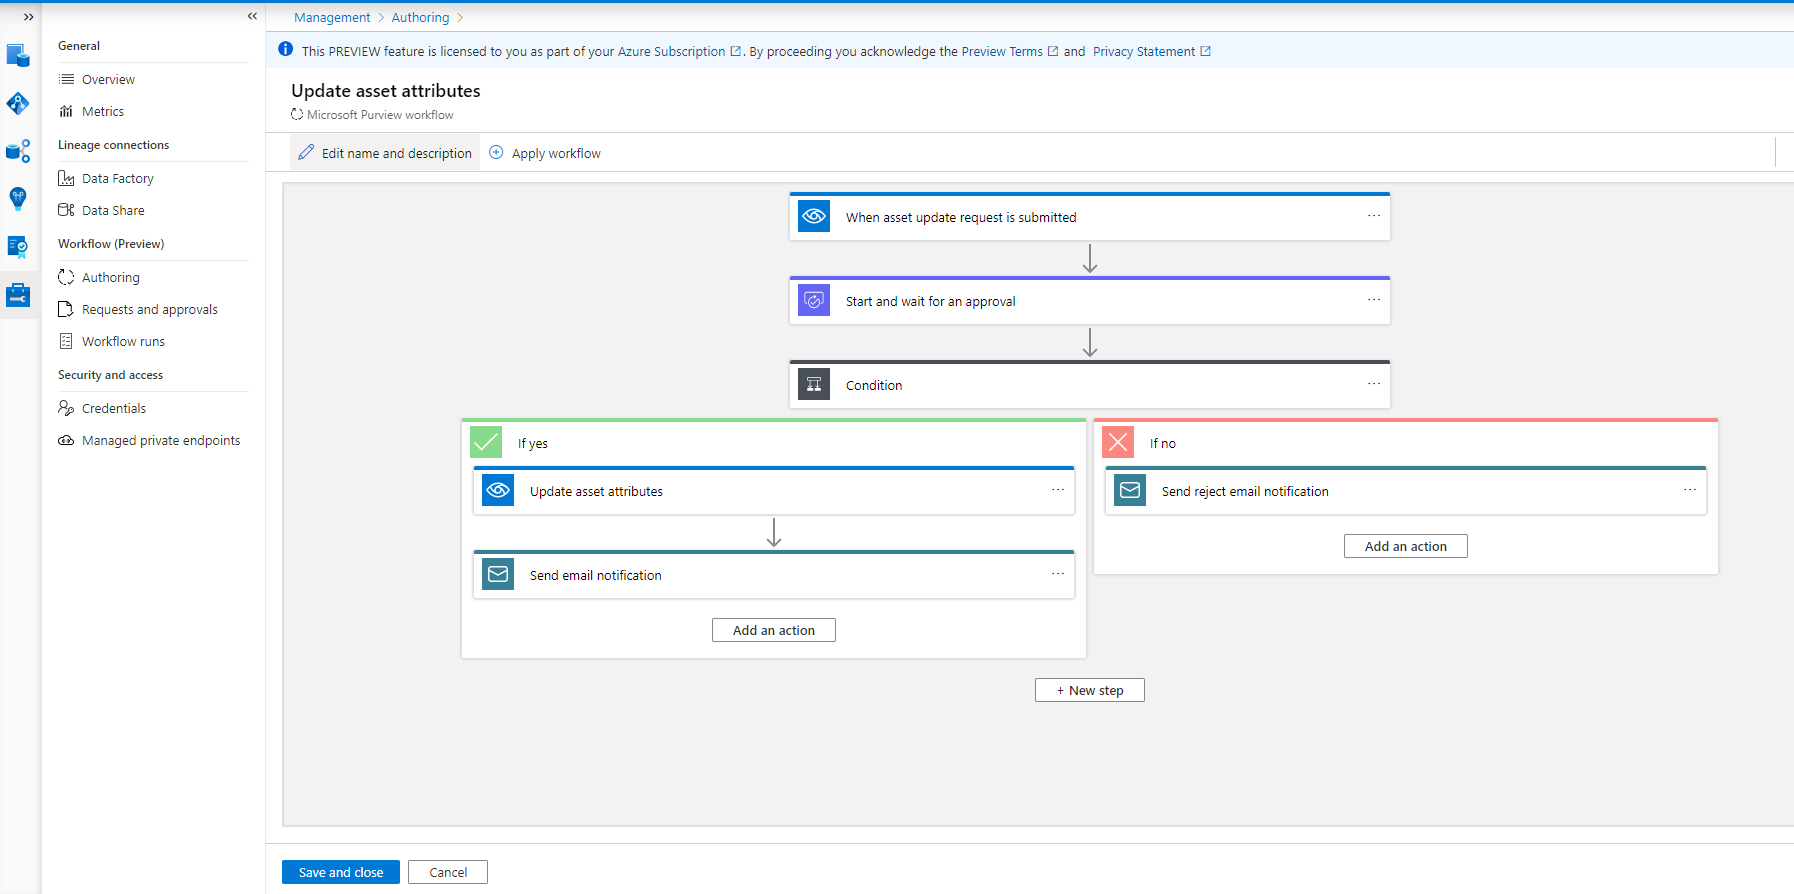
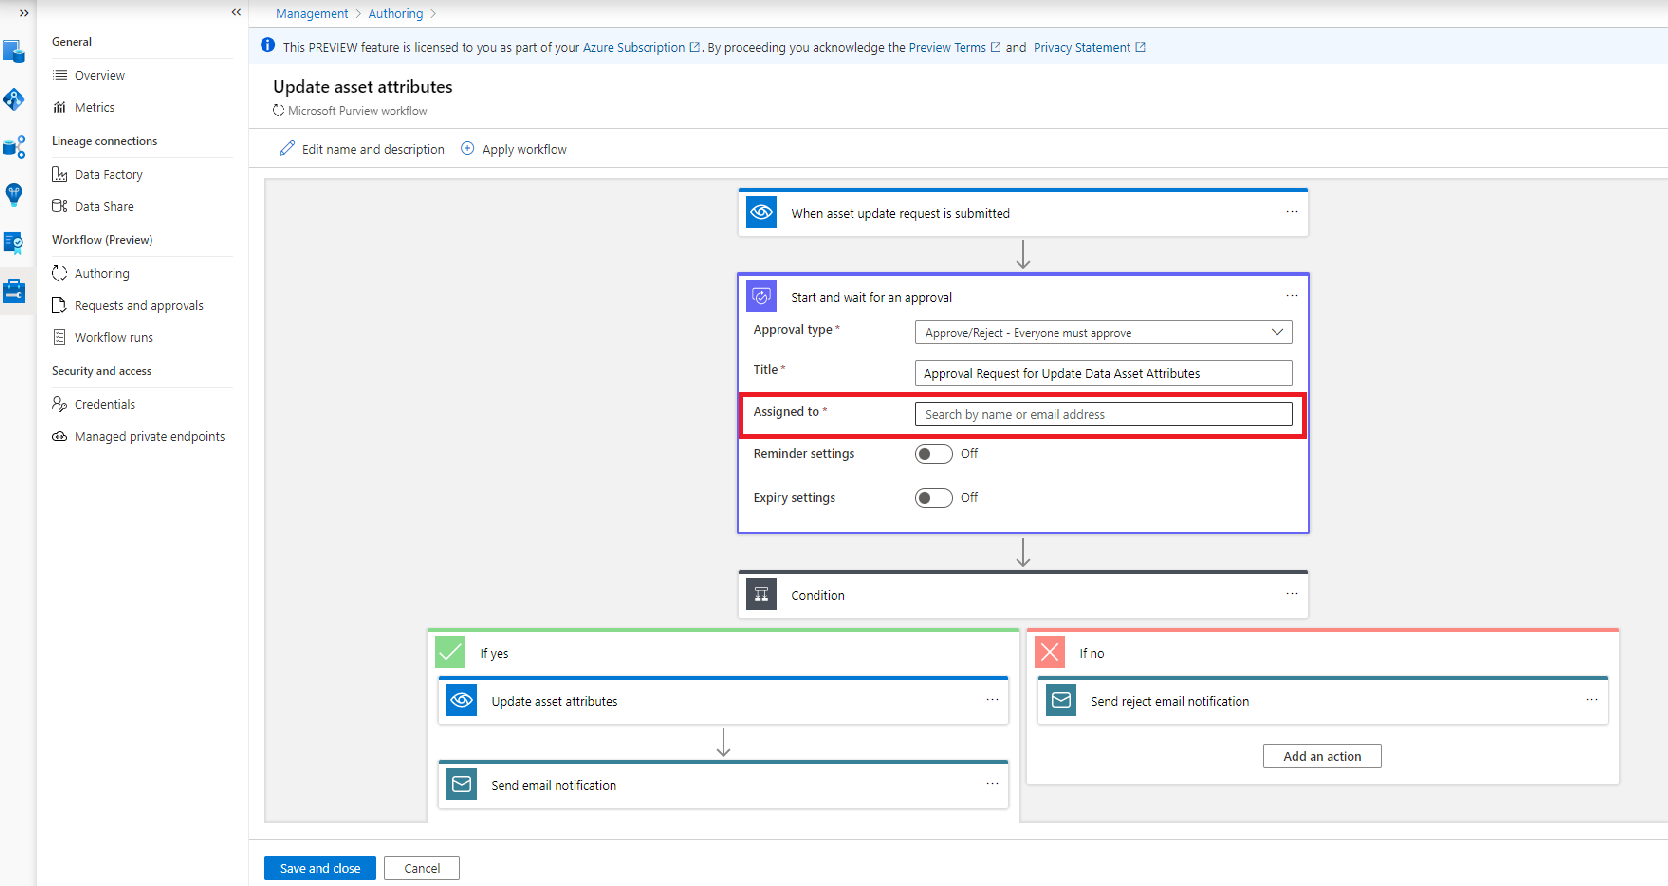
The default template can be used as it is by populating the approver's email address in Start and Wait for approval Connector.
The default template has the following steps:
- Trigger when an asset is updated. The update can be done in overview, schema or contacts tab.
- Approval connector that specifies a user or group that will be contacted to approve the request.
- Condition to check approval status
- If approved:
- Update the asset in Purview data catalog.
- Send an email to requestor that their request is approved, and asset update operation is successful.
- If rejected:
- Send email to requestor that their asset update request is denied.
- If approved:
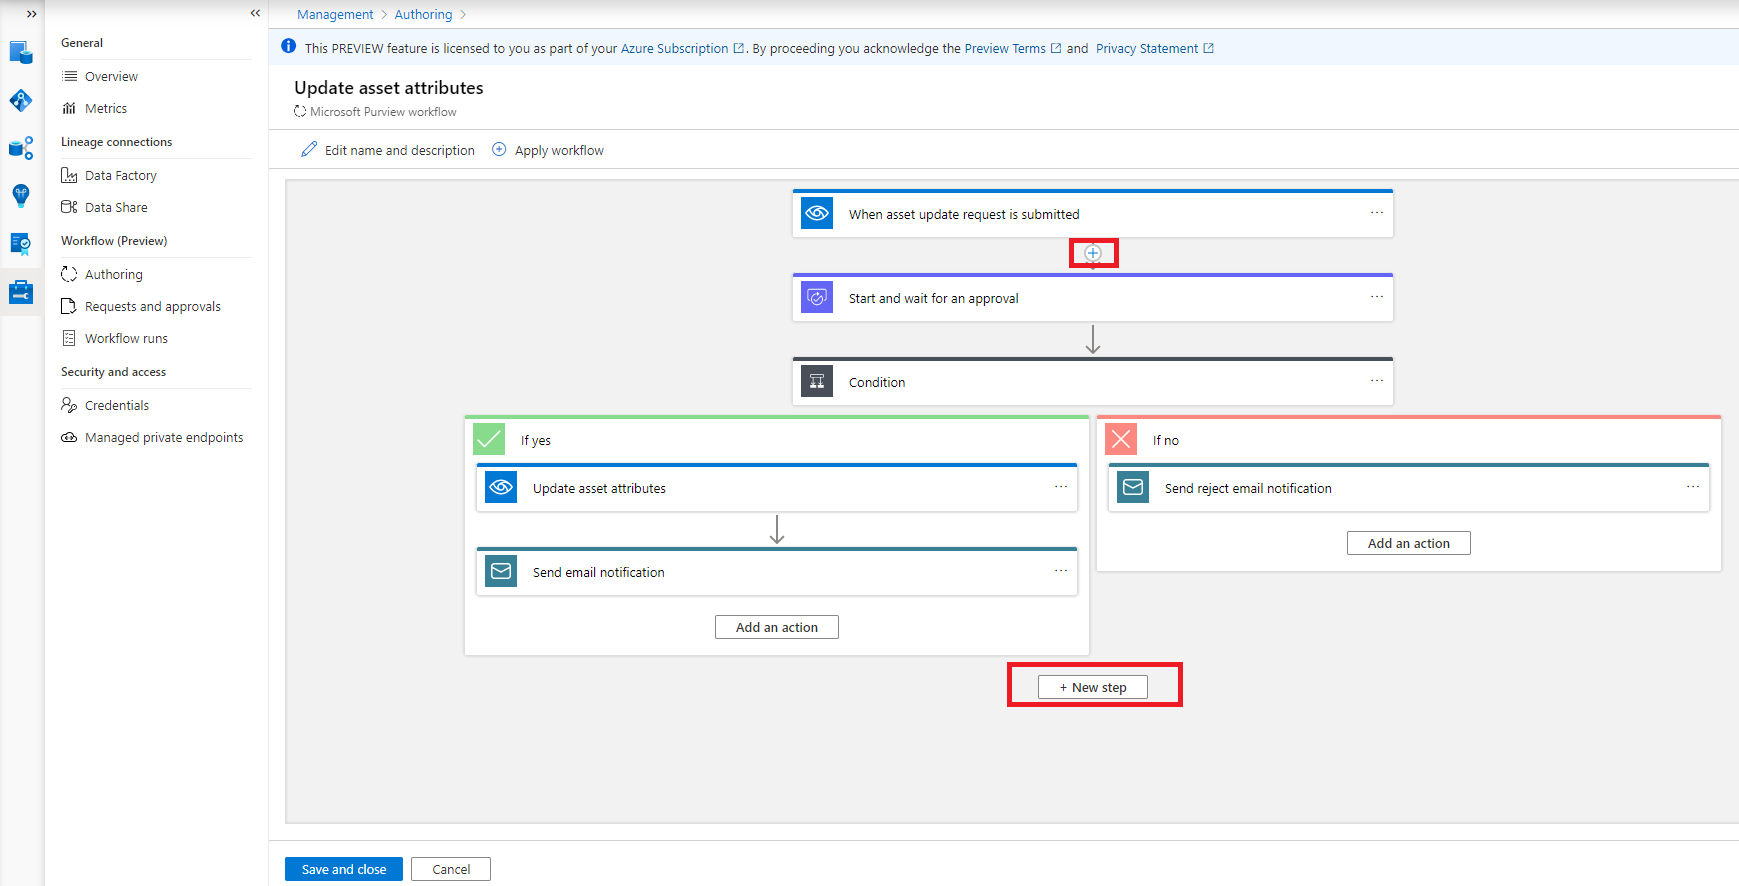
You can also modify the template by adding more connectors to suit your organizational needs. Add a new step to the end of the template by selecting the New step button. Add steps between any already existing steps by selecting the arrow icon between any steps.
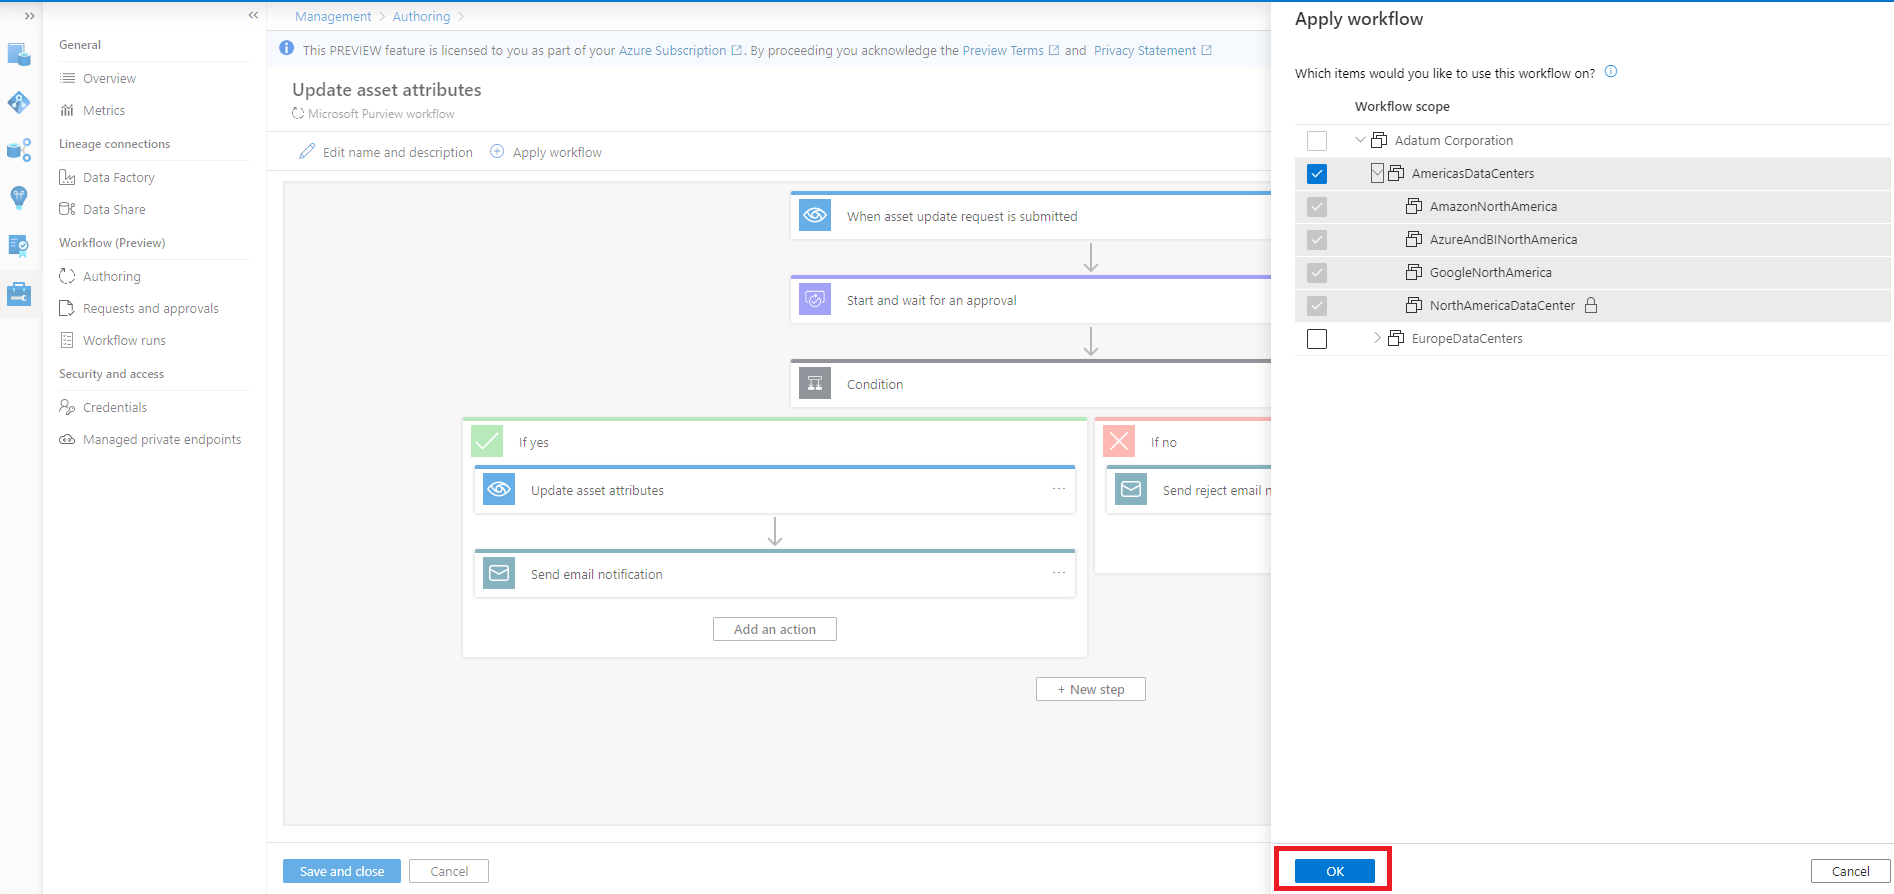
Once you're done defining a workflow, you need to bind the workflow to a collection hierarchy path. The binding implies that this workflow is triggered only for update operation on data assets in that collection. A workflow can be bound to only one hierarchy path. To bind a workflow or to apply a scope to a workflow, you need to select ‘Apply workflow’. Select the scopes you want this workflow to be associated with and select OK.

Note
The Microsoft Purview workflow engine will always resolve to the closest workflow that the collection hierarchy path is associated with. In case a direct binding is not found, it will traverse up in the tree to find the workflow associated with the closest parent in the collection tree.
By default, the workflow will be enabled. To disable, toggle the Enable button in the top menu.
Finally select Save and close to create and the workflow.


Edit an existing workflow
To modify an existing workflow, select the workflow and then select Edit in the top menu. You'll then be presented with the canvas containing workflow definition. Modify the workflow and select Save to commit changes.

Disable a workflow
To disable a workflow, select the workflow and then select Disable in the top menu. You can also disable the workflow by selecting Edit and changing the enable toggle in workflow canvas.

Delete a workflow
To delete a workflow, select the workflow and then select Delete in the top menu.

Limitations for asset curation with approval workflow enabled
- Lineage updates are directly stored in Purview data catalog without any approvals.
Next steps
For more information about workflows, see these articles: