Note
Access to this page requires authorization. You can try signing in or changing directories.
Access to this page requires authorization. You can try changing directories.
Learn how to grant a group of users access to your Azure Quantum workspace. For example, you may need to grant your team members or students access to your workspace.
We recommend using the instructions in this article if you need to grant access to more than 10 users. For a smaller number of users, see Share access to your Azure Quantum workspace.
In this article you'll:
- Create a group using the Azure Active Directory portal.
- Add the group as a contributor to your Quantum workspace.
- Bulk invite your users to the Azure Active Directory.
- Bulk import those users to your group.
Prerequisites
You need the following prerequisites to bulk add users to an Azure Quantum workspace:
- An Azure account with an active subscription. If you don’t have an Azure account, register for free and sign up for a pay-as-you-go subscription.
- An Azure Quantum workspace. See Create an Azure Quantum workspace.
- A link for your Azure Quantum Workspace. To get the link for your Quantum workspace, go to your Azure Quantum workspace in the Azure portal and copy the URL from the address bar of your browser.
Create a group in the Azure Active Directory
Sign in to the Azure portal. You must be an Owner of the workspace, or have role assignment privileges, in order to add the group in the next section.
Search for and select Azure Active Directory.
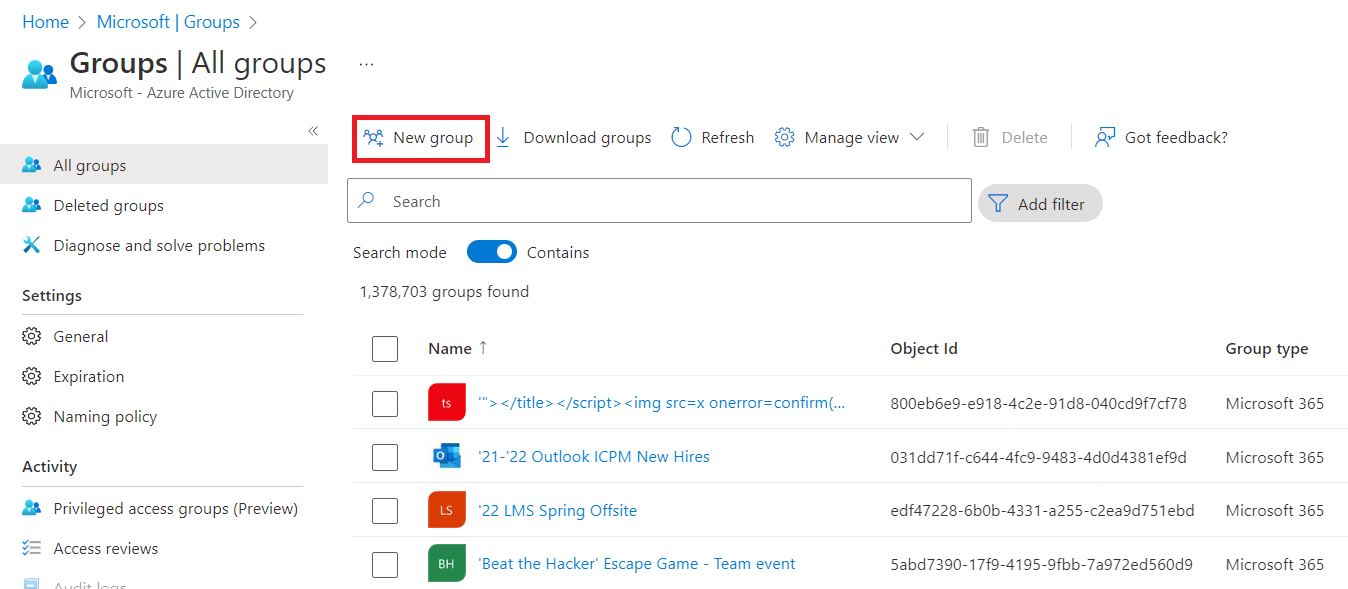
On the Active Directory page, select Groups from the left menu and then select New group.
Fill out the required information on the New Group page.
- Select Microsoft 365 as the Group type.
- Create and add a Group name.
- Add a Group email address for the group, or keep the email address that is filled in automatically.
- Group description. Add an optional description to your group.
- Select Assigned as the Membership type.
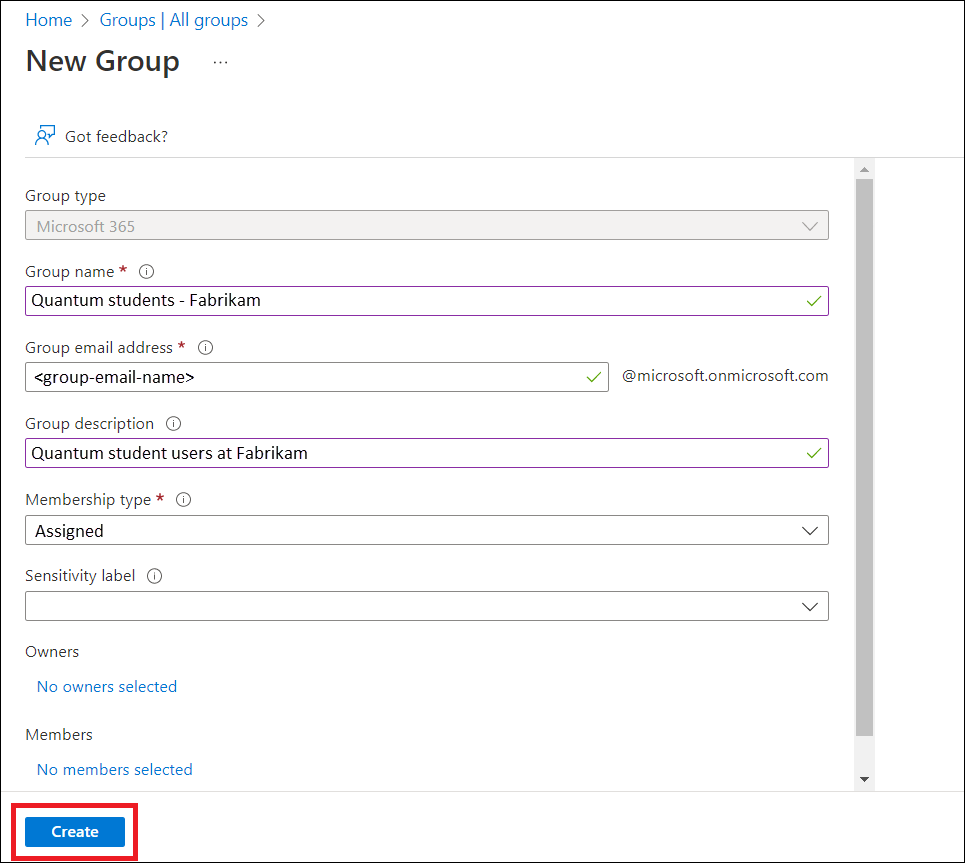
Select Create. You should get a notification that you've successfully created your group.
Add your group to your Quantum workspace
Note
You can add your group as a Contributor role or as a Quantum Workspace Data Contributor role. The Contributor role allows users to manage the workspace properties, whereas the Quantum Workspace Data Contributor role only allows users to submit and view jobs in the workspace. For more information, see Manage access to your Azure Quantum workspace.
In the Azure portal, navigate to your Azure Quantum workspace.
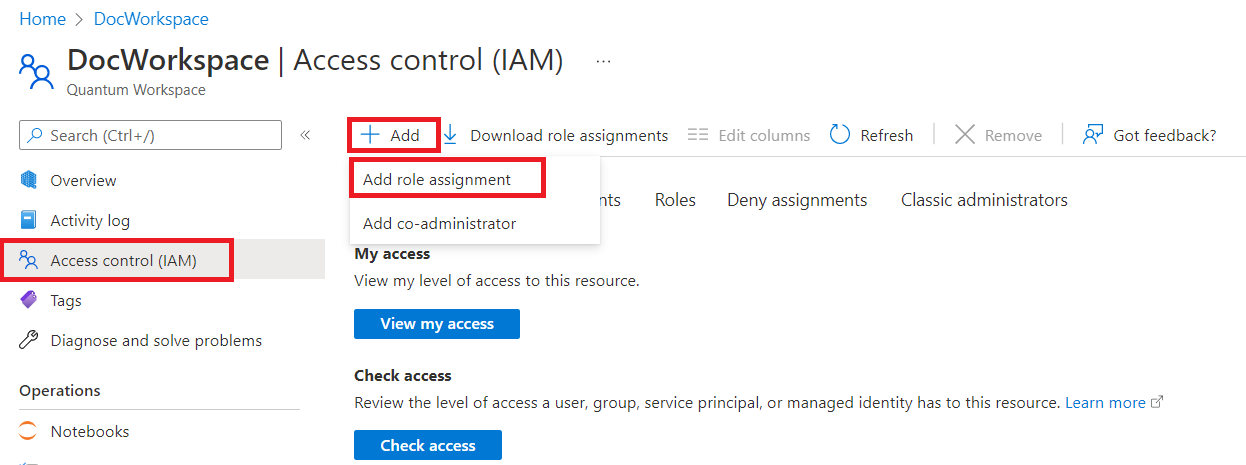
Allow your group to access your workspace. Select Access control (IAM) from the left-side menu. Select Add, and then Add role assignment.
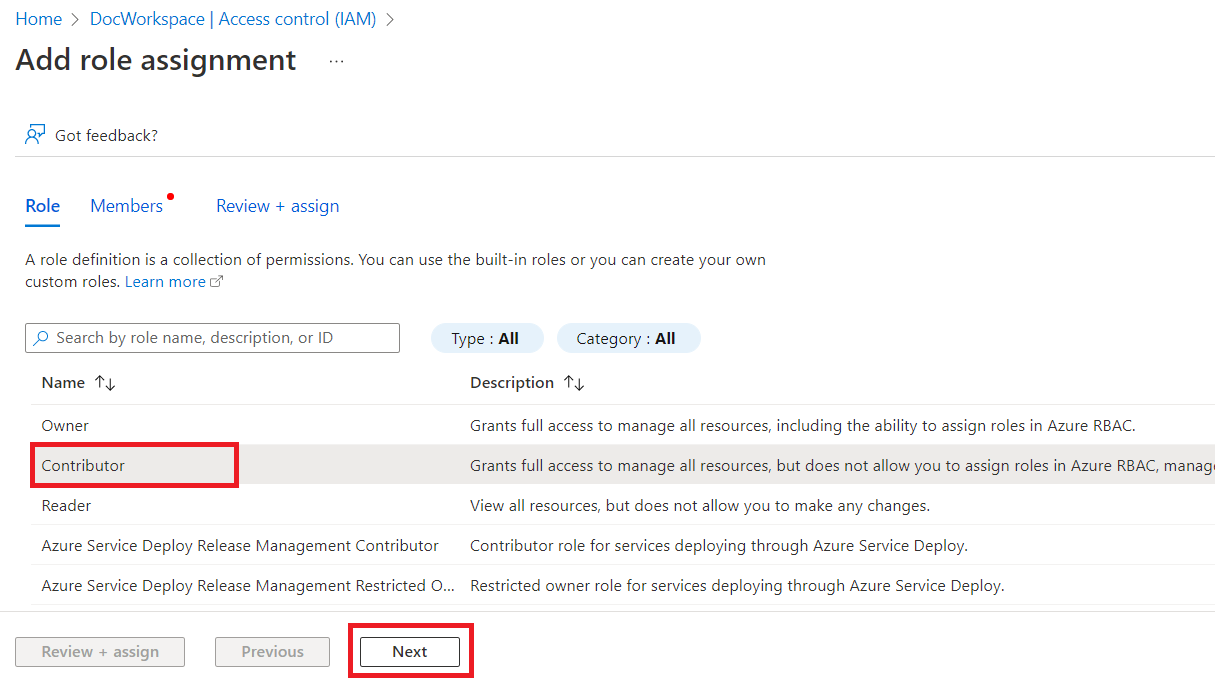
The Add role assignment page opens. On the Role pane, select Contributor or Quantum Workspace Data Contributor and then select Next.
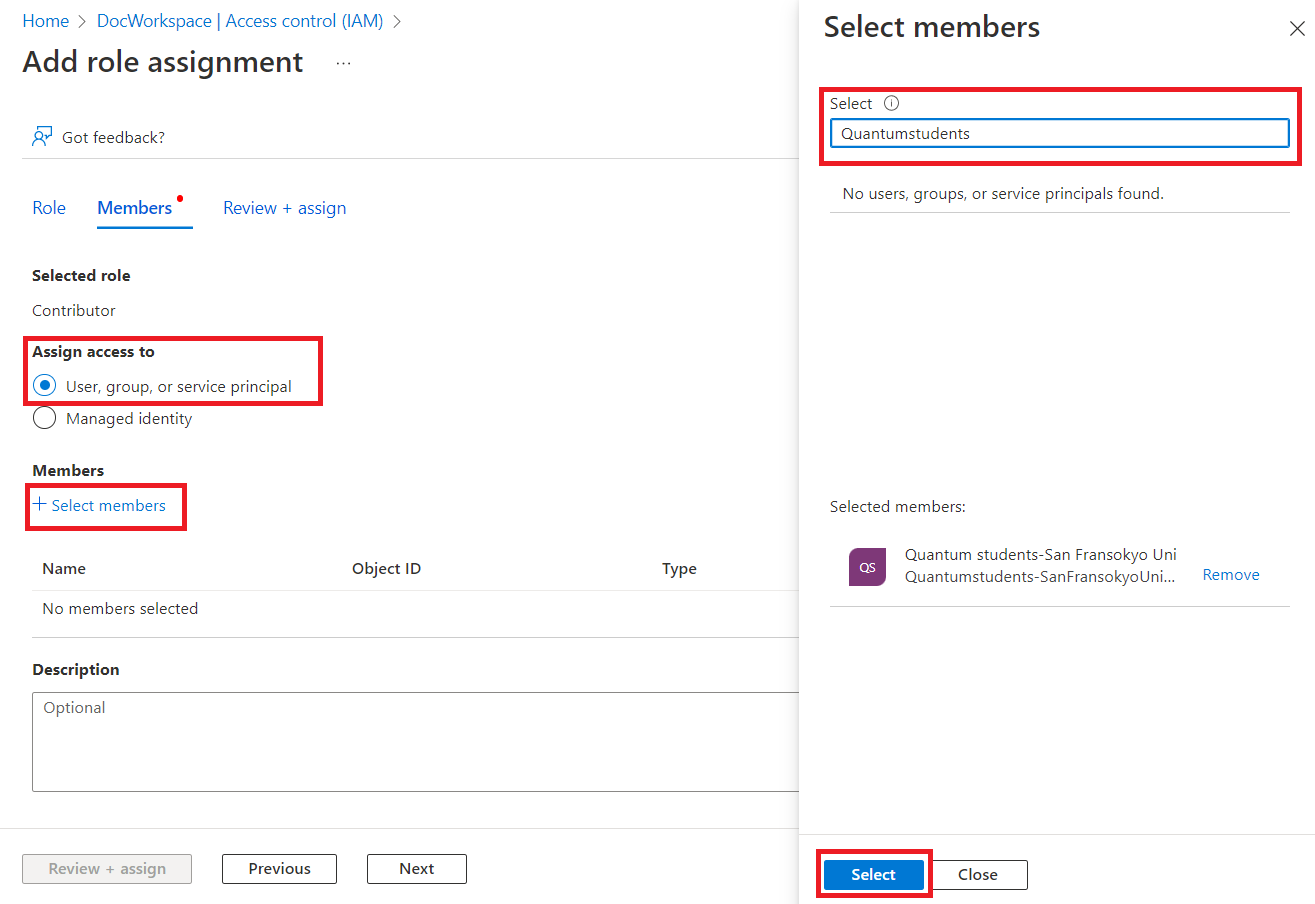
On the Members pane, select Assign access to User, group, or service principal. Then select +Select members. The Select members blade opens. Search for your group name and select your group. Then select Select.
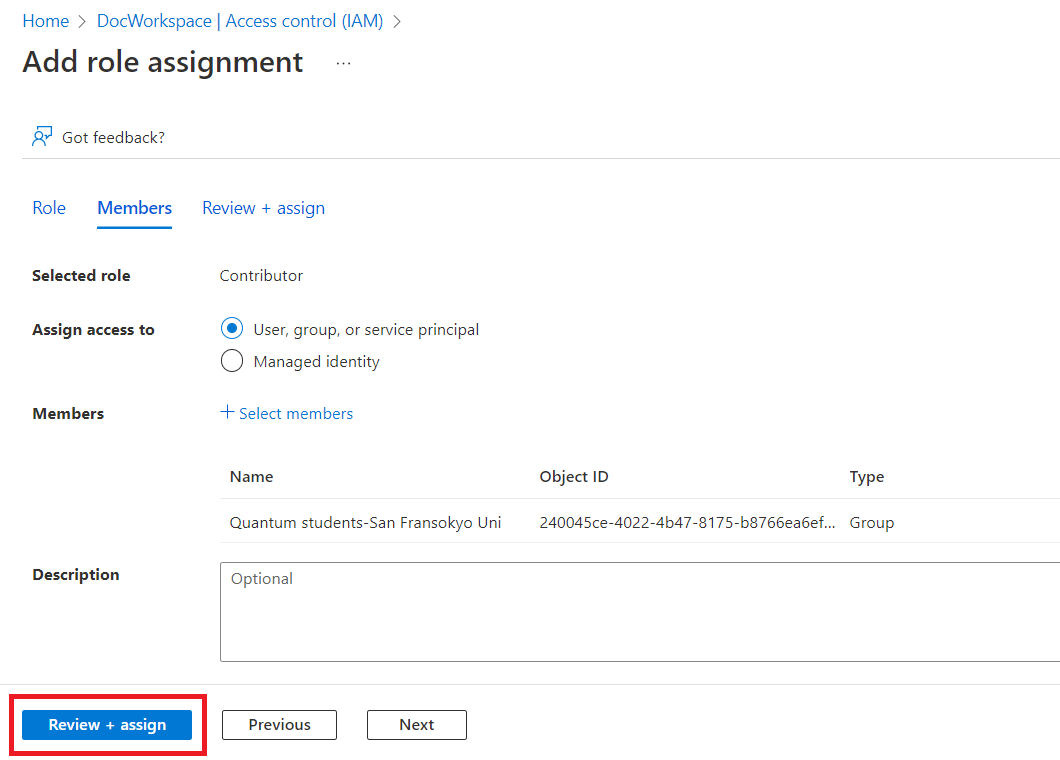
Your group name will appear under Members. Select Review + assign. On the Review + assign pane, Select Review + assign again. You should get a notification that your group was added as Contributor for your workspace.
Bulk invite users to the Azure Active Directory
Go to Users - Microsoft Azure. On the left-side menu, go to All users.
Select Bulk Operations, and then Bulk invite.
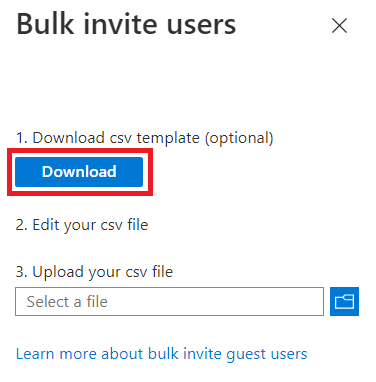
On the Bulk invite users pane, select Download to get a valid CSV template with invitation properties.
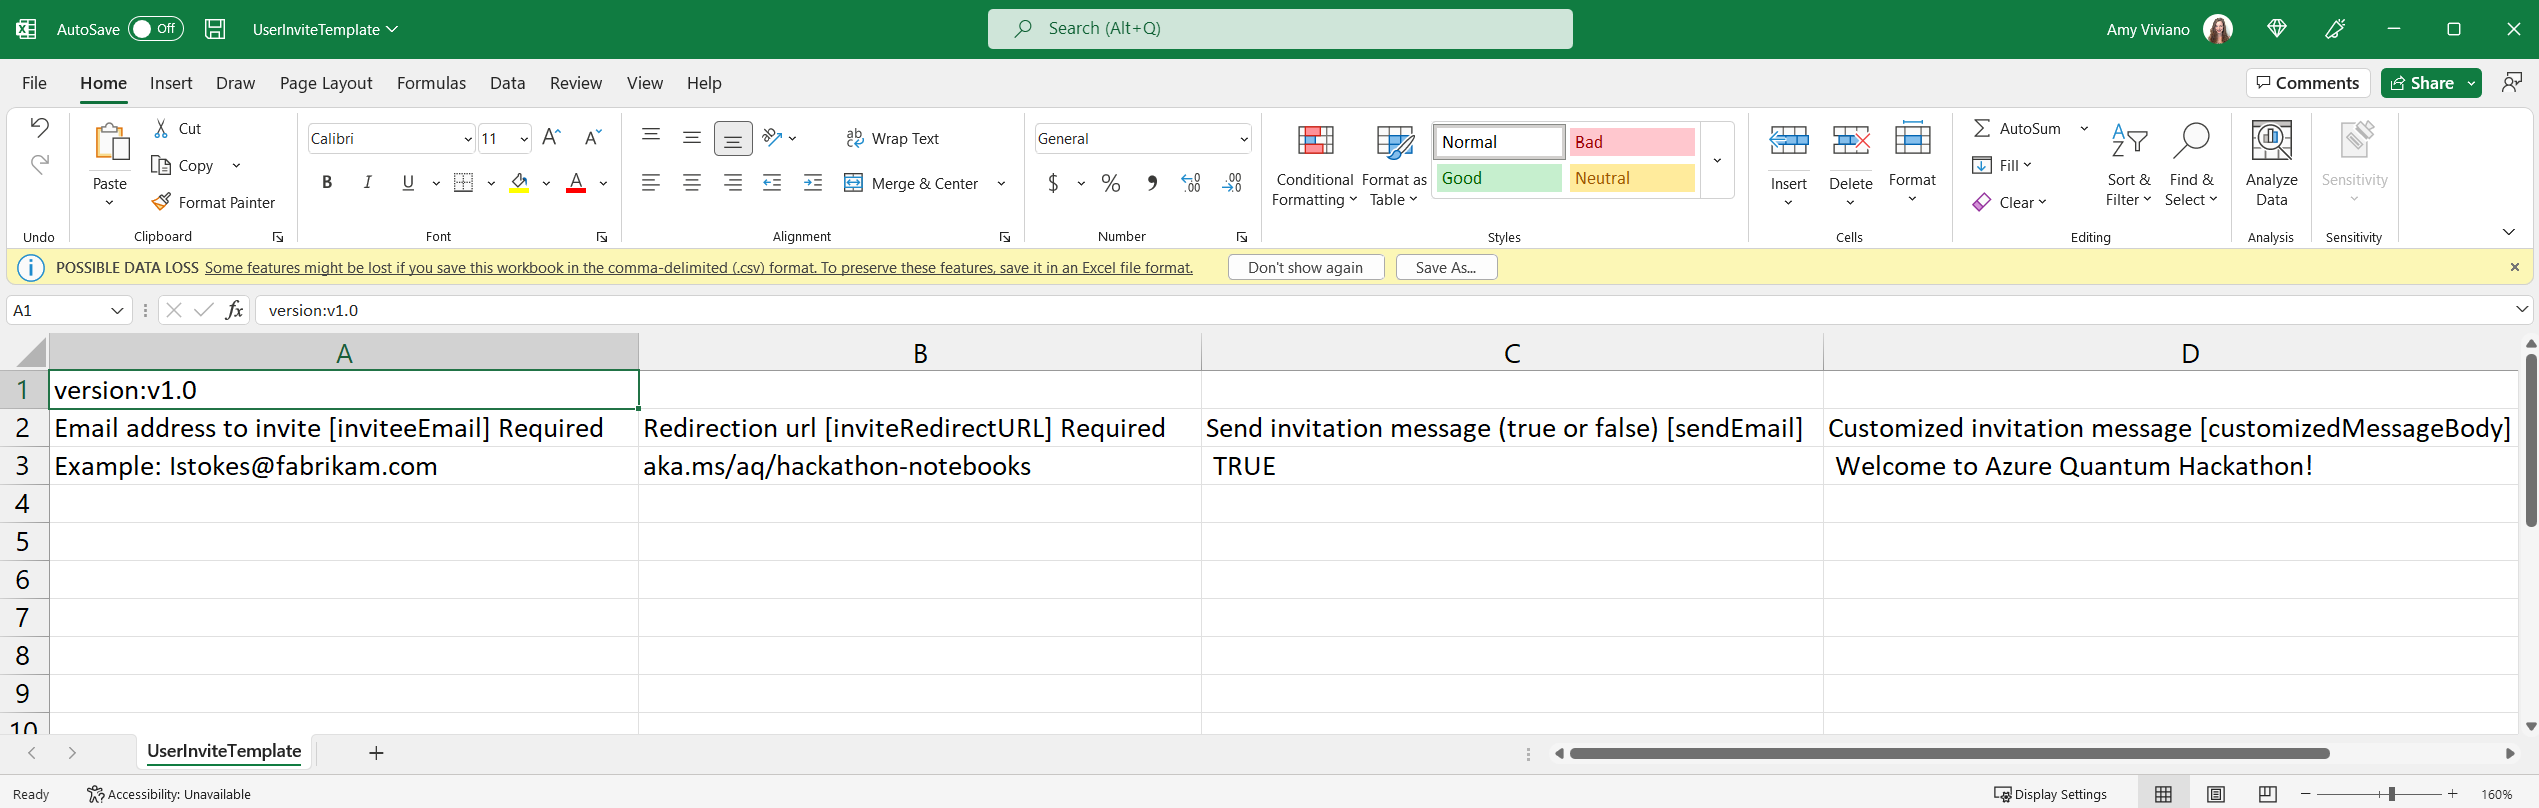
Open the CSV template and add a line for each user. The first two rows of the upload template must not be removed or modified, or the upload can't be processed. The third row provides examples of values for each column. You must remove the examples row and replace it with your own entries. Required values are:
Email address to invite - the user who will receive an invitation
Redirection url - the link to your Azure Quantum workspace. The invited user is forwarded to this link when they accept the invitation
Save the file.
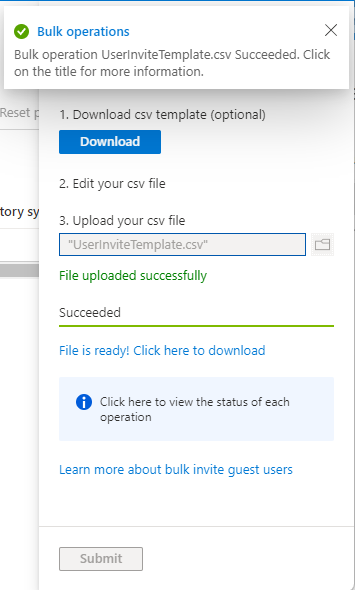
On the Bulk invite users pane, under Upload your csv file, browse to the file. When you select the file, validation of the CSV file starts. Once the File uploaded successfully message appears, select Submit to start the bulk invite operation.
After the bulk invite users operation completes, your users will receive an invitation email. They want to accept the invitation.
On the Review permissions page, users must select Accept before they can continue.
After permissions are accepted, your users will be added to the Azure Active Directory.
Bulk import members to your group
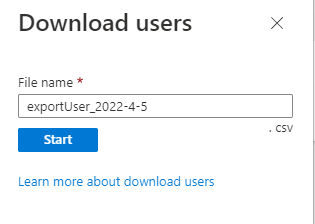
After the bulk invite is complete, download all Azure Active Directory users into a CSV file. Go to All users, and select Download users.
In the Download users pane, select Start.
After the bulk users export is complete, click on Download results to download the CSV file with all your Azure Active Directory users.
After the download is complete, import your group members. Go to Groups - Microsoft Azure. Select your group, on the left-side menu, go to Members. In this blade, select Bulk operations, and then Import members.
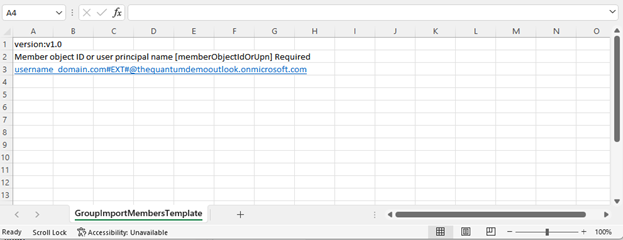
On the Bulk import group pane, select Download to get a valid CSV template.
Open the CSV template and add a line for each user you want to invite to the group. Copy and paste your users' User Principal Names from the CSV that you downloaded in step 1. The third row provides an example value. You must remove the example row and replace it with your own entry.
Save the file.
On the Bulk import group pane, under Upload your csv file, browse to the file and upload it.
Once the File uploaded successfully message appears, select Submit to start the bulk import operation.
After the bulk import group operation completes, your group members will be added to the group successfully.