Note
Access to this page requires authorization. You can try signing in or changing directories.
Access to this page requires authorization. You can try changing directories.
Correlate your watchlist data against any Microsoft Sentinel data with Kusto tabular operators such as join and lookup. When you create a watchlist, you define the SearchKey. The search key is the name of a column in your watchlist that you expect to use as a join with other data or as a frequent object of searches.
For optimal query performance, use SearchKey as the key for joins in your queries.
Important
After March 31, 2027, Microsoft Sentinel will no longer be supported in the Azure portal and will be available only in the Microsoft Defender portal. All customers using Microsoft Sentinel in the Azure portal will be redirected to the Defender portal and will use Microsoft Sentinel in the Defender portal only.
If you're still using Microsoft Sentinel in the Azure portal, we recommend that you start planning your transition to the Defender portal to ensure a smooth transition and take full advantage of the unified security operations experience offered by Microsoft Defender.
Build queries with watchlists
To use a watchlist in search query, write a Kusto query that uses the _GetWatchlist('watchlist-name') function and uses SearchKey as the key for your join.
For Microsoft Sentinel in the Defender portal, select Microsoft Sentinel > Configuration > Watchlist. For Microsoft Sentinel in the Azure portal, under Configuration, select Watchlist.
Select the watchlist you want to use.
Select View in Logs.
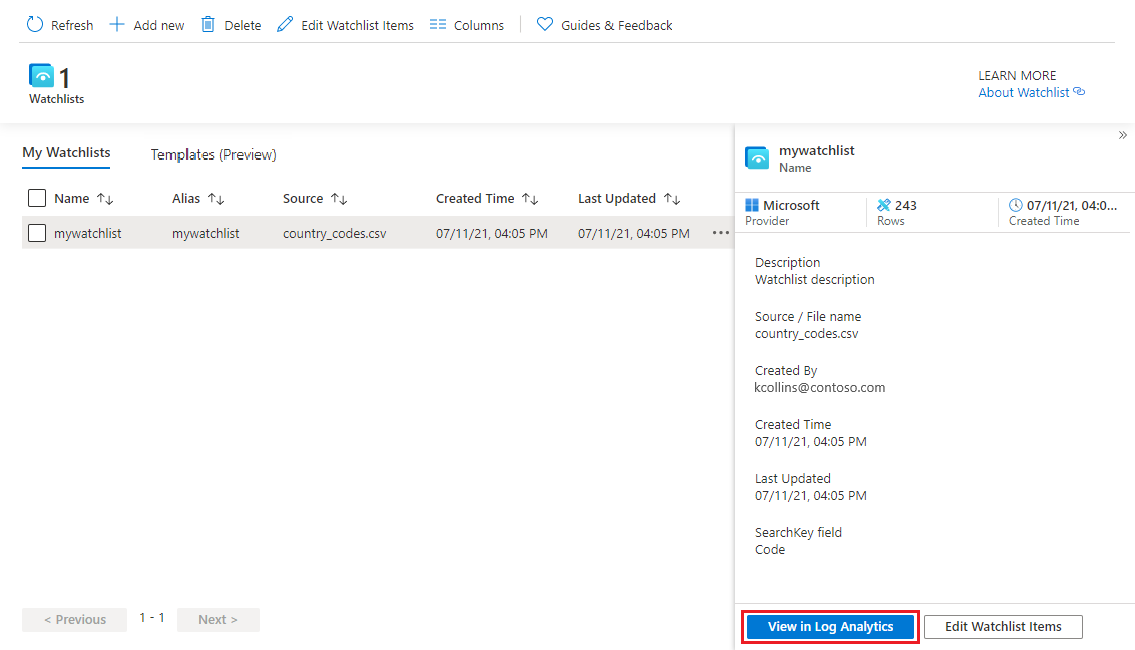
Review the Results tab. The items in your watchlist are automatically extracted for your query.
The example below shows the results of the extraction of the Name and IP Address fields. The SearchKey is shown as its own column.
The timestamp on your queries will be ignored in both the query UI and in scheduled alerts.
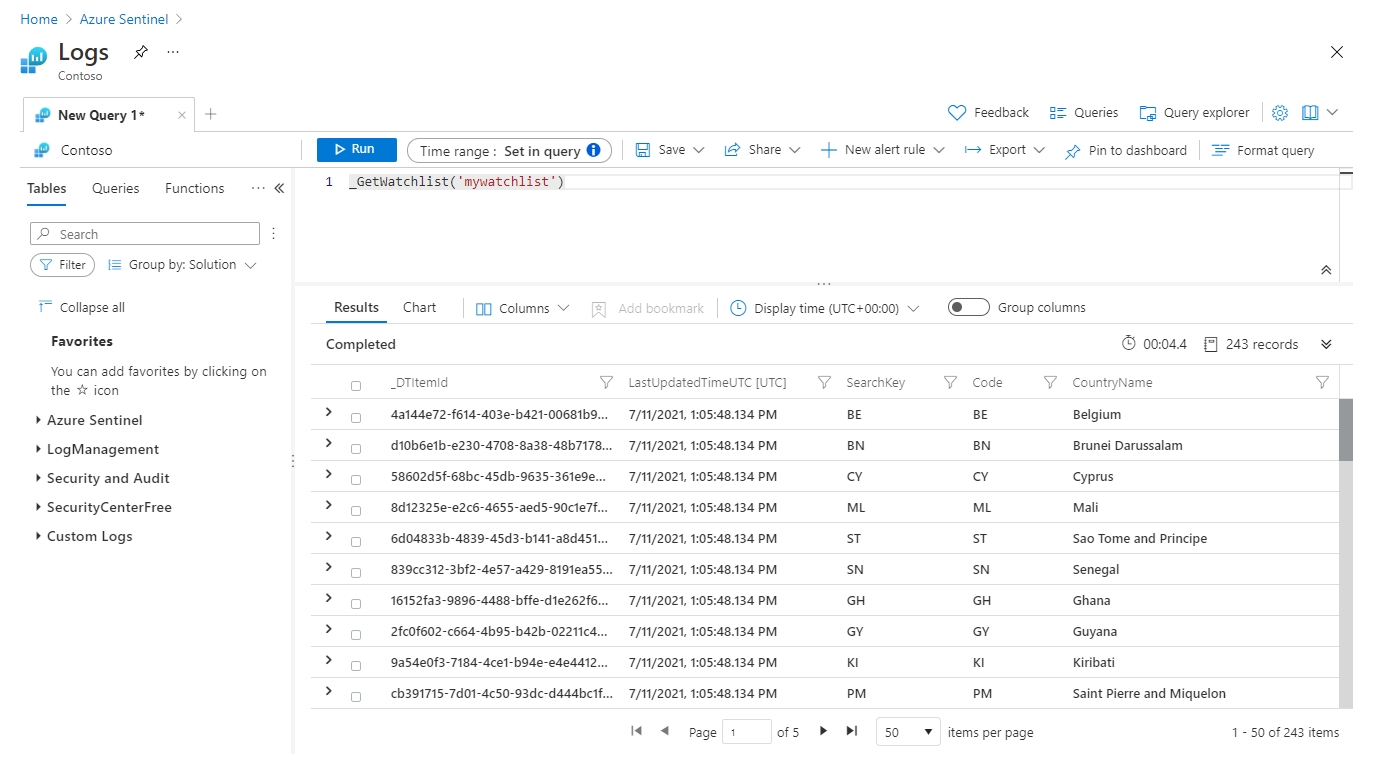
Write a query that uses the _GetWatchlist('watchlist-name') function and uses SearchKey as the key for your join.
For example, the following example query joins the
RemoteIPCountrycolumn in theHeartbeattable with the search key defined for the watchlist namedmywatchlist.Heartbeat | lookup kind=leftouter _GetWatchlist('mywatchlist') on $left.RemoteIPCountry == $right.SearchKeyThe following image shows the results of this example query in Log Analytics.


Create an analytics rule with a watchlist
To use watchlists in analytics rules, create a rule using the _GetWatchlist('watchlist-name') function in the query.
Under Configuration, select Analytics.
Select Create and the type of rule you want to create.
On the General tab, enter the appropriate information.
On the Set rule logic tab, under Rule query use the
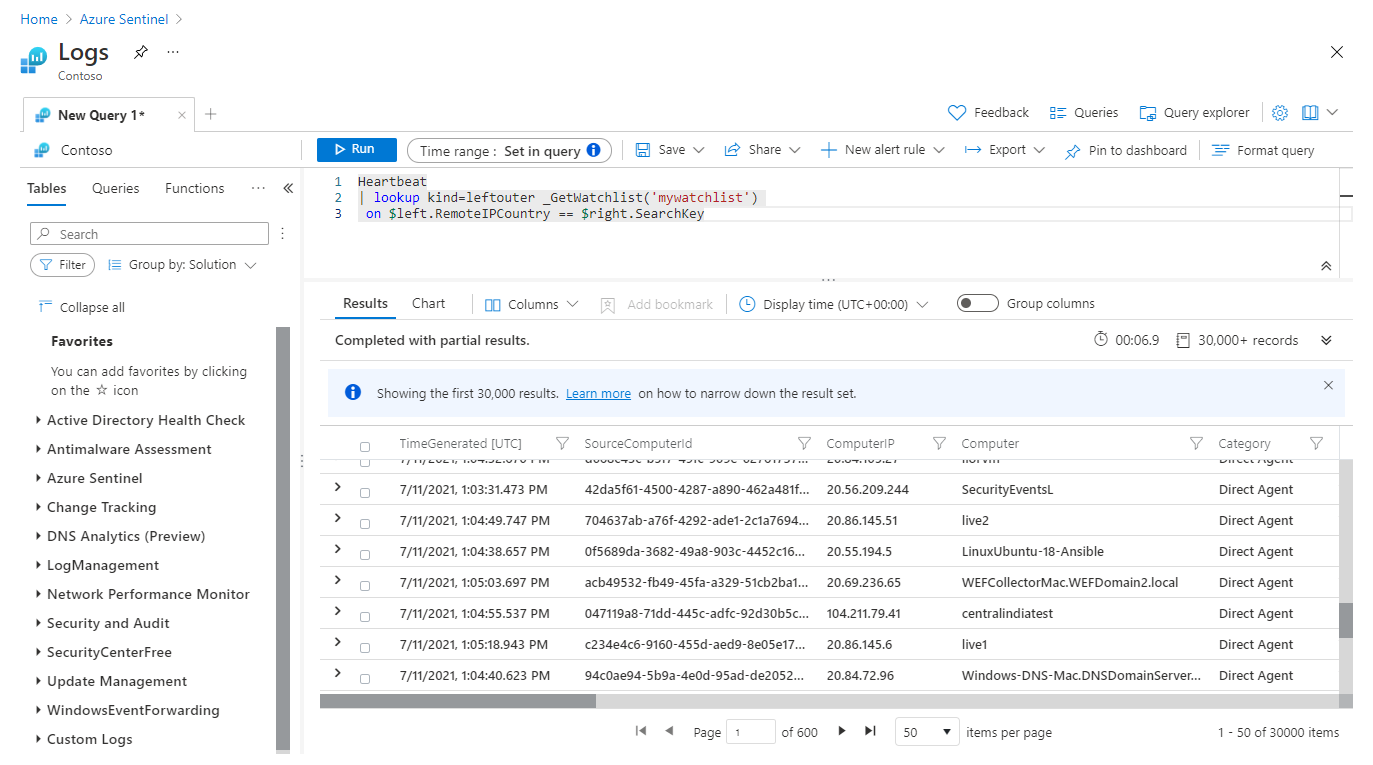
_GetWatchlist('<watchlist>')function in the query.For example, let's say you have a watchlist named
ipwatchlistthat you created from a CSV file with the following values:IPAddress,Location10.0.100.11,Home172.16.107.23,Work10.0.150.39,Home172.20.32.117,WorkThe CSV file looks something like the following image.

To use the
_GetWatchlistfunction for this example, your query would be_GetWatchlist('ipwatchlist').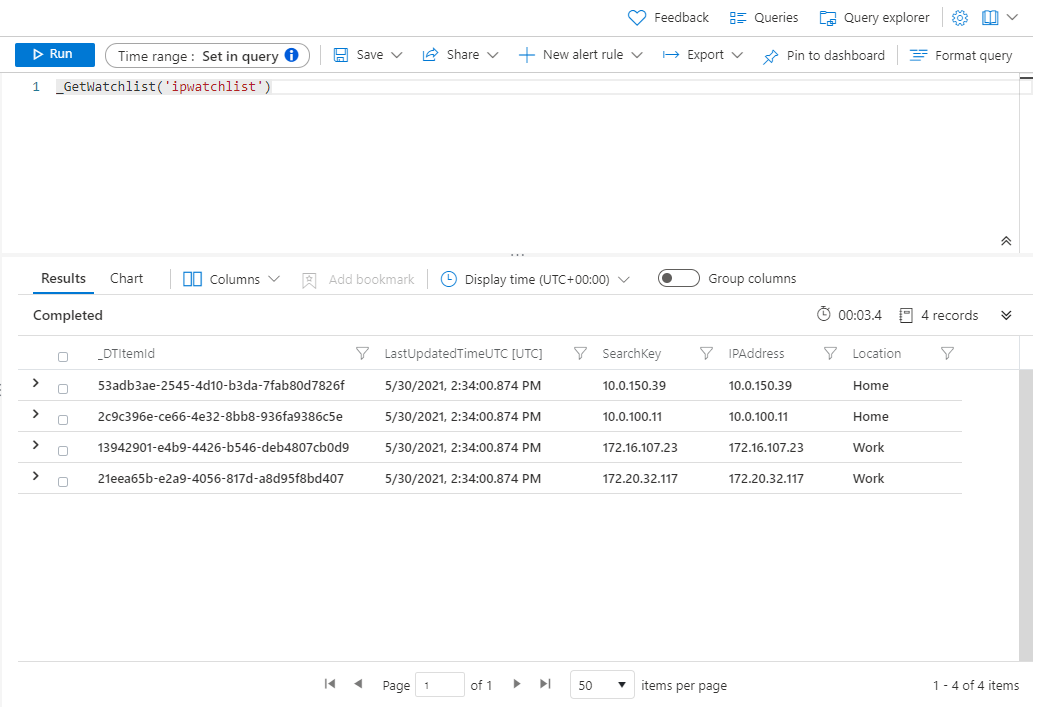
In this example, we only include events from IP addresses in the watchlist:
//Watchlist as a variable
let watchlist = (_GetWatchlist('ipwatchlist') | project IPAddress);
Heartbeat
| where ComputerIP in (watchlist)
The following example query uses the watchlist inline with the query and the search key defined for the watchlist.
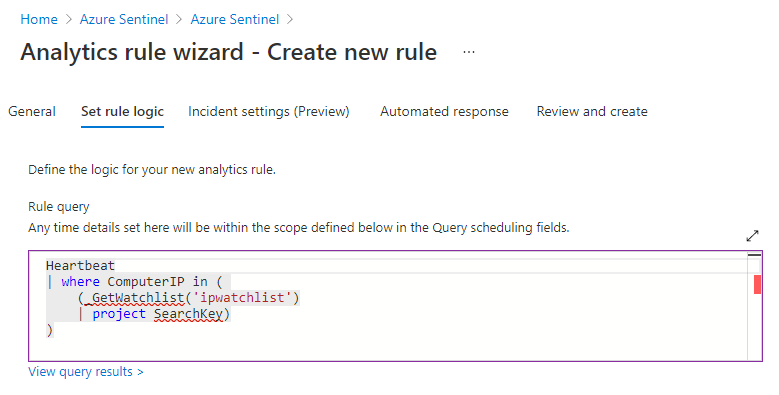
//Watchlist inline with the query
//Use SearchKey for the best performance
Heartbeat
| where ComputerIP in (
    (_GetWatchlist('ipwatchlist')
    | project SearchKey)
)
The following image shows this last query used in the rule query.
Complete the rest of the tabs in the Analytics rule wizard.
Watchlists are refreshed in your workspace every 12 days, updating the TimeGenerated field. For more information, see Create custom analytics rules to detect threats.
View list of watchlist aliases
You might need to see a list of watchlist aliases to identify a watchlist to use in a query or analytics rule.
For Microsoft Sentinel in the Azure portal, under General, select Logs.
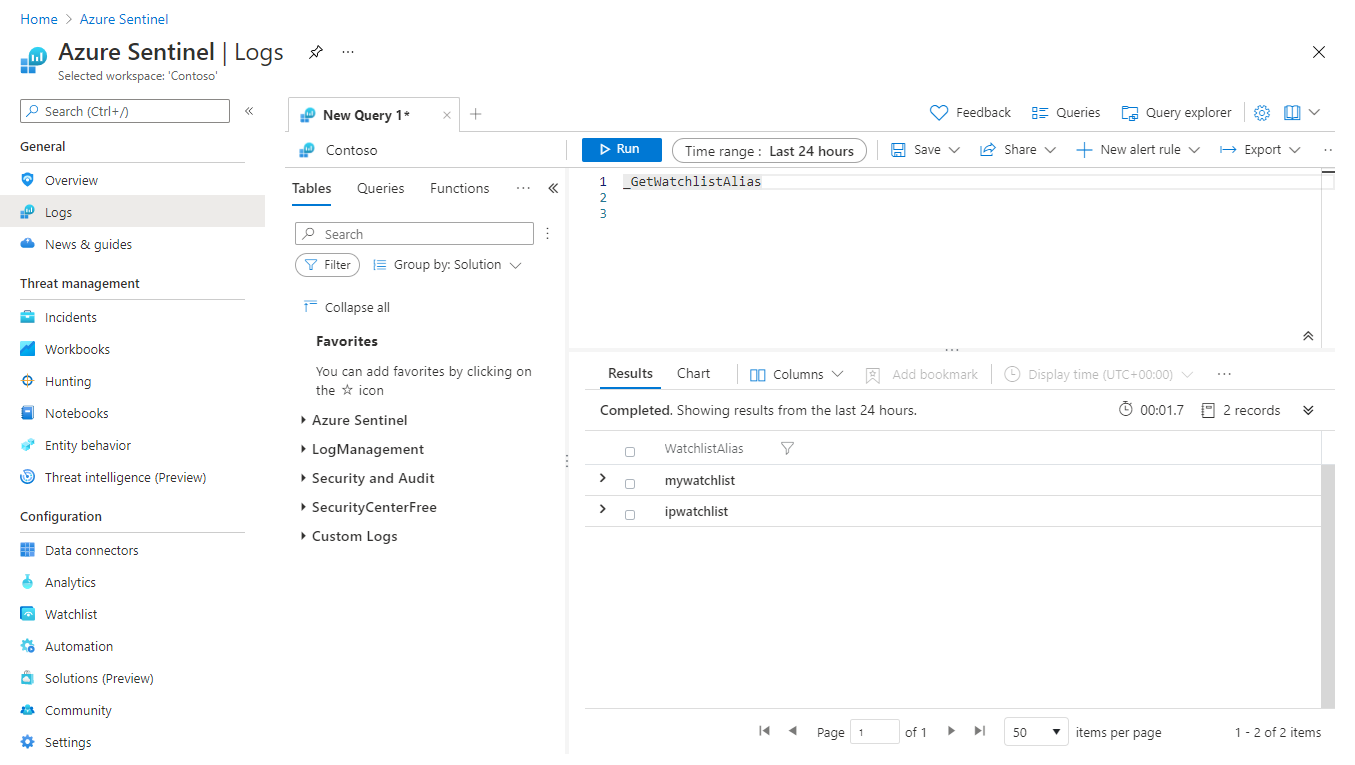
In the Defender portal, select Investigation & response > Hunting > Advanced hunting.On the New Query page, run the following query:
_GetWatchlistAlias.Review the list of aliases in the Results tab.

See more information on the following items used in the preceding examples, in the Kusto documentation:
For more information on KQL, see Kusto Query Language (KQL) overview.
Other resources:
Related content
In this document, you learned how to use watchlists in Microsoft Sentinel to enrich data and improve investigations. To learn more about Microsoft Sentinel, see the following articles:
- Create watchlists
- Learn how to get visibility into your data and potential threats.
- Get started detecting threats with Microsoft Sentinel.
- Use workbooks to monitor your data.