Note
Access to this page requires authorization. You can try signing in or changing directories.
Access to this page requires authorization. You can try changing directories.
This tutorial shows you how to set up disaster recovery for Azure VMs using Azure Site Recovery. In this article, you learn how to:
- Verify Azure settings and permissions
- Prepare VMs you want to replicate
- Create a Recovery Services vault
- Enable VM replication
When you enable replication for a VM to set up disaster recovery, the Site Recovery Mobility service extension installs on the VM, and registers it with Azure Site Recovery. During replication, VM disk writes are sent to a cache storage account in the source region. Data is sent from there to the target region, and recovery points are generated from the data. When you fail over a VM during disaster recovery, a recovery point is used to restore the VM in the target region. Learn more about the architecture.
Note
Tutorials provide instructions with the simplest default settings. If you want to set up Azure VM disaster recovery with customized settings, review this article.
If you don’t have an Azure subscription, create a free account before you begin.
Prerequisites
Before you start this tutorial:
- Review supported regions.
- You need one or more Azure VMs. Verify that Windows or Linux VMs are supported.
- Review VM compute, storage, and networking requirements.
- This tutorial presumes that VMs aren't encrypted. If you want to set up disaster recovery for encrypted VMs, follow this article.
Check Azure settings
Check permissions and settings in the target region.
Check permissions
Your Azure account needs permissions to create a Recovery Services vault, and to create VMs in the target region.
- If you just created a free Azure subscription, you're the account admin, and no further action is needed.
- If you aren't the admin, work with the admin to get the permissions you need.
- Microsoft Entra ID: Application owner and application developer roles to enable replication.
- Create a vault: Admin or owner permissions on the subscription.
- Manage Site Recovery operations in the vault: The Site Recovery Contributor built-in Azure role.
- Create Azure VMs in the target region: Either the built-in Virtual Machine Contributor role, or specific permissions to:
- Create a VM in the selected virtual network.
- Write to an Azure storage account.
- Write to an Azure-managed disk.
Verify target settings
During disaster recovery, when you fail over from the source region, VMs are created in the target region.
Check that your subscription has enough resources in the target region. You need to be able to create VMs with sizes that match VMs in the source region. When you set up disaster recovery, Site Recovery picks the same size (or the closest possible size) for the target VM.
Prepare VMs
Make sure VMs have outbound connectivity, and the latest root certificates.
Set up VM connectivity
VMs that you want to replicate need outbound network connectivity.
Note
Site Recovery doesn't support using an authentication proxy to control network connectivity.
Outbound connectivity for URLs
If you're using a URL-based firewall proxy to control outbound connectivity, allow access to these URLs:
| Name | Commercial | Government | Description |
|---|---|---|---|
| Storage | *.blob.core.windows.net |
*.blob.core.usgovcloudapi.net |
Allows data to be written from the VM to the cache storage account in the source region. |
| Microsoft Entra ID | login.microsoftonline.com |
login.microsoftonline.us |
Provides authorization and authentication to Site Recovery service URLs. |
| Replication | *.hypervrecoverymanager.windowsazure.com |
*.hypervrecoverymanager.windowsazure.com |
Allows the VM to communicate with the Site Recovery service. |
| Service Bus | *.servicebus.windows.net |
*.servicebus.usgovcloudapi.net |
Allows the VM to write Site Recovery monitoring and diagnostics data. |
Outbound connectivity for IP address ranges
If you're using network security groups (NSGs) to control connectivity, create a service-tag based NSG rules that allow HTTPS outbound to port 443 for these service tags(groups of IP addresses):
| Tag | Allow |
|---|---|
| Storage tag | Allows data to be written from the VM to the cache storage account. |
| Microsoft Entra ID tag | Allows access to all IP addresses that correspond to Microsoft Entra ID. |
| EventsHub tag | Allows access to Site Recovery monitoring. |
| AzureSiteRecovery tag | Allows access to the Site Recovery service in any region. |
| GuestAndHybridManagement tag | Use if you want to automatically upgrade the Site Recovery Mobility agent that's running on VMs enabled for replication. |
Learn more about required tags and tagging examples.
Azure Instance Metadata Service (IMDS) connectivity
Azure Site Recovery mobility agent uses Azure Instance Metadata Service (IMDS) to get virtual machine security type. Communications between VM and IMDS never leaves the host. Ensure that you bypass the IP 169.254.169.254 when using any proxies.
Verify VM certificates
Check that the VMs have the latest root certificates. Otherwise, the VM can't be registered with Site Recovery because of security constraints.
- Windows VMs: Install all the latest Windows updates on the VM, so that all the trusted root certificates are on the machine. In a disconnected environment, follow your standard processes for Windows Update, and certificate updates.
- Linux VMs: Follow the guidance provided by your Linux distributor, to get the latest trusted root certificates and certificate revocation list (CRL).
Create a Recovery Services vault
Create a Recovery Services vault in any region, except in the source region from which you want to replicate VMs.
Sign in to the Azure portal.
In the search box, type recovery. Under Services, select Recovery Services vaults.

In Recovery Services vaults, select Add.
In Create Recovery Services vault > Basics, select the subscription in which to create the vault.
In Resource group, select an existing resource group for the vault, or create a new one.
In Vault name, specify a friendly name to identify the vault.
In Region, select the Azure region in which to place the vault. Check supported regions.
Select Review + create.

In Review + create, select Create.
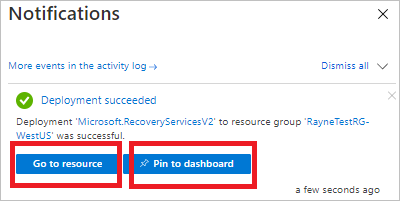
Vault deployment begins. Follow progress in the notifications.
After the vault is deployed, select Pin to dashboard to save it for quick reference. Select Go to resource to open the new vault.
Enable Site Recovery
In the vault settings, select Enable Site Recovery.

Enable replication
Select the source settings and enable VM replication.
Select source settings
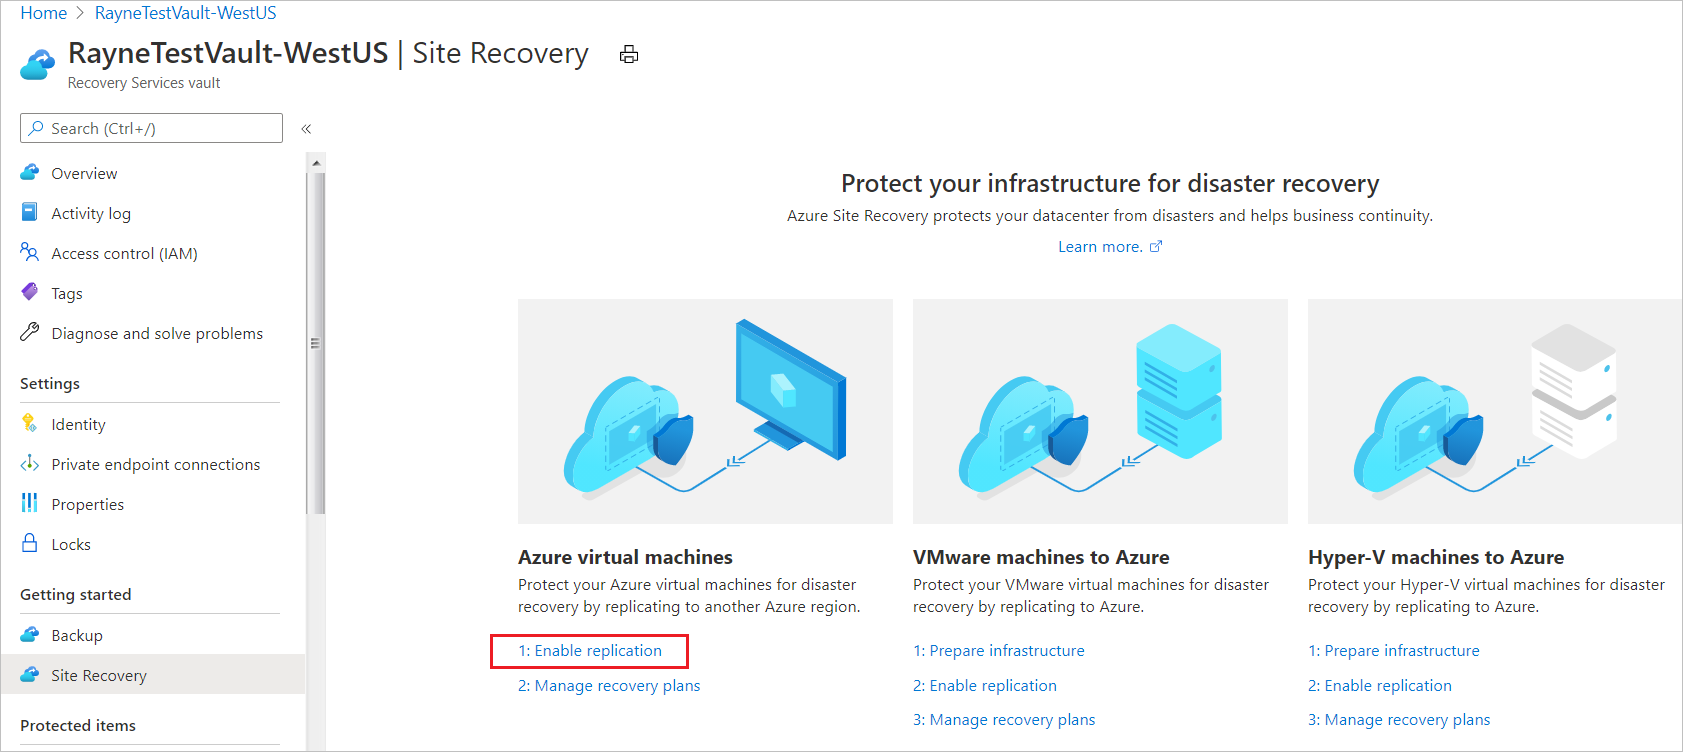
In the vault > Site Recovery page, under Azure virtual machines, select Enable replication.
In the Enable replication page, under Source tab, do the following:
Region: Select the source Azure region in which VMs are currently running.
Subscription: Select the subscription in which VMs are running. You can select any subscription that's in the same Microsoft Entra tenant as the vault.
Resource group: Select the desired resource group from the drop-down.
Virtual machine deployment model: Retain the default Resource Manager setting.
Disaster recovery between availability zones: Retain the default No setting.
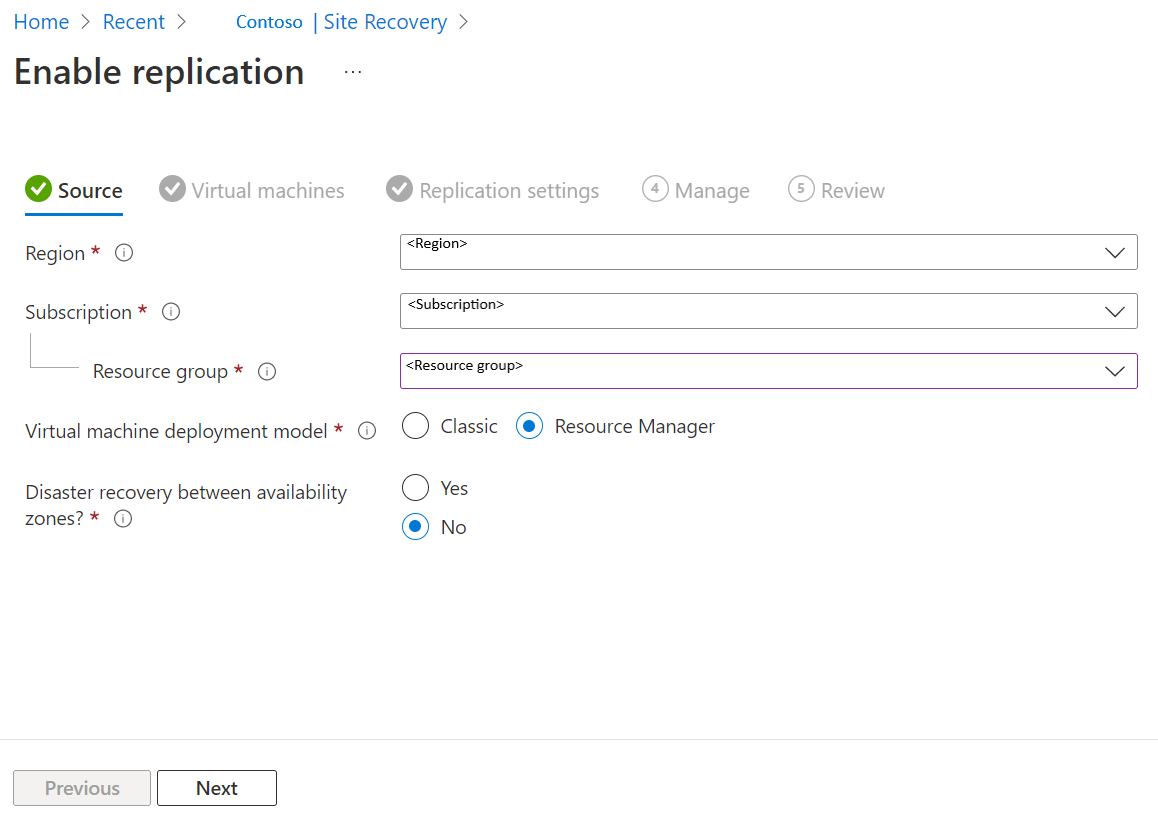
Select Next.
Select the VMs
Site Recovery retrieves the VMs associated with the selected subscription/resource group.
In Virtual machines, select the VMs you want to enable for disaster recovery. You can select up to 10 VMs.
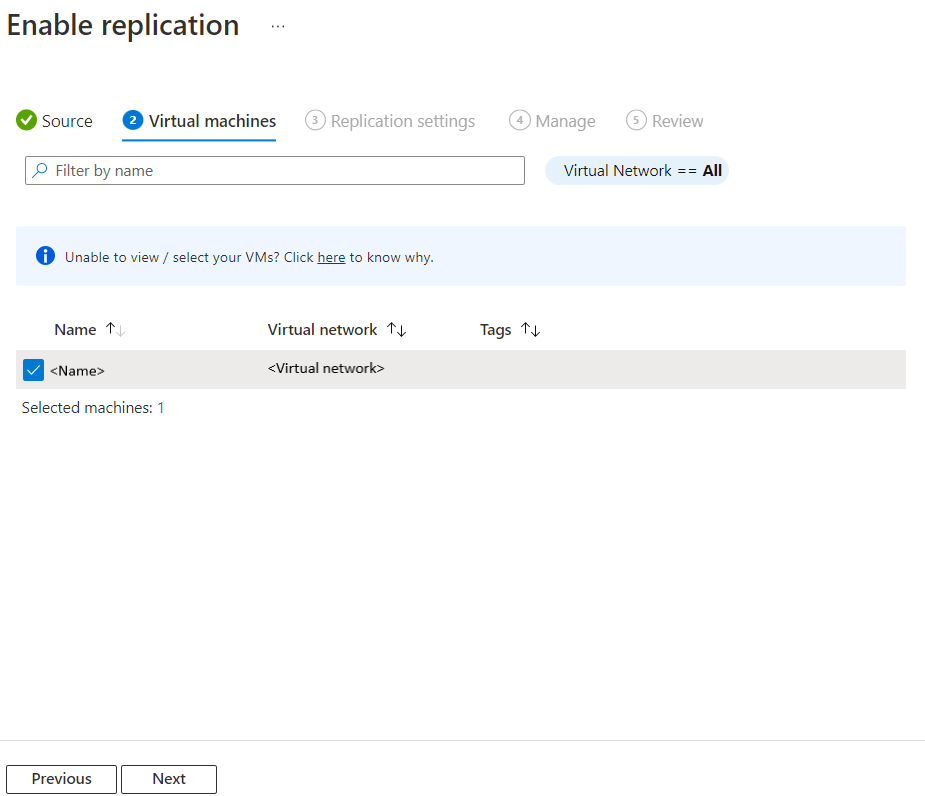
Select Next.
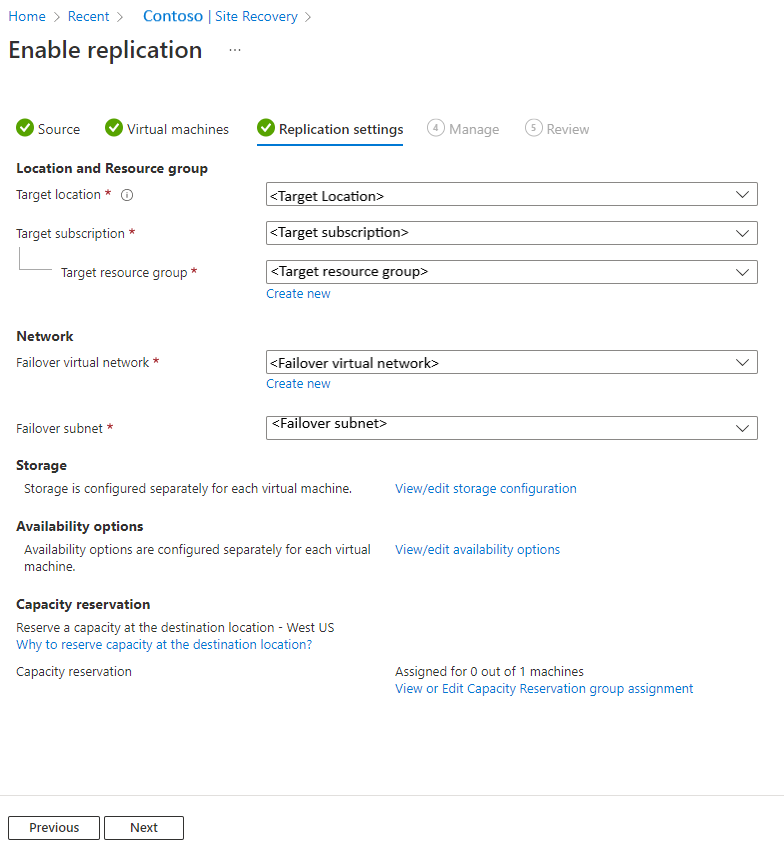
Review replication settings
In Replication settings, review the settings. Site Recovery creates default settings/policy for the target region. For the purposes of this tutorial, we use the default settings.
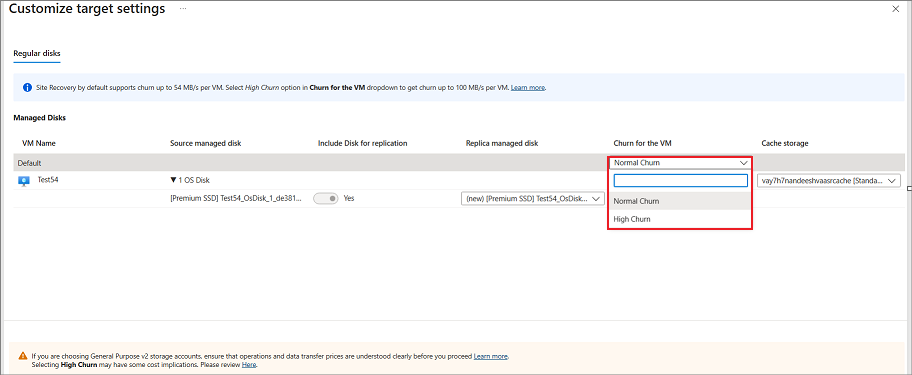
Note
Azure Site Recovery has a High Churn option that you can choose to protect VMs with high data change rate. With this, you can use a Premium Block Blob type of storage account. By default, the Normal Churn option is selected. For more information, see Azure VM Disaster Recovery - High Churn Support. You can select the High Churn option from Storage > View/edit storage configuration > Churn for the VM.
Select Next.
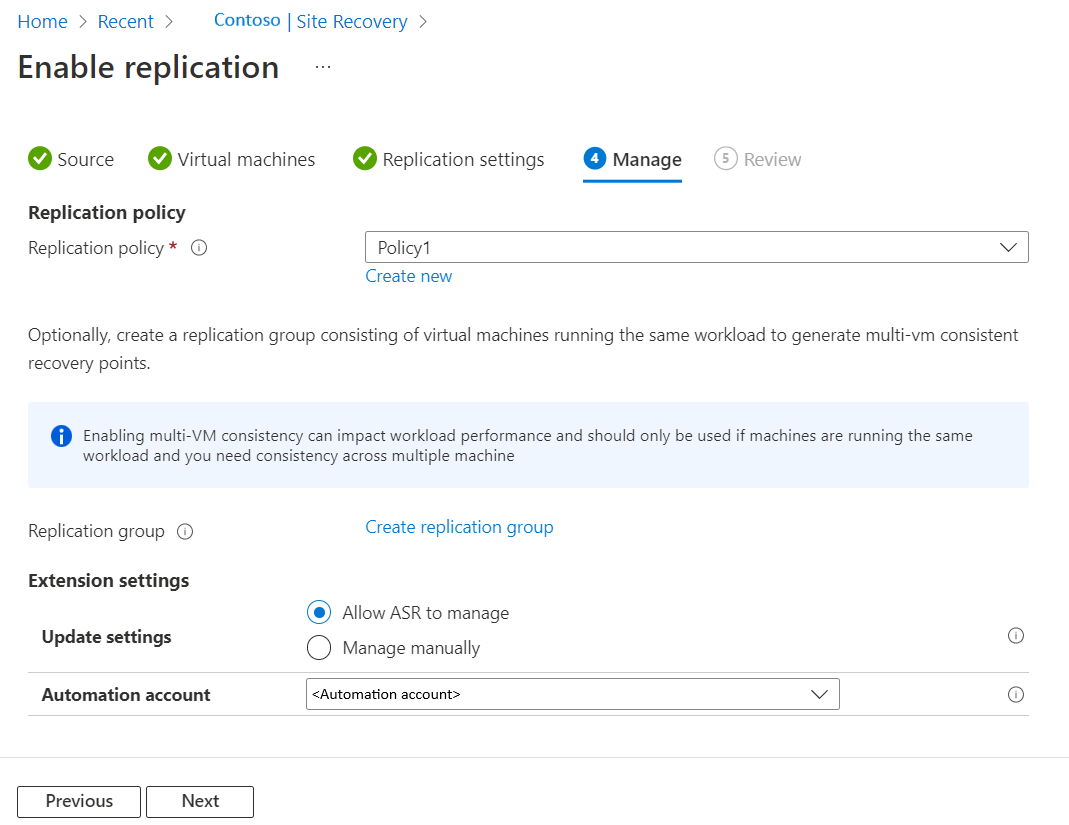
Manage
In Manage, do the following:
- Under Replication policy,
- Replication policy: Select the replication policy. Defines the settings for recovery point retention history and app-consistent snapshot frequency. By default, Site Recovery creates a new replication policy with default settings of 24 hours for recovery point retention.
- Replication group: Create replication group to replicate VMs together to generate Multi-VM consistent recovery points. Note that enabling multi-VM consistency can impact workload performance and should only be used if machines are running the same workload and you need consistency across multiple machines.
- Under Extension settings,
- Select Update settings and Automation account.
- Select Update settings and Automation account.
- Under Replication policy,
Select Next.
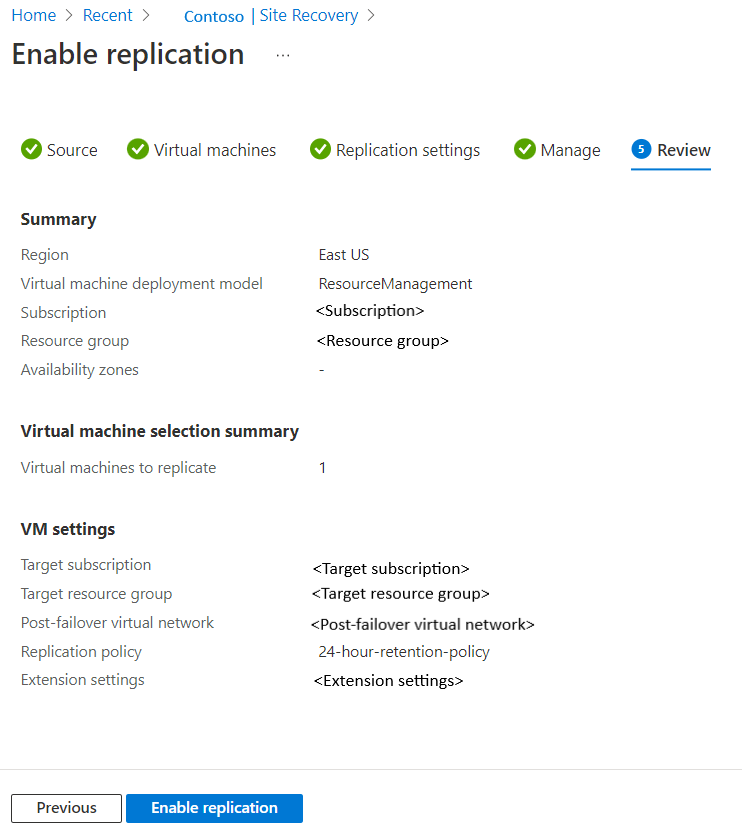
Review
In Review, review the VM settings and select Enable replication.
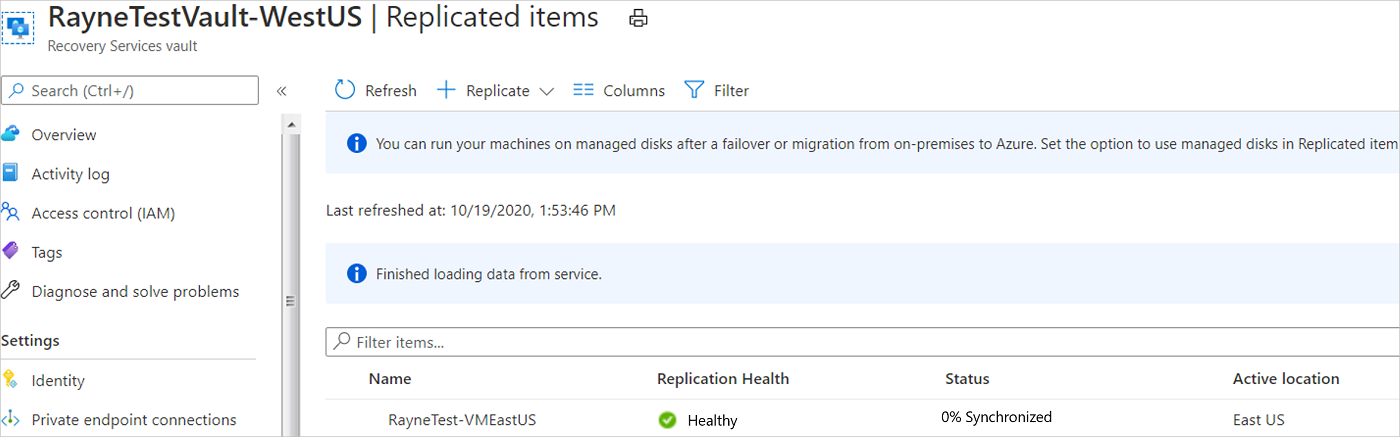
The VMs you enable appear on the vault > Replicated items page.
Next steps
In this tutorial, you enabled disaster recovery for an Azure VM. Now, run a disaster recovery drill to check that failover works as expected.