Note
Access to this page requires authorization. You can try signing in or changing directories.
Access to this page requires authorization. You can try changing directories.
GitHub Actions is a feature on GitHub that helps you automate your software development workflows. If your source code is stored in GitHub repository, you can create a custom workflow in GitHub Actions to build, test, package, release, or deploy any code project.
In this article, you learn to use GitHub Actions to create a CI/CD workflow and deploy a Stream Analytic job to Azure. So next time you make changes to your GitHub repository, it will automatically trigger the workflow and deploy your Stream Analytics project to Azure.
Prerequisites
Before you begin, you must meet the following prerequisites:
- An Azure account with active subscription.
- A GitHub account to configure GitHub repositories, create workflows, and configure GitHub secrets.
- Run
azcommand in PowerShell. Follow this guide to install or update the Azure Command-Line Interface (CLI) on your local machine.
Step 1: Push the Stream Analytics project to GitHub repository
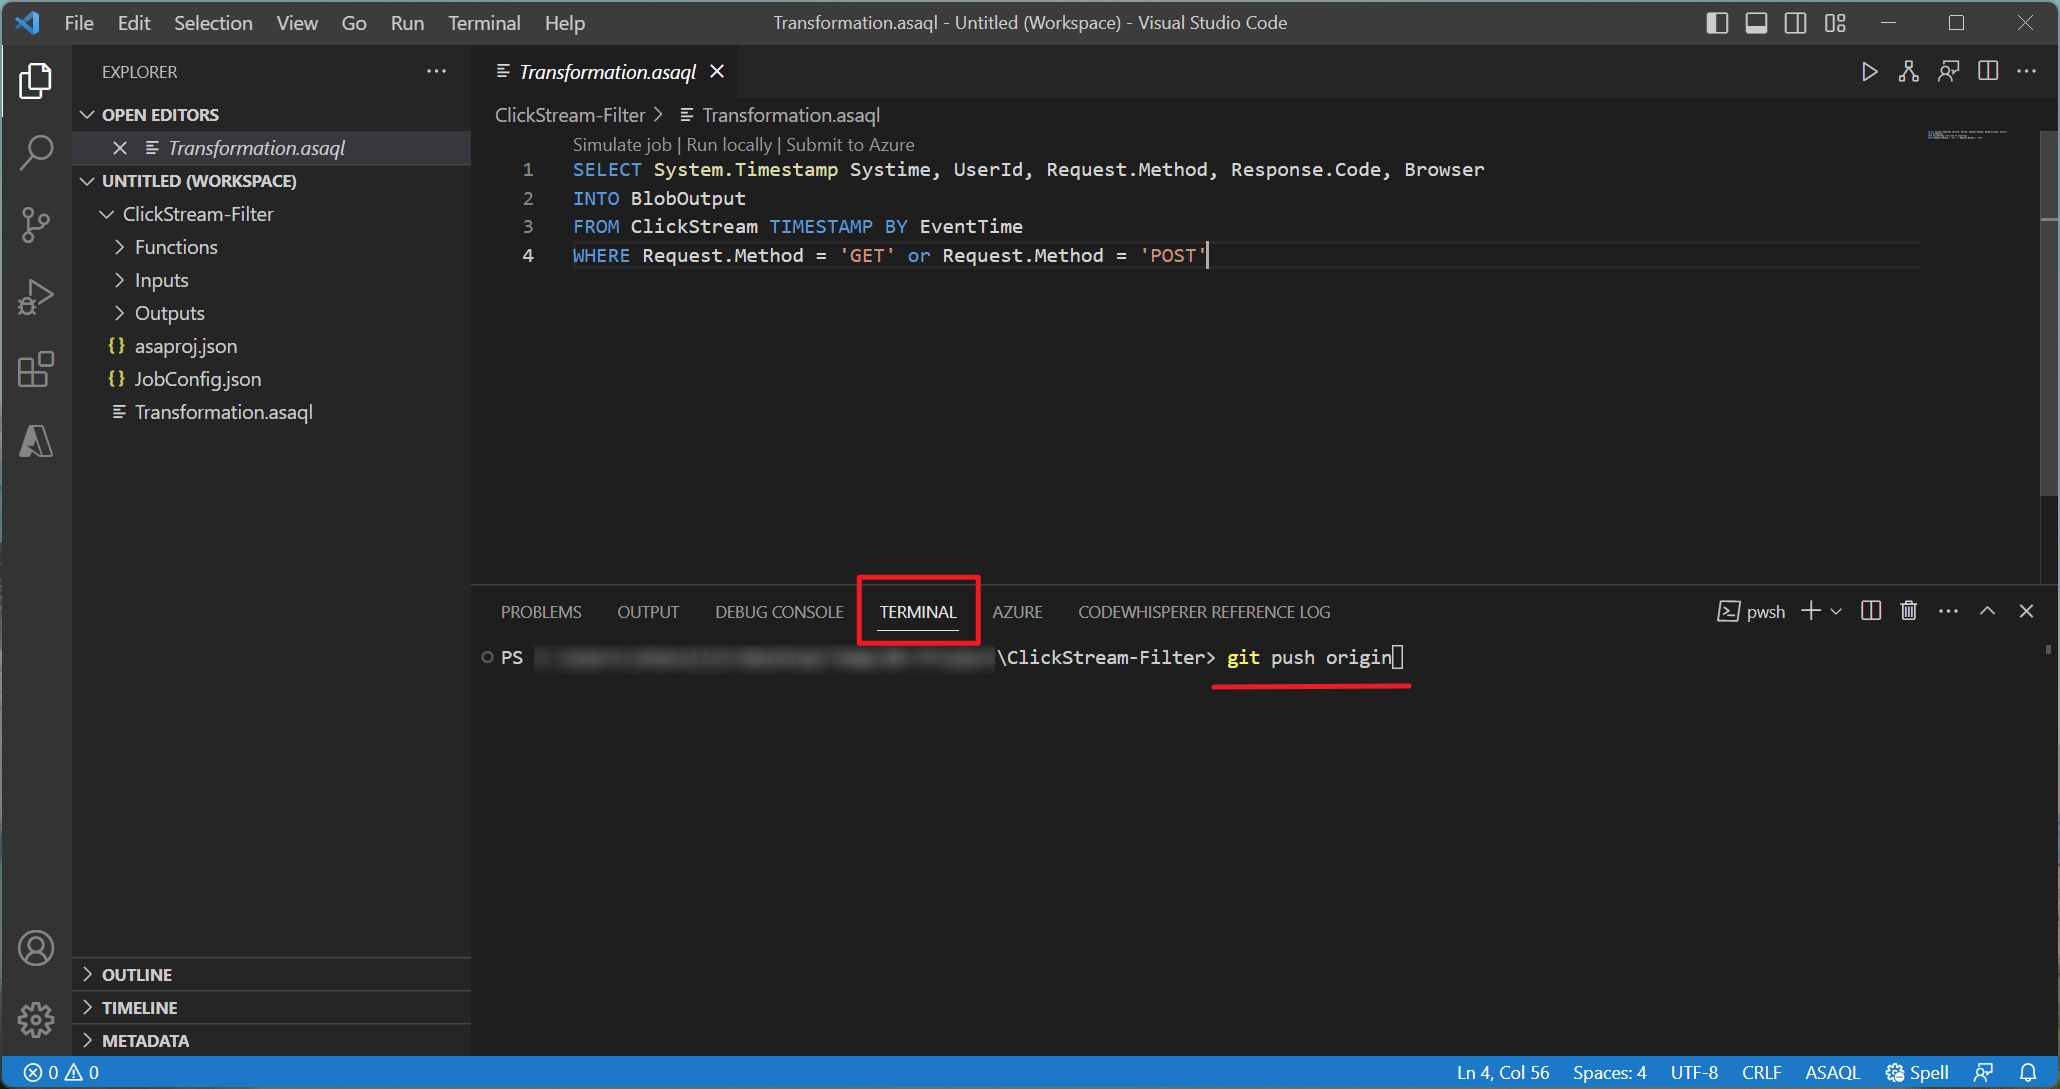
We're using the Azure Stream Analytics extension for Visual Studio Code (VS Code) to manage your Stream Analytics project. Follow this guide if you haven’t installed.
Go to the query editor in the Azure portal and select Open in VS Code.

Once it’s done, you should see your Stream Analytics project in the VS Code workspace.

Press Ctrl+J to open the Terminal in VS Code. Enter git command to push the project to your GitHub repository.


Step 2: Set up secrets in GitHub
You need to create at least 3 GitHub secrets for deploying a Stream Analytics job. One secret for your Azure credential and others for your input/output Azure resources.
Go to your GitHub repo and select the Settings tab. Select on Secrets and variables > Actions from the left side menu and select New repository secret to create a new secret.

Create a secret for Azure credential. Open PowerShell and run the following command. Then copy the output JSON to secret value.
Replace {subscription-id} and {resource-group} with your Azure resource. Make sure you installed the latest version of Azure CLI.
az login
az ad sp create-for-rbac --name "myApp" --role contributor --scopes /subscriptions/{subscription-id}/resourceGroups/{resource-group} --json-auth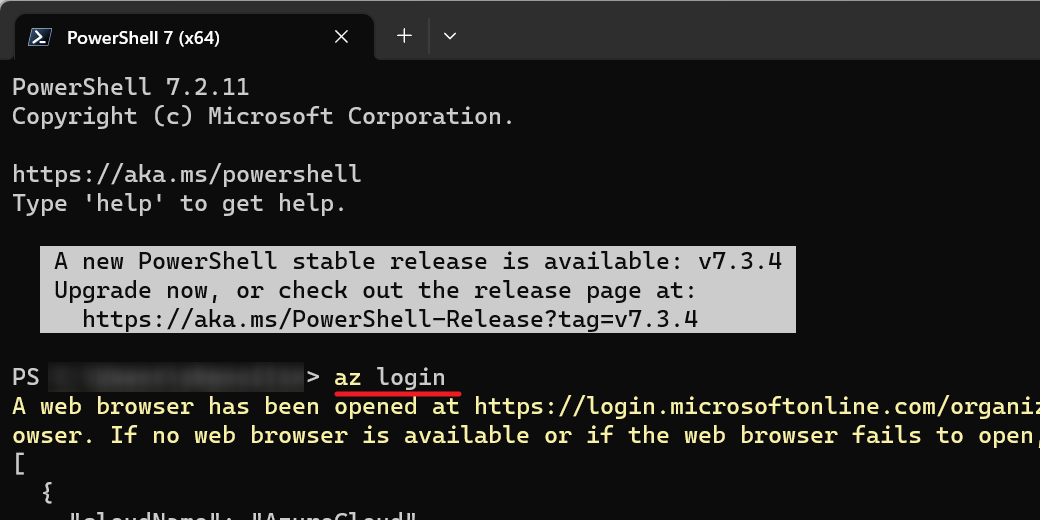
Enter a secret name such as
AZURE_CREDENTIALSand copy the output JSON to secret value. Then select Add secret.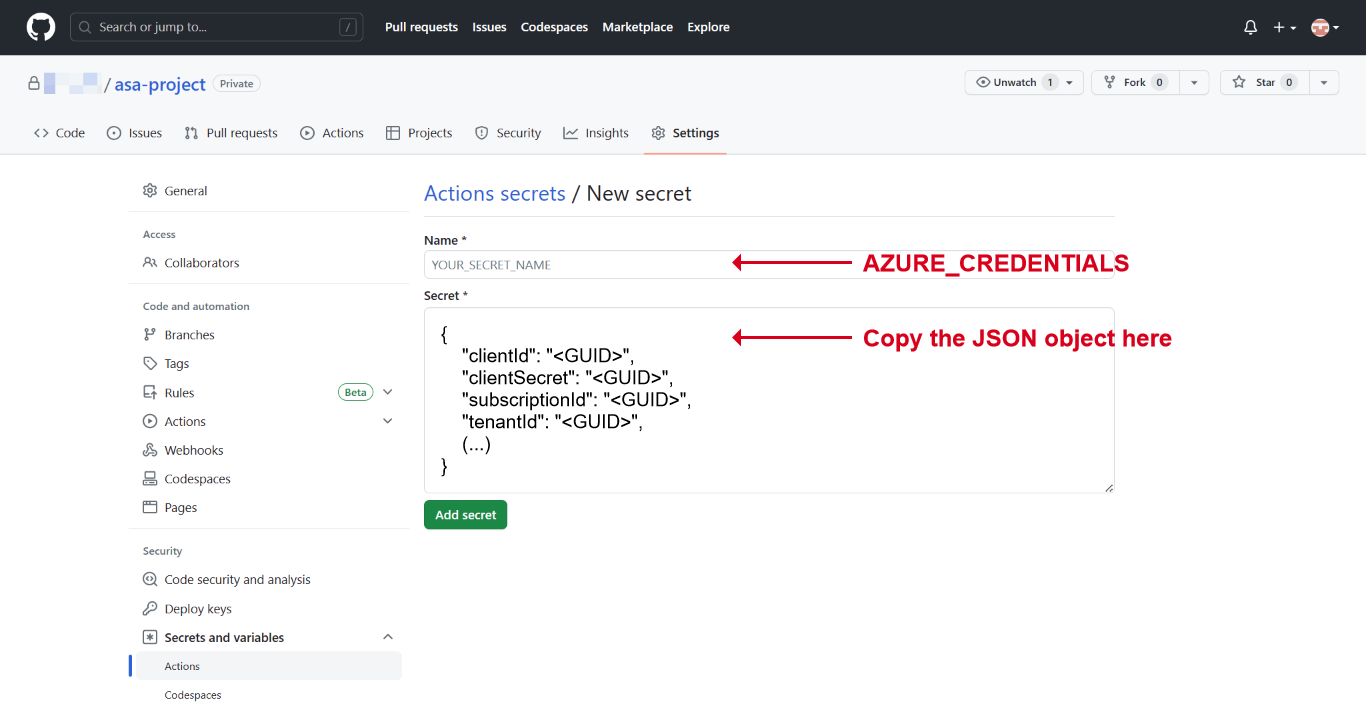
To learn more about using the Azure login action with a service principal secret, see here.
Create secrets for Input and Output resources. For more than one input/output resources, you need to create secrets for each Azure resource respectively.
For example to create a secret for an event hub, go to the Event Hubs in Azure portal and copy the Primary key from Shared access policy.

Copy the access key to the secret value.


Once you’ve done, you should have at least three secrets created for the GitHub repository.

Step 3: Create a workflow using GitHub Actions
Go to Actions tab, select New workflow > set up a workflow yourself.

Copy the this template to the YAML file and edit the parameters.
PROJECT_NAME: your Stream Analytics job's name.
OUTPUT_PATH: leave it as it is.
TARGET_RESOURCE_GROUP: your Azure resource group.
LOCATION: Azure region for deployment. The available regions can be found here.
OVERRIDE_PARAMETERS: credentials for Azure resource. To correctly parse the credential, the parameter has to be set as a key-value pair in the following format:
#               Inputs_ehinput_DataSource_SharedAccessPolicyKey
#               \____/ \_____/ \________/ \__________________/
#                  |      |                        |
#          input/output  name                credential name
For example, for an Event Hubs input and a Blob Storage output, the key should be:
Inputs_ClickStream_DataSource_SharedAccessPolicyKey=${{ secrets.ASA_INPUT }} Outputs_BlobOutput_DataSource_AccountKey=${{ secrets.ASA_OUTPUT }}Here's a mapping from the Azure resource type to its credential name:
Resource types Credential name Azure Event Hubs, Azure IoT Hub, Azure Service Bus SharedAccessPolicyKey Azure Blob Storage, Azure Cosmos DB, Azure Table Storage AccountKey Azure Function ApiKey Azure SQL Database, Azure Synapse Analytics Password
Save and commit the changes to the main branch. Then go to Actions and select run workflow. You can monitor the progress of the workflow.
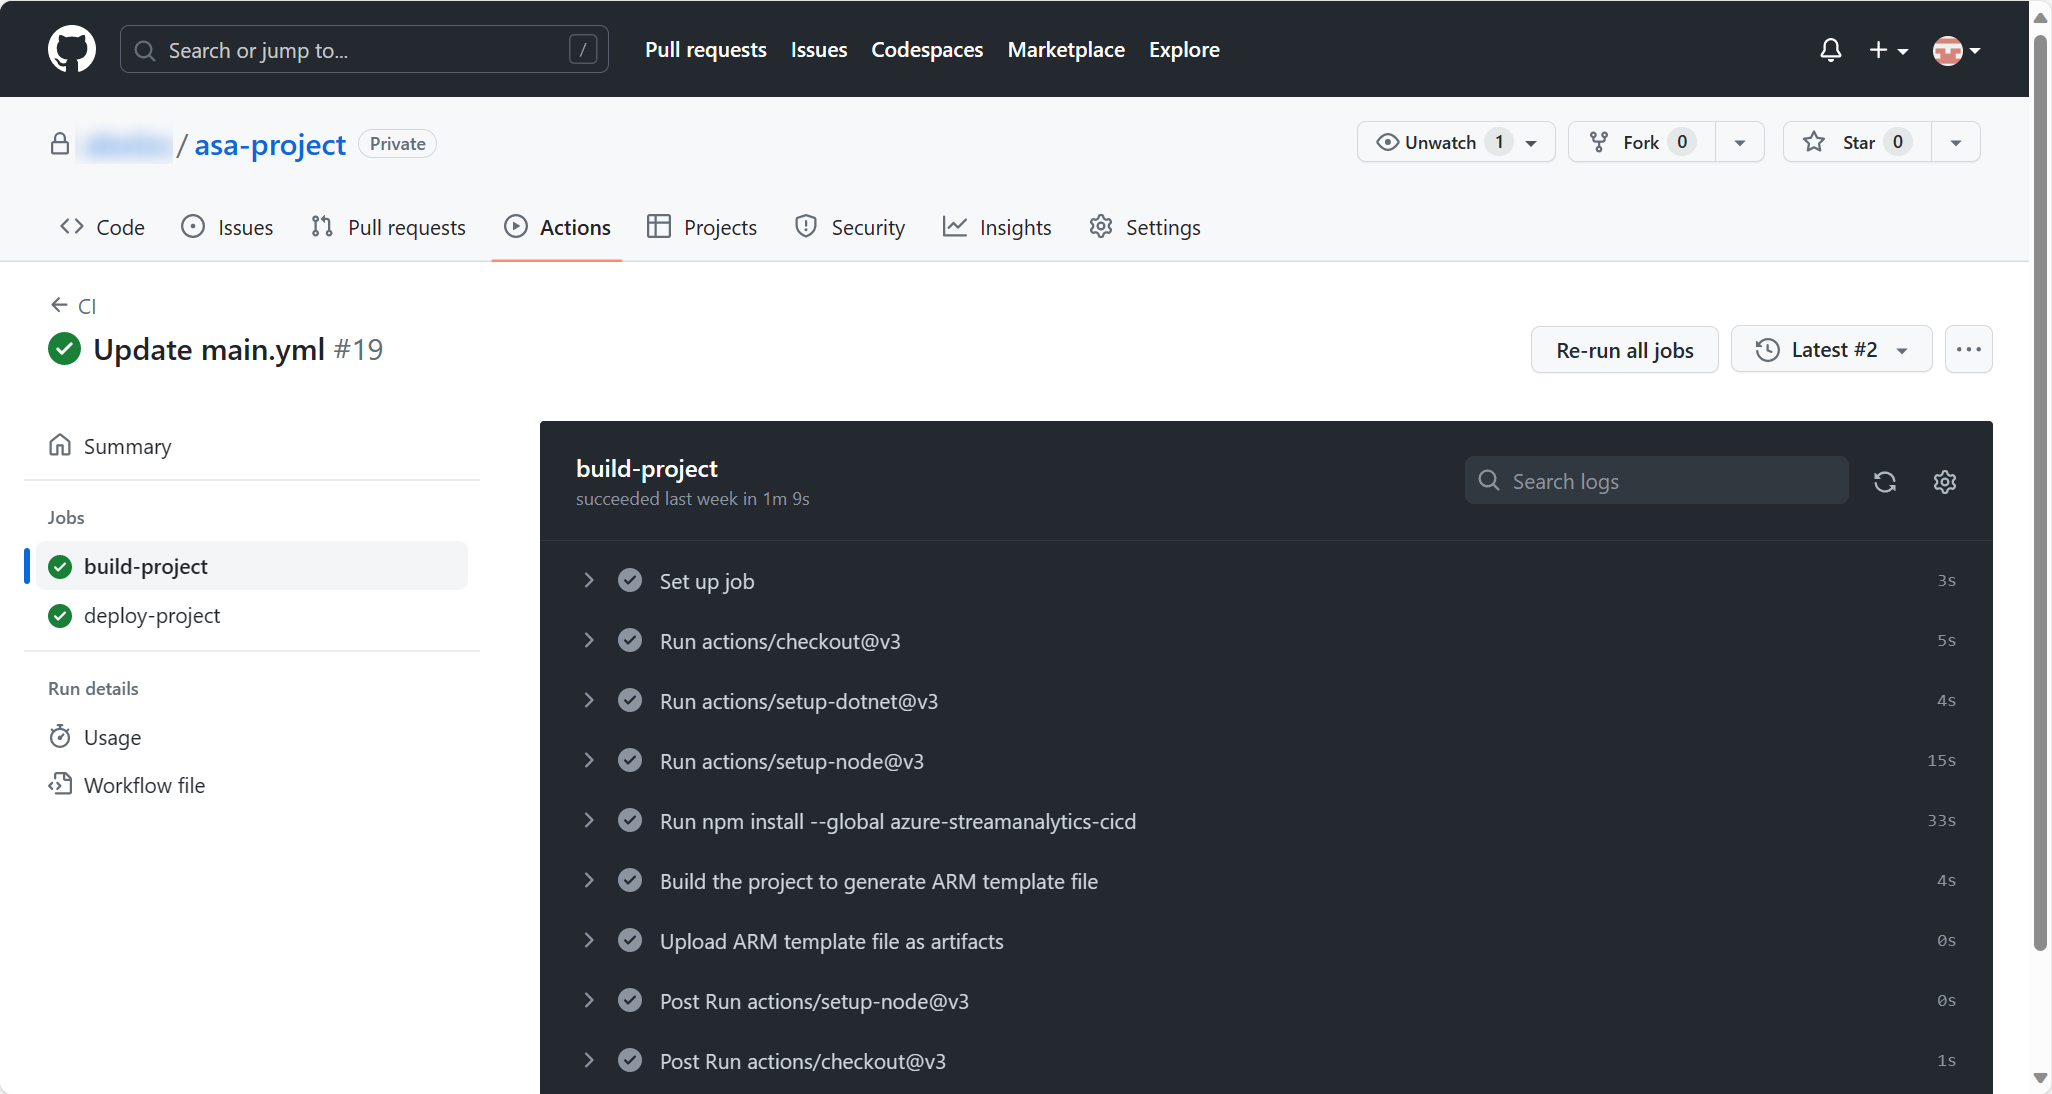
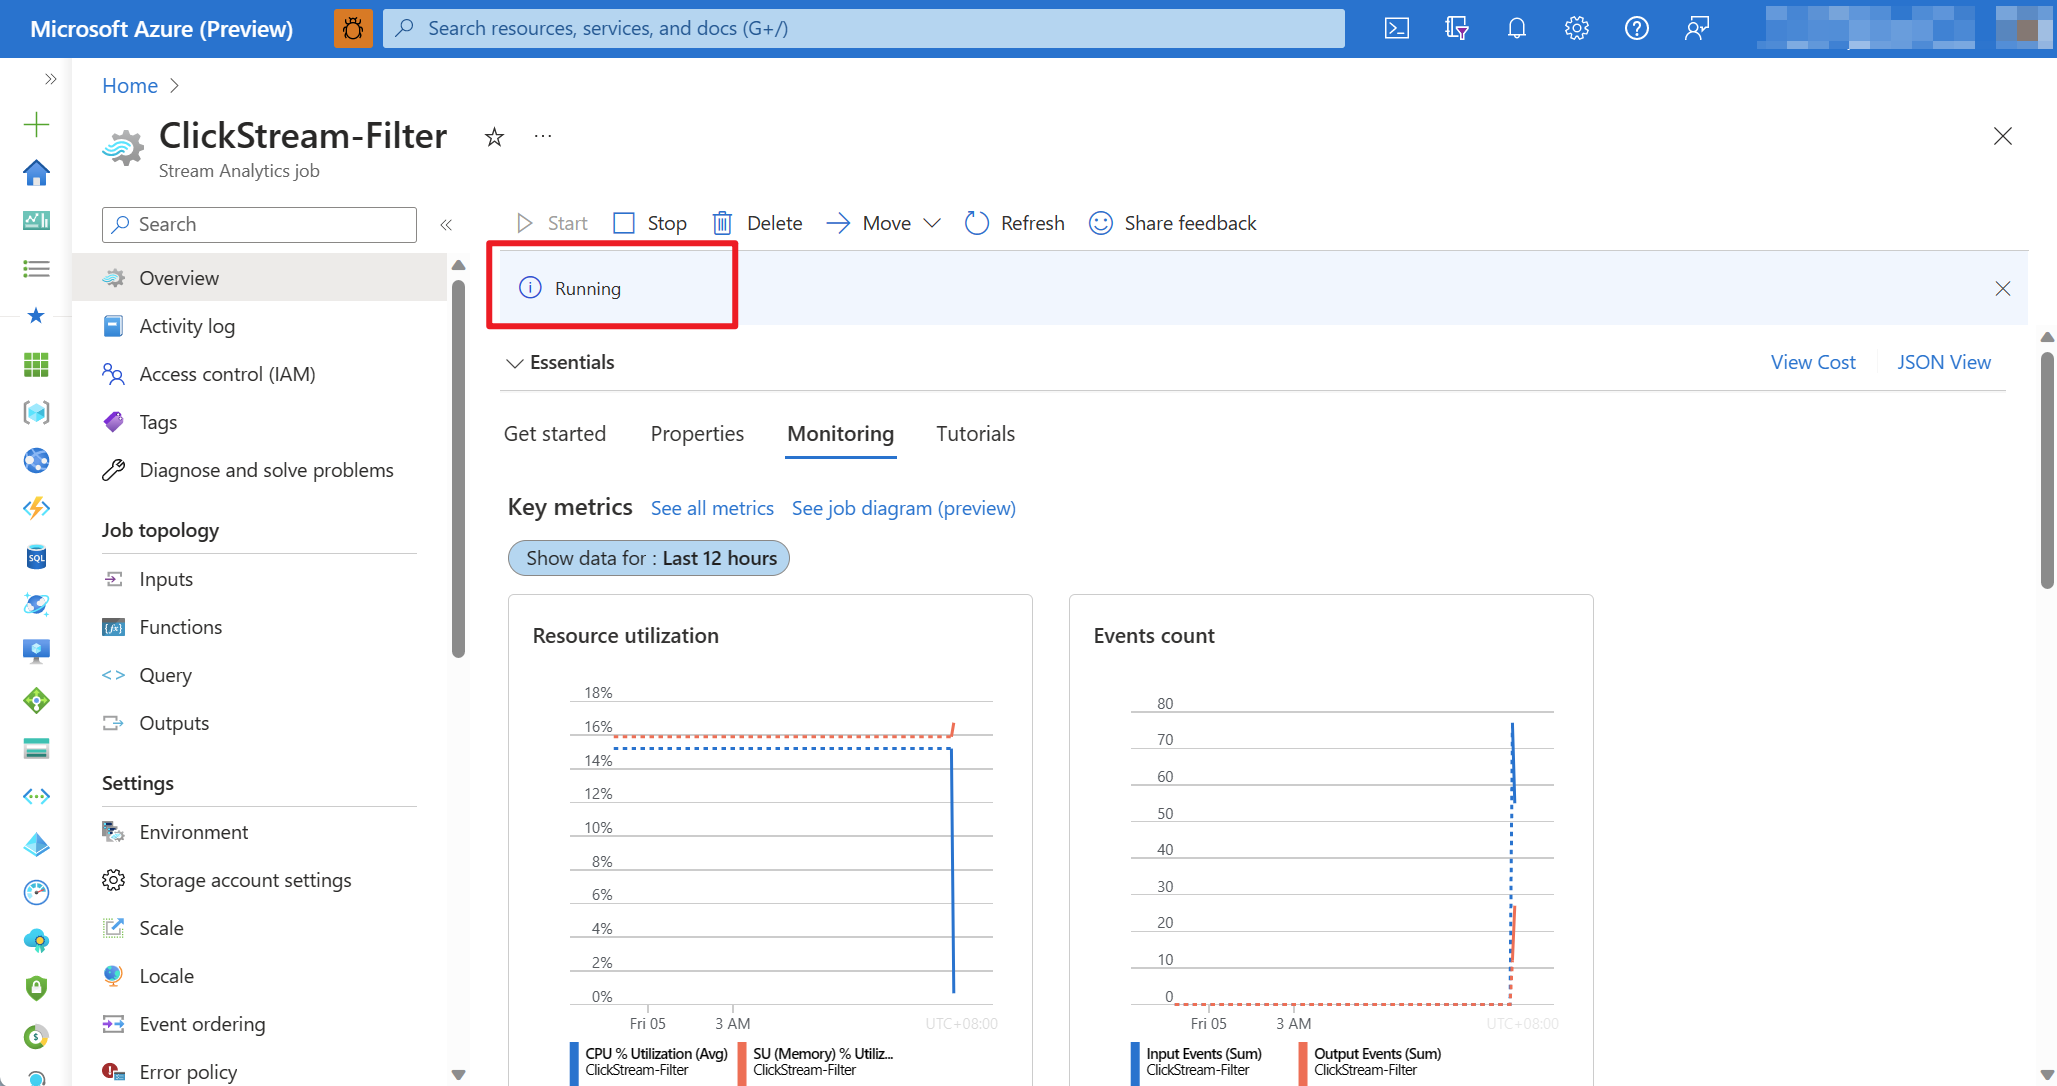
Once it’s done, you can find the Stream Analytics job started running in the Azure portal. The workflow in GitHub Actions will automatically trigger next time you push changes to the main branch.


Congratulations! You have successfully created a workflow in GitHub and deployed your Stream Analytics project to Azure. With this workflow, your Stream Analytics project is able to automatically build, test, publish, and deploy to Azure whenever changes are pushed to the main branch of your GitHub repository.