Quickstart: Create a public IP address prefix using the Azure portal
Learn about a public IP address prefix and how to create, change, and delete one. A public IP address prefix is a contiguous range of standard SKU public IP addresses.
When you create a public IP address resource, you can assign a static public IP address from the prefix and associate the address to virtual machines, load balancers, or other resources. For more information, see Public IP address prefix overview.
Prerequisites
- If you don't already have an Azure account, sign up for a free trial account.
Sign in to Azure
Sign in to the Azure portal.
Create a public IP address prefix
IPv4
In this section, you create a public IP prefix using the Azure portal. Use the following examples to create a IPv4 public IP prefix. To create a IPv6 public IP prefix, see IPv6.
In the search box at the top of the portal, enter Public IP.
In the search results, select Public IP Prefixes.
Select + Create.
In Create public IP prefix, enter, or select the following information in the Basics tab:
| Setting | Value |
|---|---|
| Project details | |
| Resource group | Select Create new and enter test-rg. Select OK. |
| Instance details | |
| Name | Enter public-ip-prefix. |
| Region | Select East US 2. |
| IP version | Select IPv4. |
| Prefix ownership | Select Microsoft owned. |
| Prefix size | Select your prefix size. |
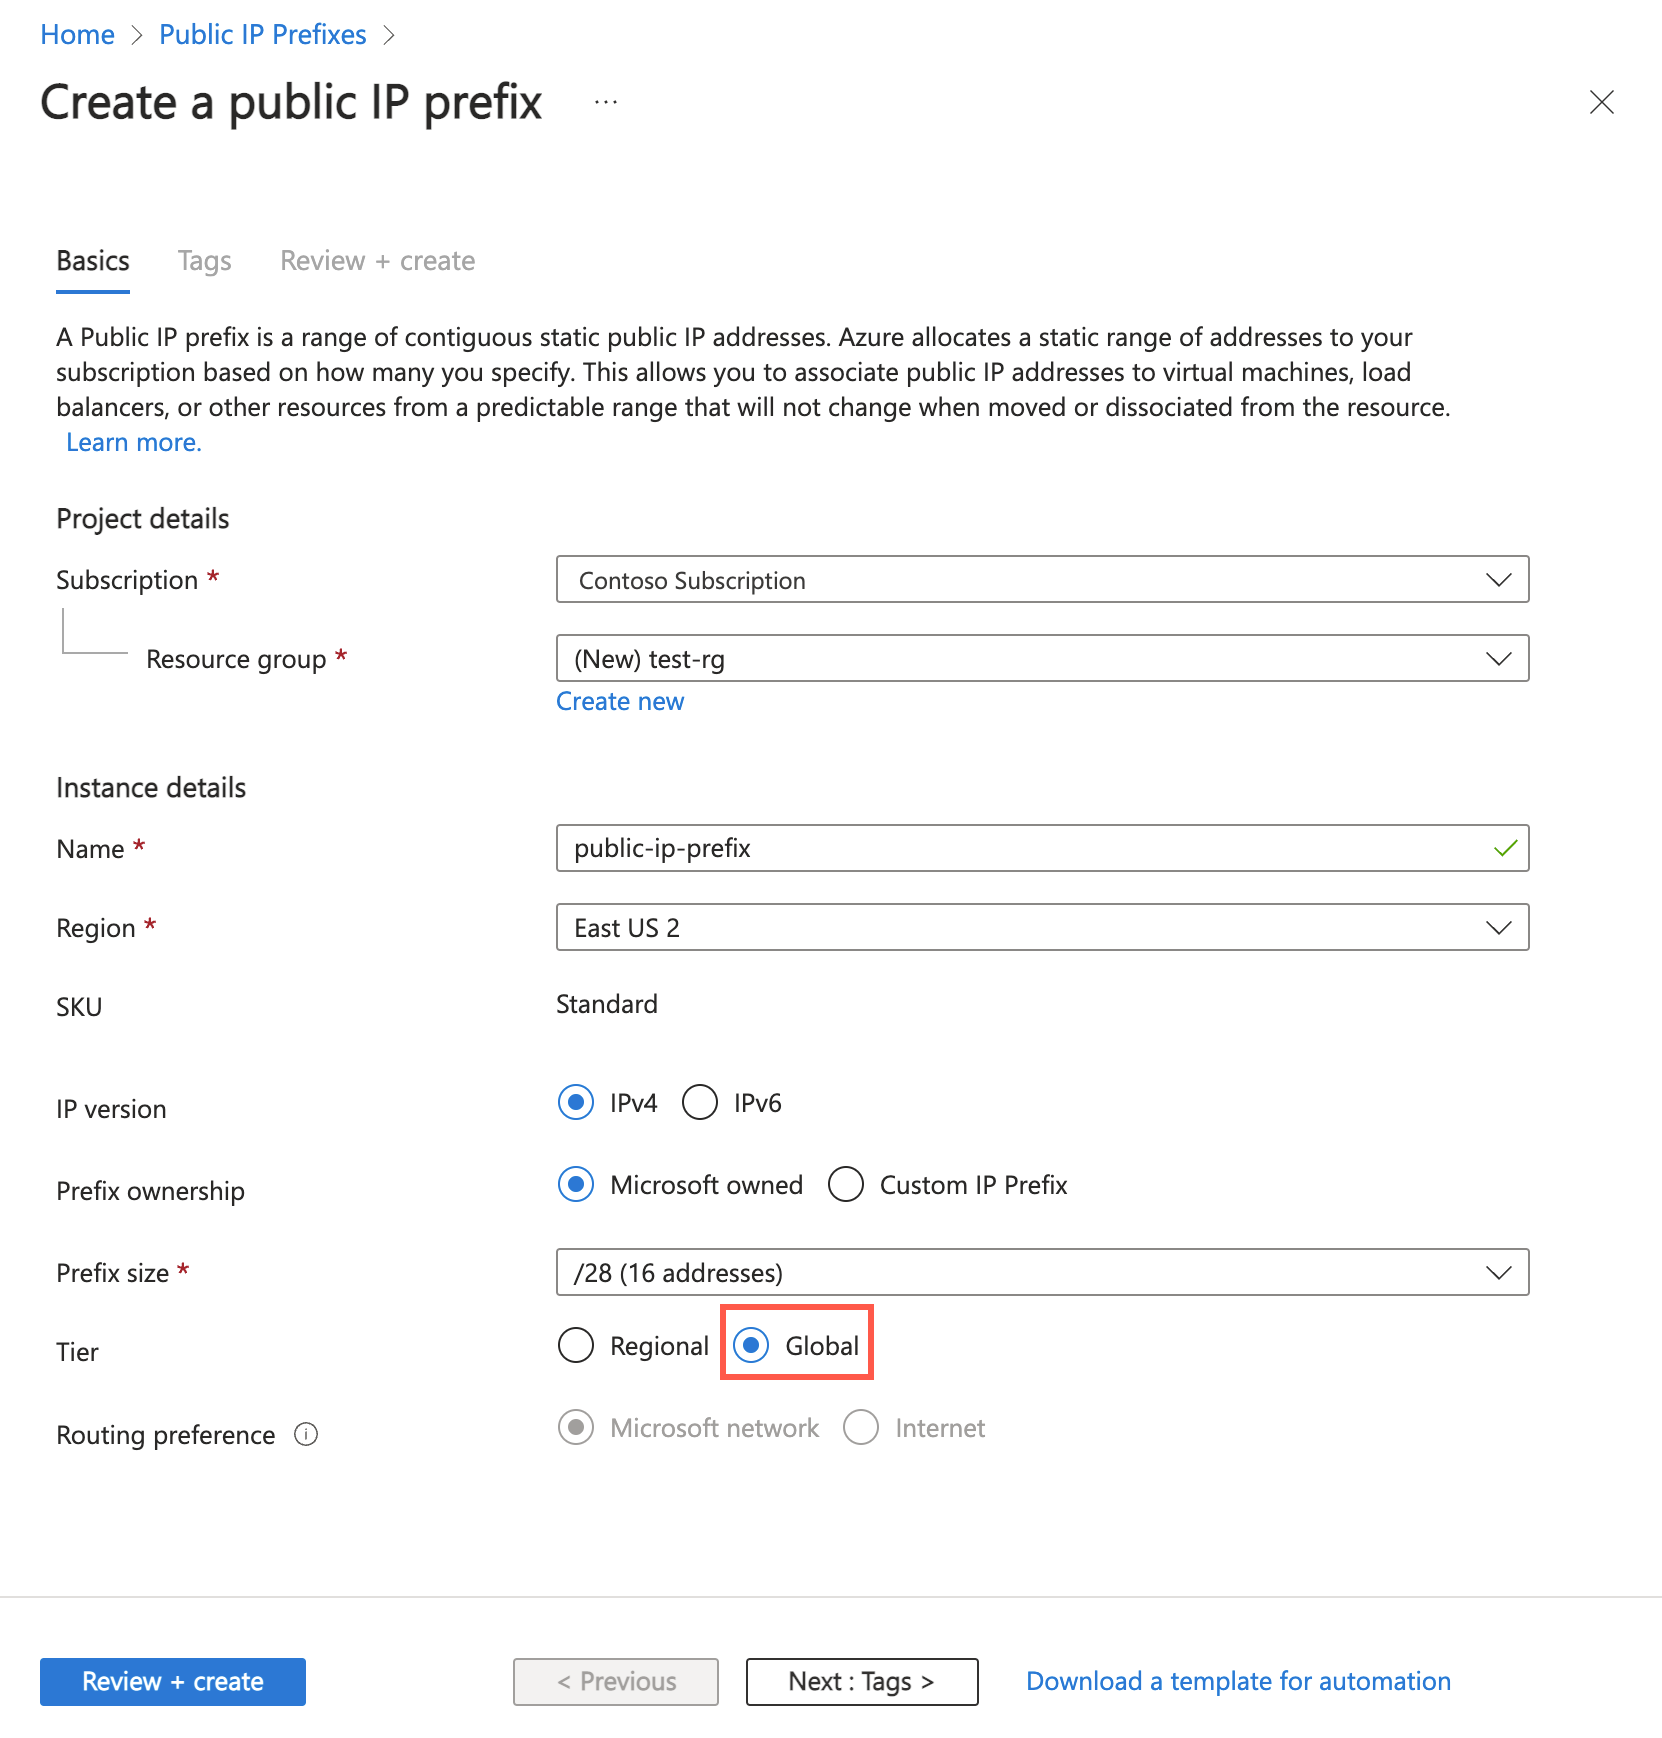
| Tier | Leave the default of Regional. |
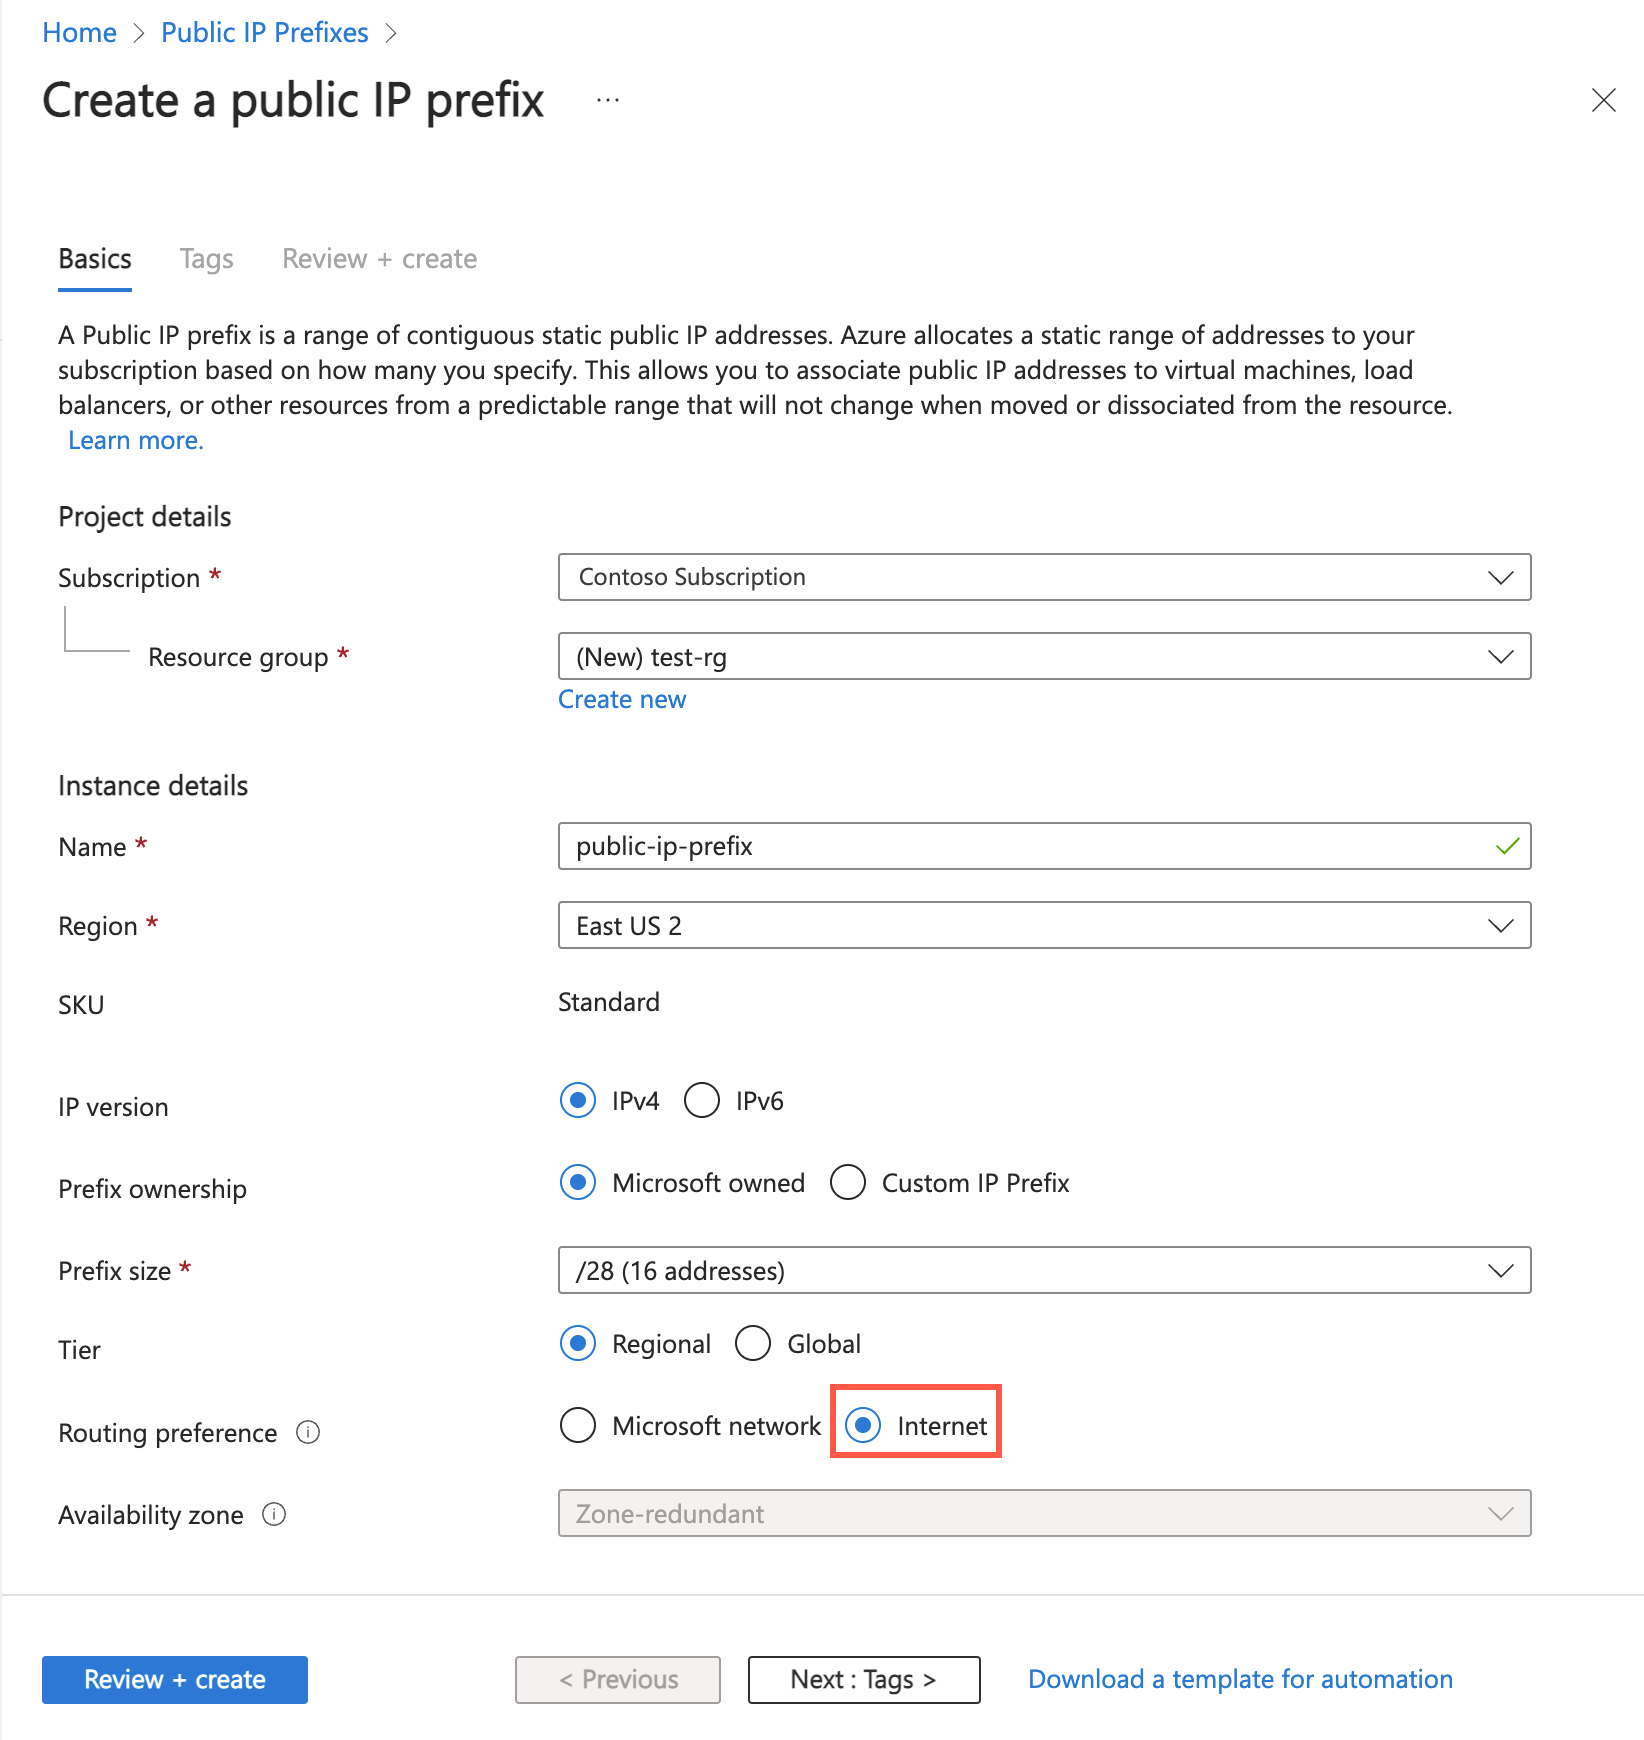
| Routing preference | Leave the default of Microsoft network. |
| Availability zone | Leave the default of Zone-redundant. |
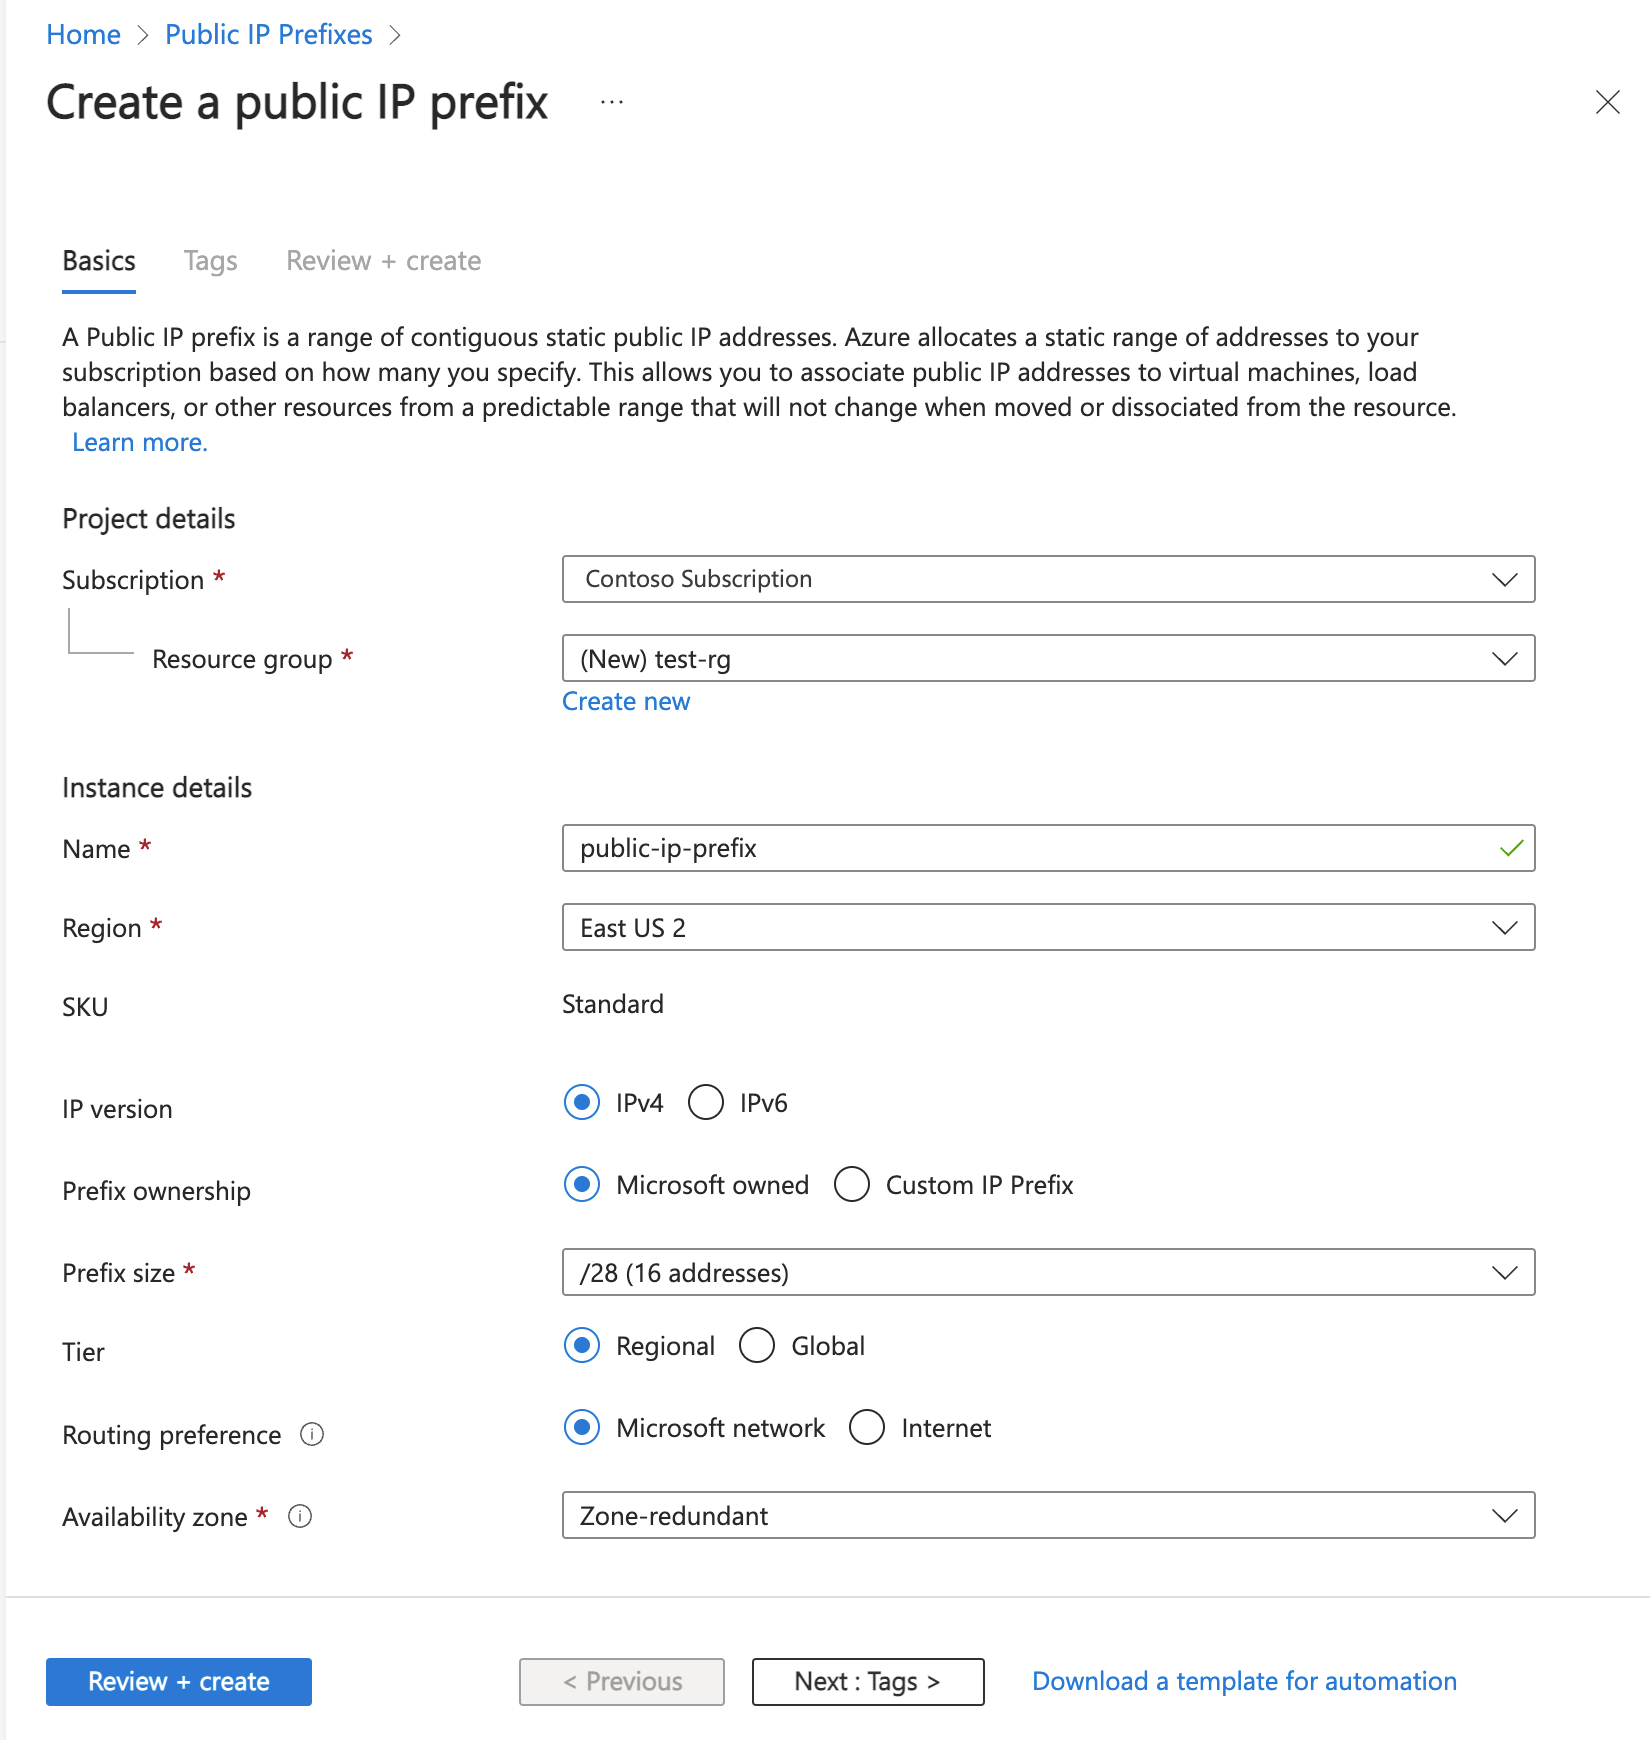
Select the Review + create tab or the blue Review + create button at the bottom of the page.
Select Create.
IPv6
In this section, you create a public IP prefix using the Azure portal. Use the following examples to create a IPv6 public IP prefix.
In the search box at the top of the portal, enter Public IP.
In the search results, select Public IP Prefixes.
Select + Create.
In Create public IP prefix, enter, or select the following information in the Basics tab:
Setting Value Project details Resource group Select Create new and enter test-rg.
Select OK.Instance details Name Enter public-ip-prefix. Region Select East US 2. IP version Select IPv6. Prefix size Select your prefix size. Availability zone Leave the default of Zone-redundant. 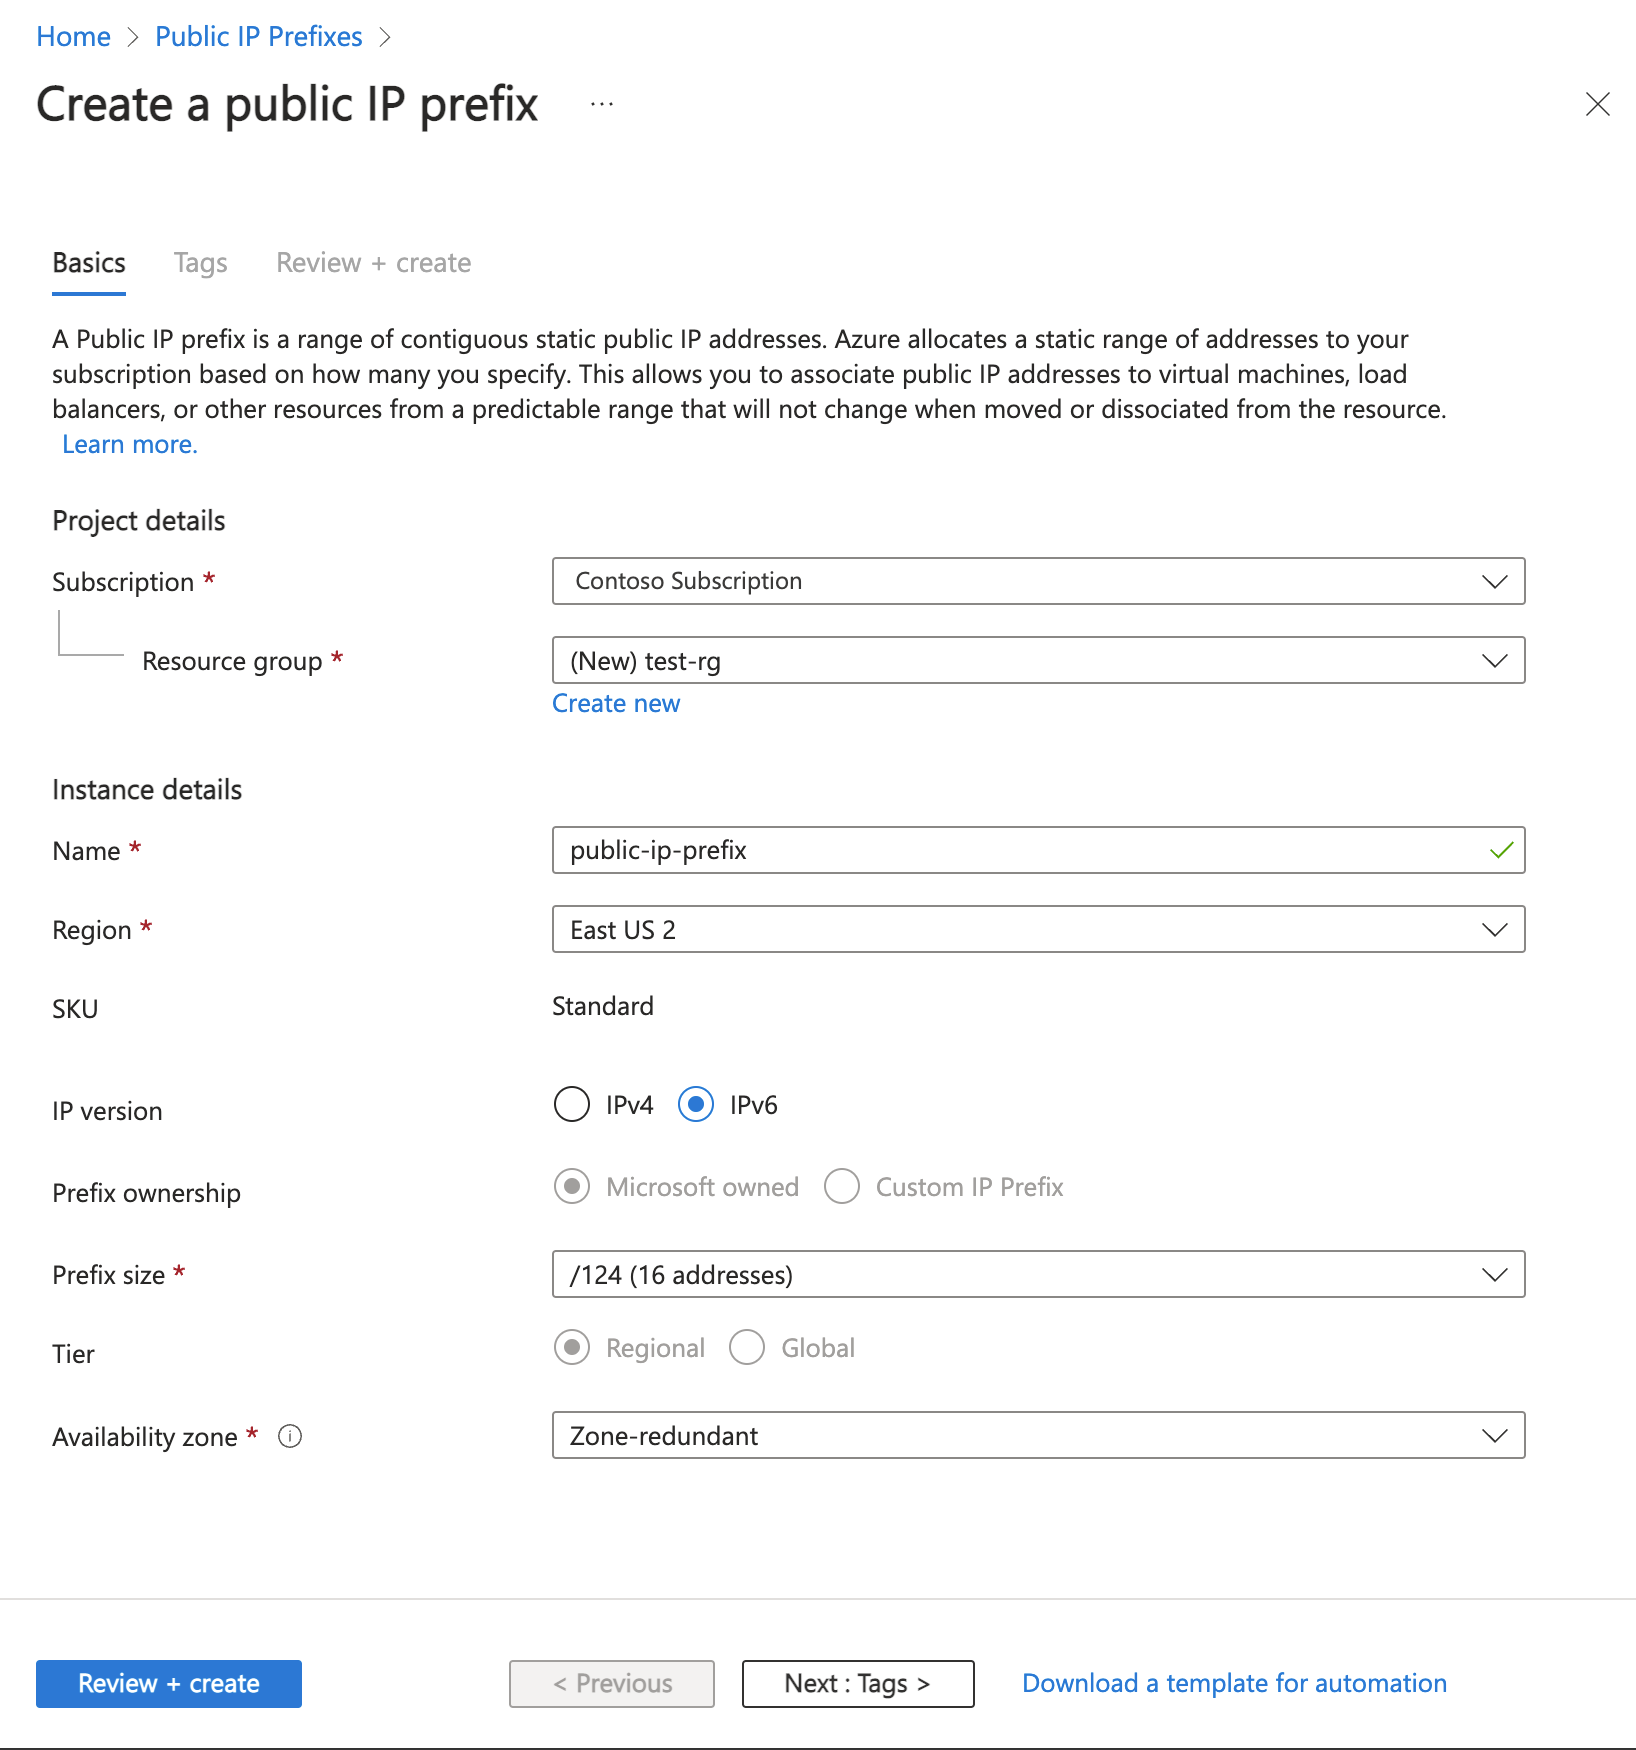
Select the Review + create tab or the blue Review + create button at the bottom of the page.
Select Create.
Create a static public IP address from a prefix
Once you create a prefix, you must create static IP addresses from the prefix. In this section, you create a static IP address from the prefix you created earlier.
In the search box at the top of the portal, enter Public IP.
In the search results, select Public IP Prefixes.
In Public IP Prefixes, select public-ip-prefix.
In Overview of public-ip-prefix, select + Add IP address.

Enter public-ip-1 in Name.
Leave the rest of the selections at the default.
Select Add.
Note
Only static public IP addresses created with the standard SKU can be assigned from the prefix's range. To learn more about public IP address SKUs, see public IP address.
Select Public IP addresses in Settings to view the created IP address.
Delete a prefix
In this section, you learn how to view or delete a prefix.
In the search box at the top of the portal, enter Public IP.
In the search results, select Public IP Prefixes.
In Public IP Prefixes, select public-ip-prefix.
Select Delete in the Overview section.
Note
If addresses within the prefix are associated to public IP address resources, you must first delete the public IP address resources. See delete a public IP address.
Clean up resources
In this article, you created a public IP prefix and a public IP from that prefix.
When you're done with the public IP prefix, delete the resource group and all of the resources it contains:
Search for and select test-rg.
Select Delete resource group.
Enter test-rg in Enter resource group name to confirm deletion and select Delete.
Next steps
Advance to the next article to learn how to create a public IP address:
Feedback
Coming soon: Throughout 2024 we will be phasing out GitHub Issues as the feedback mechanism for content and replacing it with a new feedback system. For more information see: https://aka.ms/ContentUserFeedback.
Submit and view feedback for