Note
Access to this page requires authorization. You can try signing in or changing directories.
Access to this page requires authorization. You can try changing directories.
To connect to a virtual network over point-to-site (P2S), you need to configure the client device that you'll connect from. This article helps you create and install the VPN client configuration for RADIUS certificate authentication.
When you're using RADIUS authentication, there are multiple authentication instructions: certificate authentication, password authentication, and other authentication methods and protocols. The VPN client configuration is different for each type of authentication. To configure a VPN client, you use client configuration files that contain the required settings.
Note
Starting July 1, 2018, support is being removed for TLS 1.0 and 1.1 from Azure VPN Gateway. VPN Gateway will support only TLS 1.2. Only point-to-site connections are impacted; site-to-site connections won't be affected. If you’re using TLS for point-to-site VPNs on Windows 10 or later clients, you don’t need to take any action. If you're using TLS for point-to-site connections on Windows 7 and Windows 8 clients, see the VPN Gateway FAQ for update instructions.
Workflow
The configuration workflow for P2S RADIUS authentication is as follows:
Obtain the VPN client configuration for the authentication option of your choice and use it to set up the VPN client (this article).
Important
If there are any changes to the point-to-site VPN configuration after you generate the VPN client configuration profile, such as the VPN protocol type or authentication type, you must generate and install a new VPN client configuration on your users' devices.
You can create VPN client configuration files for RADIUS certificate authentication that uses the EAP-TLS protocol. Typically, an enterprise-issued certificate is used to authenticate a user for VPN. Make sure that all connecting users have a certificate installed on their devices, and that your RADIUS server can validate the certificate.
In the commands, -AuthenticationMethod is EapTls. During certificate authentication, the client validates the RADIUS server by validating its certificate. -RadiusRootCert is the .cer file that contains the root certificate that's used to validate the RADIUS server.
Each VPN client device requires an installed client certificate. Sometimes a Windows device has multiple client certificates. During authentication, this can result in a pop-up dialog box that lists all the certificates. The user must then choose the certificate to use. The correct certificate can be filtered out by specifying the root certificate that the client certificate should chain to.
-ClientRootCert is the .cer file that contains the root certificate. It's an optional parameter. If the device that you want to connect from has only one client certificate, you don't have to specify this parameter.
Generate VPN client configuration files
You can generate the VPN client configuration files by using the Azure portal, or by using Azure PowerShell.
Azure portal
Navigate to the virtual network gateway.
Click Point-to-Site configuration.
Click Download VPN client.
Select the client and fill out any information that is requested. Depending on the configuration, you might be requested to upload the Radius root certificate to the portal. Export the certificate in the required Base-64 encoded X.509 (.CER) format and open it using a text editor, such as Notepad. You'll see text similar to the following example. The section highlighted in blue contains the information that you copy and upload to Azure.
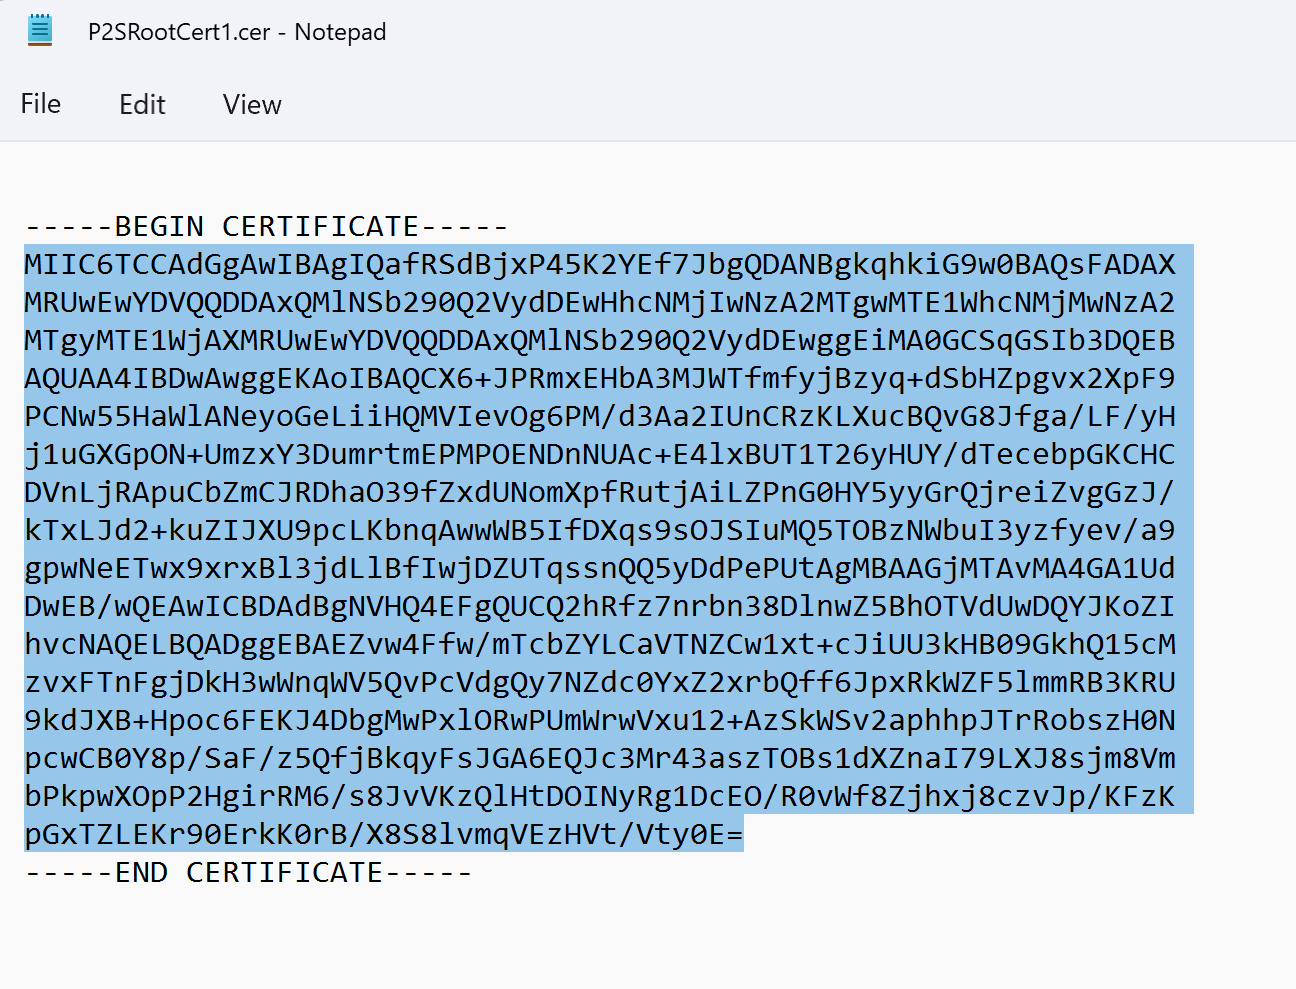
If your file doesn't look similar to the example, typically that means you didn't export it using the Base-64 encoded X.509(.CER) format. Additionally, if you use a text editor other than Notepad, understand that some editors can introduce unintended formatting in the background. This can create problems when uploaded the text from this certificate to Azure.
Click Download to generate the .zip file.
The .zip file downloads, typically to your Downloads folder.

Azure PowerShell
Generate VPN client configuration files for use with certificate authentication. You can generate the VPN client configuration files by using the following command:
New-AzVpnClientConfiguration -ResourceGroupName "TestRG" -Name "VNet1GW" -AuthenticationMethod "EapTls" -RadiusRootCert <full path name of .cer file containing the RADIUS root> -ClientRootCert <full path name of .cer file containing the client root> | fl
Running the command returns a link. Copy and paste the link to a web browser to download VpnClientConfiguration.zip. Unzip the file to view the following folders:
- WindowsAmd64 and WindowsX86: These folders contain the Windows 64-bit and 32-bit installer packages, respectively.
- GenericDevice: This folder contains general information that's used to create your own VPN client configuration.
If you already created client configuration files, you can retrieve them by using the Get-AzVpnClientConfiguration cmdlet. But if you make any changes to your P2S VPN configuration, such as the VPN protocol type or authentication type, the configuration isn’t updated automatically. You must run the New-AzVpnClientConfiguration cmdlet to create a new configuration download.
To retrieve previously generated client configuration files, use the following command:
Get-AzVpnClientConfiguration -ResourceGroupName "TestRG" -Name "VNet1GW" | fl
Windows native VPN client
You can use the native VPN client if you configured IKEv2 or SSTP.
Select a configuration package and install it on the client device. For a 64-bit processor architecture, choose the VpnClientSetupAmd64 installer package. For a 32-bit processor architecture, choose the VpnClientSetupX86 installer package. If you see a SmartScreen pop-up, select More info > Run anyway. You can also save the package to install on other client computers.
Each client requires a client certificate for authentication. Install the client certificate. For information about client certificates, see Client certificates for point-to-site. To install a certificate that was generated, see Install a certificate on Windows clients.
On the client computer, browse to Network Settings and select VPN. The VPN connection shows the name of the virtual network that it connects to.
Mac (macOS) native VPN client
You must create a separate profile for every Mac device that connects to the Azure virtual network. This is because these devices require the user certificate for authentication to be specified in the profile. Additionally, you can only use the macOS native VPN client if you included the IKEv2 tunnel type in your configuration. The Generic folder has all the information that's required to create a profile:
- VpnSettings.xml contains important settings such as server address and tunnel type.
- VpnServerRoot.cer contains the root certificate that's required to validate the VPN gateway during P2S connection setup.
- RadiusServerRoot.cer contains the root certificate that's required to validate the RADIUS server during authentication.
Use the following steps to configure the native VPN client on a Mac for certificate authentication:
Import the VpnServerRoot and RadiusServerRoot root certificates to your Mac. Copy each file to your Mac, double-click it, and then select Add.
Each client requires a client certificate for authentication. Install the client certificate on the client device.
Open the Network dialog box under Network Preferences. Select + to create a new VPN client connection profile for a P2S connection to the Azure virtual network.
The Interface value is VPN, and the VPN Type value is IKEv2. Specify a name for the profile in the Service Name box, and then select Create to create the VPN client connection profile.
In the Generic folder, from the VpnSettings.xml file, copy the VpnServer tag value. Paste this value in the Server Address and Remote ID boxes of the profile. Leave the Local ID box blank.
Select Authentication Settings, and select Certificate.
Click Select to choose the certificate that you want to use for authentication.
Choose An Identity displays a list of certificates for you to choose from. Select the proper certificate, and then select Continue.
In the Local ID box, specify the name of the certificate (from Step 6). In this example, it's ikev2Client.com. Then, select the Apply button to save the changes.
In the Network dialog box, select Apply to save all changes. Then, select Connect to start the P2S connection to the Azure virtual network.
Next steps
Return to the P2S configuration article to verify your connection.
For P2S troubleshooting information, see Troubleshooting Azure point-to-site connections.