Note
Access to this page requires authorization. You can try signing in or changing directories.
Access to this page requires authorization. You can try changing directories.
Like build definitions, release definitions are Azure DevOps tasks, and should probably be done by an Azure DevOps admin. As called out in the Step 3, the build definition builds your project within your git repository, and the release definitions deploys it to your BizTalk Server environment.
Before you begin
Complete Step 3 - Create the build definition.
Add the release tasks
When the build succeeds, the release definition deploys your application to your BizTalk Server.
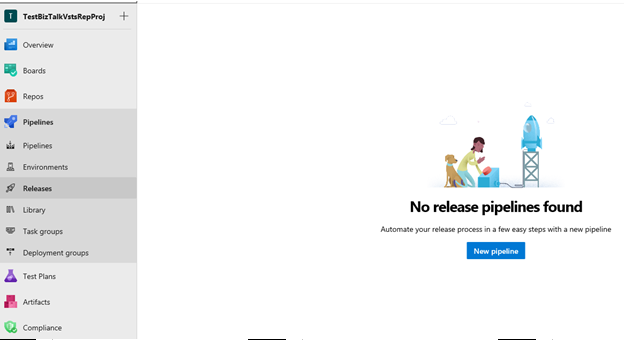
Select the Releases tab > New pipeline.
Select the Empty template > Apply:
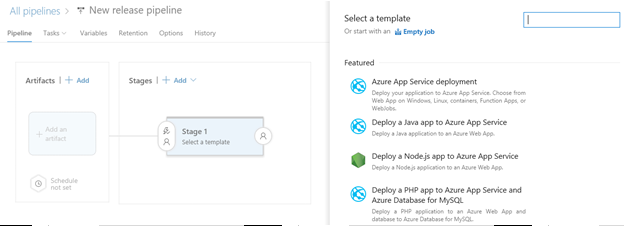
Change the Environment name to Dev, or whatever you want to call it.
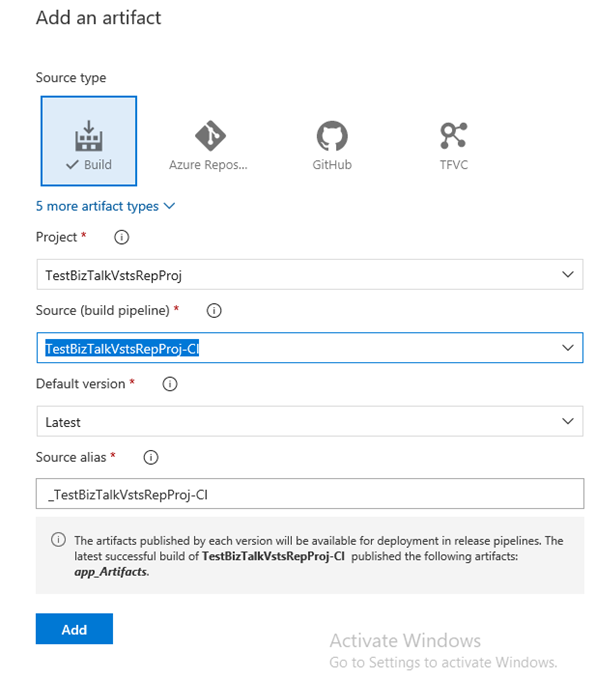
Select Add artifact, select your project, your build definition, and select Add:
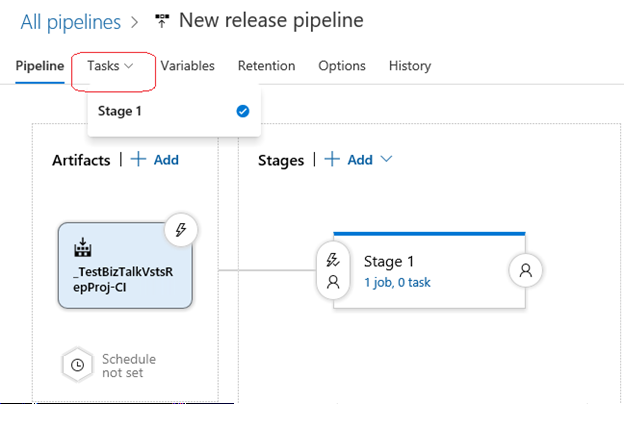
Go to the Tasks tab, add a new task:
From the list, filter the results, select the BizTalk Server Application Deployment task > Add:

If BizTalk Server Application Deployment isn't listed, then install it at Deploy BizTalk Application.
Select the Deploy task.
Select the Operation Name from the list. Your options:
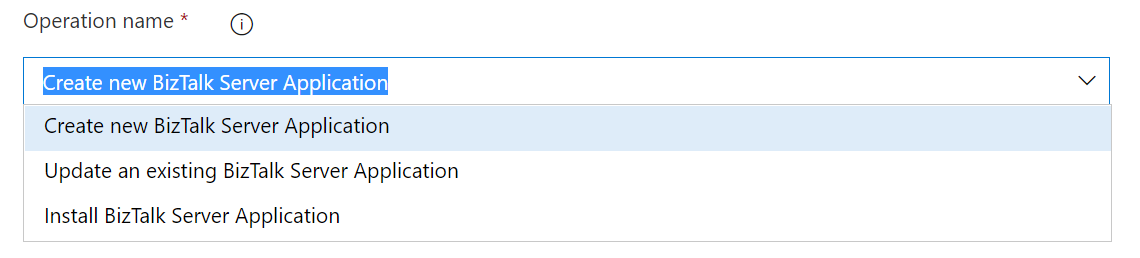
Create new BizTalk Application
Update an existing BizTalk Application
Install BizTalk Server Application
Configure the relevant operation parameters. See: List of deployment operations.
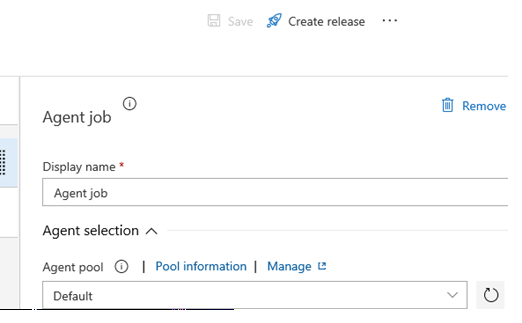
Select the Agent phase task. Select the Default Agent queue. Save your changes.
Select Release > Create release:
Select Queue. Check the status by clicking the release link. If it fails, the error displays. If it succeeds, the application is added to the BizTalk Administration console.
What you did
In Azure DevOps, you created a release definition that deploys the application to BizTalk Server, which you can see in BizTalk Server Administration.
Next steps
At this step, you're done. If you prefer, you can create environmental tokens within your BizTalk XML binding file, and create variables within Azure DevOps that match the environmental tokens. See Configure environmental tokens and variables for details.