Note
Access to this page requires authorization. You can try signing in or changing directories.
Access to this page requires authorization. You can try changing directories.
The build and release definitions are Azure DevOps tasks, and should probably be done by an Azure DevOps admin. The build definition builds your project within your git repository, and the release definitions deploys it to your BizTalk Server environment.
Before you begin
Complete Step 2 - Create Azure DevOps token and install agent.
Add the Build tasks
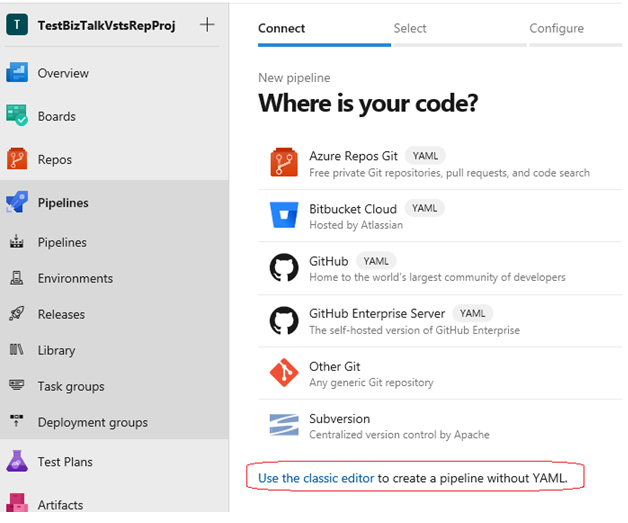
In your project, select Pipelines > Create Pipeline:
Use the classic editor to create a pipeline without YAML:
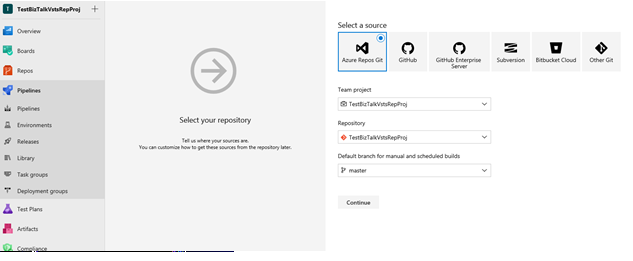
Select Azure Repos Git > Continue:
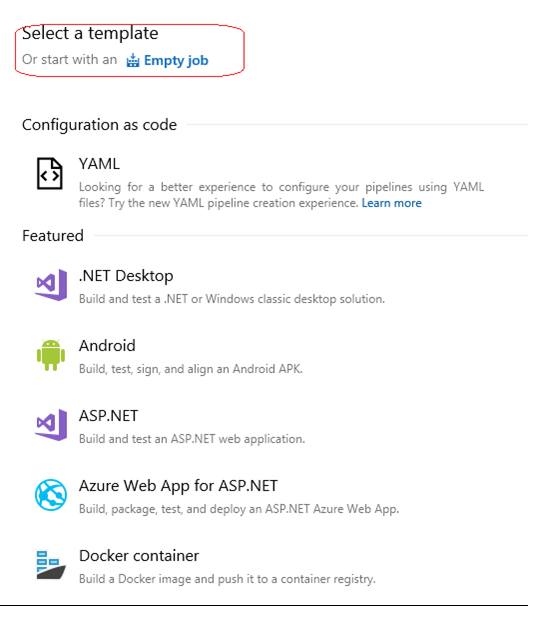
Select the Empty template > Apply:
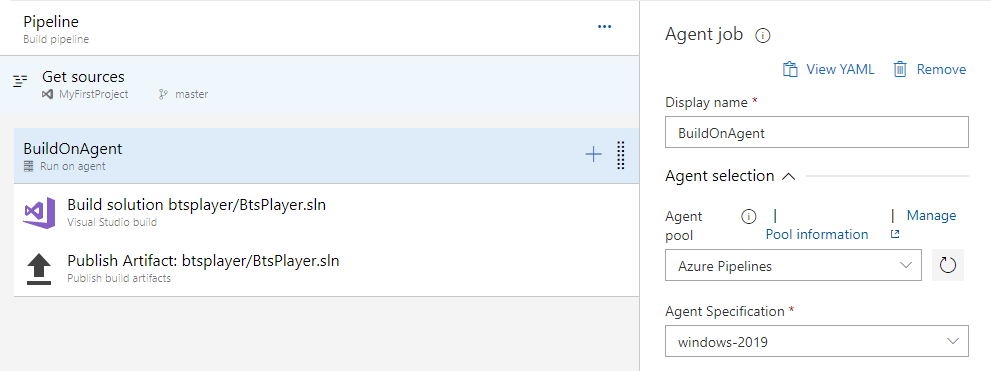
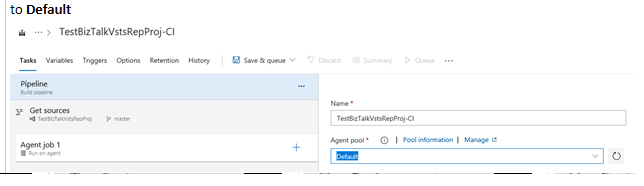
Set the Agent Pool. Your options:
Azure Pipelines: Select this option to use Azure hosted agents > windows-2019:
Default: Select this option to use your own defined agent pool:
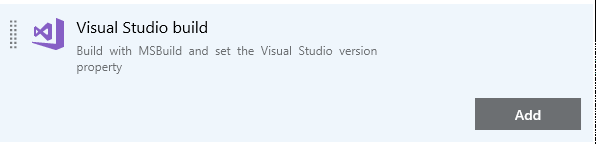
In Phase 1, add a task, select Visual Studio Build > Add:
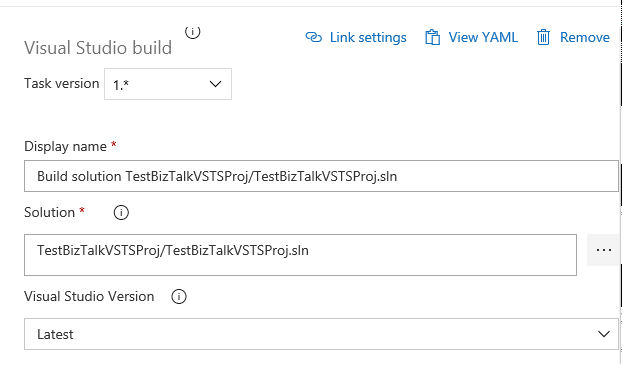
Select the Visual Studio Build task you just added, and set the following properties:
- Display name: Enter your build solution, such as
YourProjectName/YourProjectName.sln. - Visual Studio version: Select at least Visual Studio 2015. You can also select Latest.
- MSBuild Architecture: Select MSBuild x86.
Your properties look similar to the following:
- Display name: Enter your build solution, such as
In Phase 1, add a task, select Publish Build Artifacts > Add:
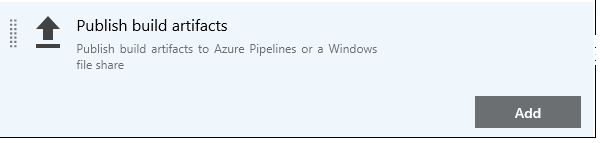
Select the Publish Artifact task, and enter your preferred Display name. For Path to publish, select the ... button, and choose the application project folder (e.g. appProjectHelloWorld). Select OK.

The Artifact Name can be anything you want. Select Save.
Go to Triggers, and set the Trigger status to Enabled:

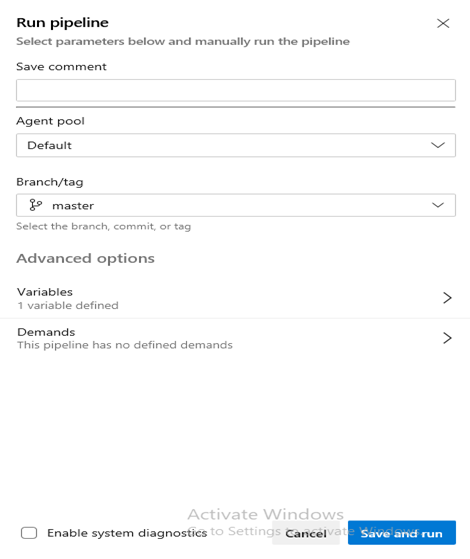
Save & Queue to test your build definition. When you queue, you are prompted for the agent queue and your branch. Select the Default agent queue, and choose your branch. Select Queue.
A new build is started, and you can select it to check for a success or failure.
What you did
In Azure DevOps, you created a build definition that builds your application within Git or Team Foundation Version Control (whatever you chose). When changes are made within the source control, the changes are automatically detected, and you can push them.
Next steps
Step 4: Create the release definition
Configure environmental tokens and variables