Create a contact using the Office 365 Outlook Contact adapter - BizTalk Server
Use the Office 365 Outlook Contact adapter in BizTalk Server to create contacts in your Office 365 Outlook.
Create a contact using a send port
In the BizTalk Server Administration console, right-click Send Ports, select New, and select Static One-way send port.
Create a Send Port provides some guidance.
Enter a Name. In Transport, set the Type to Office 365 Outlook Contact, and select Configure.
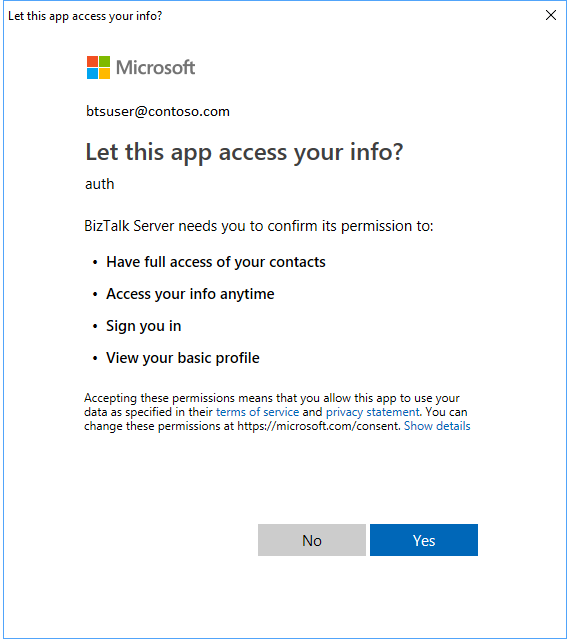
Select Sign in …, and sign in to your Office 365 Account. The account is auto-populated with your email address.
Allow BizTalk Server approval for permission to access:
Select Ok to save your changes.
Test the send port
You can use a simple File receive port and location to create an event on your Office 365 Outlook Contact adapter.
Create a receive port using the File adapter. Within your receive location, set the Receive folder to C:\Temp\In\, and set the file mask to *.xml.
In your Office 365 Outlook Contact adapter send port properties, set the Filters to
BTS.ReceivePortName == <Receive Port Name>.Paste the following into a text editor, and save the file as Office365Contact.xml. This is your sample message.
    <ns0:Contact xmlns:ns0="http://schemas.microsoft.com/BizTalk/Office365OutlookContacts/Send">
        <categories>categories_0</categories>
        <categories>categories_1</categories>
        <categories>categories_2</categories>
        <birthday>1999-05-31T13:20:00.000-05:00</birthday>
        <fileAs>fileAs_0</fileAs>
        <displayName>displayName_0</displayName>
        <givenName>givenName_0</givenName>
        <initials>initials_0</initials>
        <middleName>middleName_0</middleName>
        <nickName>nickName_0</nickName>
        <surname>surname_0</surname>
        <title>title_0</title>
        <yomiGivenName>yomiGivenName_0</yomiGivenName>
        <yomiSurname>yomiSurname_0</yomiSurname>
        <yomiCompanyName>yomiCompanyName_0</yomiCompanyName>
        <generation>generation_0</generation>
        <jobTitle>jobTitle_0</jobTitle>
        <companyName>companyName_0</companyName>
        <department>department_0</department>
        <officeLocation>officeLocation_0</officeLocation>
        <profession>profession_0</profession>
        <businessHomePage>businessHomePage_0</businessHomePage>
        <assistantName>assistantName_0</assistantName>
        <manager>manager_0</manager>
        <homePhones>homePhones_0</homePhones>
        <homePhones>homePhones_1</homePhones>
        <mobilePhone>mobilePhone_0</mobilePhone>
        <businessPhones>businessPhones_0</businessPhones>
        <businessPhones>businessPhones_1</businessPhones>
        <spouseName>spouseName_0</spouseName>
        <personalNotes>personalNotes_0</personalNotes>
        <children>children_0</children>
        <children>children_1</children>
        <children>children_2</children>
        <emailAddresses>
            <name>name_0</name>
            <address>address_0</address>
        </emailAddresses>
        <emailAddresses>
            <name>name_0</name>
            <address>address_0</address>
        </emailAddresses>
        <homeAddress>
            <city>city_0</city>
            <countryOrRegion>countryOrRegion_0</countryOrRegion>
            <postalCode>10000</postalCode>
            <state>state_0</state>
            <street>street_0</street>
        </homeAddress>
        <businessAddress>
            <city>city_0</city>
            <countryOrRegion>countryOrRegion_0</countryOrRegion>
            <postalCode>11111</postalCode>
            <state>state_0</state>
            <street>street_0</street>
        </businessAddress>
        <otherAddress>
            <city>city_0</city>
            <countryOrRegion>countryOrRegion_0</countryOrRegion>
            <postalCode>21222</postalCode>
            <state>state_0</state>
            <street>street_0</street>
        </otherAddress>
    </ns0:Contact>
The XML schema is provided as part of the SDK inside < BizTalk Installation Folder\SDK\Schemas >
Start the File receive location and the Office 365 Outlook Contact adapter send port.
Copy Office365Contact.xml sample message into the receive folder (C:\Temp\In\). The send port creates a contact in your Office 365 Outlook account based on the xml.
Next steps
See all the Office 365 adapters.