Note
Access to this page requires authorization. You can try signing in or changing directories.
Access to this page requires authorization. You can try changing directories.
What are smart events?
Smart events capture specific user interactions on your site by combining variety of signals that provide simple and intuitive user actions that occur during a session. With smart events, you can filter to the specific user actions and group different actions together. For example, you can utilize click data, page views, and other session signals to create higher level events such as "Purchase", "Contact Us", or "Add to Cart".
Why are smart events useful?
Smart events track key user actions on your website, making it easy and fast for you to view the data that matters. Smart events also help you track different clicks across your website as a single action. For instance, Sign-in across pages can be grouped together to view as one sign-in action. Clarity automatically defines smart events for you, and you can customize them or define new events–all code-free.
Different types of smart events
- Button Clicks
- API events
- Auto events
- Page visits
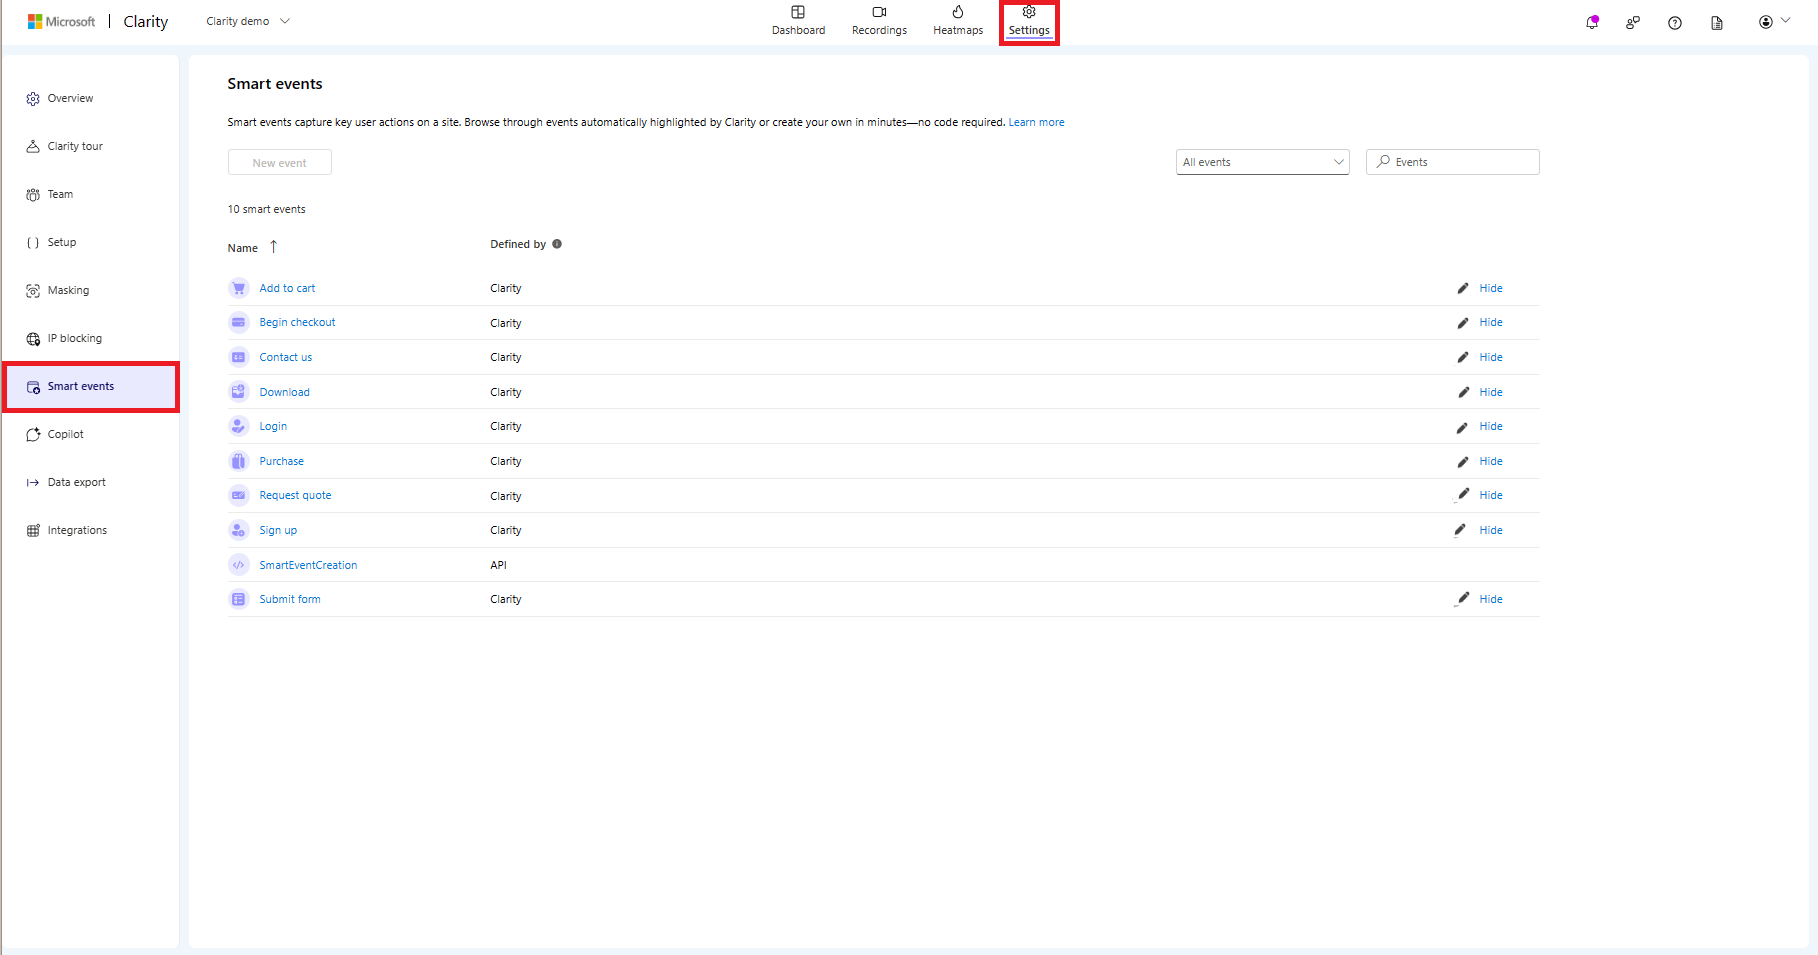
View smart events
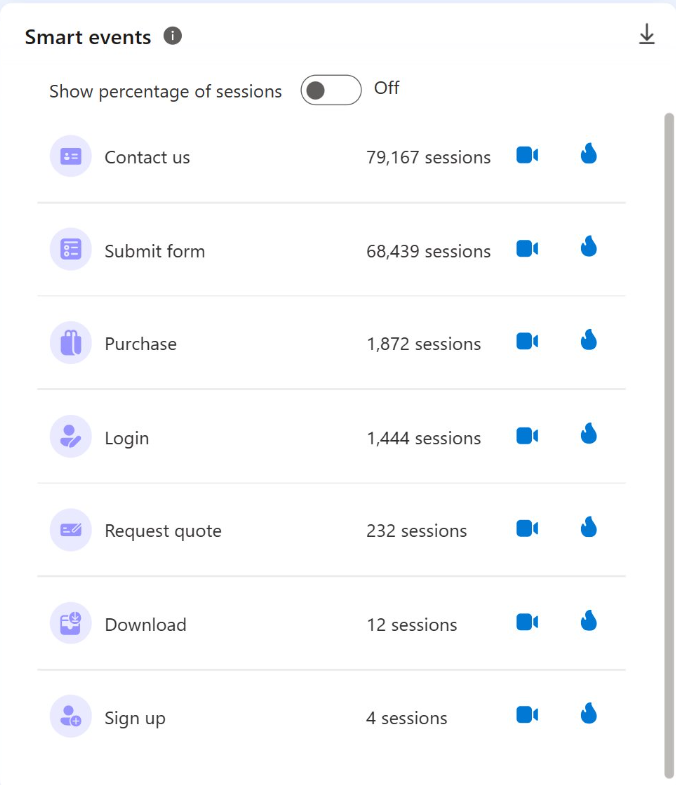
Dashboard
You can find the automatically generated smart events in the dashboard. Select the recordings or heatmaps icon to view the filtered data.
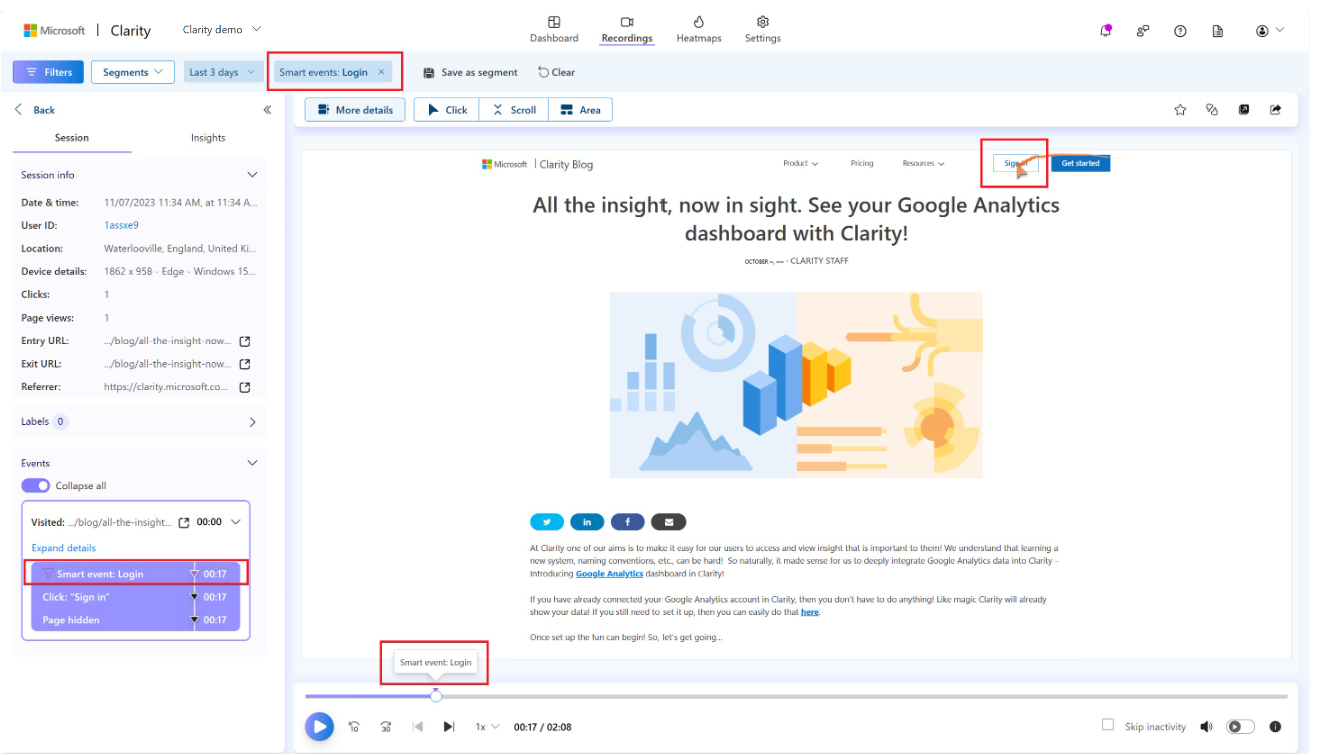
Recordings and filters
Smart events are highlighted on playback controls and are available in Recordings -> More details -> Events.
Create a new smart event
Important
Only admins of a project can create smart events. A maximum of 20 custom smart events can be created.
You can create new smart events completely code-free via Settings -> Smart events -> New event. You can either begin with Clarity's automatic events or start from scratch. To create new events using code, refer to API events.
Once you create a new smart event, it starts showing up on the dashboard after a website user engages in that defined action.
Choosing an auto event
Clarity automatically surfaces any detected smart events that you can select to start creating with. As you select an auto event, select the Next. Choose a category from Button clicks, API events, or Page visits to add more events. Select Next to enter a name and Save the event.
Choosing "Start from scratch"
If you choose Start from scratch, select Next to continue. Choose a category from Button clicks, API events, Auto events, or Page visits to add more events. Select Next to enter a name and Save the event.
Once you create new smart events, they're shown up in Settings -> Smart events page as "Defined by the user".
Edit smart events
Important
Only admins of a project can edit smart events.
You can edit smart events from the Settings vertical, based on how the smart event was defined.
Both Clarity-defined smart events and user-defined events can be edited no-code via your Clarity project. API events are instrumented by code and must be edited through code.
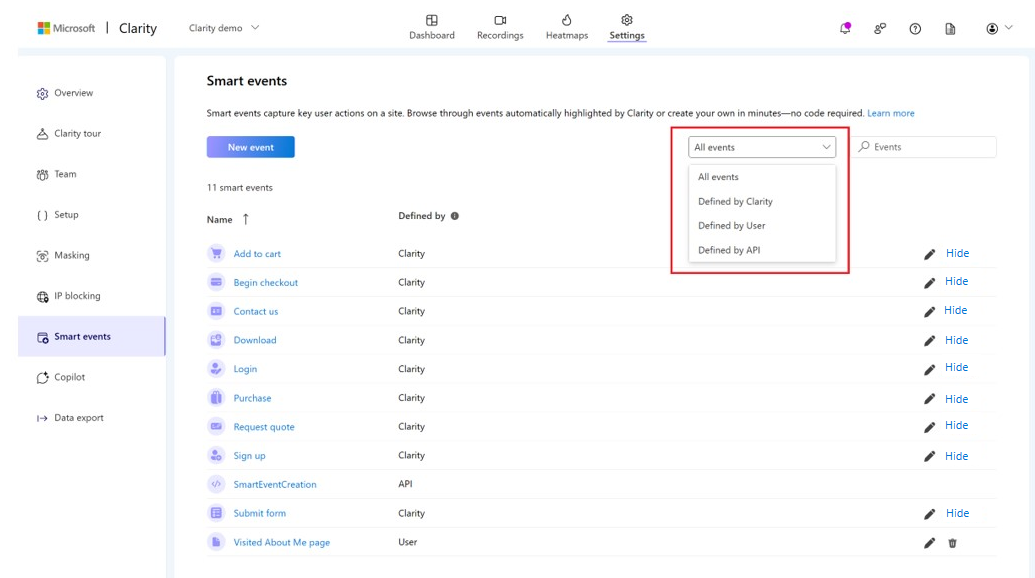
You can also filter your view of smart events by how they were defined:
Edit auto events
Clarity automatically detects and groups user actions on your website into known events and are listed in the Smart events as "Defined by Clarity". You can customize these auto events. Clarity currently supports nine auto event types:
- Purchase
- Add to Cart
- Begin Checkout
- Contact Us
- Submit Form
- Request Quote
- Sign Up
- Login
- Download
Select Edit icon or Edit event to start editing. Choose from Button clicks, API events, or Page visits. Select Save to finish editing. Once auto events are edited, they're categorized as "Clarity defined, edited" in the Settings -> Smart events page.

Edit user-defined events
Events that are created by your project admin are surfaced in the Smart Events Settings as Defined by User. Select edit icon or the event to start editing. Choose from Button clicks, API events, Auto events, or Page visits. Select Save to finish editing.
Hide or Delete an event
Important
- Hide is only available for auto events.
- API events cannot be hidden or deleted through the settings page. To delete an API event, manually remove it in your website code.
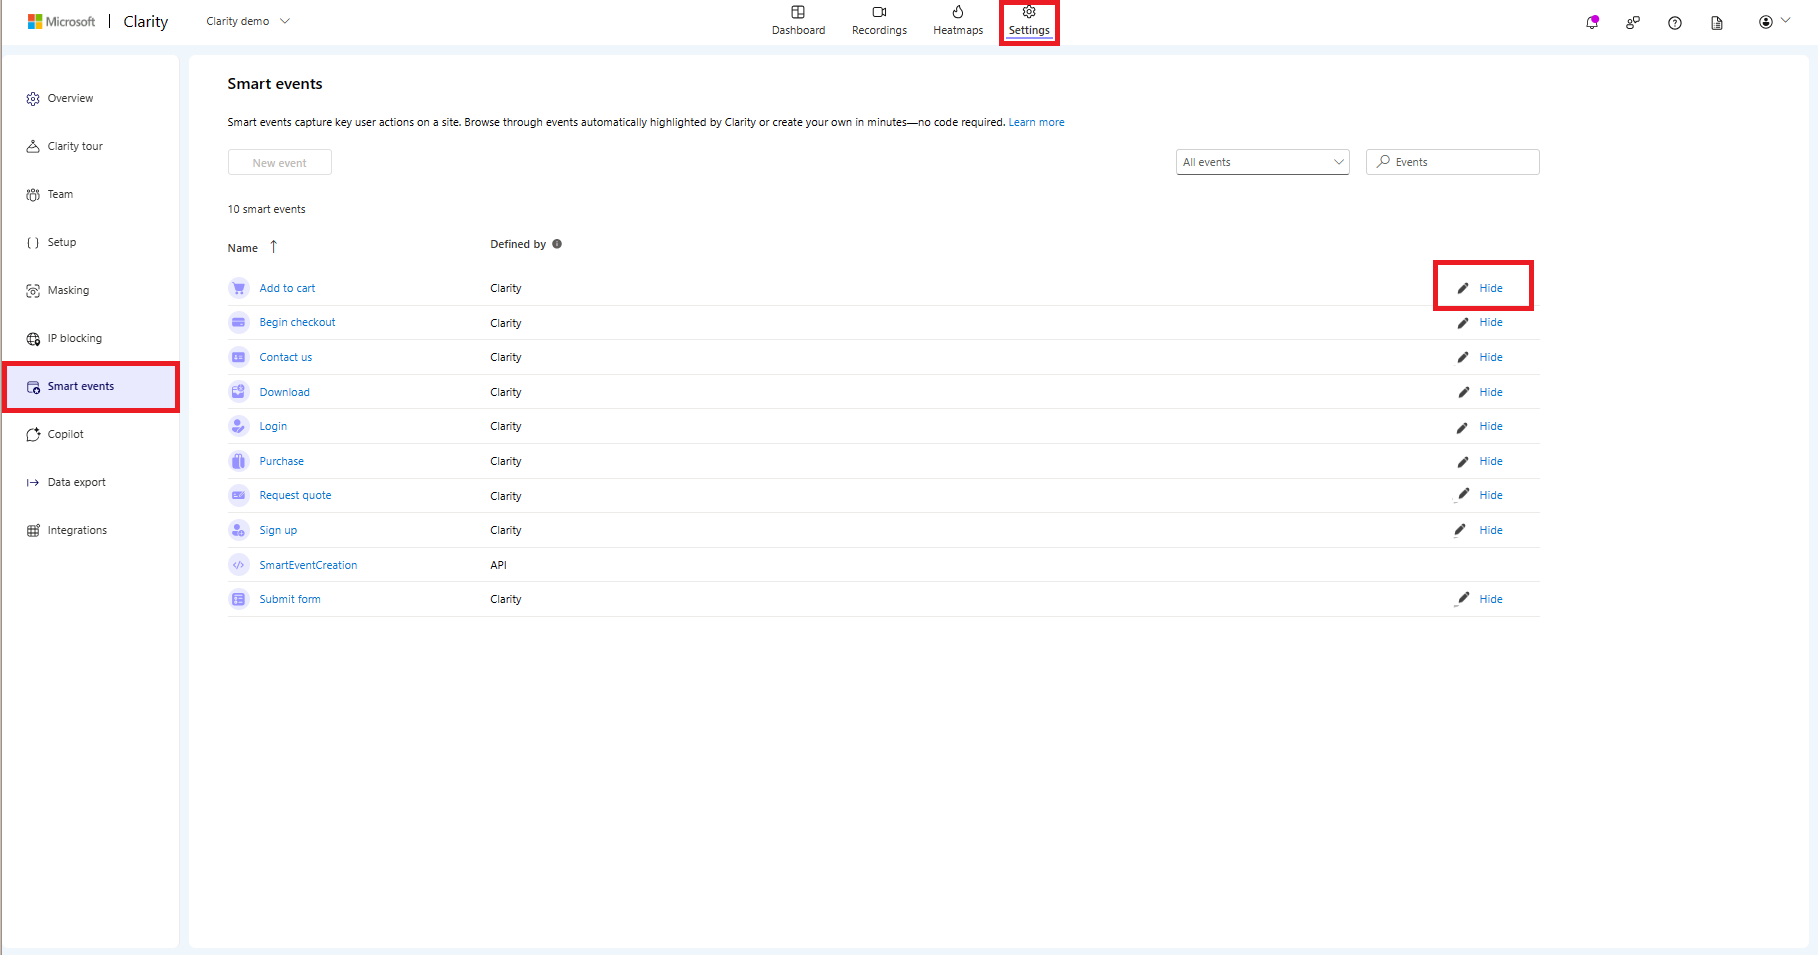
Hide an event
Hide an auto event by selecting Hide, which prevents it from appearing on your dashboard and recordings. Re-enable it later by selecting Unhide. Hidden events are greyed out in the Smart Events list on the Settings page.
Note
A hidden auto event can still be used to create new events.
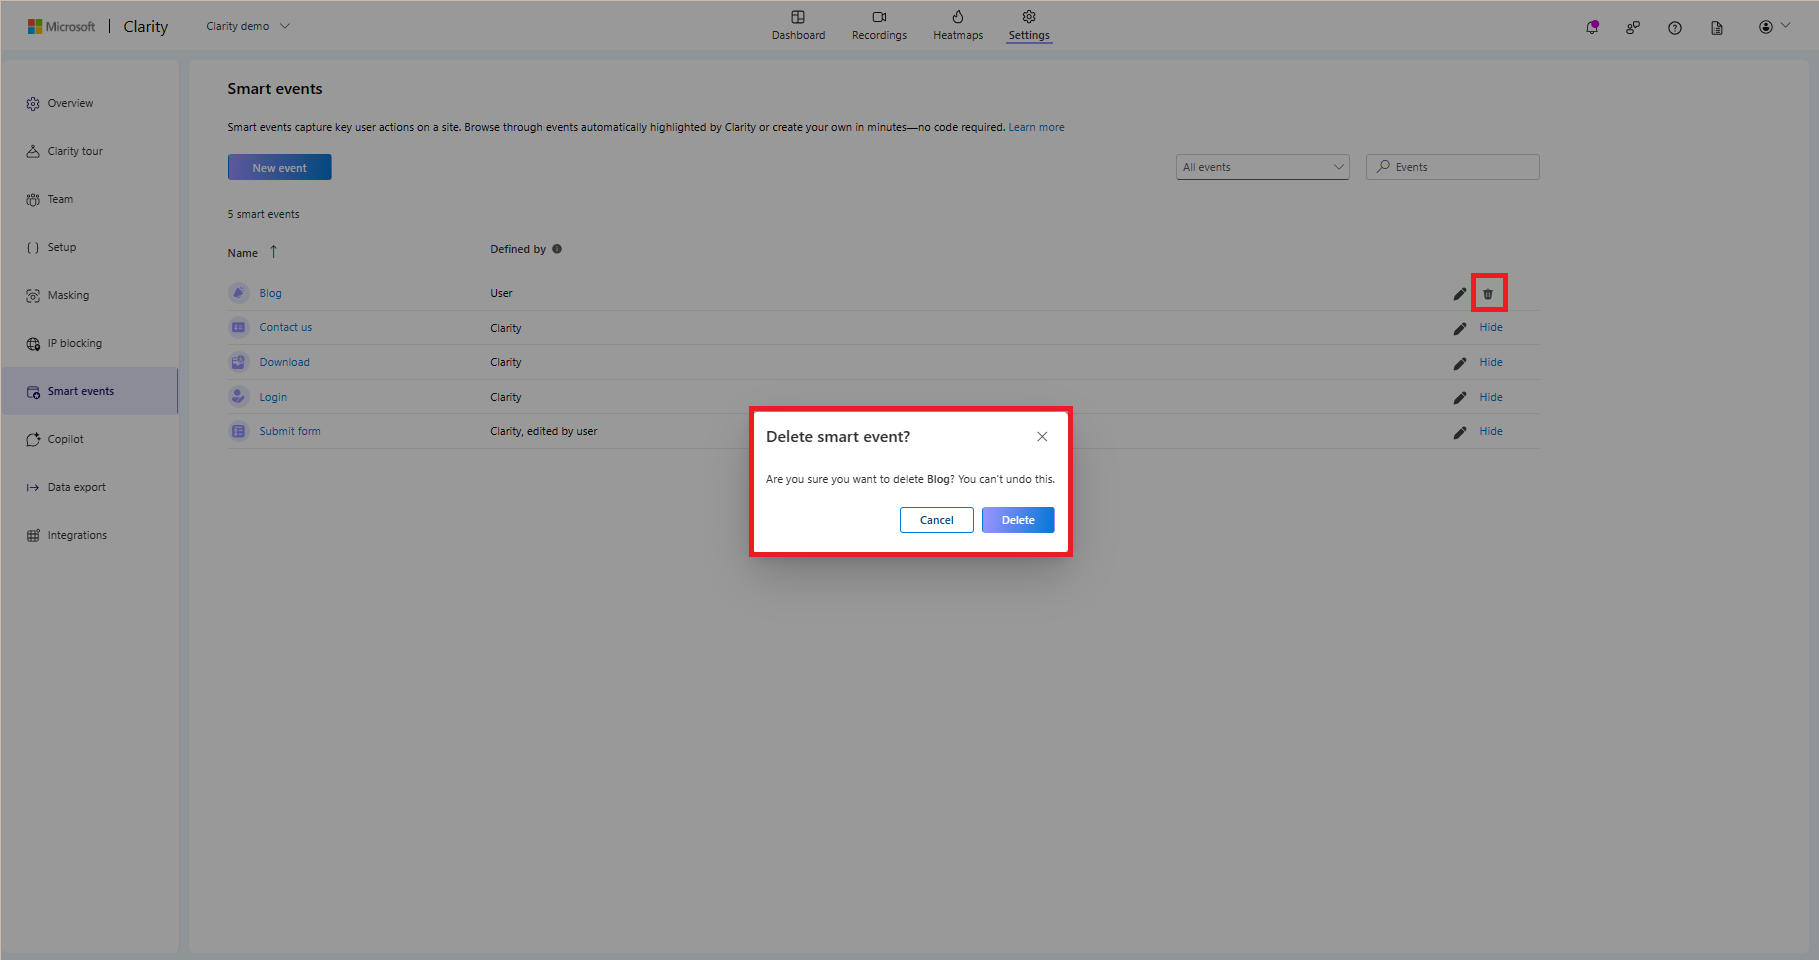
Delete an event
Important
Delete is only available for user defined events. Deleting an event permanently removes it. This action is irreversible and deleted event is unrecoverable.
Select the delete icon and confirm Delete on the pop-up window.
FAQ
For more answers, refer to FAQ.