Note
Access to this page requires authorization. You can try signing in or changing directories.
Access to this page requires authorization. You can try changing directories.
[This article is prerelease documentation and is subject to change.]
The Microsoft Power Platform connectors Software Development Kit (SDK) unlocks the full potential of your structured data so you can enhance your internal workflows and power your agents with knowledge. The SDK simplifies the process of building enhanced Power Platform connectors for structured enterprise data that allow your organization to experience more intelligent and context-aware experiences. The connectors you build using the SDK can serve as powerful knowledge source for agents and allow you to easily build canvas apps in Power Apps.
The SDK includes a framework with components and tools so you can:
- Build high-performance, enterprise-grade connectors more easily.
- Test, validate, and certify your connectors to ensure optimal integration and reliability.
- Configure the connector to be a knowledge source for agents.
The SDK files are available to download from Microsoft's power-fx-enhanced-connector GitHub repository. This article provides the prerequisites and the steps to help you get started using the SDK.
Important
- This is a preview feature.
- Preview features aren’t meant for production use and might have restricted functionality. These features are subject to supplemental terms of use, and are available before an official release so that customers can get early access and provide feedback.
Note
The SDK is open source to encourage you to use it and share feedback so we can continually learn and make improvements. For questions, issues, or discussion, use the Issues or Discussions pages on the GitHub site.
Prerequisites
To work with the SDK, you need to ensure you can access and download these prerequisites:
- Visual Studio (Make sure you can create and build a C# solution.)
- .NET 8.0
- Git download
- REST Client
- SDK GitHub repo
- Power Apps subscription or trial environment
Step 1: Clone the repository
Clone the CDP Sample Web API project repository from GitHub. This repository contains a sample solution that demonstrates how to use the SDK to create a custom connector.
Step 2: Build the solution
Take these steps to build the solution:
- Open the cloned repository in your development environment.
- Build the solution ensuring that all dependencies are correctly referenced and the project compiles successfully.
Step 3: Debug the solution locally
Take these steps to debug the solution locally:
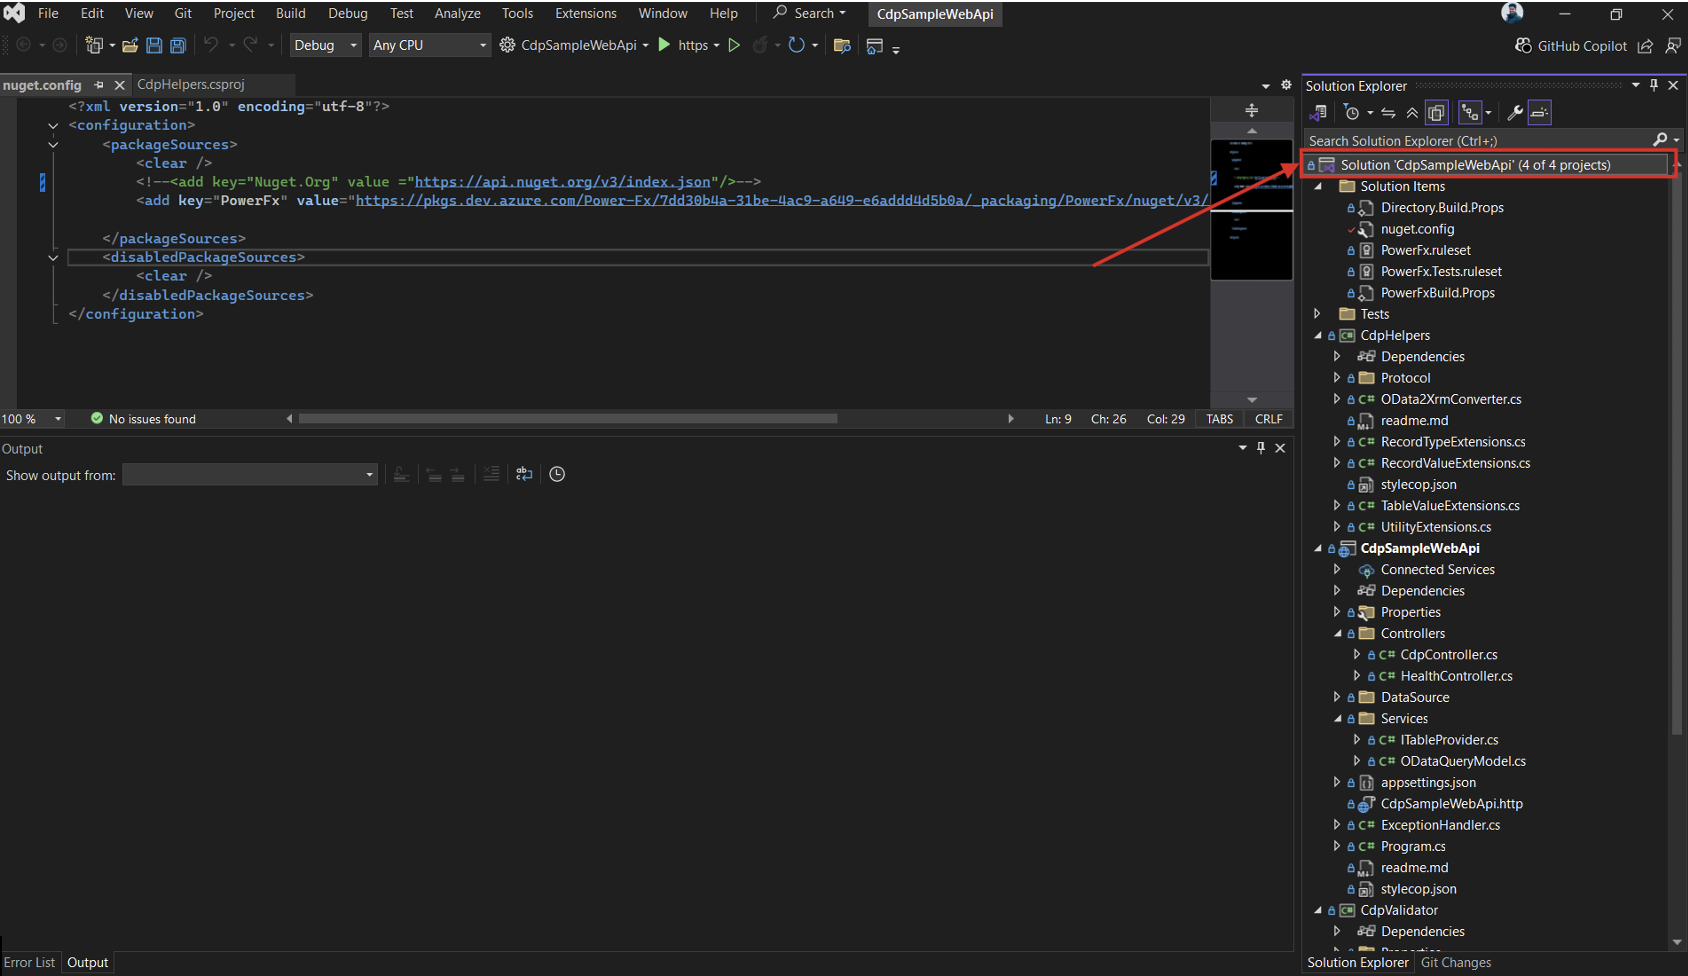
- Right-click on the CDP Sample Web API project in your development environment.
- Select Debug to start the web application locally. This allows you to test the API endpoints and ensure they are functioning correctly. You can reference the
CdpSampleWebApi.httpsample .http file for endpoints to call.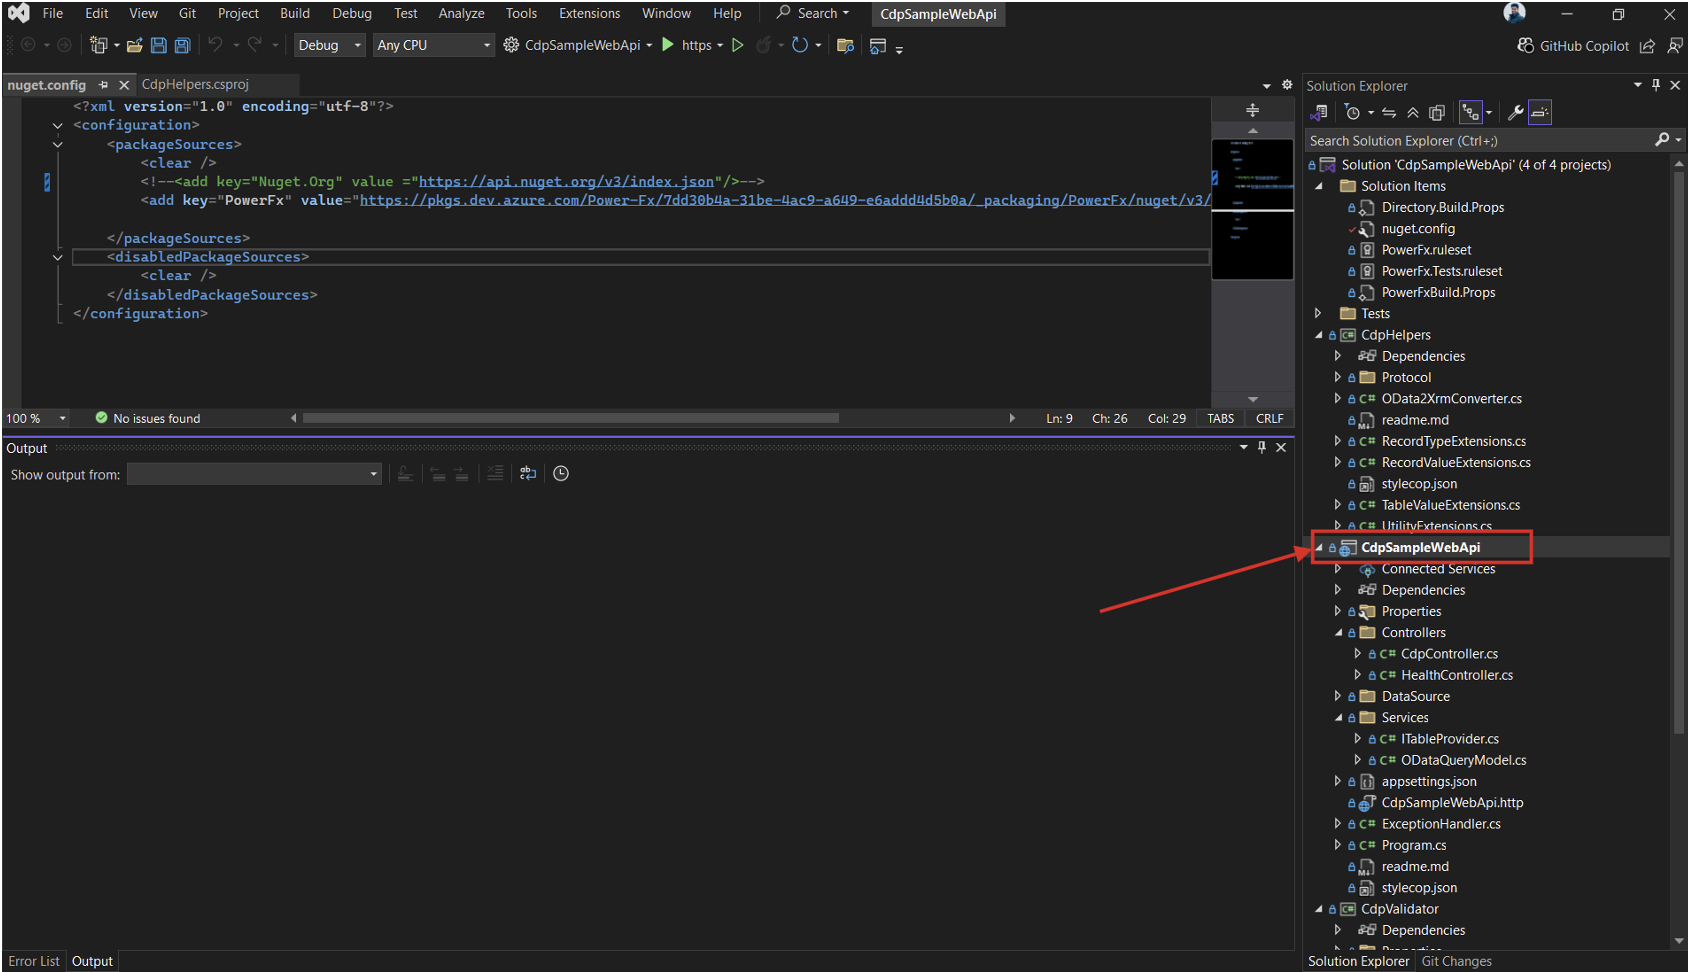
Step 4: Implement custom logic
Take these steps to implement custom logic:
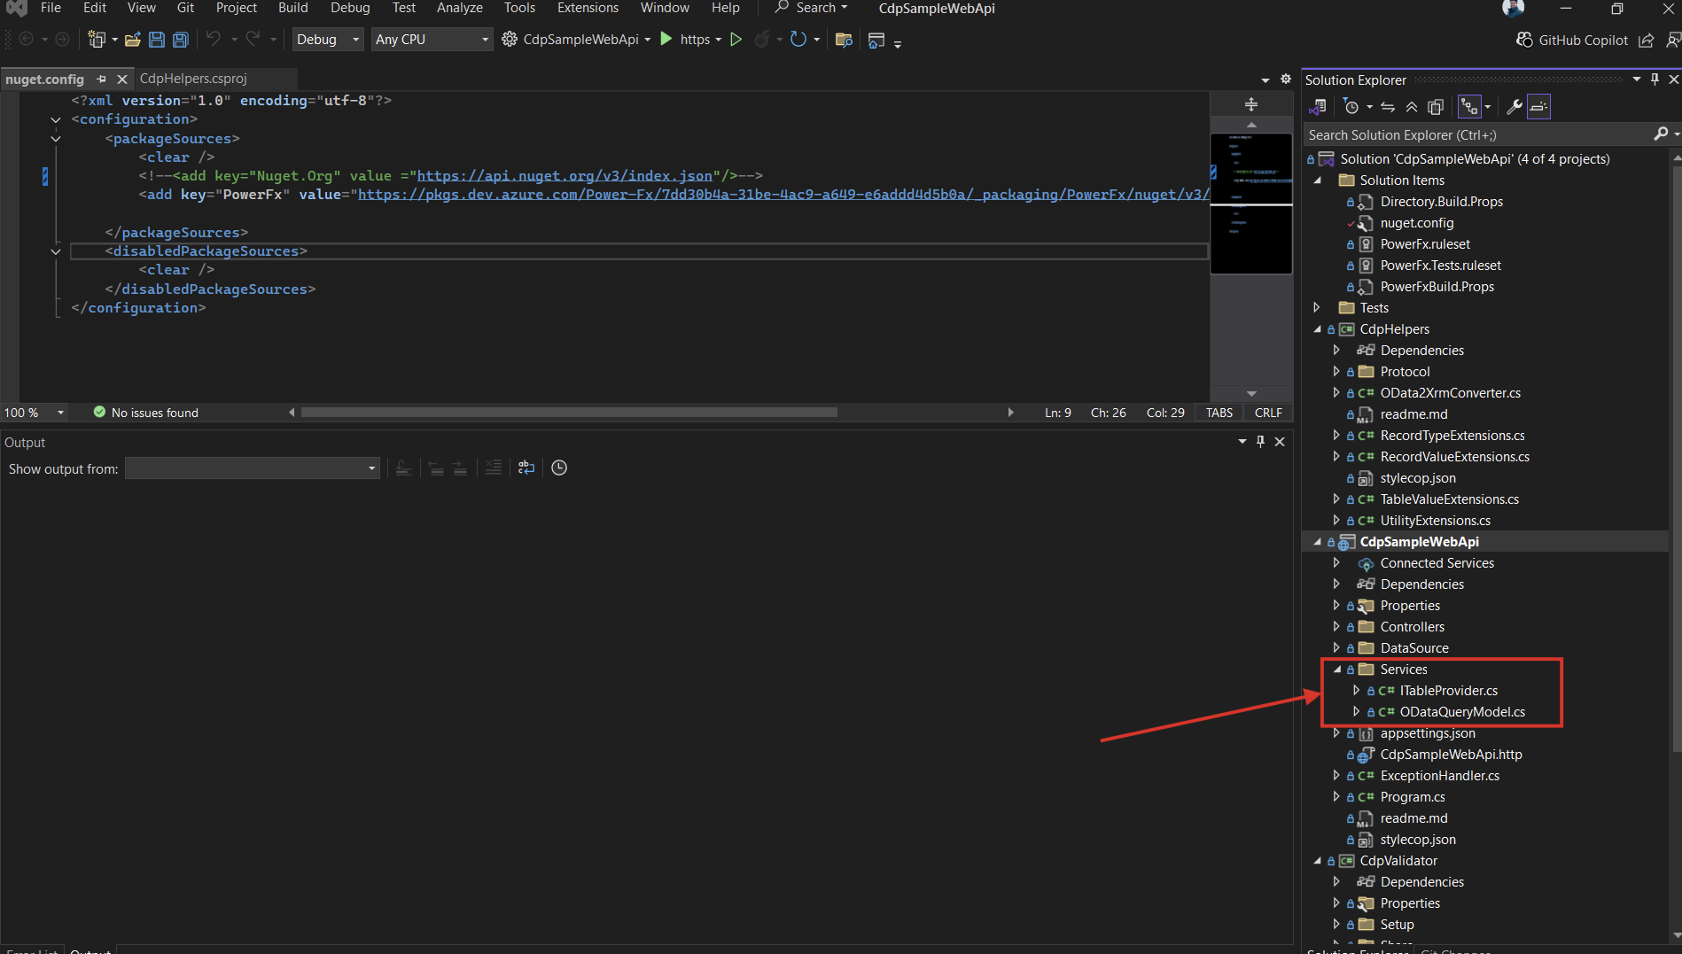
Go to the Controllers and Services folders in the project.
Implement your custom logic by replacing the sample data with calls to your backend API to retrieve the necessary data. For more information to help you get started, go to:
Step 5: Test API endpoints
Follow this guidance to test the API endpoints:
- Use tools like Insomnia, or your browser to test the API endpoints exposed by your custom web API.
- Ensure that the endpoints return the expected data and handle requests correctly.
Step 6: Deploy the web API
Take these steps to deploy the web API:
- Deploy your custom web API to a hosting environment (for example, Azure or AWS).
- Ensure that the deployed API is accessible and can handle requests from the custom connector.
Step 7: Create the custom connector
Take these steps to create your own custom connector:
Go to the CdpSampleArtifacts folder in the GitHub repo to use sample OpenAPI (swagger) and API properties files.
Point the custom connector to the endpoints of your deployed web API. This allows the connector to interact with your backend API through the custom logic implemented in the web API.
Choose one of these code samples to add in the
apiProperties.jsonfor tabular when creating or updating a connector from the CLI:- If you want to add this enhanced connector as a knowledge source:
{ "capabilities": ["tabular", "federatedKnowledgeSource"], "interfaces": { "CDPTabular1": { "revisions": { "1": { "baseUrl": "/", "status": "Production" } } } } }- If you do not want to add this enhanced connector as a knowledge source:
{
  "capabilities": ["tabular"],
  "interfaces": {
    "CDPTabular1": {
      "revisions": {
        "1": {
          "baseUrl": "/",
          "status": "Production"
        }
      }
    }
  }
}
Step 8: Configure authentication
Take these steps to configure authentication:
- Add authentication mechanisms to your web API to secure the endpoints (based on your requirements).
- Configure the custom connector to use the appropriate authentication method to access the web API.
Go to Authenticate with Microsoft Entra ID to learn how to enable authentication in Microsoft Entra ID.
Step 9: Share and test the connector
Take these steps to share and test your connector:
Test the connector by creating sample applications or flows that use the connector to interact with your backend API. To help you get started, go to:
Share feedback
The SDK is open source to encourage you to use it and share feedback so we can continually learn and make improvements. For questions, issues, or discussion, use the Issues or Discussions pages on the GitHub site.
See also
You can find more information about working with web APIs at Azure API Management Documentation.
You can learn more about creating custom connectors in Copilot Studio, Power Platform, and Azure Logic Apps connectors documentation.