Note
Access to this page requires authorization. You can try signing in or changing directories.
Access to this page requires authorization. You can try changing directories.
As a security administrator, you can create and manage endpoint security policies directly in the Microsoft Defender portal, without switching to the Microsoft Intune admin center. This approach has the following benefits:
- Work from a single console.
- Apply one policy to both Intune-enrolled devices and devices managed through Defender for Endpoint security settings management (devices onboarded to Defender for Endpoint but not enrolled in Intune).
- Manage security settings using Defender for Endpoint permissions rather than a full Intune administrator role.
To manage settings on devices that aren't enrolled in Intune, first enable security settings management. To learn why you'd use it and how to turn it on, including the enforcement scope and prerequisites, see Manage Microsoft Defender for Endpoint on devices that aren't enrolled with Intune.
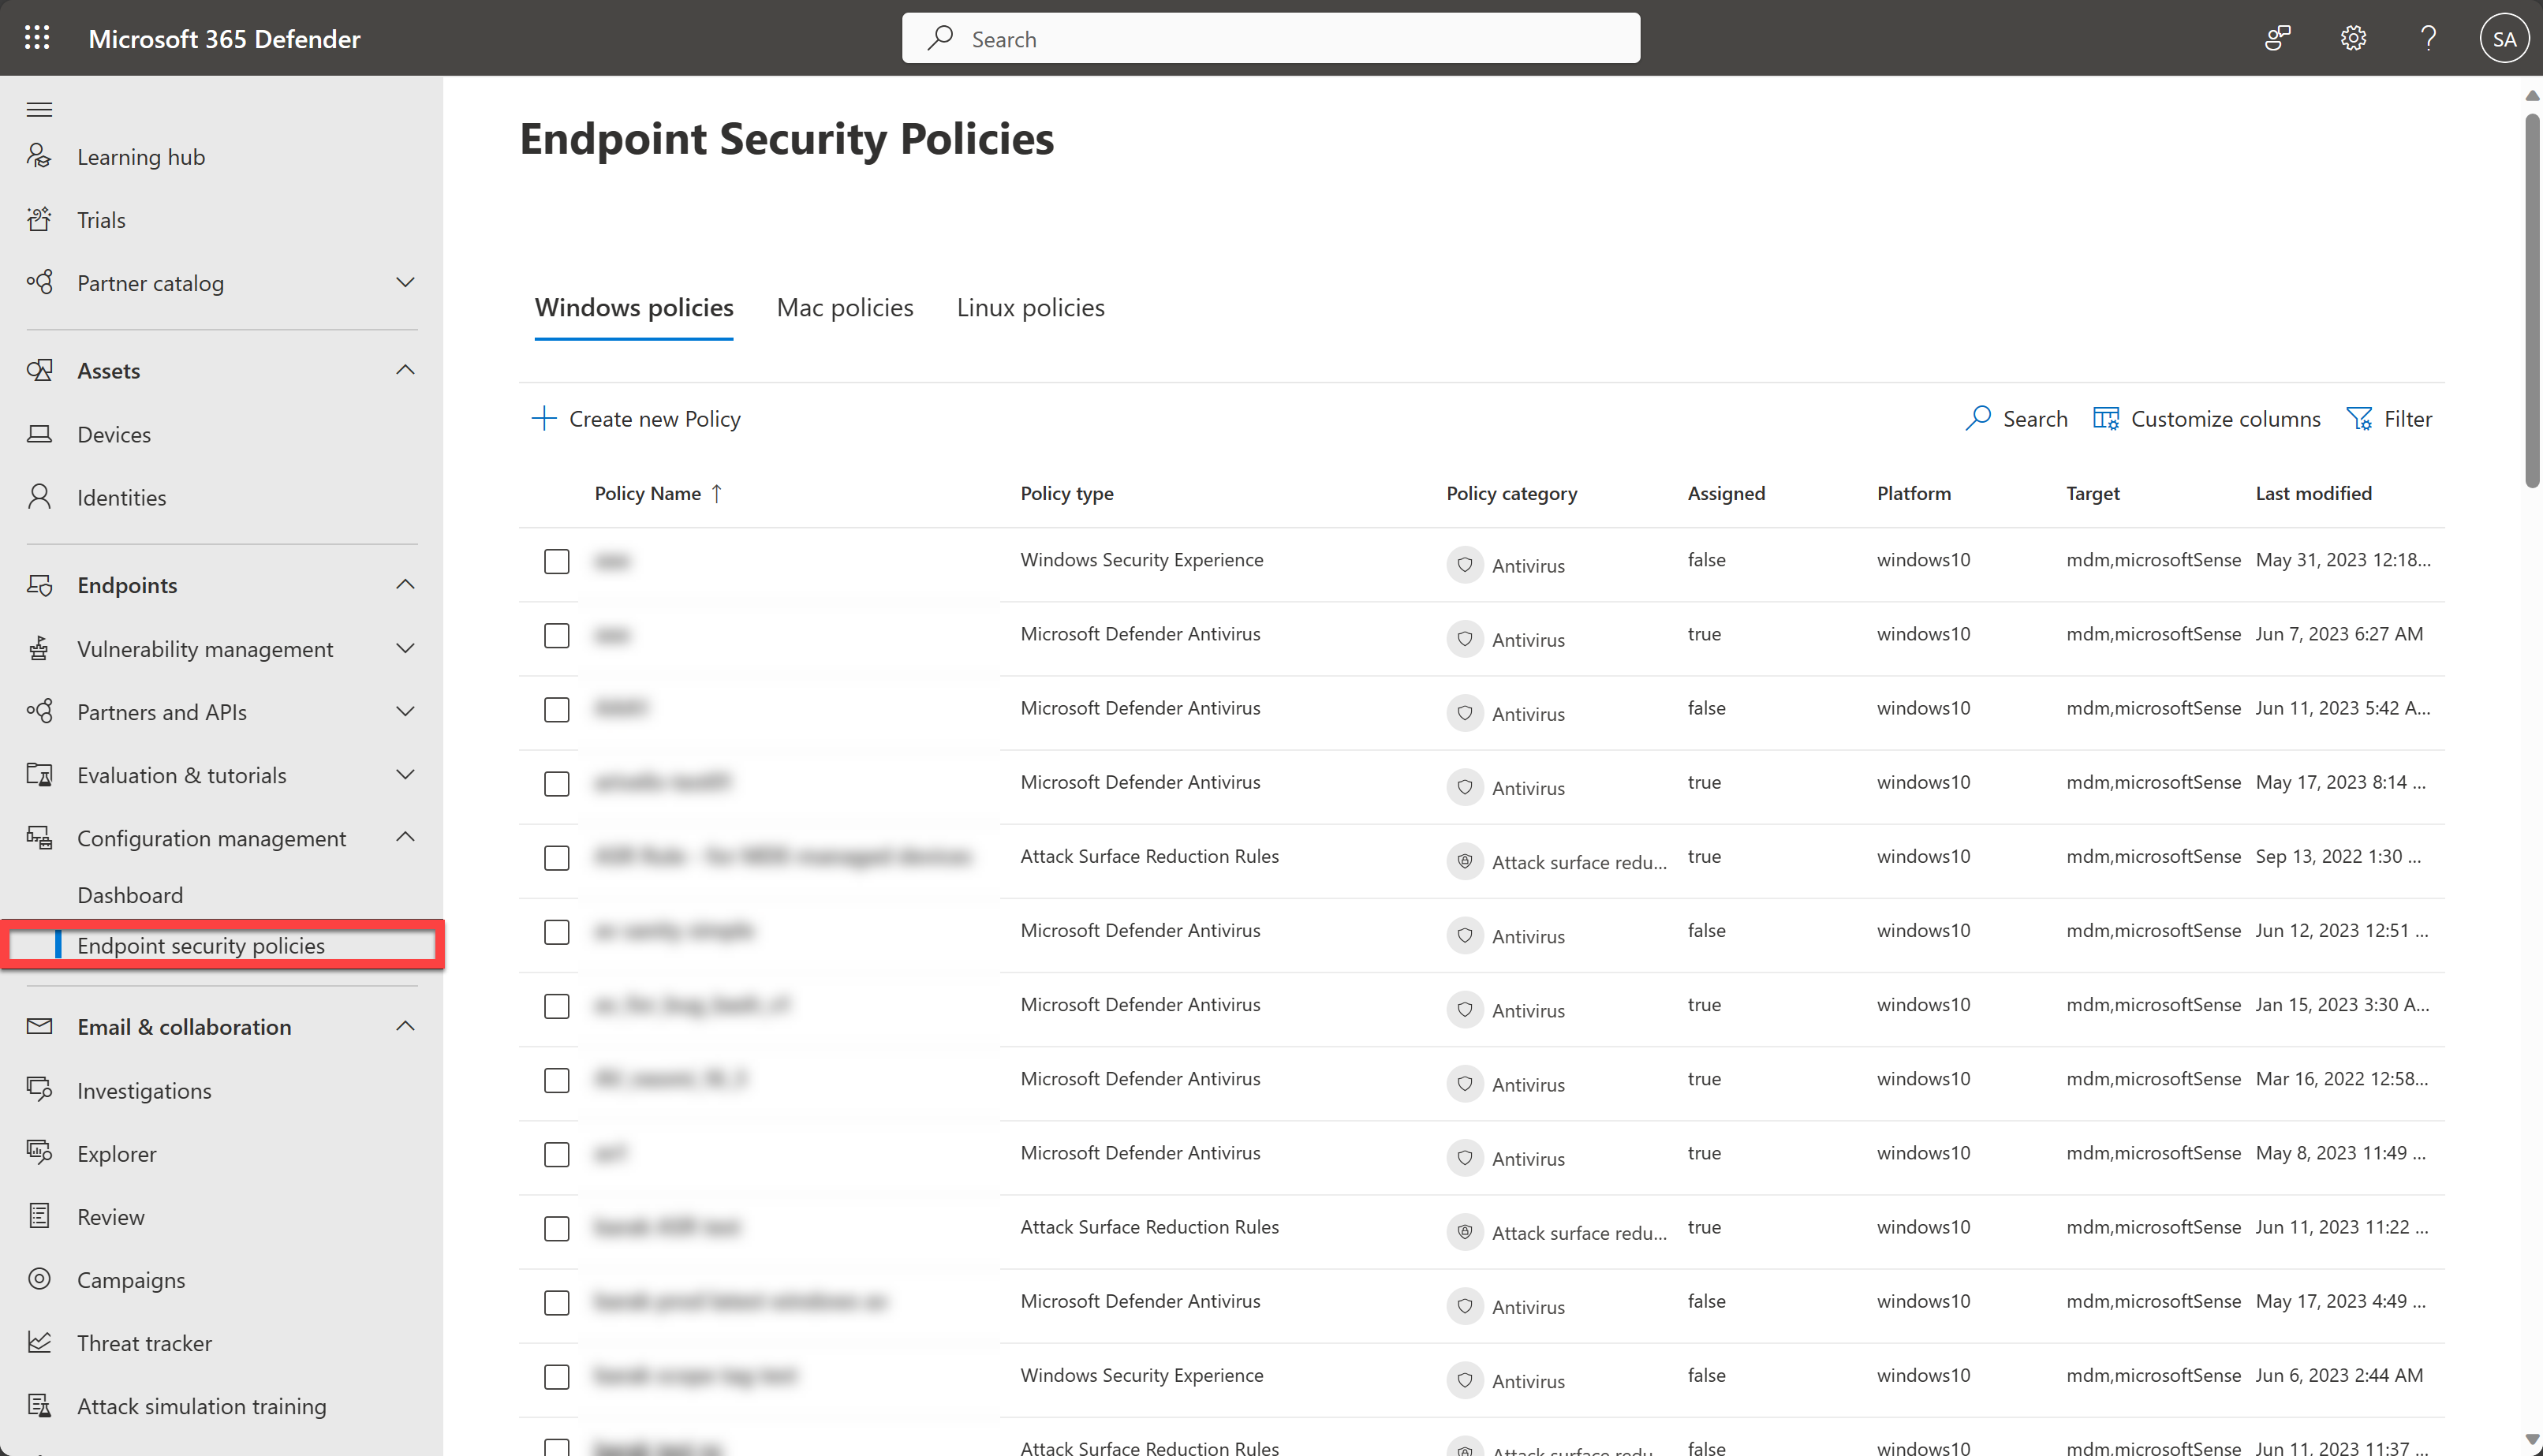
The Endpoint security policies page is available in the Microsoft Defender portal at Endpoints > Configuration management > Endpoint security policies, or directly at https://security.microsoft.com/policy-inventory.
The following table lists the endpoint security policy types you can manage and the platforms that each type supports:
| Policy | Windows | macOS | Linux |
|---|---|---|---|
| Attack surface reduction (ASR) rules | Yes | ||
| Defender update controls | Yes | ||
| Device control | Yes¹ | ||
| Endpoint detection and response (EDR) | Yes | Yes | Yes |
| Microsoft Defender Antivirus | Yes | Yes | Yes |
| Microsoft Defender Antivirus exclusions | Yes | Yes | Yes |
| Microsoft Defender Firewall | Yes | ||
| Microsoft Defender Firewall rules | Yes | ||
| Microsoft Defender global exclusions (antivirus and EDR) | Yes | ||
| Windows Security experience | Yes |
¹ Device control policies are available in the Defender portal, but the policy applies only to devices enrolled in Microsoft Intune. It doesn't apply to devices managed through Defender for Endpoint security settings management (devices onboarded to Defender for Endpoint but not enrolled in Intune).
Prerequisites
You need to be assigned permissions before you can do the procedures in this article.
- Your permissions must apply to all devices. If your role is scoped to specific device groups, you can't open the Endpoint security policies page.
- Regardless of which of the following options grants you access, the list of policies shown in the Microsoft Defender portal is scoped by your Intune role-based access control (RBAC) assignments.
You have the following options to assign the required permissions:
Microsoft Defender XDR Unified role-based access control (RBAC):
- Create and manage policies: Authorization and settings/Security settings/Core Security settings (manage)
- Read-only access to policies: Authorization and settings/Security settings/Core Security settings (read)
Microsoft Intune role-based access control (RBAC): Microsoft recommends the Intune built-in Endpoint Security Manager role to align the level of permissions between Intune and the Microsoft Defender portal.
Microsoft Entra permissions: Membership in the Global Administrator*, Security Administrator, or Intune Administrator roles gives users the required permissions and permissions for other features in Microsoft 365.
Important
* Microsoft strongly advocates for the principle of least privilege. Assigning accounts only the minimum permissions necessary to perform their tasks helps reduce security risks and strengthens your organization's overall protection. Global Administrator is a highly privileged role that you should limit to emergency scenarios or when you can't use a different role.
Create an endpoint security policy
To create an endpoint security policy, follow these steps:
On the Endpoint security policies page in the Microsoft Defender portal at https://security.microsoft.com/policy-inventory, select
 Create new policy.
The tab you start on doesn't matter. You can create policies for any operating system on any tab.
In the Create a new policy flyout that opens, choose from the following options:
Select platform: Choose one of the following values:
- Windows
- macOS
- Linux
After you select the platform, Select template appears. The available templates to select by platform are described in the table earlier in this article.
After you select a template, select Create policy.
The new policy wizard opens. On the Basics page, configure the following settings:
- Name: Enter a unique, descriptive name for the policy.
- Description: Enter an optional description for the policy.
When you're finished on the Basics page, select Next.
On the Configuration settings page, what you see depends on the policy platform and template.
You can use the
 Search box to find settings.
When you're finished on the Configuration settings page, select Next.
On the Assignments page, use the
Search box to find and select a group to assign the policy to.Important
For devices managed through Defender for Endpoint security settings management (devices onboarded to Defender for Endpoint but not enrolled in Intune), assignments support device objects only. Assign the policy to Microsoft Entra device groups, not user groups, because user targeting isn't supported for these devices. For Intune-enrolled devices, you can assign the policy to user groups or device groups.
After you select a group, the following information is shown on the page:
- Group: The group name.
- Group members: The number of affected devices and users.
- Target type: You can select Include (default) or Exclude to include or exclude the members of the group from the policy.
Repeat this step as many times as necessary.
When you're finished on the Assignments page, select Next.
On the Review + create page, review your settings. Use the Back button to modify the settings.
When you're finished on the Review + create page, select Save.
After the policy creation finishes, you're taken to the detailed settings of the policy as if you selected it on the Endpoint security policies page.
Note
To use scope tags in the policy, you need to create the policy in the Microsoft Intune admin center.
Edit an endpoint security policy
To modify an endpoint security policy, follow these steps:
On the Endpoint security policies page in the Defender portal, select an available tab:
On the appropriate tab, select the policy by using any of the following methods:
- Select the check box next to the policy, and then select the
 Edit action that appears.
 - Select the policy name (link). On the policy page that opens, select
Edit.
- Click anywhere in the row other than the check box or the policy name. In the policy details flyout that opens, select
Edit.
- Select the check box next to the policy, and then select the
The policy wizard opens as described in Step 3 in Create an endpoint security policy.
The steps to edit the policy are the same as when you create a policy.
Verify endpoint security policies
To confirm that you successfully created a policy, verify the policy is listed on the appropriate tab of the Endpoint security policies page in the Defender portal at https://security.microsoft.com/policy-inventory.
Select the policy name (link) to open the policy page. The policy page summarizes the status of the policy. You can view the policy's status, which devices it applies to, and the assigned groups.
It can take up to 90 minutes for a policy to reach a device. To speed up the process for devices managed by Defender for Endpoint, use the Policy sync action on the device entity page:
- On the appropriate tab of the Device inventory page in the Defender portal at https://security.microsoft.com/machines, select the Name value of the device.
- On the device entity page that opens, select
 More actions >
  Policy sync.
The policy should be applied in about 10 minutes.
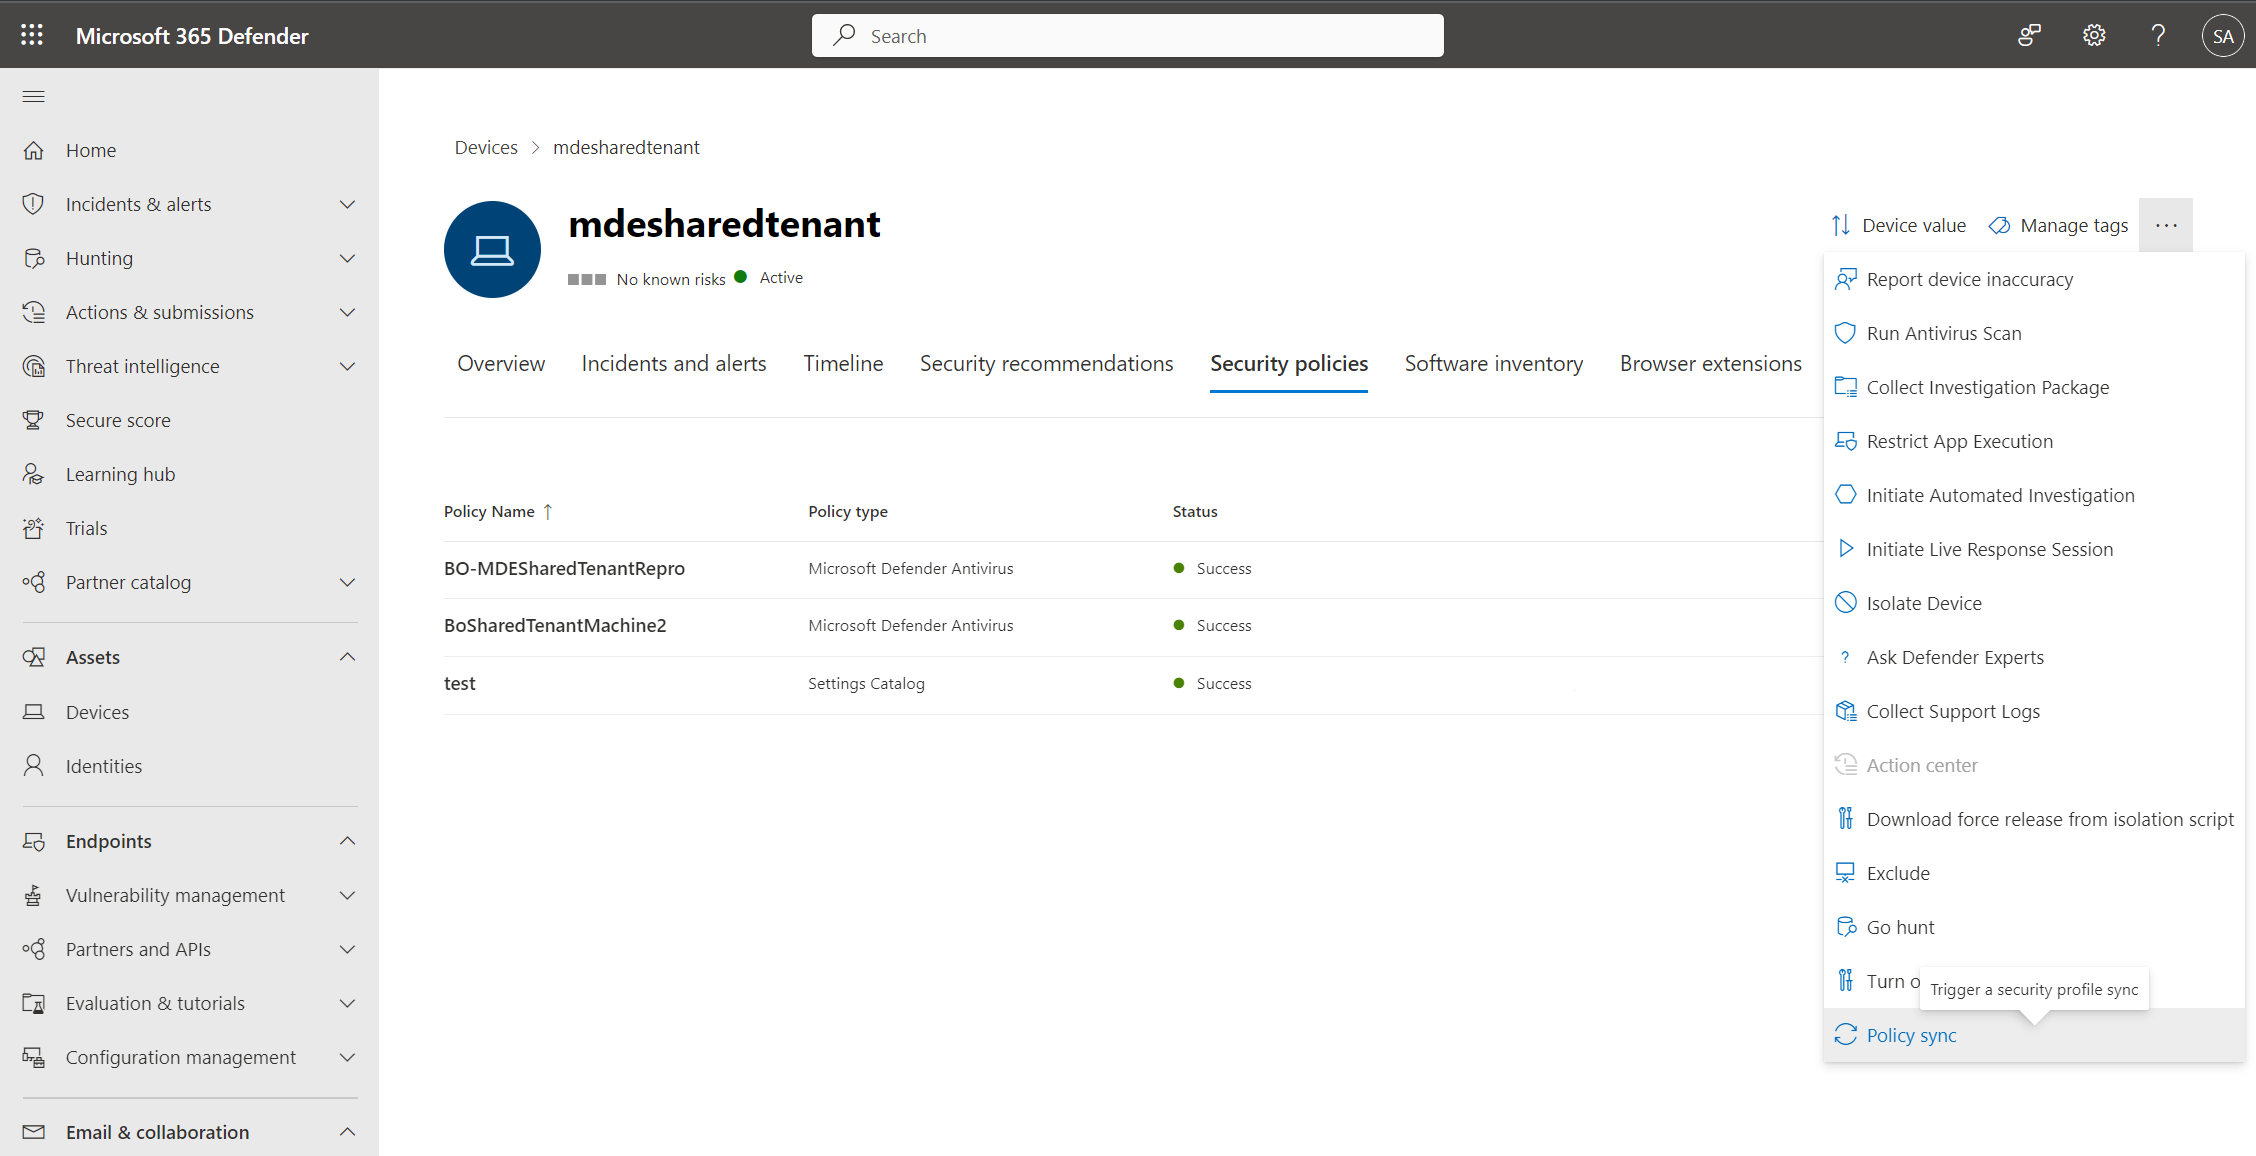
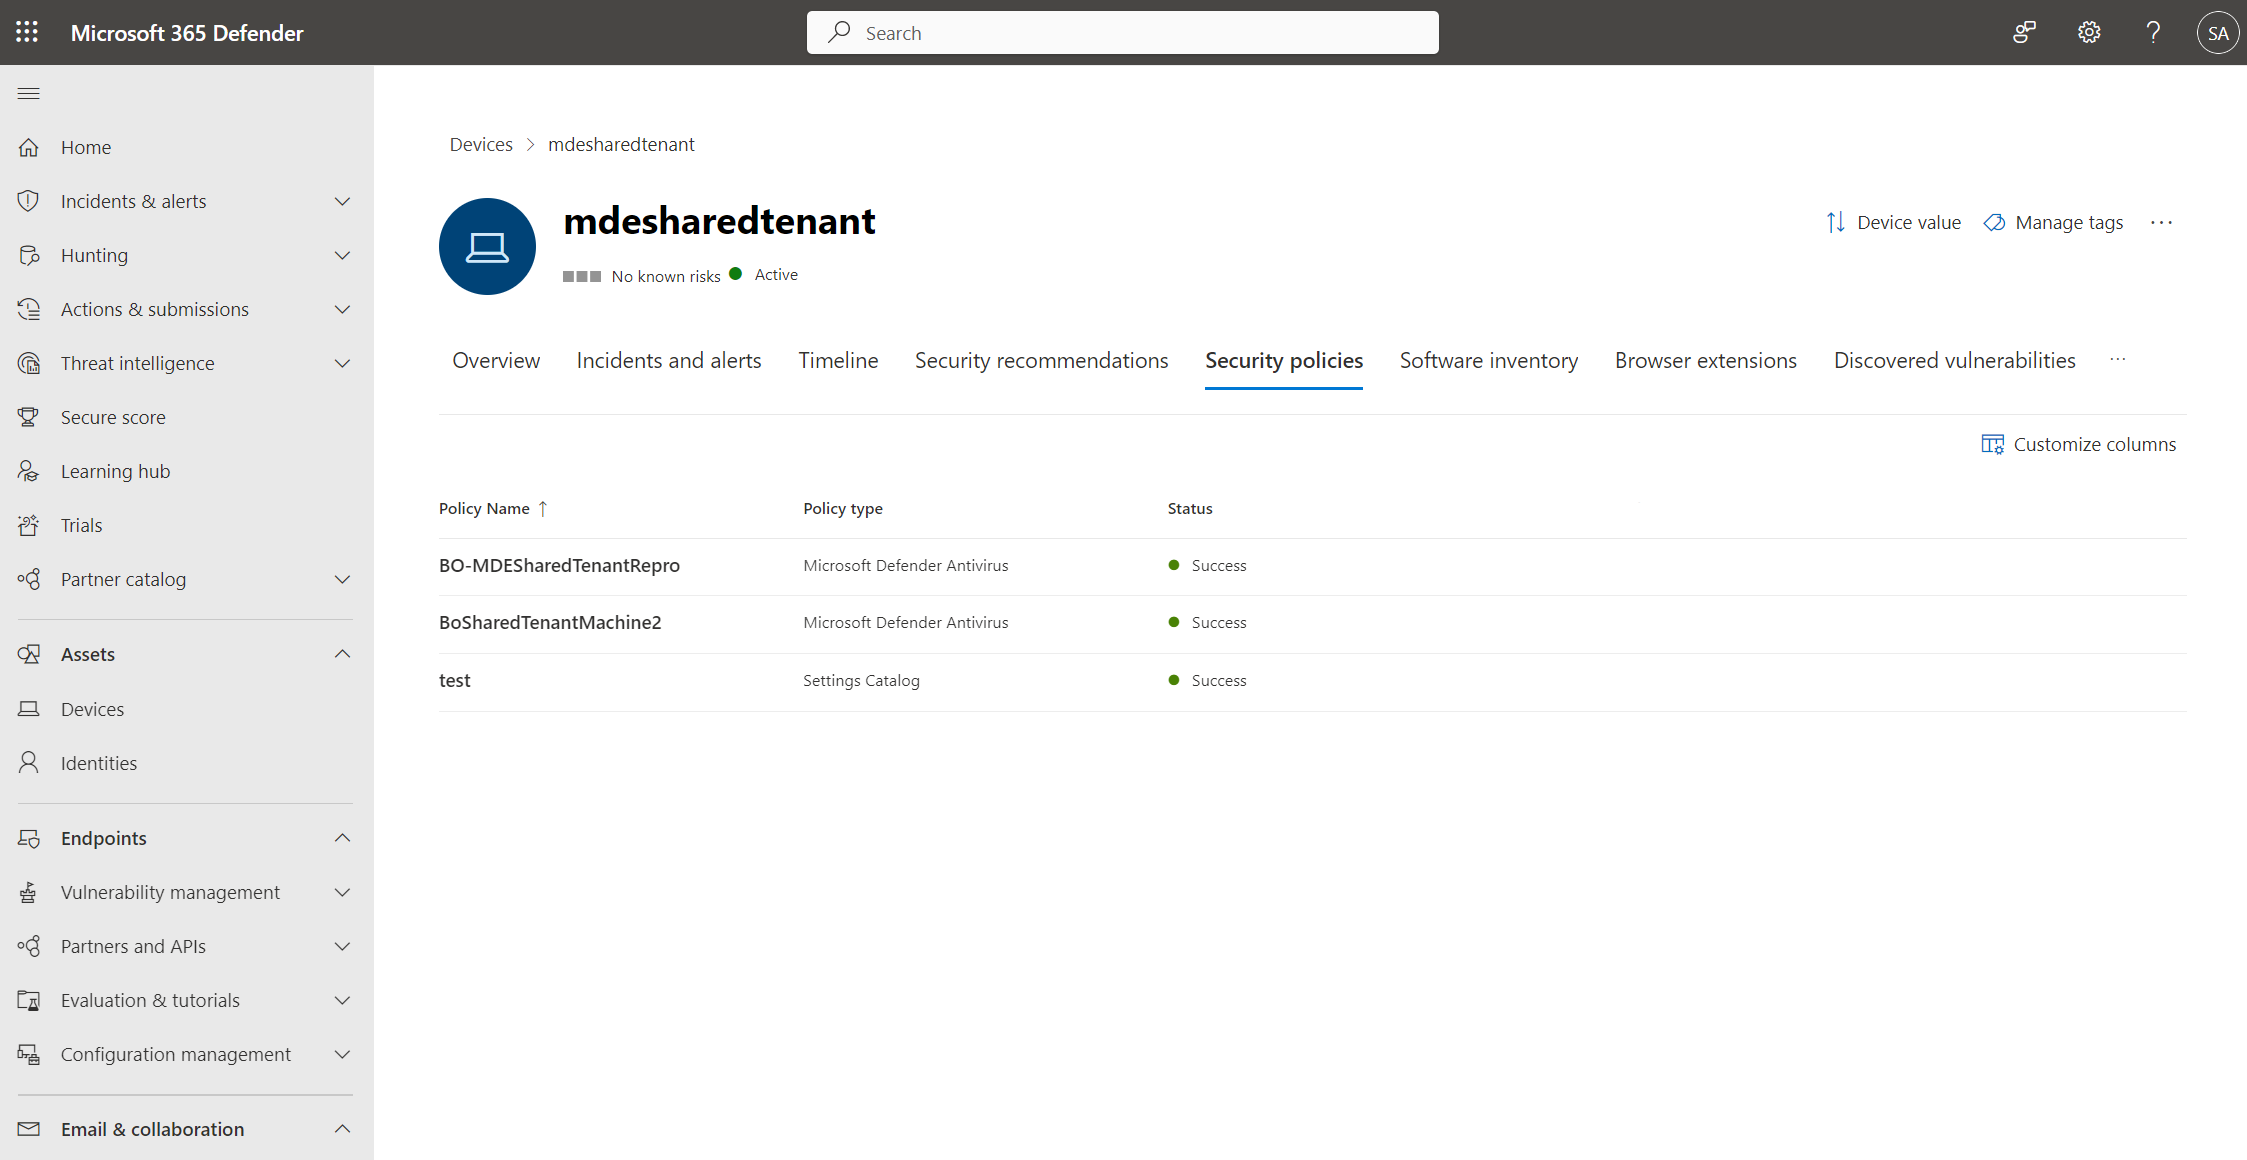
During an investigation, you can also view the Security policies tab of the Configuration management tab on the device entity page to see the list of policies applied to a device. For more information, see Investigating devices.