Note
Access to this page requires authorization. You can try signing in or changing directories.
Access to this page requires authorization. You can try changing directories.
Use workbooks with Integrated Security Operations Center (ISOC) in Microsoft Defender to create interactive dashboards that visualize and monitor security data by using advanced hunting queries.
Note
This feature is in preview. Capabilities and availability might change during the preview period.
Prerequisites
Before you begin, make sure you have:
- Your tenant is eligible for ISOC.
- To create and edit workbooks, either the Workbooks Unified RBAC permission with Manage access or the Security Administrator role.
- Access to the scopes and workloads used by the workbook queries.
Explore example workbooks
Use the example workbooks to become familiar with the workbook experience and available visualizations.
Sign in to the Microsoft Defender portal.
Go to Microsoft Sentinel > Workbooks.
Under Getting started, select an example workbook.
Explore the workbook data and visualizations.
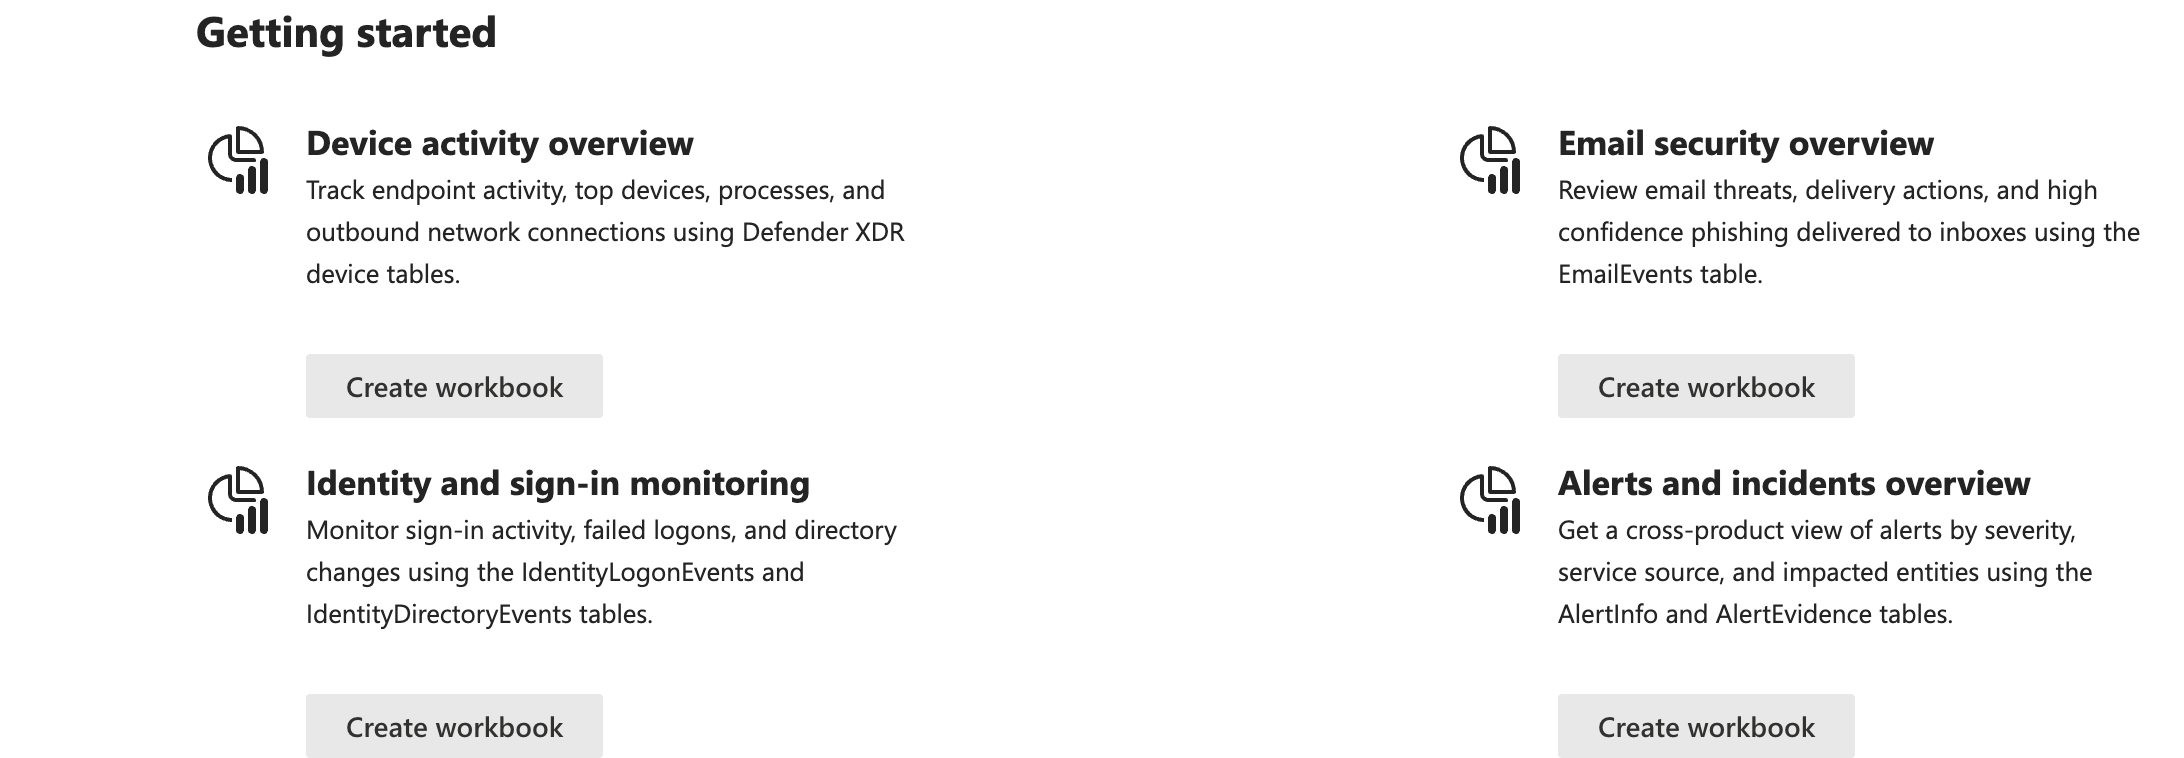
Example workbooks are provided for exploration. To build and save your own dashboard, create a new workbook.
Create a workbook
Create a workbook that uses advanced hunting queries to visualize Defender XDR data.
Sign in to the Microsoft Defender portal.
Go to Workbooks.
Select + Add workbook.
Select Edit.
Edit the existing query section or add a new query section.
For Data source, select Advanced hunting.
Enter an advanced hunting query.
Select Run query to review the query results.
Configure the query settings.
Available settings include:
- Time range
- Visualization
- Size
- Visual formatting settings
Select Apply changes.
Add or edit other workbook sections as needed.
You can add text, queries, and parameters.
When you're done, select Done editing.
Select Save.
Enter a title for the workbook.
Select Save.
The workbook is saved automatically at the tenant level.
View saved workbooks
Saved workbooks appear on the My workbooks tab.
Sign in to the Microsoft Defender portal.
Go to Workbooks.
Select the My workbooks tab.
Use search or the available filters to find a workbook.
Select the workbook to view its details.
Select View saved workbook.
Saved workbooks are visible to users with the Workbooks permission with Reader access or the Security Reader role. The data displayed depends on the user's access to the relevant scope and workload.
Edit a workbook
Sign in to the Microsoft Defender portal.
Go to Workbooks.
On the My workbooks tab, select the workbook you want to update.
Select View saved workbook.
Select Edit.
Update the workbook sections, queries, parameters, or visualizations.
Select Apply changes after editing a section.
When you're done, select Done editing.
Select Save.
Refresh workbook data
Refresh a workbook to display updated data.
In the workbook toolbar, select one of the following options:
- Refresh to manually refresh the workbook data.
- Auto refresh to refresh the workbook automatically at a configured interval.
Supported auto-refresh intervals range from 5 minutes to 1 day.
Auto refresh pauses while you're editing a workbook. The interval restarts when you return to view mode or manually refresh the workbook.
Auto refresh is turned off when you close the workbook. Turn it on again the next time you open the workbook, as needed.
Delete a workbook
Warning
Deleting a workbook permanently removes the workbook and its customizations. This action can't be undone.
Sign in to the Microsoft Defender portal.
Go to Workbooks.
Select the My workbooks tab.
Select the workbook you want to remove.
Select Delete.
Select Yes to confirm.