Note
Access to this page requires authorization. You can try signing in or changing directories.
Access to this page requires authorization. You can try changing directories.
Note
The Retail Interest Group by Dynamics 365 Commerce has moved from Yammer to Viva Engage. If you don't have access to the new Viva Engage community, fill out this form (https://aka.ms/JoinD365commerceVivaEngageCommunity) to be added and stay engaged in the latest discussions.
This article describes how to create a new call center channel in Microsoft Dynamics 365 Commerce.
In Dynamics 365 Commerce, a call center is a type of Commerce channel that you define in the application. When you define a channel for your call center entities, the system ties specific data and order processing defaults to sales orders. While a company can define multiple call center channels in Commerce, an individual user can link to only one call center channel.
Before you create a new call center channel, make sure you complete the Channel setup prerequisites.
Create and configure a new call center channel
To create and configure a new call center channel, follow these steps:
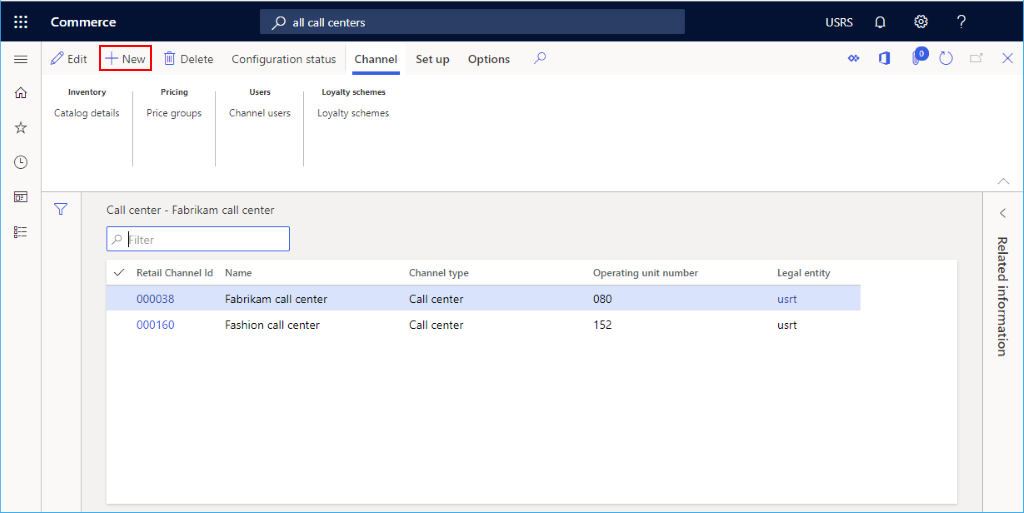
- In the navigation pane, go to Retail and Commerce > Channels > Call centers > All call centers.
- On the action pane, select New.
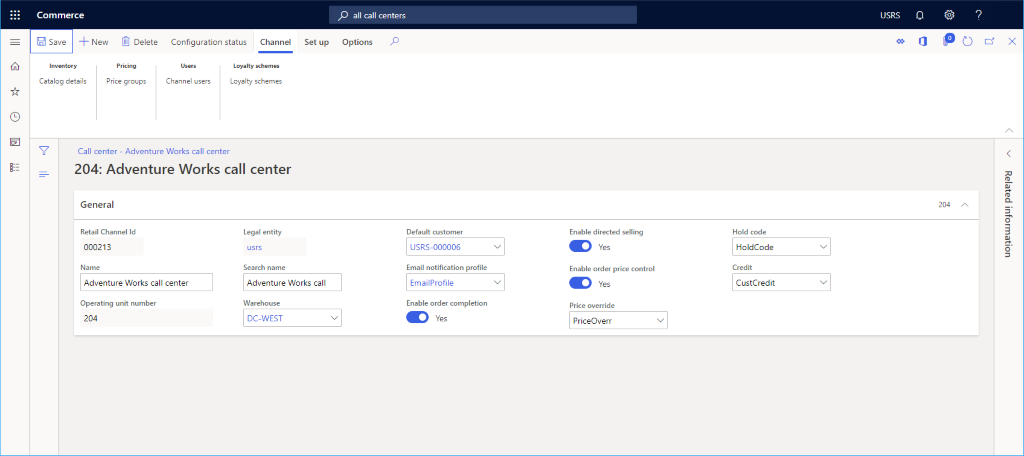
- In the Name field, enter a name for the new channel.
- Select the appropriate Legal entity from the drop-down list.
- Select the appropriate Warehouse location from the drop-down list. This location is the default on sales orders you create for this call center channel, unless you define other defaults at the customer or item level.
- In the Default customer field, enter a valid default customer. This data helps autopopulate defaults when you create new customer records. When creating call center orders, don't create orders for the default customer.
- In the Email notification profile field, enter a valid email notification profile. As you create and process call center orders, the email notification profile triggers automated email alerts to customers with information about their order status.
- Enter a Price override info code. You might need to create an info code for this step. This info code provides the set of reason codes that users are prompted to choose from when they use the price override functionality on a call center order.
- Enter a Hold code info code. You might need to create an info code for this step. This info code provides the set of optional reason codes that users are prompted to choose from when they place an order on hold.
- Enter a Credit info code. You might need to create an info code for this step. This info code provides the set of reason codes that users can choose from when they use the call center order credit functionality to give miscellaneous refunds to customers for customer service reasons.
- (Optional) Set up financial dimensions on the Financial dimensions FastTab. The dimensions you enter here become the default values on any sales order you create in this call center channel.
- Select Save.
The following image shows the creation of a new call center channel.
The following image shows an example call center channel.
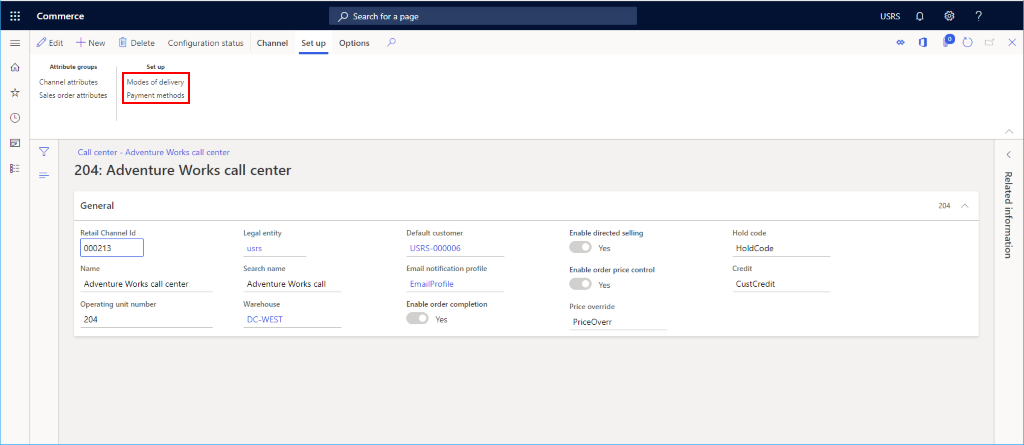
Additional channel setup
Additional tasks required for call center channel setup include setting up payment methods and modes of delivery.
The following image shows Modes of delivery and Payment methods set up options on the Set up tab.
Set up payment methods
To set up payment methods, follow these steps for each payment type supported on this channel. Users must select from predefined payment methods to link them to the call center channel. Before setting up your call center payment methods, first set up your methods of payment in Retail and Commerce > Channel setup > Payment methods > Payment methods.
- On the action pane, select the Set up tab, and then select Payment methods.
- On the action pane, select New.
- In the navigation pane, select a payment method from the predefined payments available.
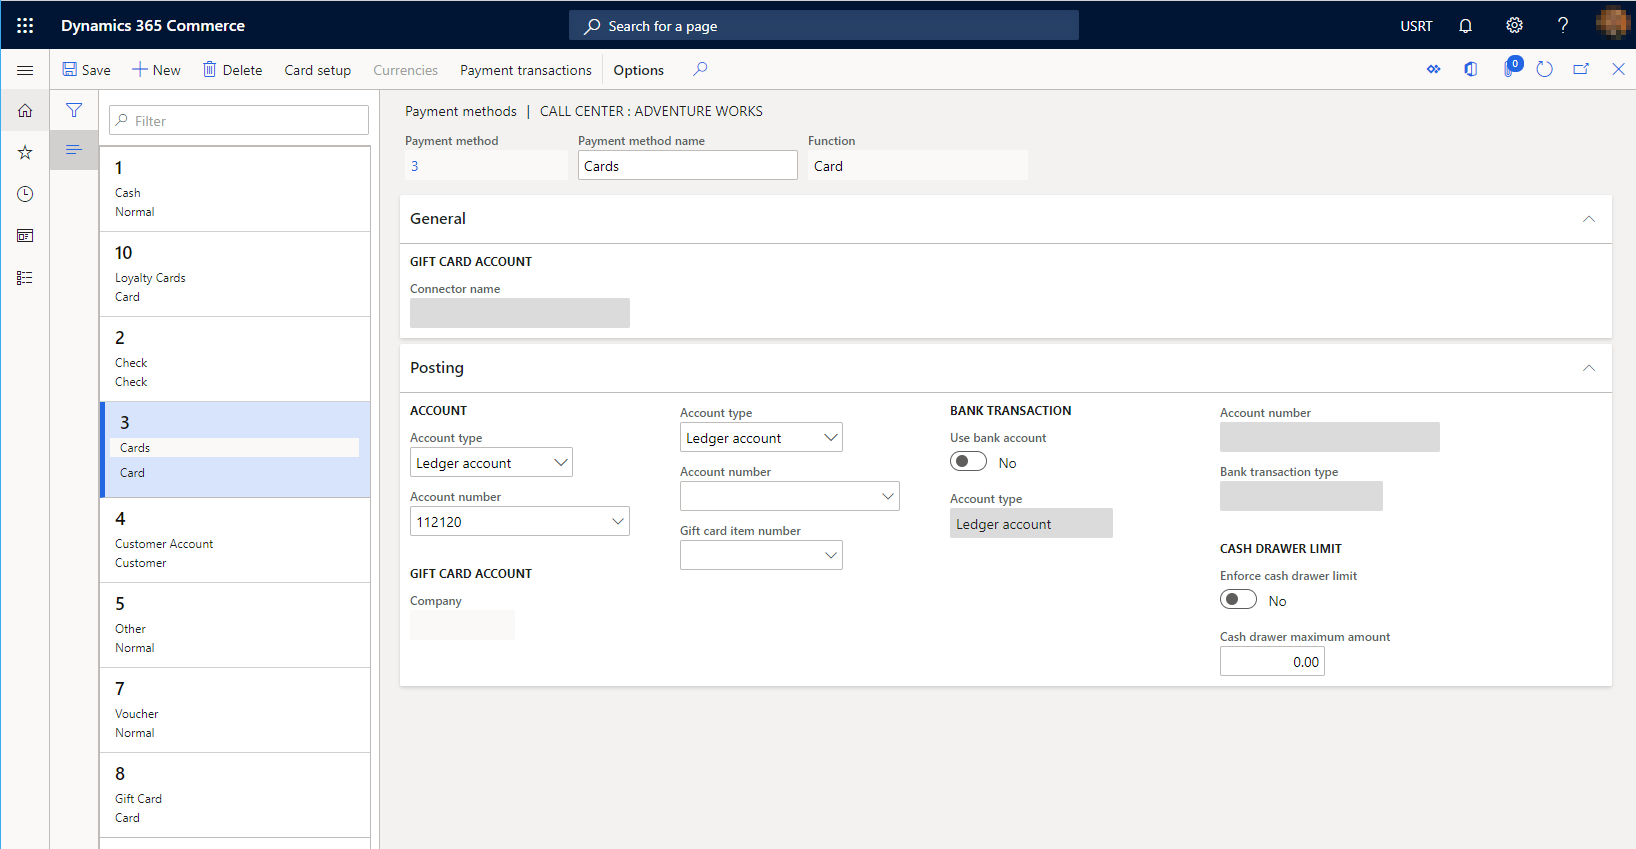
- Configure any other settings as required for the payment type. For credit cards, gift cards, or loyalty cards, select the Card setup function for the extra setup steps.
- Configure proper posting accounts for the payment type in the Posting section.
- On the action pane, select Save.
The following image shows an example of a cash payment method.
Set up modes of delivery
You can see the configured modes of delivery by selecting Modes of delivery from the Set up tab on the Action pane.
To change or add a mode of delivery to associate with the call center channel, follow these steps:
- From the Call center modes of delivery form, select Manage modes of delivery.
- On the action pane, select New to create a new mode of delivery, or select an existing mode.
- In the Retail channels section, select Add line to add the call center channel. Adding channels by using organization nodes instead of adding each channel individually can streamline adding channels.
- Ensure the mode of delivery is configured with data on the Products FastTab and the Addresses FastTab. If no products or delivery addresses are valid for the mode of delivery, selecting it during order entry results in errors.
- After you make any changes to the call center mode of delivery configurations, run the Process delivery modes job located at Retail and Commerce > Retail and Commerce IT > Process delivery modes.
The following image shows an example of a mode of delivery.

Set up channel users
To create a sales order that links to the call center channel from Commerce headquarters, link the user creating the sales order to the call center channel. The user can't manually link a sales order created in Commerce headquarters to the call center channel. The link is systematic and is based on the user and the user's relationship to the call center channel. A user can link to only one call center channel.
- On the action pane, select the Channel tab, and then select Channel users.
- On the action pane, select New.
- To link this user to the call center channel, select an existing User ID from the drop-down list.
After you set up the channel user and the user creates a new sales order in Commerce headquarters, the sales order links to their associated call center channel. The system applies any configurations for this channel to the sales order. A user can confirm which call center channel the sales order links to by viewing the channel name reference on the sales order header.
Set up price groups
Price groups are optional. If you use them, you can control which sales prices customers see when they place orders in the call center channel. If you don't configure a price group for the customer, or if catalog price groups aren't applied to the sales order through the Source code ID field on the call center order header, the channel price group is used to find item prices. If the call center channel doesn't have a price group, the default item master prices are used.
To set up a price group, follow these steps:
- On the action pane, select the Channel tab, and then select Price groups.
- On the action pane, select New.
- Select a Retail price group from the dropdown list.
Additional resources
Call center sales functionality
Set up call center order processing options