Set up an Azure Private Link
Azure Private Link lets Dynamics 365 Customer Insights - Data connect to your Azure Data Lake Storage account over a private endpoint in your virtual network. For data in a storage account, which isn't exposed to the public internet, Private Link enables the connection to that restricted network.
Important
Minimum role requirement to set up a Private Link connection:
- Customer Insights - Data: Administrator
- Azure built-in role: Storage Account Contributor
- Permissions for custom Azure role: Microsoft.Storage/storageAccounts/read and Microsoft.Storage/storageAccounts/PrivateEndpointConnectionsApproval/action
In Customers Insights you can create private links in the following ways:
- When creating a new Customer Insights - Data environment for which you would like to Use your own Azure Data Lake Storage account that is protected by your virtual network.
- When creating a data source for which the data is stored in your protected account.
- Directly from the Settings > Permissions > Private Links page in Customer Insights - Data.
Regardless of the method you use to create the Private Link, it shows under the Settings > Permissions > Private Links tab in Customer Insights - Data.
Set up a Private Link when creating a Customer Insights - Data environment
When creating a Customer Insights - Data environment that connects to your virtual network protected storage:
Select Enable Azure Private Link.
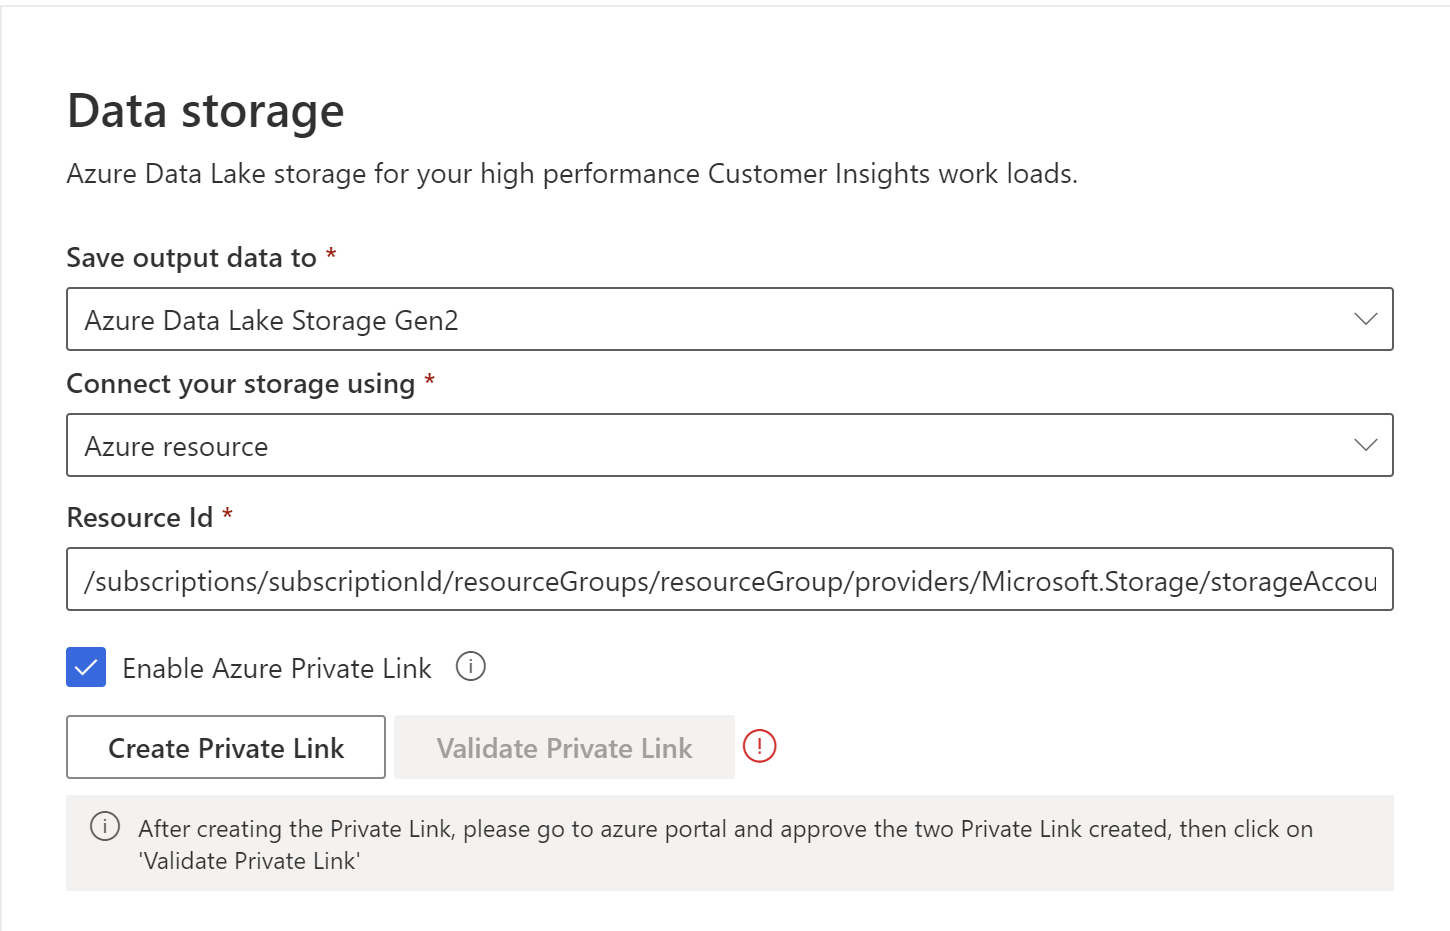
Select Create Private Link to initiate the creation process.
Approve the Private Link in the Azure portal.
Once all links are approved, select Validate Private Link. Upon successful validation, you can continue configuring your new environment.
Set up a Private Link when creating a data source
When creating an Azure Data Lake Storage data source that needs to connect to a storage protected by a virtual network, follow the same steps as described under Setting up a private link when creating a Customer Insights - Data environment.
Set up a Private Link directly from the Private Links page in Customer Insights - Data
In Customer Insights - Data, go to Settings > Permissions and select the Private Links tab.
Select Add Private Link.
The Add Private Link pane lists storage accounts in your tenant that you can see.
Select the subscription, resource group, and storage account.
Review the data privacy and compliance and select I agree.
Select Save.
Approve your Private Link in the Azure portal
After configuring the Private Link between Customer Insights - Data and your virtual network protected storage, four Private Links show on the Private Links tab in Customer Insights - Data with a status of Pending.
In the Azure portal, go to your Data Lake Storage account, and select Networking > Private endpoints connections to see the four new Private Links.
Select Yes to approve them.
Tip
For easy identification, consider adding a description when approving the Private Links.

In Customer Insights - Data, go to Settings > Permissions and select the Private Links tab. The Private Links now show the status Approved.
Continue to add your data sources that are linked to your protected storage.
Delete an Azure Private link
In Customer Insights - Data, go to Settings > Permissions and select the Private Links tab.
Select the storage account name for which you would like to delete the Private Links.
Select Delete.