Note
Access to this page requires authorization. You can try signing in or changing directories.
Access to this page requires authorization. You can try changing directories.
The Dynamics 365 Field Service app for Teams enables frontline managers to manage work orders without disrupting their workflow. Without leaving Teams, you can create, view, and edit work orders and quickly respond to requests for service or questions about existing requests.
Prerequisites
- You have completed Get started with Field Service in Teams.
Create a work order in Teams
From your Viva Connections dashboard, select Create work order on the Work orders all in one place tile.
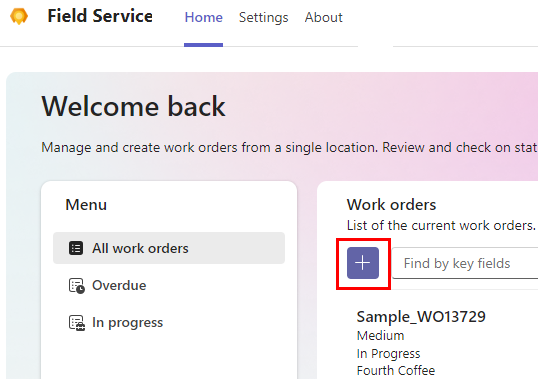
From your Field Service Teams Home page, select the Create work order button.
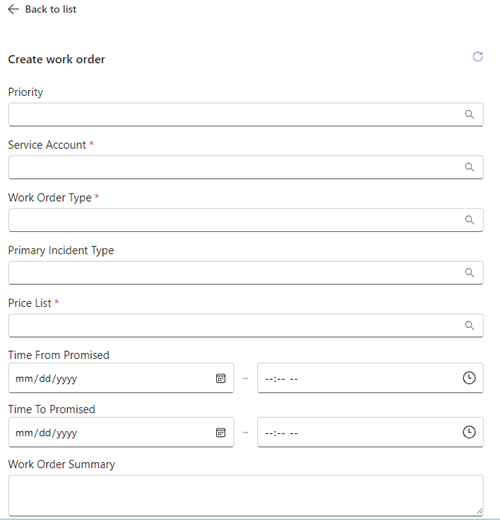
Fill in the required information.
If a value doesn't appear in the list, select + New item type to create it in the Field Service app. Save and close the Field Service app. Type the new value or select Refresh to make it appear in the list.
Select Save.
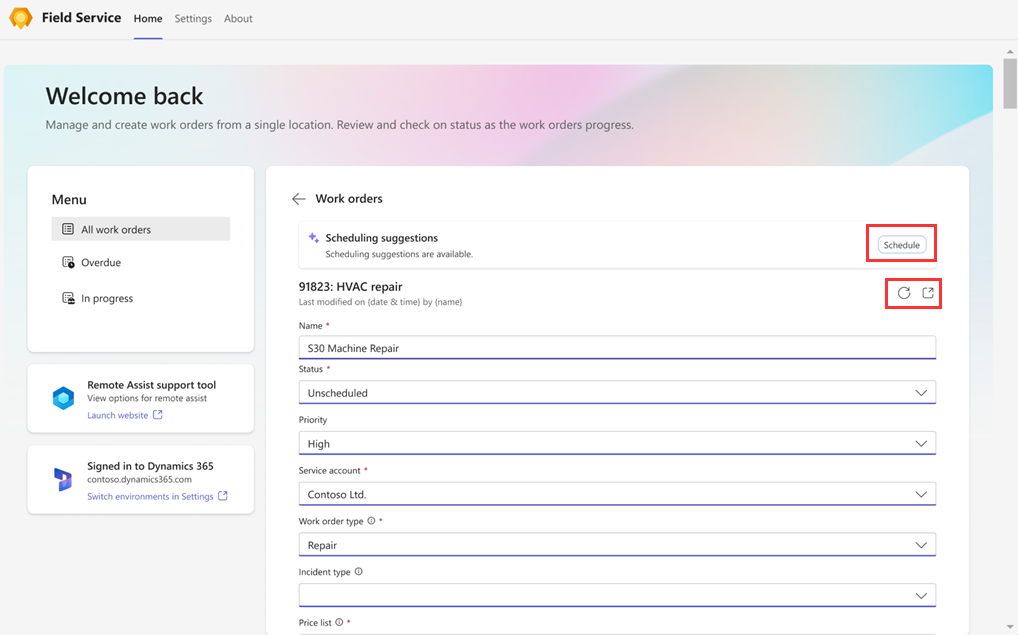
The work order number appears. If you want to open the work order in the Dynamics 365 Field Service app, select the open web app icon
 .
.
Schedule or reschedule a work order
The Field Service app helps you schedule work orders. Scheduling suggestions are based on technicians' availability and skills, proximity to the customer's location, promised time windows, and the business unit.
Open the work order you need to schedule or reschedule.
To schedule, select Schedule under Suggested actions. To reschedule, select View schedule under Suggested actions and then Reschedule.
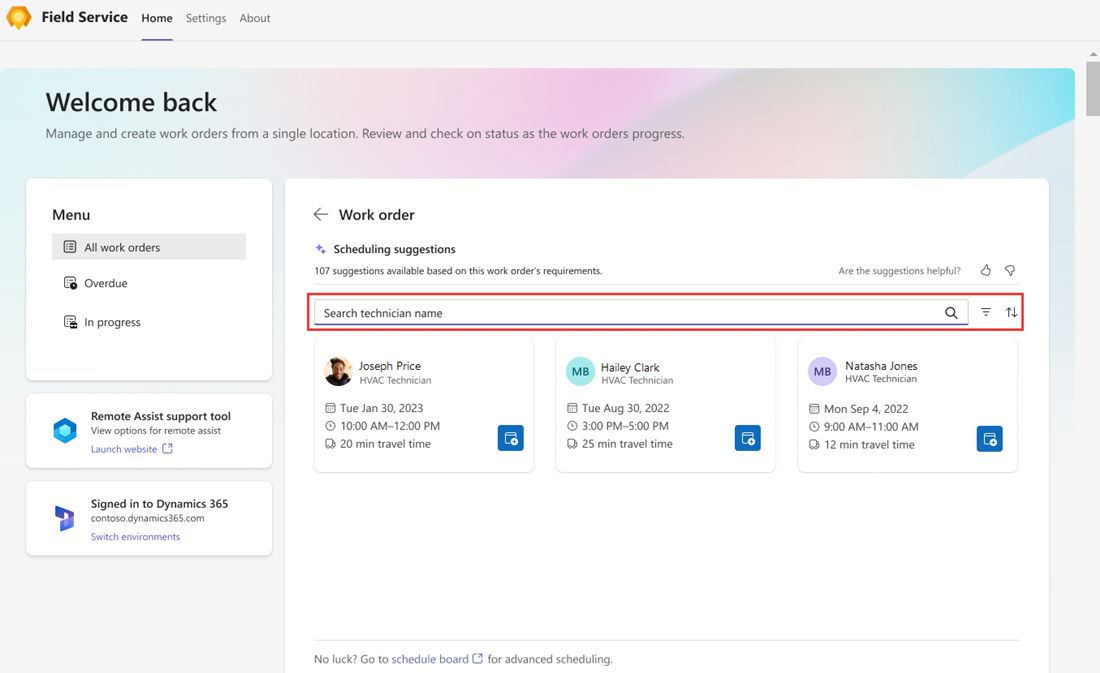
The system searches for available technicians based on the work order requirements and then displays suggestions. To view more suggestions, select Show more at the bottom of the list.
Review the list of suggestions. You can search for a technician by name, filter by dates, or sort the list by start time or travel time.
If the Estimated Duration hasn't been set up in the resource requirements, 30 minutes is used as a default.
If the system doesn't find suggestions or you don't find the right technician, use the schedule board in Field Service instead.
To assign the work order to a technician, select the Book resource icon.
The technician is booked and the status is changed to Scheduled. A confirmation displays.
Select the back arrow to return to the work order.
Move a booking
If you don't need to change the assigned technician, just the date or time of the service appointment, you can move the booking. If needed, you can also assign the work order to a different resource.
Open a scheduled work order and select View schedule.
Select Move booking.
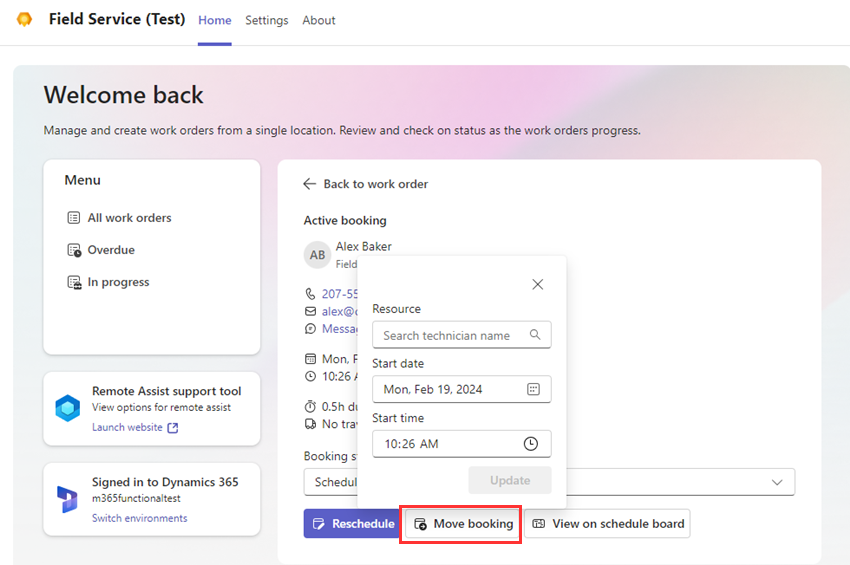
Select the new date and time and, if needed, a different resource.
Select Update.
The technician is booked. A confirmation displays.
Select the back arrow to return to the work order.
View a work order
You can view all work orders, overdue work orders, or work orders in progress. An overdue work order is an unscheduled or scheduled work order where the time promised has passed.
From your Viva Connections dashboard, select See all from the Work orders all in one place tile.
From your Field Service Teams Home page, select one of the following:
- All work orders
- Overdue
- In progress
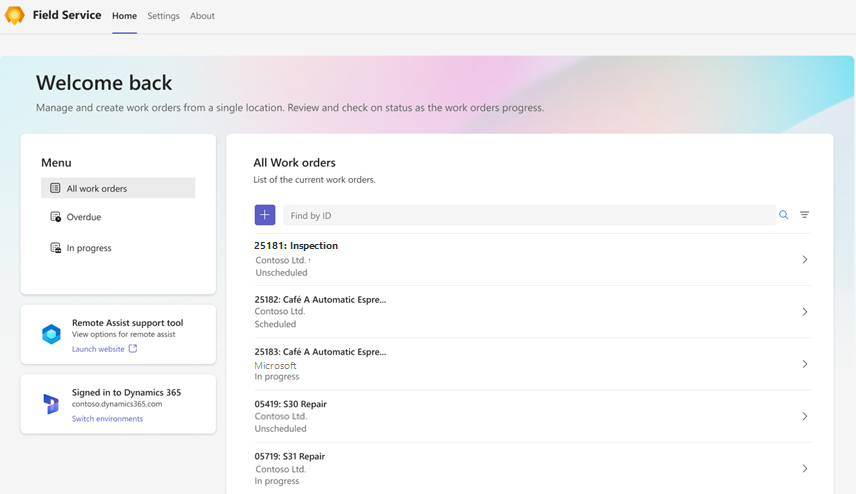
Work orders are listed with the most recent one first.
Find the work order you want to view:
Type the work order ID in the Find by ID box and select Search. Clear any filters first.
To filter the list by status or priority, select Filter, make your choice, and then select Apply.
To remove a filter, select Filter, clear each selection, and then select Apply.
Select a work order to view or edit it.
While you're viewing a work order, you can also:
Schedule or View schedule to schedule or view scheduling information.
Reflect new or changed information. Select the Refresh icon.
Open the work order in Dynamics 365 Field Service. Select the open web app
icon.Open a map to locate the service address. Select the Open in Bing Maps
 icon.
icon.
Edit a work order
View the work order you want to edit.
Make the necessary changes and select Save.
Add attachments to a work order
Add installation manuals, maintenance documents, specifications, or troubleshooting tips relevant to a work order. Attachments enable technicians to ask Copilot questions and quickly obtain answers allowing for quicker diagnostics and problem-solving. As technicians work on jobs, they can interact with Copilot for real-time advice.
To add knowledge articles, go to Link a knowledge article to a work order.
To add notes, Microsoft Word, or PDF documents, perform the following steps.
Select the open web app
icon to open the work order in Dynamics 365 Field Service.Select the Timeline tab.
Select the Attachment icon. Browse and select the item, and then select Add note and close.

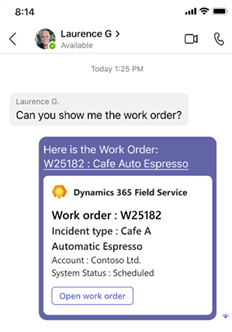
Share work order information
You can share links to work orders that automatically expand to provide key details. Copy the work order link from the Field Service web app or select the Copy icon when viewing the work order in Teams.
Call for remote collaboration through Remote Assist
You can quickly get assistance from a remote expert in three places in Teams:
In your Viva Connections dashboard, select Open on the Remote Assist tile.
In the Field Service app Home tab, select Launch website on the Remote Assist support tool tile.
When you have a work order in progress, select Launch Remote Assist in the work order details.
Search for and select the contact you want to call.
Select OK to allow Remote Assist to access your camera, and then select Launch call.
Learn more about Dynamics 365 Remote Assist.
Switch environments
If you have permissions to work in multiple environments, you can easily switch between them without having to sign out and sign in each time.
In the Field Service app, select Switch environments on the Signed in to Dynamics 365 tile in either the Home or Settings tabs. On a mobile device, select the Settings tab.
Select your Field Service environment.
After the environment is validated, select the Home tab to go to the Teams Home page or select Open Viva Connections to go to your Viva Connections dashboard.
Your dashboard might look different, depending on your role in the new environment. For example, if you're a frontline manager in one environment and a frontline worker in the environment you switched to, the new environment shows your frontline worker dashboard.