Configure automatic chats using Microsoft Azure Health Bot
Applies to: Patient access, Patient service center
The Microsoft Azure Health Bot service empowers healthcare organizations to build and deploy compliant, AI-powered virtual health assistants and health bots. Use this service to offer users intelligent and personalized access to health-related information and interactions through a natural conversation experience. More information: Azure Health Bot overview
By integrating the Azure Health Bot service with Microsoft Cloud for Healthcare solutions powered by Dynamics 365, you can automatically handle simple patient questions in the portal of the Patient access solution or in any other website. For more complex questions, the Azure Health Bot service hands off the conversation to care coordinators in Patient service center. The Azure Health Bot service can also be configured to handle other text-based conversations coming into Patient service center through other channels.
Note
To escalate a conversation to a human agent, the Azure Health Bot service must be configured in the same Microsoft Entra ID tenant as your Dynamics 365 or Microsoft Dataverse environment used for Patient service center.
Step 1: Set up Azure Health Bot
Follow these steps to create your first Microsoft Azure Health Bot, and then obtain your Health Bot ID through the Azure Health Bot management portal.
Step 2: Configure Patient service center with Azure Health Bot
Learn more about how to integrate the Microsoft Azure Health Bot service with Patient service center here: Dynamics 365 Omnichannel Integration.
The following steps provide a high-level view of the configuration task:
Set up a bot user. More information
Configure a default queue with basic routing in the underlying Dynamics 365 Omnichannel application.
Navigate to the Dynamics 365 Omnichannel Admin Center App.
Open the Queues list.
Open Default Queue and make sure the priority is set high enough and that, under Users (Agents), only the bot user that you created earlier is listed. Ensure that the bot capacity in the user record is set appropriately. (Learn more about capacity)
Create a new queue to escalate to your service agents with a priority lower than your default queue with the bot. Add the appropriate service agents to the Users (Agents) list. Don't add the bot application user here.
In Dynamics 365, open the appropriate chat widget that you want to apply this to.
Open the work stream associated with the chat widget, or create and select a new one, while setting the channel to Live chat. (Learn more about work streams)
With the work stream record opened, open the Context variables tab and create a new context variable. Ensure that Type is set to Number.
Navigate back to the work stream and open the Routing rule tab.
Create a new rule for the default queue with Azure Health Bot without a condition.
Create a new rule for the Agent queue with a condition (for example: Context variable > EscalateToAgent > Equals > 1).
Create an escalation scenario in the Azure Health Bot service.
Navigate to your Azure Health Bot management portal to create a new scenario or edit an existing scenario.
Find the part in the scenario where you would like to escalate to an agent.
In the scenario editor, create a Statement element, and then fill in the appropriate message. This message will be seen by the user as the bot attempts to find an agent.
Link to this new Statement element in the editor, based on when you want to escalate.
Create a new Action element, connecting your Statement element to it.
The above statement will go back to Omnichannel for Customer Service to determine how to handle the action. You can find a sample custom scenario here: Sample Scenario.
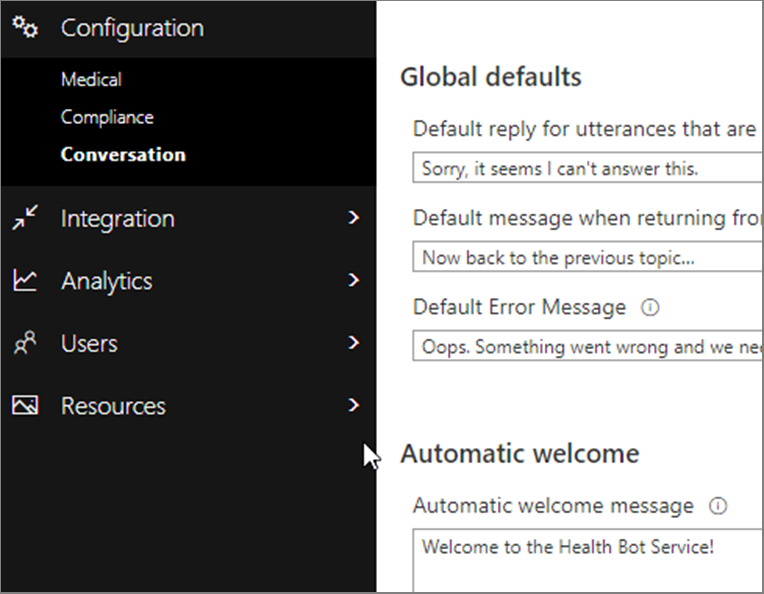
Add a welcome message for the chatbot because Omnichannel for Customer Service does not supply one by default.
- Under Configuration > Conversation, set the automatic welcome message as appropriate.
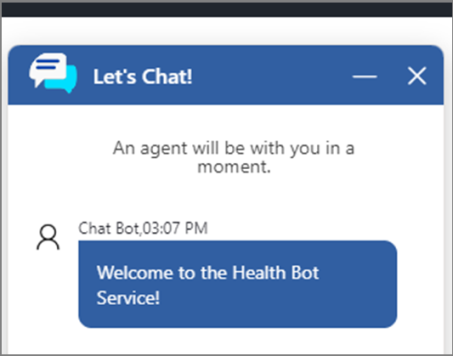
At this point, you should be able to test the integrated Azure Health Bot service, embed it into a page, and start a chat. When the chat is opened, it should immediately start the chatbot and show the automatic welcome message. All messages are now exchanged through the chatbot and its scenarios using the Omnichannel for Customer Service chat channel.
Use the following resources for further reading, troubleshooting, or expanding on the instructions mentioned here:
Step 3: Embed Azure Health Bot into the Patient access portal
In Patient service center, navigate to the chat widget record you want to embed and open it.
Copy the code snippet under Widget snippet. This code will be used to embed the chat into the portal.
Navigate to your Patient access portal and open the Content Snippets list.
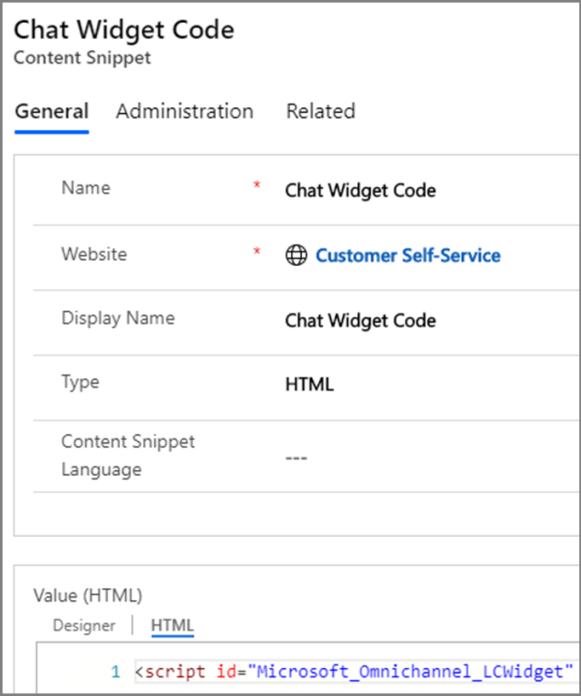
Look for an existing Chat Widget Code snippet and open it.
In the Value > HTML window, paste your widget snippet code and save.
You might need to refresh or republish the portal for the changes to take effect.
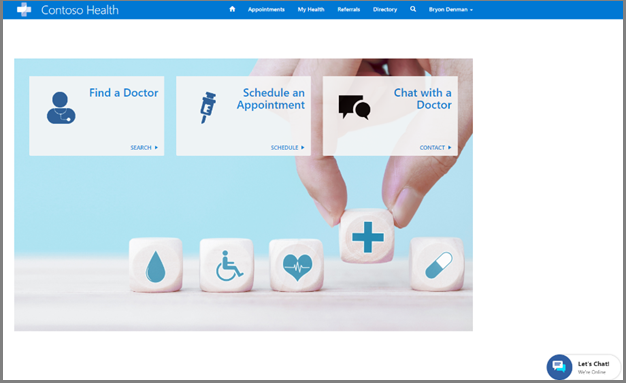
When you navigate to your portal, you should see the chatbot, in minimized form, on the page.