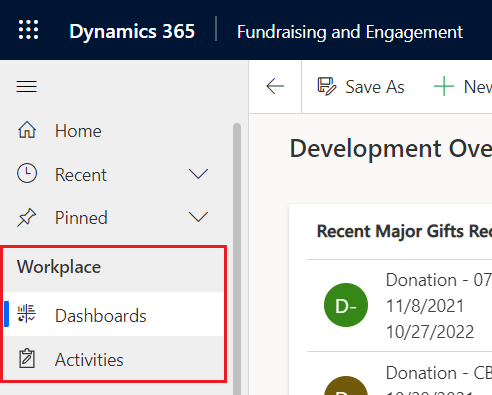
View dashboards and activities
The Workplace provides built-in Dynamics 365 dashboards and activities to help you plan, track, and organize all communications. It's available in the navigation pane:
Note
Workplace isn't visible in the Configuration area.
Dashboards
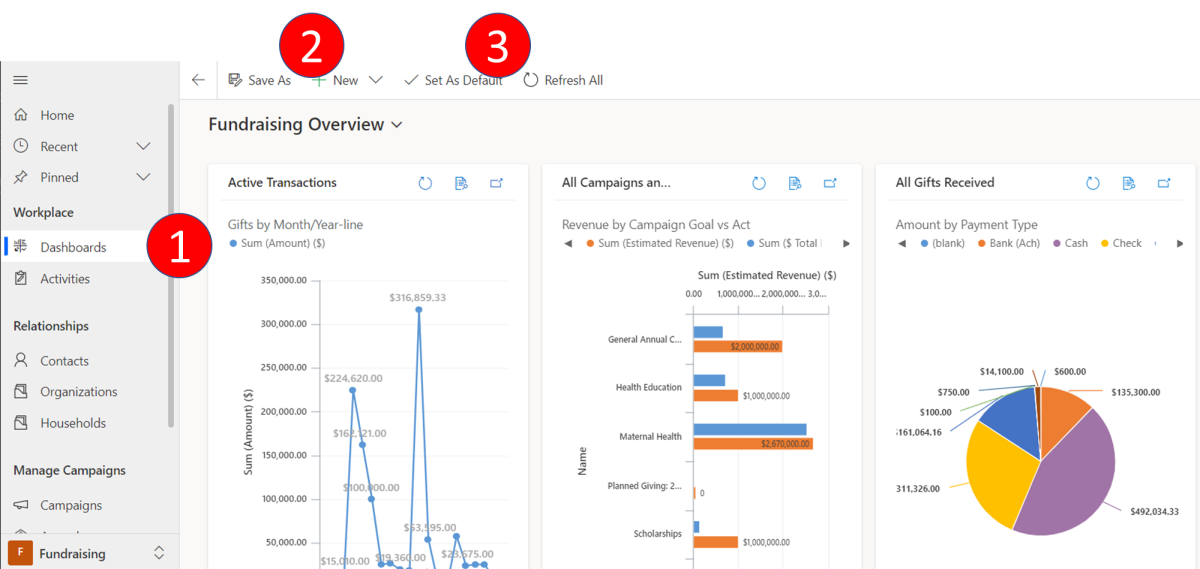
The Fundraising and Engagement solution includes three built-in Dynamics 365 dashboards:
When you select an area from the Change area menu at the bottom of the navigation pane, the default dashboard reflects the selected area. For example, if you're in the Events area, selecting Workplace > Dashboards opens the Events Overview dashboard:
- The default dashboard reflects the area you're working in.
- To create a dashboard, select New on the action pane, then follow the prompts.
- To set a different dashboard as the default for the current area, open the dashboard you want and then select Set As Default on the action pane.
You can also modify these dashboards as needed. For more information about modifying or adding a dashboard, go to Create or edit model-driven app dashboards.
Development Overview dashboard
The Development Overview dashboard provides a snapshot of major giving, including:
- Recent major gifts received (exceeding $10,000)
- Gift received (exceeding $5,000)
- Opportunities in the current fiscal year by opportunity manager
- Estimated revenue by opportunity phase
- Gifts received (exceeding $5,000) by month, year over year
Events Overview dashboard
The Events Overview dashboard provides a summary report of events, including:
- Created On
- Event Type
- Display Name
- Budget Allocated
- Goal
- Capacity
- Total Registrations
- # Sponsors
- $ Sponsors
- # Tickets
- $ Tickets
- # Donations
- $ Donations
- # Packages
- $ Packages
- $ Total Revenue
Fundraising Overview dashboard
The Fundraising Overview dashboard provides a snapshot of fundraising and campaign activities, including:
- All gifts by month year over year
- Revenue by campaign goal vs. actual
- All gifts received by payment type
- Average donation per year
- Total recurring giving by year
- Recent gifts received
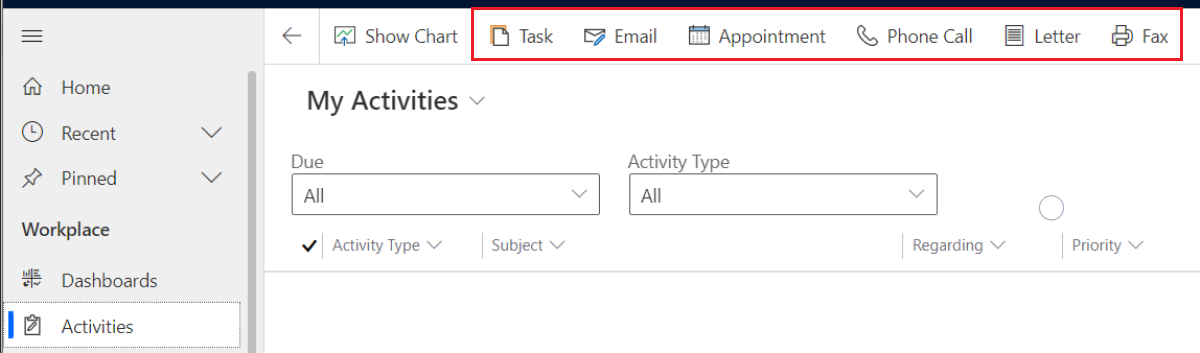
Activities
The Fundraising and Engagement solution includes Dynamics 365 Sales activity tracking. Activities help you plan, track, and organize all communications. For example, when you're working with contacts and accounts, activities can help you track:
- Taking notes
- Sending emails
- Making phone calls
- Setting up appointments
- Assigning tasks
Dynamics 365 Sales automatically timestamps every activity and records who created it. You can review this history of activities in List, Calendar, or Kanban view while working with a contact or account.
To get the most out of Fundraising and Engagement, use activities to track every email, phone call, task, and appointment. Using activities helps ensure every contact and account history is complete.
Create or edit an independent activity
Independent activities aren't associated with any contact or account record. To create an independent activity:
In the navigation pane, under Workplace select Activities.
On the action pane, select an action.
To edit an existing independent activity, select the activity's title from the view, then edit the record that opens.
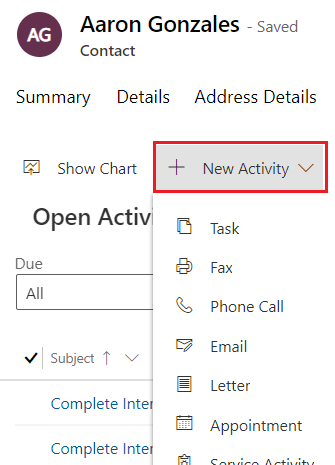
Add a new activity for a contact or account
Add activities to help you keep track of communication history.
To add an activity for a contact or account:
In Relationships, select the account or contact record where you want to add an activity.
On the Related menu, select Activities.
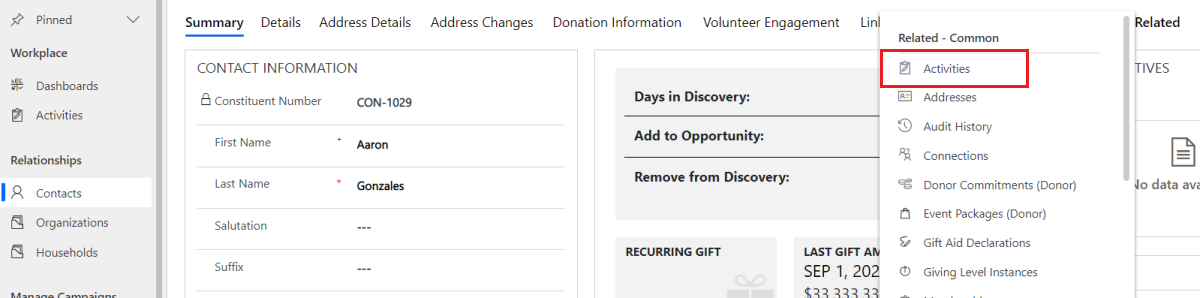
Select New Activity, and then select the activity you want to add to the record, such as task or phone call.
Attach a document
You can attach documents, spreadsheets, pictures, and just about any type of file to emails, appointments, and notes.
To attach a document to an email:
Open the email form.
On the action pane, select Attach File. The Add attachment dialog box opens.

Find and select the file you want, and then select Attach.
To attach a document to an appointment:
- Open the appointment form.
- Enter data in the required fields, and then save the form.
- In the Attachment section, select New Attachment.
- In the Manage Attachment dialog, find and select the file you want, and then select Attach.
Mark an activity complete
After you call someone, finish a task, send an email, or go to an appointment, mark the associated activity complete.
Open the activity.
On the action pane, select Mark Complete.

For more information, go to [Track and manage activities].