Capture asset conditions with spatial markup in the Dynamics 365 Remote Assist mobile app
Note
Dynamics 365 Remote Assist mobile will be deprecated March 25, 2025. But, existing customers can continue to get similar capabilities of Remote Assist mobile in Microsoft Teams mobile. Learn more: Collaborate with other users and Use spatial annotations on Teams.
You can use the Microsoft Dynamics 365 Remote Assist mobile app to capture procedures and defects during jobs such as inspections or repairs. For example, a technician can capture photos or videos of the equipment they're inspecting to highlight defects like wear and corrosion. Stakeholders within the organization, such as a service manager or site superintendent, can then view and download the captures by using the Dynamics 365 Remote Assist model-driven app.
Prerequisites
To capture and view assets you need:
Access to the environment that Dynamics 365 Remote Assist is installed in and an active Dynamics 365 Field Service or Remote Assist license.
The latest version of the Dynamics 365 Remote Assist mobile app. After downloading from the app store, make sure to select the correct environment from the app settings.
Capture asset conditions
View the asset list
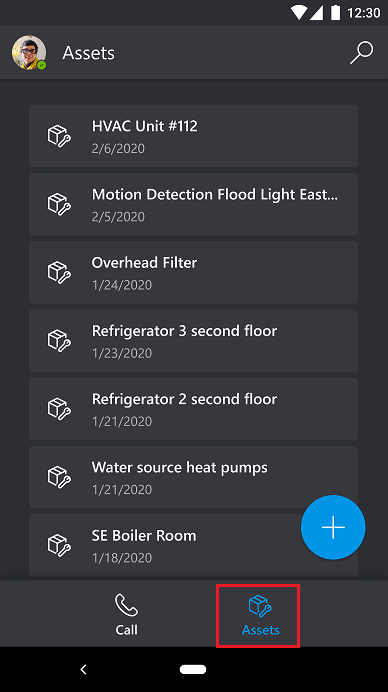
Select the Assets tab. The assets (entered through the Dynamics 365 Remote Assist model-driven app) are displayed in descending order by the last-modified date. You can search for assets by using the Name field or by selecting the search button.
Note
The Assets tab is currently not available while you're on a call in the mobile app.
Capture photos or videos with spatial markup
On the Assets tab, select an asset from the list. You can also use the search button at the top of the page.

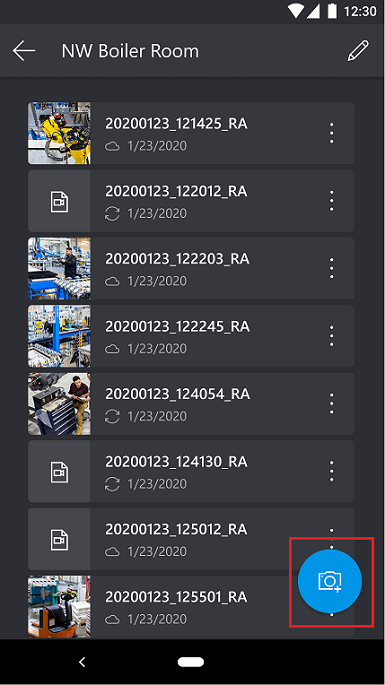
Once you have selected an asset, you'll see a list of previously captured photos or videos associated with that asset. You can select any of the captures to view photos or to play videos. You can also delete captures from this list view. To record a new capture, select the Camera tool at the bottom of the page.

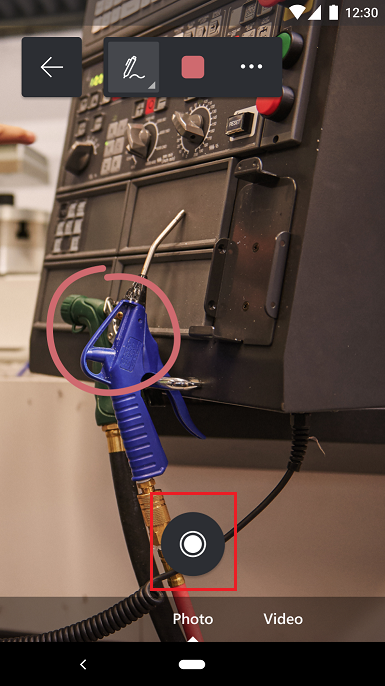
While recording a new capture, you can use ink or arrow tools to mark up the asset in your environment. For example, circle a defect on an asset. When you're done annotating, select the capture button to take a photo of the asset, which will include the mixed-reality annotations you added.

Note
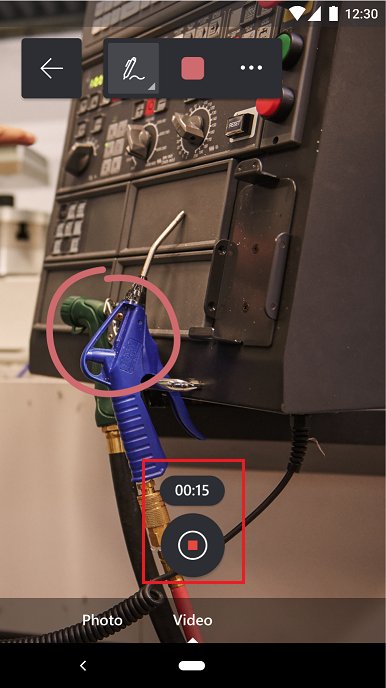
To switch to video capture view, select Video, and then tap the capture button to start the recording. The capture button will change and show a countdown timer from the maximum video length available. You can add further mixed-reality annotations during the video capture. Tap the capture button again to stop recording.

Note
Captured photos and videos are saved locally to the mobile device and to Microsoft Dataverse, where they're viewable from the Dynamics 365 Remote Assist model-driven app.
Next step
Review captured assets in the Dynamics 365 Remote Assist model-driven app.