Note
Access to this page requires authorization. You can try signing in or changing directories.
Access to this page requires authorization. You can try changing directories.
Important
- This is a production-ready preview feature.
- Production-ready previews are subject to supplemental terms of use.
Applies To: Project Operations Integrated with ERP, Core deployment - deal to proforma invoicing.
After an administrator completes all the steps in Enable the Time Entry feature of the Time and Expense Agent in an environment, team members can start to use the agent. The agent is available to team members as a Microsoft Teams app and communicates with them via Teams.
To begin to use the agent through Teams, each user must complete the following steps.
- Add the Teams app for time entry.
- Give the agent consent to create time entries, and set some preferences.
Add the Teams app
After your organization enables the agent and shares it with you, follow these steps to access it as a Teams app.
Open Microsoft Teams app or Microsoft Teams in the browser, and sign in by using the same credentials that you use to sign in to your Microsoft Dynamics 365 Project Operations environment.
Go to the Apps section.
In the Built for your organization or Added by your org section, look for the Teams app for time entry, and select the Add button for it.
Important
If the Teams app for time entry doesn't appear among the apps that are available to you, contact your administrator.
If a pop-up window appears and provides more details about the app, select Add.
After the app is added, select Open to open it. You're taken to a Teams chat where all interactions with the Time Entry feature of the Time and Expense Agent occur.
The next step is to give the agent consent to create time entries on your behalf.
Give consent to the agent and set preferences
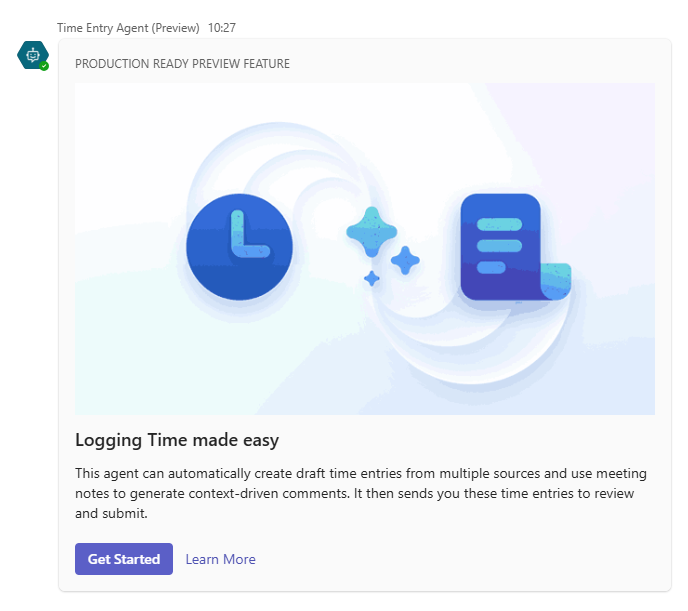
The first time that you open the Teams app, a "Logging Time made easy" message should be shown.
If this initial message isn't automatically shown the first time that you open the app, you can send Agent user preferences or Agent settings in the chat. The message should then be loaded.
Give the agent consent to create time entries
To give the agent consent to create time entries, follow these steps.
- In the initial "Logging Time made easy" message, select Get Started.
- When you're asked whether you want to allow the agent to create time entries on your behalf, select Yes.
Set agent preferences
After you give the agent consent to create time entries for you, four more configurable preferences are shown. You must set these preferences to specify how the agent creates time entries and sends alerts to you.
Source of time entries – Use the checkboxes to select one or more sources that the agent should use when it creates time entries for you.
Note
If you select multiple sources, the agent considers them in the following order of priority:
- Project task assignments
- Booked capacity
- Previous week's entries
The previous week's entries are considered only if there is no information for your task assignments or booked capacity.
Generate External Comments – Select Yes if the agent should generate an external comment for every time entry that is created. In this case, external comments are generated for every time entry that doesn't have one, even time entries that the user manually created.
Use Outlook calendar for external comments – Select Yes if the agent should enhance external comments with relevant Outlook meeting details. Select No if the agent should use only details of the time entry, such as the project, task, and role, to generate external comments. In this case, the external comments are relatively generic.
Time Zone – Specify the time zone that you work in. The agent considers this time zone in all alerts that it sends.
After you set the preferences, select Save preferences. You should receive a confirmation message that summarizes your selections.
Modify agent preferences at a later time
To modify your existing preferences, follow these steps.
- Send Update Agent preferences or Agent preferences in the chat.
- A summary of your existing preferences is shown. Modify the selections as you require.
- Select Save preferences.
Share Outlook calendar access with the agent user
This step is required if you selected Yes for the Using Outlook calendar to generate better external comments preference. The agent user must be able to access a team member's Outlook calendar to view meeting titles and descriptions. In this way, it can generate better comments.
To share calendar access with the agent user, follow these steps.
- In Outlook, go to Calendar.
- Under My calendars, select the ellipsis (…) button for the calendar that you use.
- Select Sharing and permissions, and then enter the email ID of the agent user. (You might have to get this email ID from your administrator.)
- Select Share.
Next steps
After you complete all the one-time setup procedures in this article, the Time Entry feature of the Time and Expense Agent is ready for you to use as a team member. Here is an overview of the experience of logging time entries:
- At the beginning of a week, the agent creates draft time entries for you.
- You receive an alert from the agent in Teams. This alert summarizes the time entries that were created.
- Review the time entries in either Teams or the Project Operations web app.
- Modify the time entries as required, and then submit them for approval.
- On the last working day of the week, the agent sends you a reminder to submit any missing hours.
Learn more about the behavior of the Time Entry feature of the Time and Expense Agent, and the experience of reviewing alerts, in Review time entries created by the Time Entry feature of the Time and Expense Agent.