Note
Access to this page requires authorization. You can try signing in or changing directories.
Access to this page requires authorization. You can try changing directories.
Every organization has its own selling processes for sellers to follow. A sequence helps sellers overcome any inconsistencies in training or lack of documentation as they progress through the sales journey. When you create a sequence, you define the activities you want your sellers to perform—and the order to perform them in—as they handle records. This lets sellers concentrate on selling and gives them a better understanding of what to do next.
Also, sellers can create and activate sequences for themselves and use the sequences to work on their assigned records. More information: Create and connect sequence for yourself
Create a sequence
Sign in to your sales app, and in the lower-left corner of the page, go to Change area > Sales Insights settings.
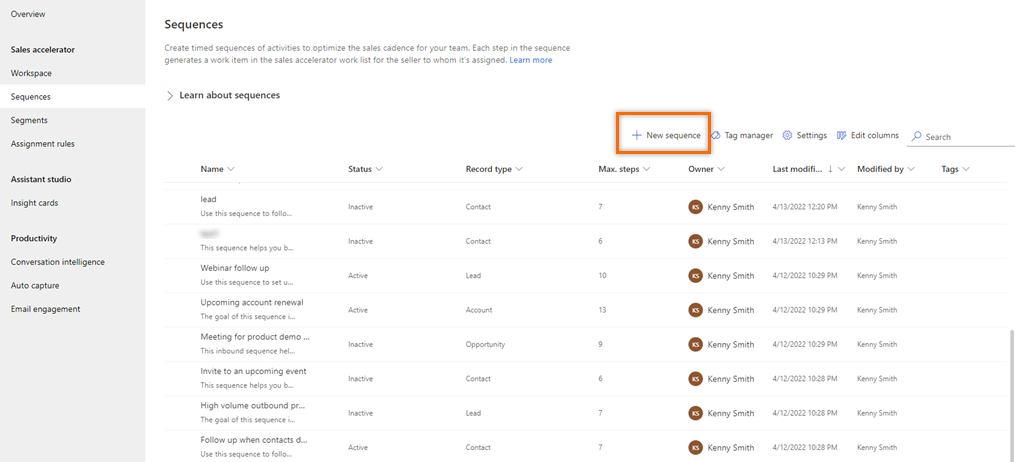
Under Sales accelerator, select Sequences.
On the Sequences page, select New sequence.
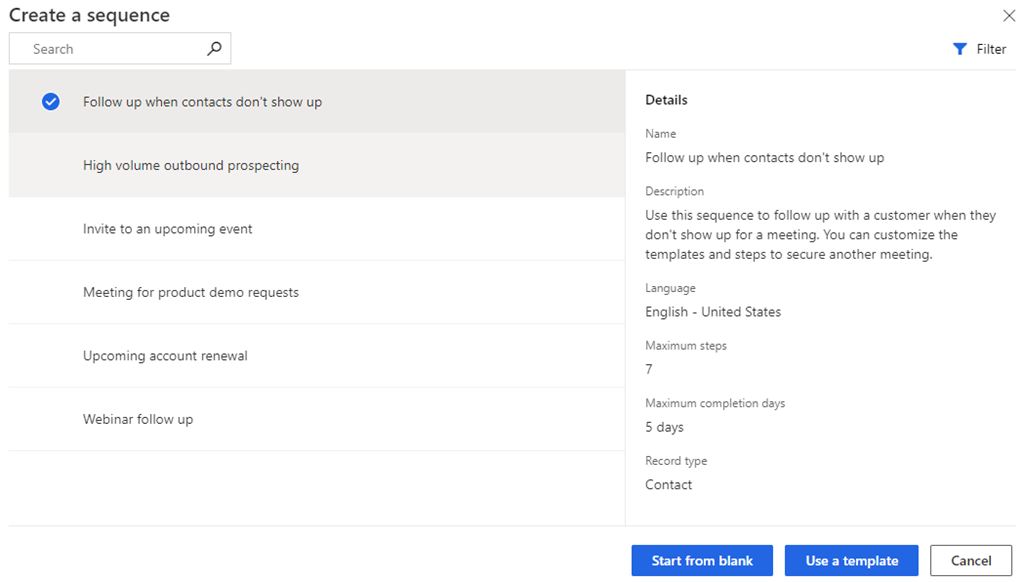
In the Create a sequence dialog, select one of the following options to create the sequence:
Use template: Use the templates to quickly set up sequences. Sequence templates provide a set of activities to guide sellers with the next best action to take to achieve a task, such as getting introduced to a lead and winning the deal. More information: Sequence templates
Use blank sequence: Use a blank sequence to create a sequence from scratch.
In the Define sequence properties dialog, enter the following information.
Parameter Description Sequence name The name of the sequence. Description A description of the sequence. (Optional) Entity The entity type for which you want to apply this sequence. By default, the Lead entity type is selected. 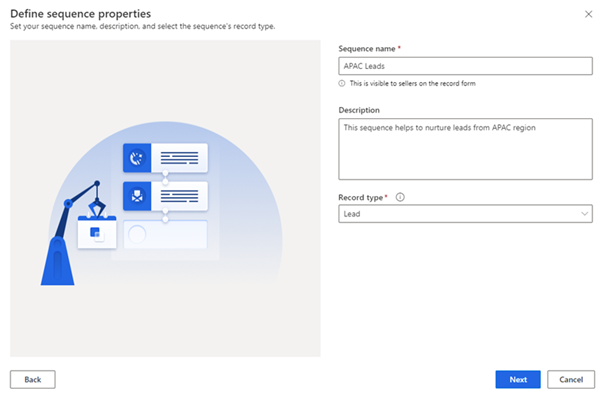
Select Next.
The sequence designer page opens.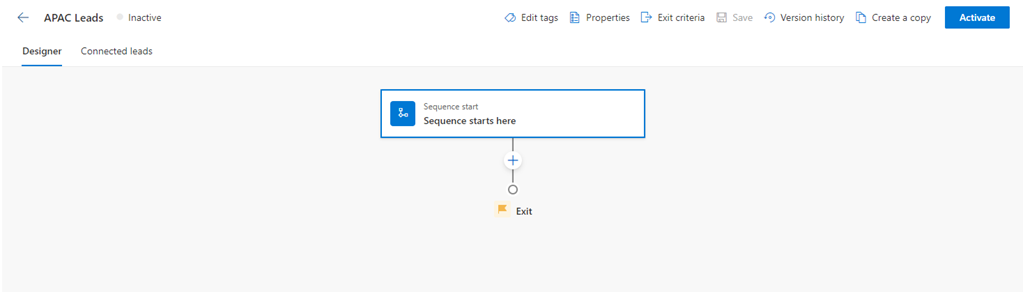
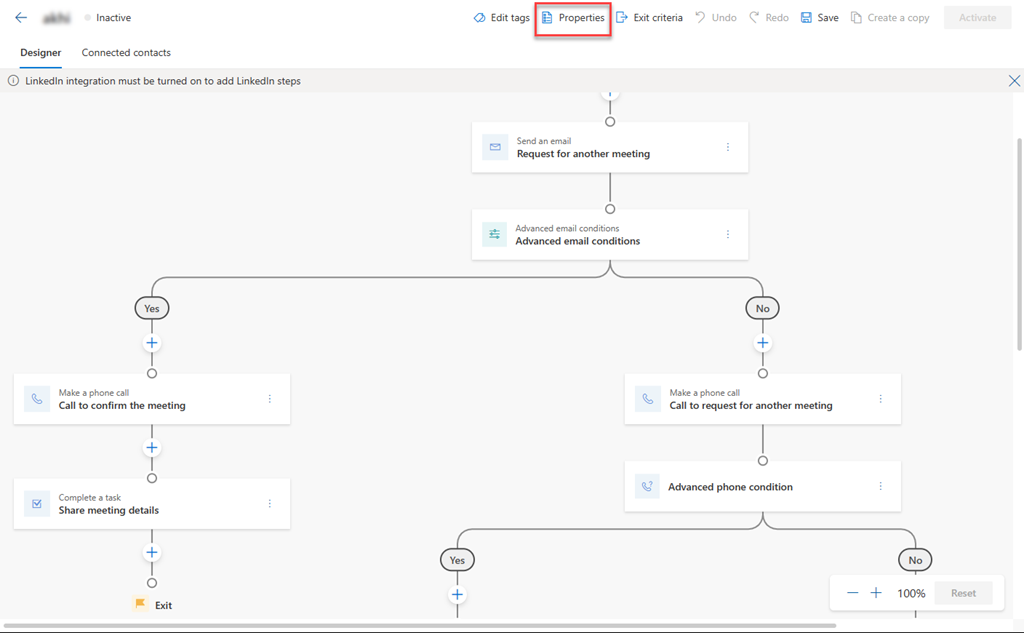
By default, the Sequence start here step is added to sequence as the first step.
After the Sequence start here step, select the Add icon (+) and configure the sequence steps.
For a sequence, the steps are categorized into the following four groups:
- Steps: The step in a sequence is an engagement task that a seller performs for sales outreach such as, email, phone call, and task. More information: Add steps to sequence
- Conditions: The condition step in a sequence determines the next course of action that the sequence will take after the condition is either met or not, based on the completed activity. More information: Add the conditions steps
- Commands: The command step in a sequence determines the next course of action according to the value given in the field or the stage of a business process. More information: Add command steps to sequences
- LinkedIn: The LinkedIn activity step in a sequence allows sellers to diversify their day-to-day activities by including the social selling functions. You can use LinkedIn's vast network with recommended actions that your sellers can take to build deeper connections. More information: Add LinkedIn activities to sequence
Select the Add icon, and then repeat step 7 for all the activities that you want to add to the sequence.
Save the sequence.
Now, you can assign the sequence to users and then activate.
Assign different sequences to users or teams
You can assign different sequences to different sellers for a record. Each seller can then focus on a unique set of actions to enhance their chances of securing a deal. For example, you can assign one sequence to a seller and another to the account manager responsible for the same record, enabling them to collaborate simultaneously.
Deactivate the sequence before you assign it to users or a team.
In the sequence page, select Properties.
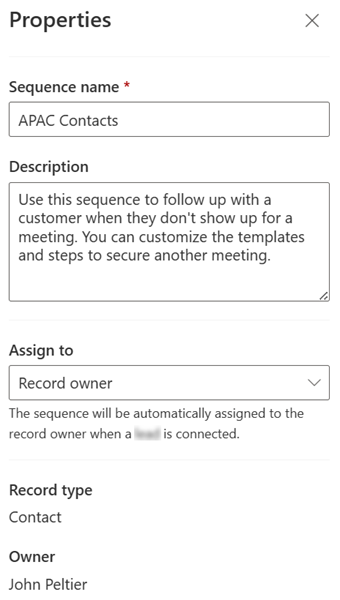
In the Properties pane, under the Assign to section, select the one of the following options.
Type Option Description Record Record owner The option automatically assigns the sequence to the owner of the record when connected. By default, this option is selected. Team member specified in a record field The option automatically assigns the sequence to an individual based on the selected field name in the record. Choose the field name that you want to consider for assigning the sequence to a specific user, as identified in that field. Teams Owner team The option automatically assigns the sequence to the owner team when the record is connected. The owner of the record must be the owner team. Optionally, you can define conditions to assign sequence to specific individuals within the owner team. To define conditions, select Condition is empty. Access team The option automatically assigns the sequence to the access team when the record is connected. The owner of the record must be the access team. Optionally, you can define conditions to assign sequence to specific individuals within the access team. To define conditions, select Condition is empty. The following image is an example of the Properties pane:
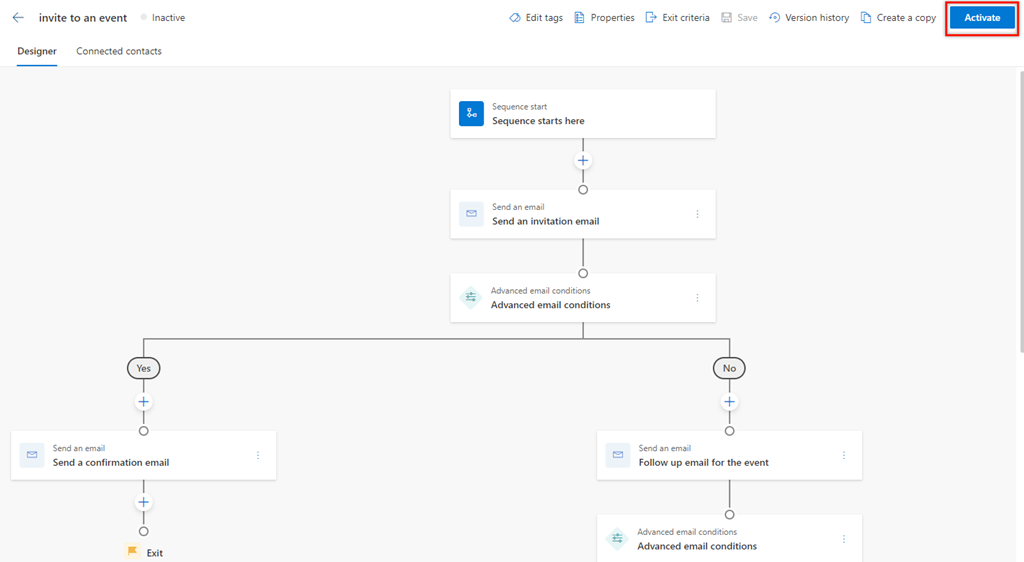
Activate a sequence
Open a sequence and then select Activate.
Note
You can have up to 250 active sequences at a time in your organization.
Select Activate in the confirmation message that appears.
Note
An error might occur if you've added Set wait time as the last activity of the sequence. You must delete this last Set wait time activity, and then save and activate the sequence.
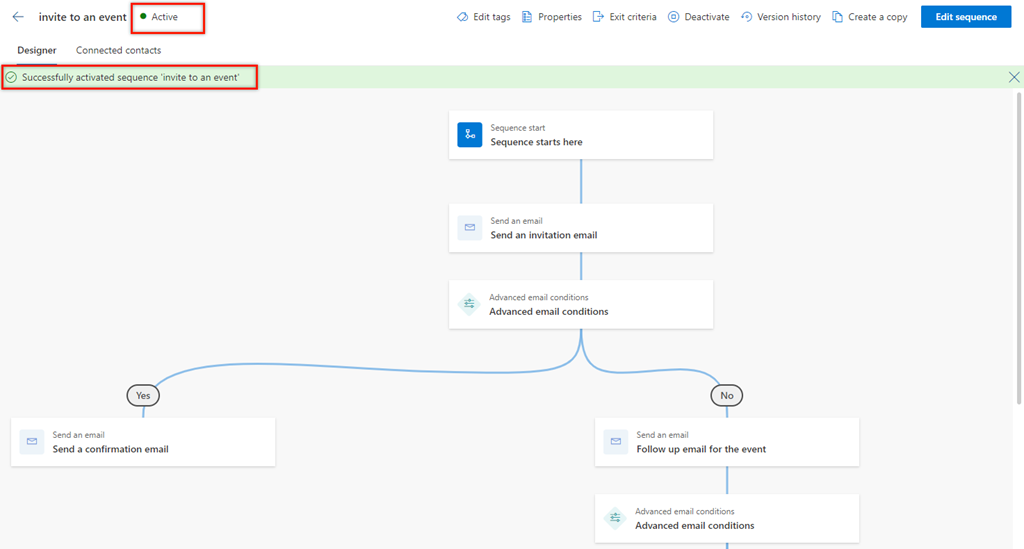
The sequence is activated and listed in the sequence designer home page. Also, you can see the status of the sequence beside the name and a confirmation message.
Next, you connect the active sequence to records. More information: Connect a sequence to records
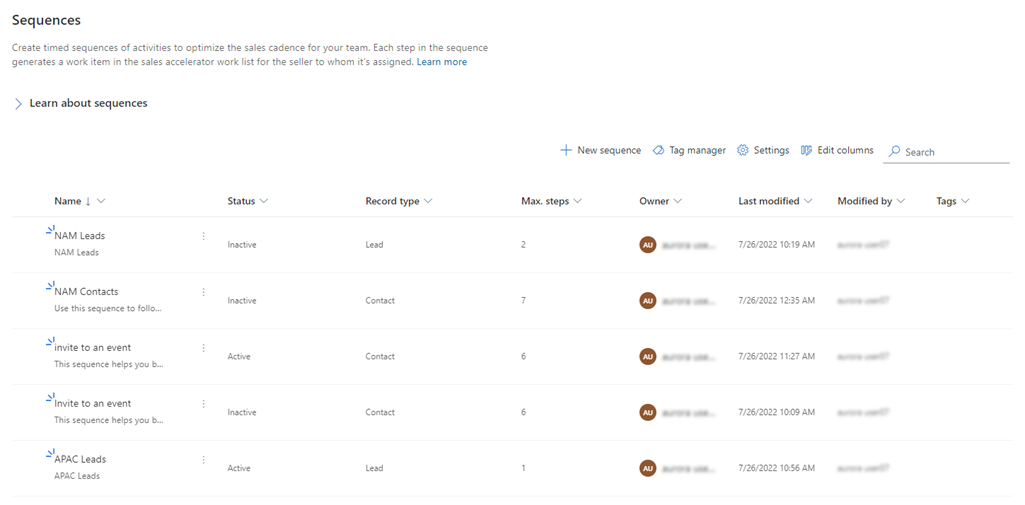
Sequence home page
On the sequence home page, you can do the following tasks:
- Sort and filter the records based on the column options. Expand the column header, and then select the sort and filter options that are available.
- Reorder the columns by dragging them to the location you want in the grid.
- Search is available only on the name and description of the sequence.
Can't find the feature in your app?
There are a few possibilities:
- You don't have the necessary license to use this feature. Check out the comparison table and the licensing guide to see which features are available with your license.
- You don't have the necessary security role to use this feature.
- To configure or setup a feature, you need to have the Administration and customization roles
- To use sales-related features, you need to have the Primary sales roles
- Some tasks require specific Functional roles.
- Your administrator hasn't turned on the feature.
- Your organization is using a custom app. Check with your administrator for exact steps. The steps described in this article are specific to the out-of-the-box Sales Hub and Sales Professional apps.
Related information
Sequences
Add steps to sequence
Manage tags for sequences
Migrate sequences from one environment to another