Note
Access to this page requires authorization. You can try signing in or changing directories.
Access to this page requires authorization. You can try changing directories.
Create sequences to automate your work by creating a set of activities such as, send an email, call the customer, and wait time, and personalize communication while reaching out to prospects.
What is a sequence?
A sequence enforce best practices by introducing a set of consecutive activities for you to follow during your day. You can create and connect sequences to records—such as leads, opportunities, and accounts that appear in your work queue—to help prioritize activities that help you focus on selling, be more productive, and better align to your organization's business processes.
When you create a sequence, you define a set of activities that you want to perform on records, and the order to perform them in. This lets you concentrate on selling and gives you a better understanding of what to do next.
Permissions required to create and connect sequences
When the sales accelerator workspace isn't enabled in your organization, you can create and connect sequences through the Salesperson role. You can also delete and edit the sequences that you've created.
When the sales accelerator workspace is enabled in your organization and the access is restricted to specific security roles, only the users who have those roles can create and connect sequences. To get access to create and connect sequences, ask your administrator to provide permissions for your security role. More information: Manage access and record type
Note
If you have the the Sequence Manager role and want to create sequences, go to Create and activate a sequence.
Who has access to my sequences?
The sequences that you create are available for your business unit. Other sellers can only view, connect, or create a copy of your sequence. However, administrators and users who have the Sequence Manager role have all privileges, such as editing and deleting the sequence.
How to create sequences
Create sequences by using the sequence designer. You can access the sequence designer in the following ways:
Sales Insights settings
We recommend using sales insights settings to access the sequence designer. Here you can create, edit, delete, and connect sequences.
To access the sequence designer
Sign in to your sales app, and in the lower-left corner of the page, go to Change area > Sales Insights settings.
On the Sales Insights settings page, under Sales accelerator > Sequences, select New sequence.
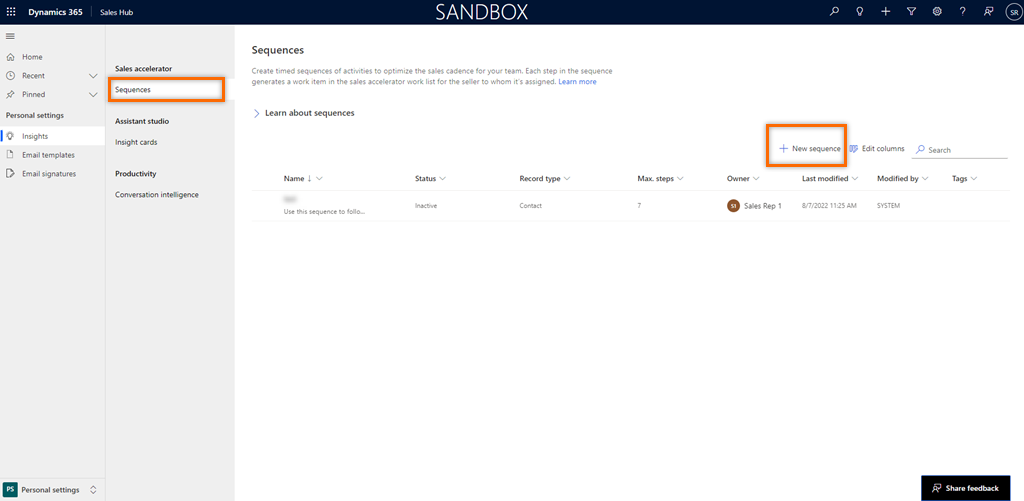
The Create a sequence dialog opens. To continue creating the sequence, go to Create a sequence later in this topic.
Up next widget
The Up next widget is available on the out-of-the-box contact, opportunity, lead, and account forms. When you open a record, by default the main form displays the Up next widget. For example, when you open a lead record, the Lead form displays the Up next widget.

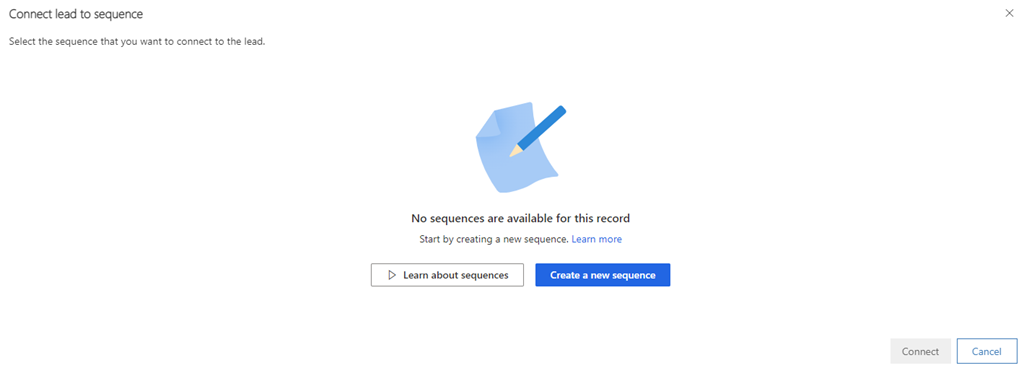
When a sequence isn't connected to a record, the Up next widget displays a message to connect a sequence.
Select Connect record type to a sequence, and the Connect record type to sequence dialog opens. In the following example, we opened the connect sequence dialog for leads, which have had no sequences connected yet.
Note
If sequences are available for the record type, the list is displayed. To create a sequence, select Create new sequence.
Select Create a new sequence and the Create a sequence dialog opens in a new tab. To continue creating the sequence, go to Create a sequence, later in this topic.
Record grid view
While connecting a record to a sequence, you can create a new sequence if there are no sequences available for the record type or the existing list doesn't meet your requirements.
Open the record type—such as lead, contact, or opportunity—in the grid view for which you want to create the sequence. Select a record, and then select Connect sequence. In this example, we opened the Accounts grid view to connect the sequence.
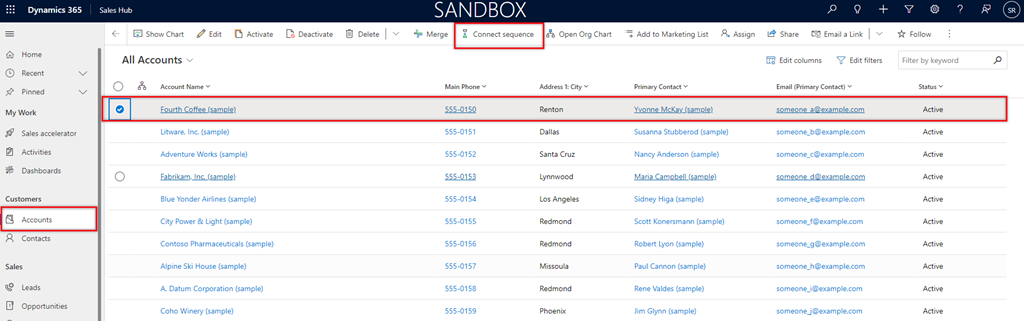
The Connect account to sequence dialog opens.
Note
If sequences are available for the record type, the list is displayed. To create a sequence, select Create new sequence.
Select Create a new sequence. The Create a sequence dialog opens in a new tab. To continue creating the sequence, go to the following section, Create a sequence.
Create a sequence
Now that you've opened the sequence creation dialog through one of the ways described in How to create sequence, follow these steps to complete the sequence creation:
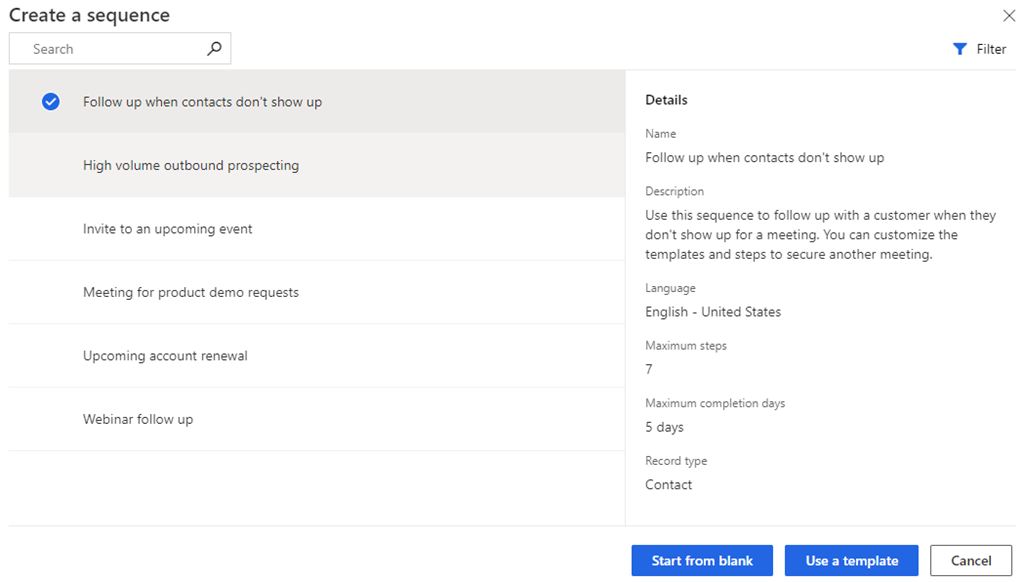
In the Create a sequence dialog, select one of the following options to create the sequence:
Use template: Use the templates to quickly set up sequences. Sequence templates provide a set of activities to guide sellers with the next best action to take to achieve a task, such as getting introduced to a lead and winning the deal. More information: Sequence templates
When you use the Up next widget or record grid view to create a sequence, the templates displayed here are relevant for that record type.
Start from blank: Use a blank sequence to create a sequence from scratch.
In the Define sequence properties dialog, enter the following information.
Parameter Description Sequence name The name of the sequence. Description A description of the sequence (optional.) Entity The entity type to which you want to apply the sequence. By default, the lead entity type is selected. 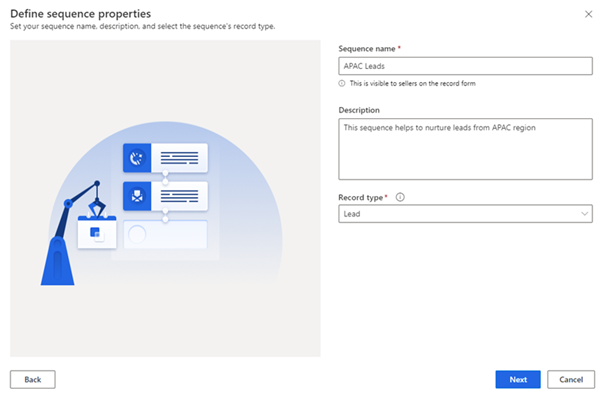
Select Next.
The sequence designer page opens.
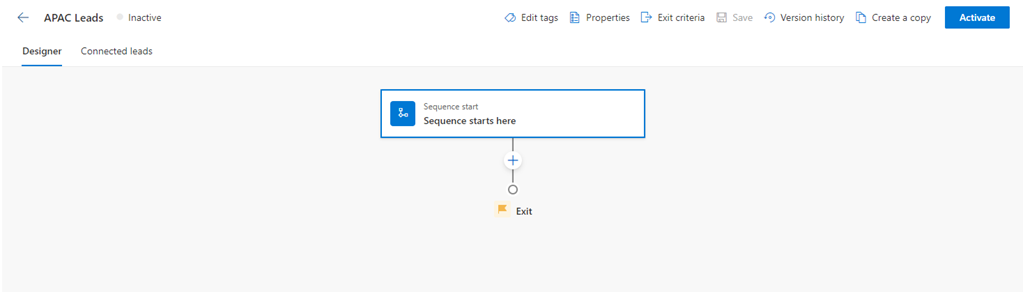
By default, the Sequence starts here step is added to the sequence as the first step.
After the Sequence starts here step, select Add (+), and configure the sequence steps. The steps are categorized into the following four groups:
- Steps: A step in a sequence is an engagement task that a seller performs for sales outreach, such as an email, phone call, or task. More information: Add steps to sequence
- Conditions: The condition step in a sequence determines the next course of action that the sequence will take after the condition is either met or not met, based on the completed activity. More information: Add condition steps to sequences
- Commands: The command step in a sequence determines the next course of action according to the value given in the field or stage of a business process. More information: Add command steps to sequences
- LinkedIn: The LinkedIn activity step in a sequence allows sellers to diversify their day-to-day activities by including social selling functions. You can use LinkedIn's vast network with recommended actions that your sellers can take to build deeper connections. More information: Add LinkedIn activities to sequence
Select Add, and then repeat step 4 for all the activities that you want to add to the sequence.
Save the sequence.
Now, you can activate the sequence.
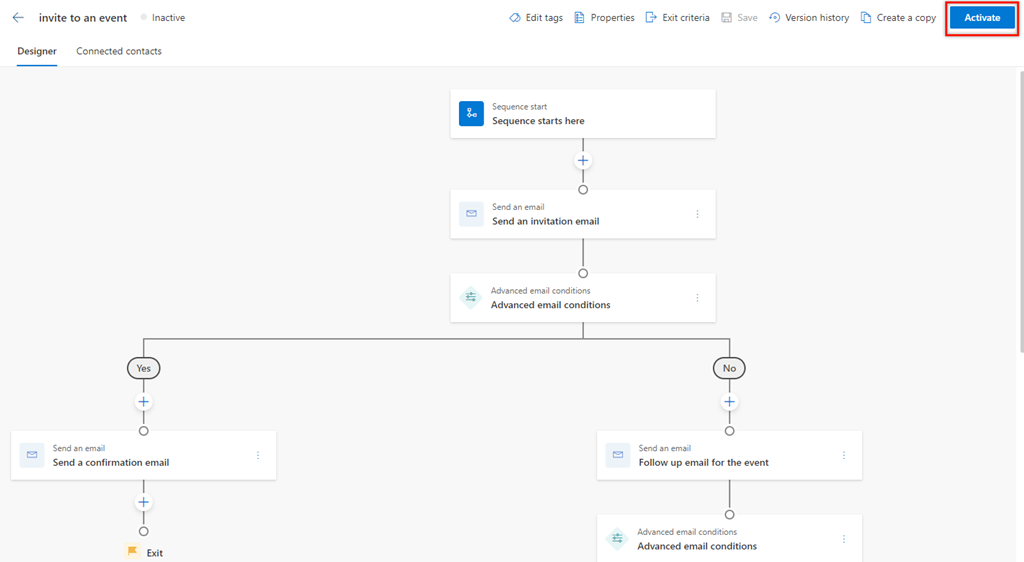
Activate the sequence
Open a sequence, and then select Activate.
Note
You can have up to 250 active sequences at a time in your organization.
In the confirmation message that appears, select Activate.
Note
An error might occur if you've added Set wait time as the last activity of the sequence. You must delete this last Set wait time activity, and then save and activate the sequence.
The sequence is activated and listed on the sequence designer home page. You can see the status of the sequence beside the name and you can see a confirmation message.
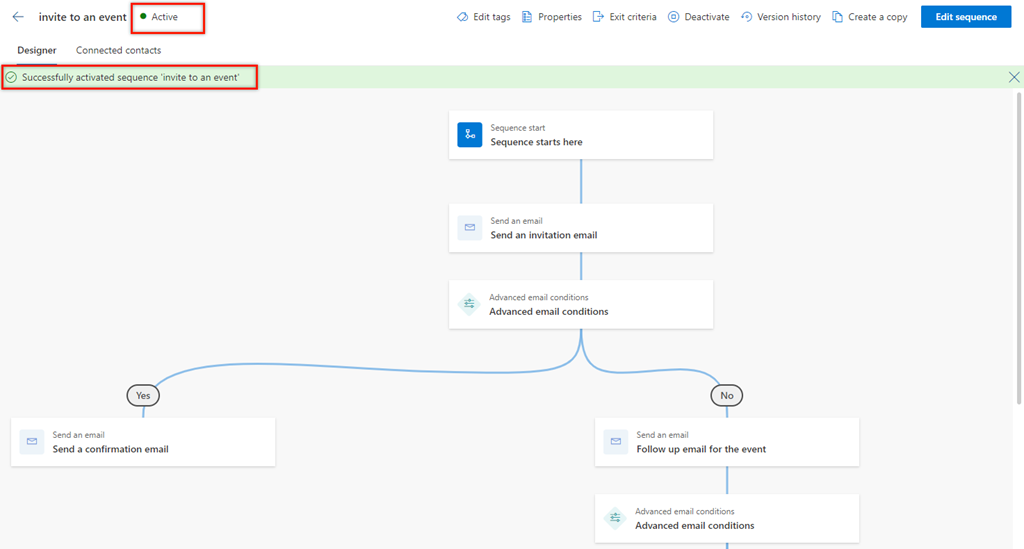
Next, you connect the active sequence to records.
Connect sequences to records
After you create and activate a sequence, you can connect the sequence to records depending on the record type that you created the sequence for.
You can use one of the following ways to connect a sequence to a record:
Can't find the feature in your app?
There are a few possibilities:
- You don't have the necessary license to use this feature. Check out the comparison table and the licensing guide to see which features are available with your license.
- You don't have the necessary security role to use this feature.
- To configure or setup a feature, you need to have the Administration and customization roles
- To use sales-related features, you need to have the Primary sales roles
- Some tasks require specific Functional roles.
- Your administrator hasn't turned on the feature.
- Your organization is using a custom app. Check with your administrator for exact steps. The steps described in this article are specific to the out-of-the-box Sales Hub and Sales Professional apps.
Related information
What is the sales accelerator?
Manage your sequences
Apply and remove tags from your sequences