Events
Microsoft Cloud for Sustainability Technical Summit November 4-7
Nov 4, 11 PM - Nov 7, 11 PM
Gain insights from expert-led sessions, interactive demos, and live Q&A!
Register nowThis browser is no longer supported.
Upgrade to Microsoft Edge to take advantage of the latest features, security updates, and technical support.
In the Dynamics 365 Sales mobile app, you can view, edit, and create contacts.
| Requirement type | You must have |
|---|---|
| License | Dynamics 365 Sales Premium, Dynamics 365 Sales Enterprise, Dynamics 365 Sales Professional, or Microsoft Relationship Sales More information: Dynamics 365 Sales pricing |
| Security roles | Any primary sales role, such as salesperson or sales manager More information: Primary sales roles |
Note
You can view the details of a contact in the following ways:
On the home page
The home page displays a list of contacts that you have recently accessed. When you tap a contact, the details are displayed partially at the bottom half of the screen. Scroll up for a quick view or tap  to display the complete contact details in a lightweight form.
On the Meetings page
The Meeting details page displays contacts are invited for the meeting. Also, the notes and insights that are displayed in the meeting are related to the displayed regarding record. Tap a contact to view the details of the contact in a quick view form.
In the following example, the details of a recent contact shown on the home page are displayed in a quick view form:
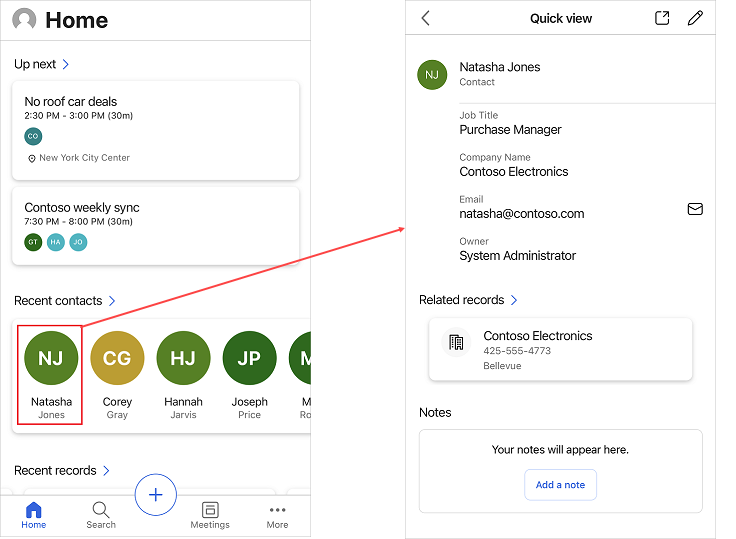
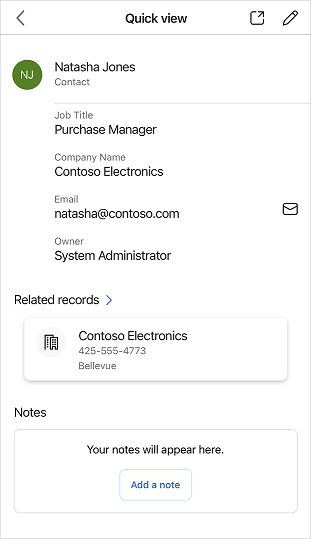
If the contact already exists in your Dynamics 365 Sales organization, you can update the contact details, such as mobile number and business email, by using the edit option in the quick view form.
In the upper-right corner of the quick view form, tap ![]() . Edit the details in the Edit form and tap Save.
. Edit the details in the Edit form and tap Save.
To open the record in the Sales Hub app, tap ![]() .
.
If you need to create a contact that doesn't already exist in your Dynamics 365 Sales organization, you can use the mobile app to create the contact from the following pages:
On the navigation bar at the bottom of the screen, tap ![]() , and then tap Contact.
, and then tap Contact.
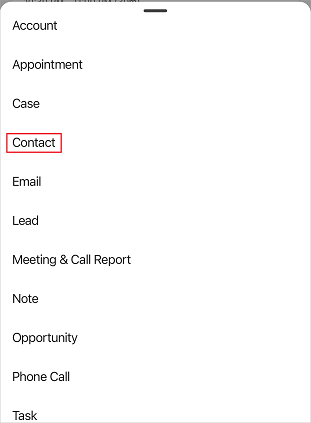
In the Create new Contact form, fill in the details, and then tap Save.
In the participant list for a meeting, tap the name of a participant. Note that you can create a contact from a participant only if the participant isn't already a contact in your Dynamics 365 organization.
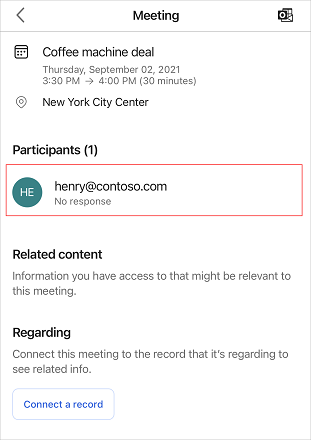
Tap Create new contact.
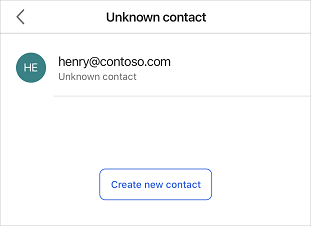
In the Create new contact form, fill in the details, and then tap Save.
Events
Microsoft Cloud for Sustainability Technical Summit November 4-7
Nov 4, 11 PM - Nov 7, 11 PM
Gain insights from expert-led sessions, interactive demos, and live Q&A!
Register nowTraining
Module
Get started with the Dynamics 365 Sales mobile app - Training
Learn about the Dynamics 365 Sales mobile app.
Certification
Microsoft Certified: Dynamics 365 Sales Functional Consultant Associate - Certifications
Demonstrate customization of Dynamics 365 Sales to provide clients with tools to manage customer information, gather insights, and automate best practices.